Quick Links
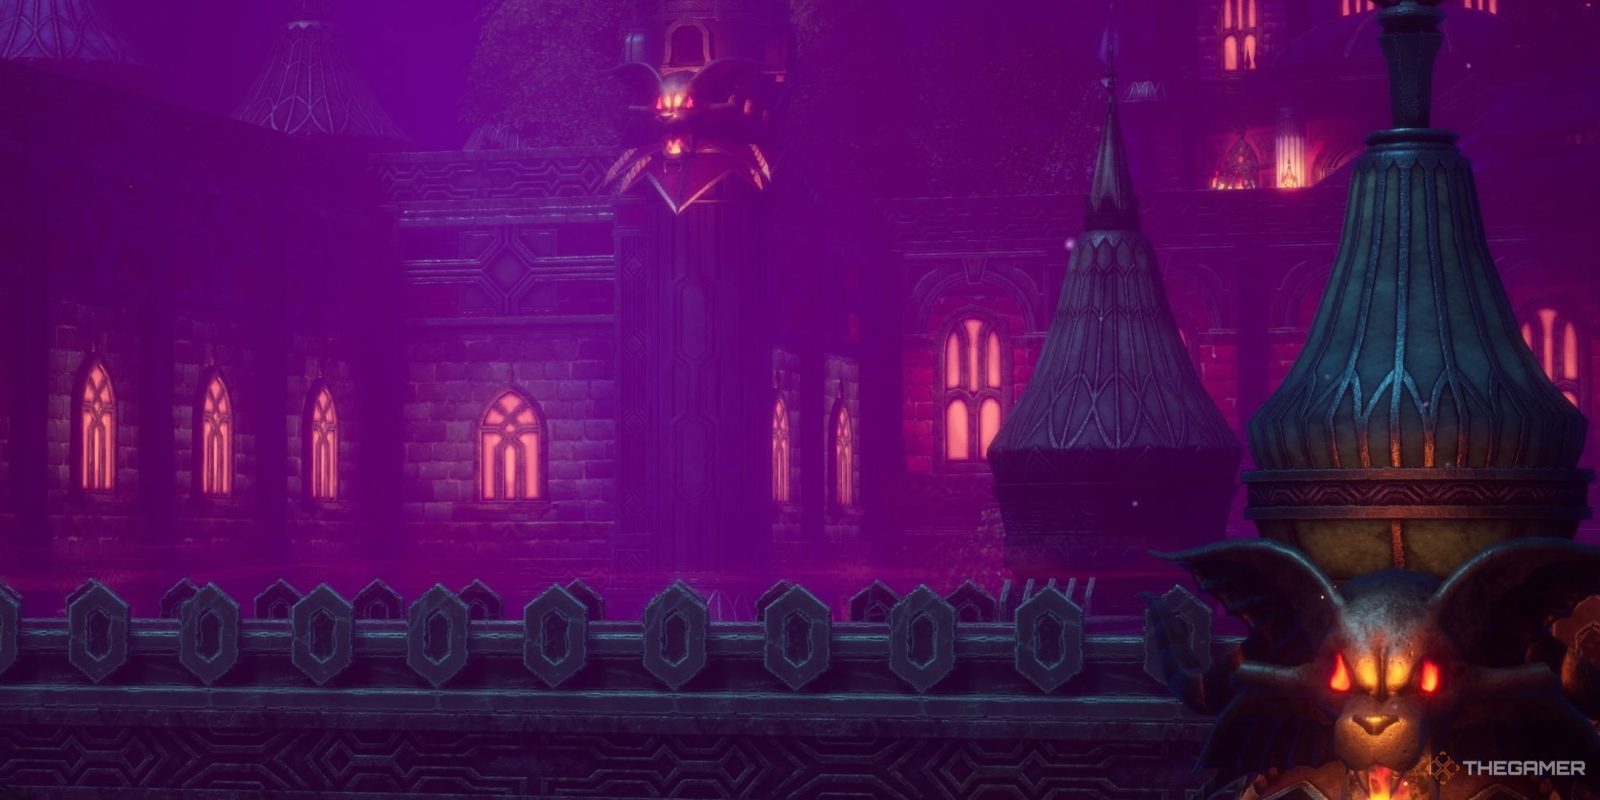
The final step on your journey before you face down Baramos is his fearsome lair. It is sprawling, and a dramatic step-up in terms of difficulty compared to other dungeons in Dragon Quest 3 Remake. But the antagonist was never going to be a pushover.
Related
Dragon Quest 3 Remaster Preview: Prepare To Be Insulted
Wonder how being a raging narcissist will help me on my quest…
Baramos’ Lair is intimidating because of how large it is, though that’s by intent. The dungeon is nowhere near as complex as it fashions itself to be, though it is packed with some obscenely strong enemies. Here’s how to best them and make your way to Baramos.
How To Access Baramos’ Lair
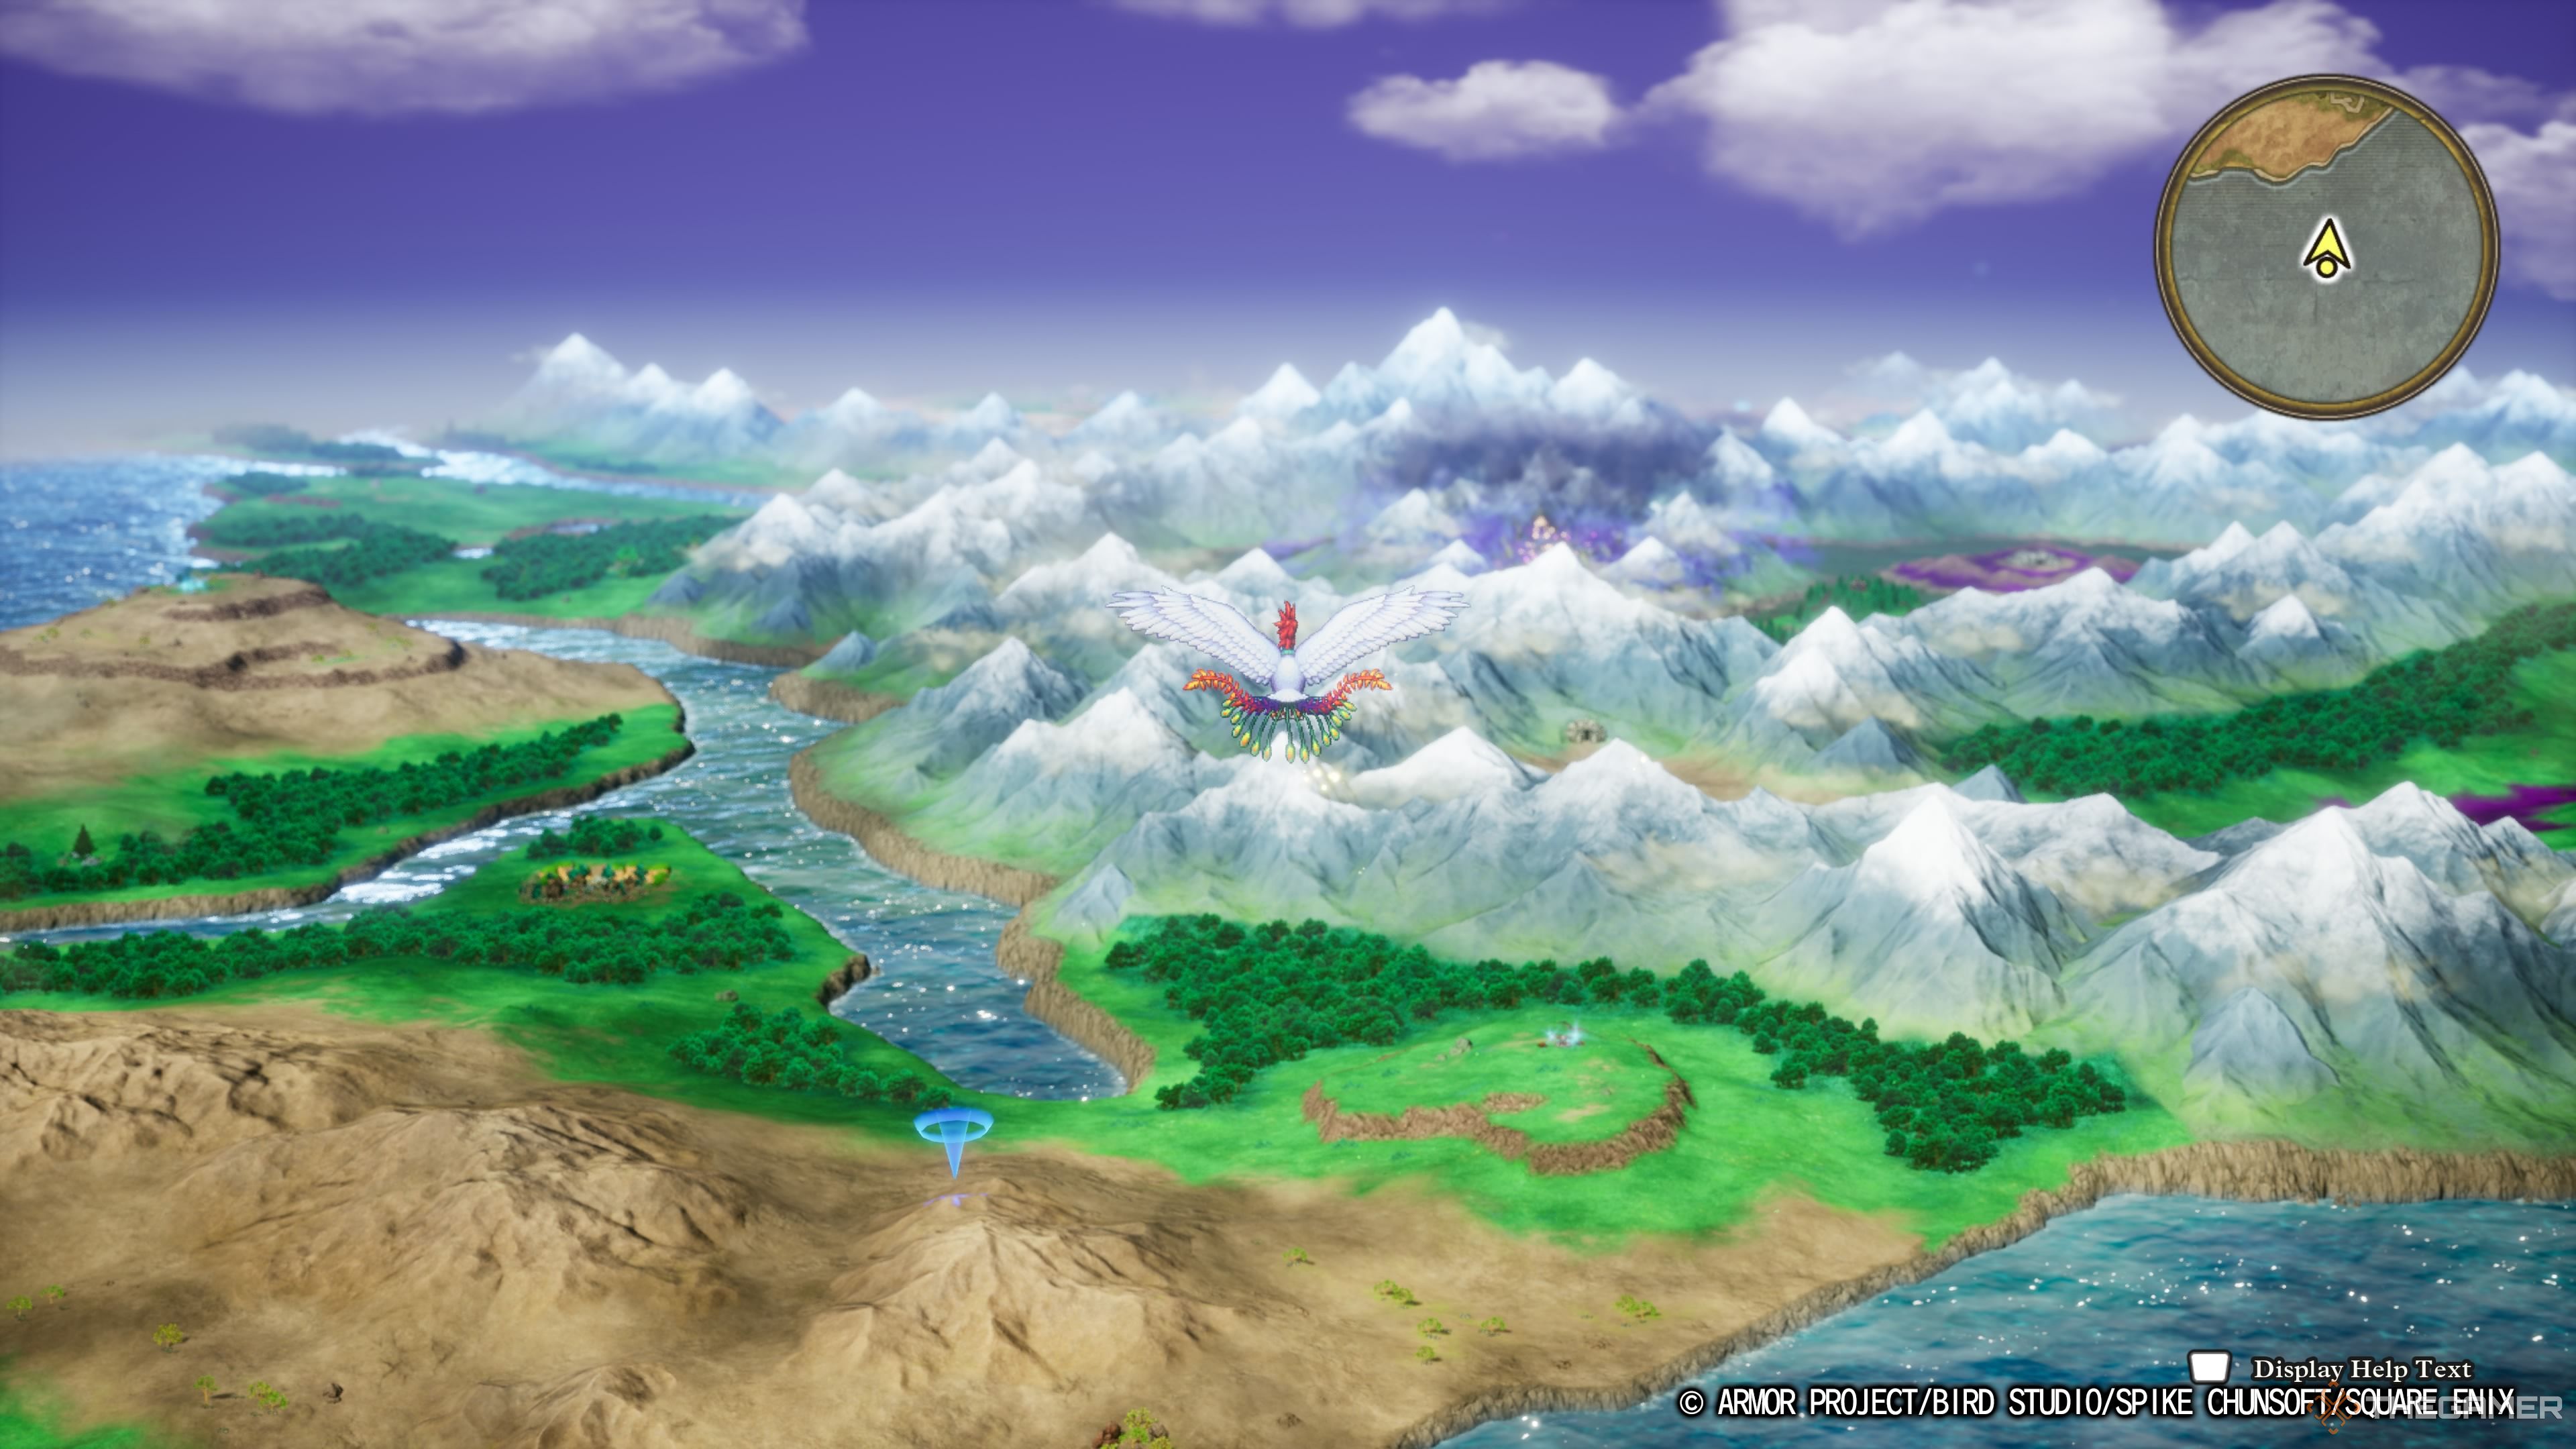
After progressing through the Maw of the Necrogond, you’ll be met with the castle of Baramos, though with one core issue – you can’t reach it. Baramos’ Lair is right in the middle of an inland lake that you can’t reach by land or ship. There’s only one option left to you, and that’s flight.
After gathering up all six Orbs, they can be brought to the Everbird Shrine to awaken Ramia, allowing you to fly not just to Baramos’ Lair, but across the entire map. If you’re missing that final Silver Orb, you can find it in the Necrogond Shrine just east of Baramos’ Lair.
With the Everbird awakened, simply fly to the island and enter Baramos’ Lair, the final destination on your long journey.
Navigating Baramos’ Lair
While Baramos’ Lair is packed with rooms, you can actually avoid the vast majority of them. The goal is to reach the building on the lake in the north-east of the Surroundings map. That’s a faster task than you might expect.
That said, you might want to spend the time battling the enemies here, as they drop quite a large amount of experience.
Starting at the very southern end of the Surroundings map, we want to proceed right to the farthest north of the map we can. This involves circling around the castle itself counter-clockwise until you’re near the lake. From here, travel west up a set of stairs, and you will find a door leading into the castle. Enter here.
This will bring you to the East Tower, which is just a very long staircase. Follow it upwards to arrive on the roof in the Surroundings again. From here, travel west across the roof and past the statues until you reach the north-west staircase. Take this back into the building.
You will now be in the Central Tower, on the north-west side. Run through the electrified floor, using Safe Passage if you have it, and take the stairs in the south-west down instead of going uo the central staircase.
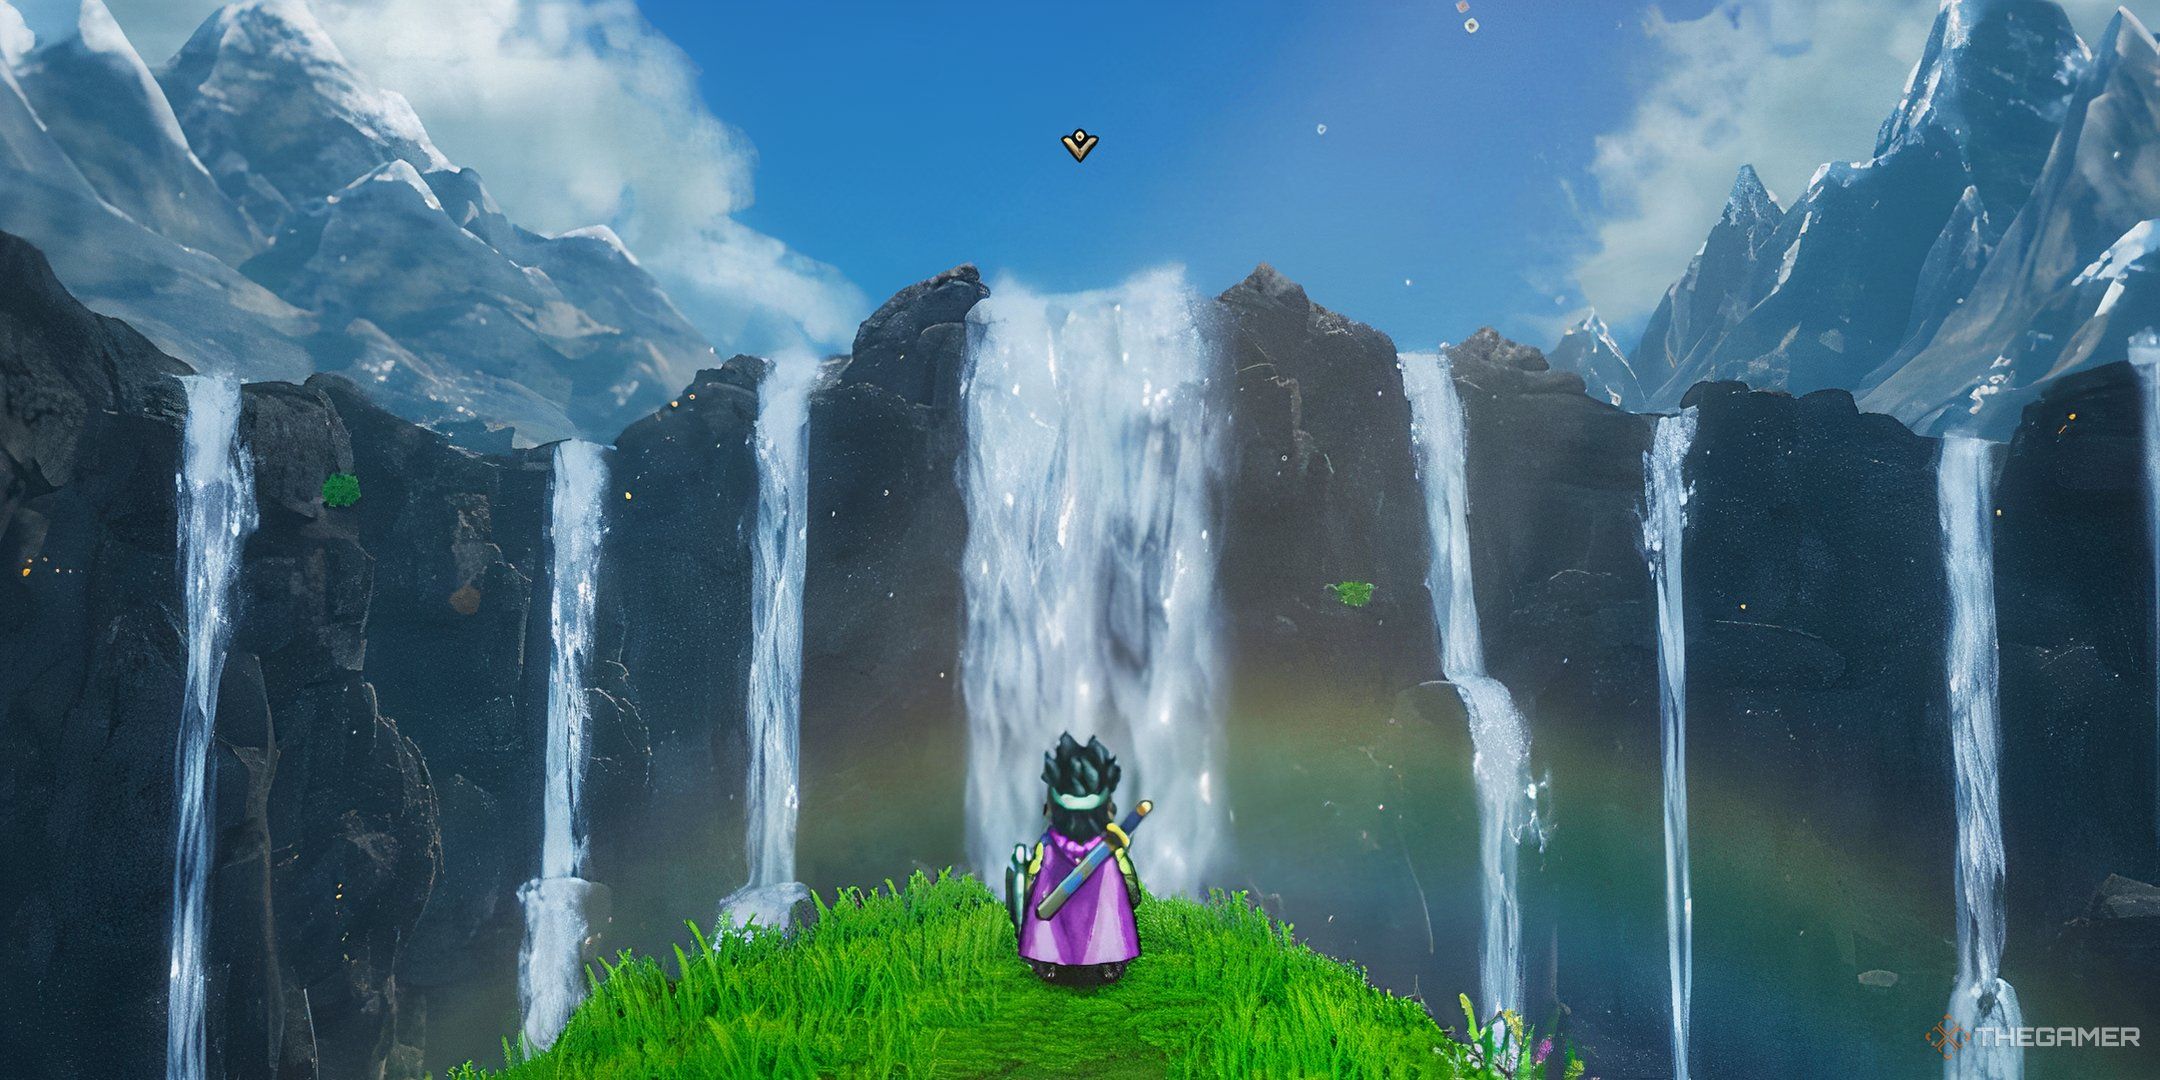
In the Passageway here, simply progress forward through the east, taking the stairs up until you reach the South-East Tower. This is the room with the interior waterfall. Follow the room northwards and take the stairs to the next area.
Back on the roof, following the path westwards to the brought back to the South-East Tower, but on the left side now with a garden. Simply pass through here to be brought back to the Central Tower, but in the isolated top right section. Proceed down the stairs here.
This leads you into another Passageway, but it is completely linear. Just follow it all the way north and follow the stairs upwards to reach the Throne Room. This isn’t where Baramos dwells though, with only a lifeless skeleton resting on the throne. Proceed outside.
You’re back in the Surroundings, but this time on the north side of the map adjacent to the lake. Go east towards the building on the lake to find a set of stairs that leads downwards, to Baramos’ Den. This will be your final showdown, so make sure you’re prepared.
A portal will appear beside the stairs before you proceed down it, allowing you to teleport back and forth between the entrance and here. Use this to leave, rest up, swap your party if you need, and come back quickly.
Every Optional Item
Despite the complex, winding layout of Baramos’ Lair, it’s not quite as packed with treasures as you might expect. That said, none of them are small items that are useless at this point in the game. In fact, just about every item you find might be strong than anything else you’ve got up to this point.
|
Item |
Floor |
Directions |
|---|---|---|
|
Prayer Ring |
Surroundings |
On the roof in a chest, accessed from the left stairs in the entrance. |
|
Mini Medal |
B1 – Passageway |
In the top right room that is locked. |
|
Armful (Monster) |
Surroundings |
By the edge facing the lake. |
|
Flowing Dress |
Surroundings |
By the top-right edge by the lake. |
|
Dragon Mail |
1F – Central Tower |
In the south-most section of the floor. |
|
Hapless Helm |
1F – South-East Tower |
In the south-most chest covered by the waterfall. Area accessed through the roof. |
|
Headsman’s Axe |
1F – South-East Tower |
In the north-most chest covered by the waterfall. Area accessed through the roof. |
|
Zombiesbane |
1F – South-East Tower |
In a chest obscured by a tree in the garden section of the area. |
|
Mini Medal |
1F – Throne Room |
Interact with the floor by the throne to find this. |
The Hapless Helm and Headsman’s Axe are the most powerful items here, though come with some strong curses to balance them out. If you think they’re worth the risk though, make sure you gather them up for your battle against Baramos.

Next
Monster Wrangling Breathes New Life Into Dragon Quest 3
Dragon Quest 3 is already a fantastic game, but how much does the new class and associated side quest affect things in the remake?





Leave a Reply