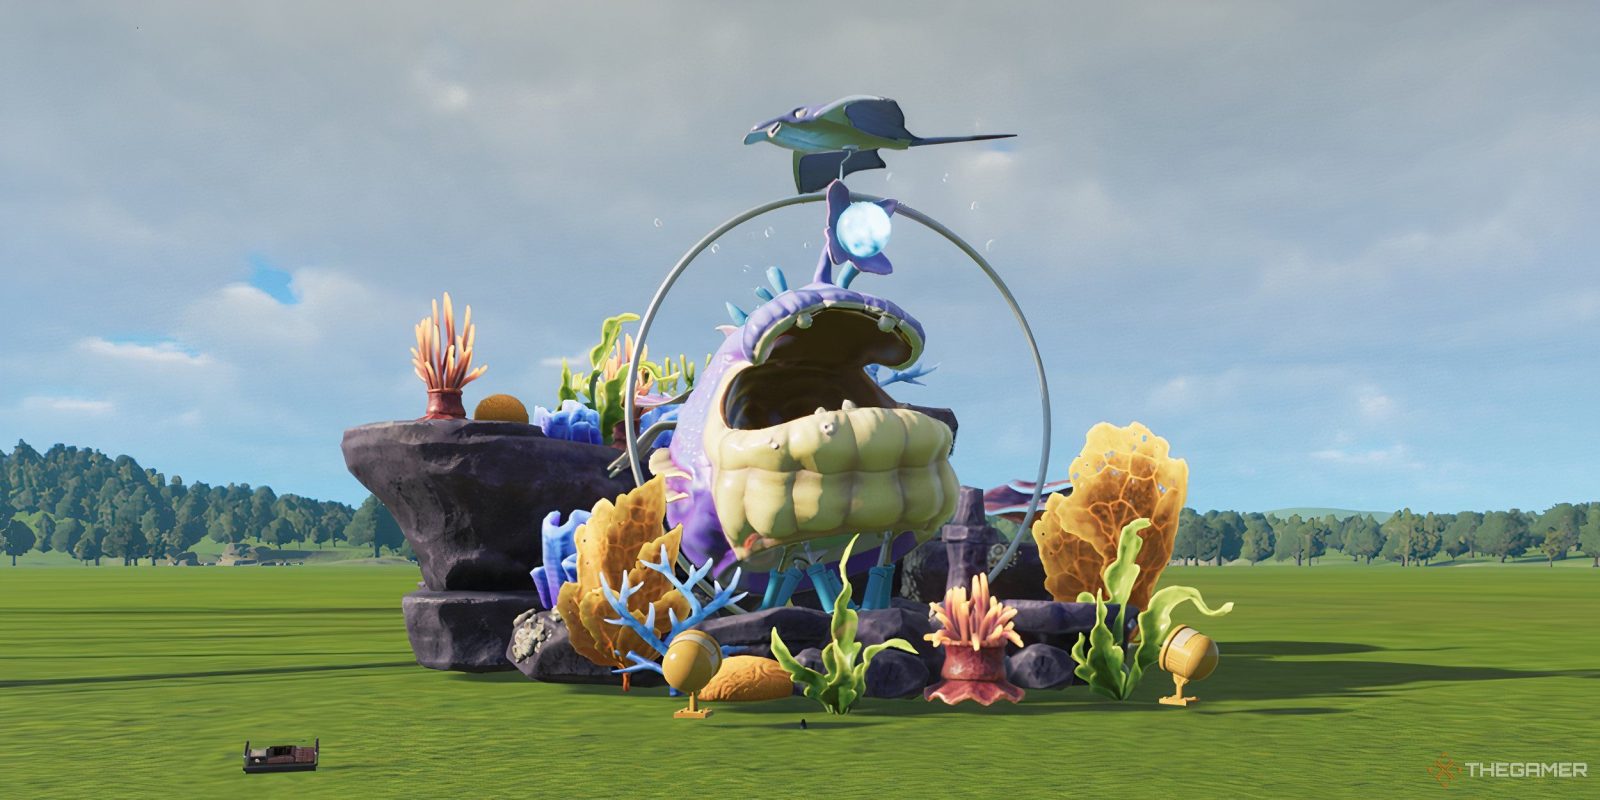
As you develop your park in Planet Coaster 2, you’ll want to experiment with scenery to see what custom creations you can come up with. These specialized decorations will add to your overall scenery rating and make your guests feel more comfortable in your park. Animatronics, specifically, will improve the atmosphere.
Related
Planet Coaster 2: Complete Guide To Lazy Rivers
Nothing’s better than relaxing in a lazy river.
We’ll show you how to create your own custom animatronics and use the event sequencer to plan the perfect interaction for guests. You can use these skills to enhance your rides, paths, and park with a bit of planning. Here’s everything you need to know to make your own animatronics in Planet Coaster 2!
How To Create Your Own Animatronics
When you want to start experimenting with animatronics, open up the scenery menu and select the Create Custom option. From there, you can access all available scenery.
You can use pre-existing scenery, statues, and animatronics to design the perfect scenery group.
Decorate how you like with as many objects as you want. Create an animatronic with a uniform theme or merge ideas for something original. Statues and existing animatronics are a great addition to scenery and make your park’s attractions and walkways pop!
Use the different tools at your disposal to alter the scenery’s height and rotation to customize the overall appeal of your decor. Once you’re happy with everything, mark the scenery group as done so that it can all be moved together as one large piece!
How To Save The Blueprint
When you’re truly proud of your work, you can save the creation as a new blueprint. This allows you to place duplicates and carry the custom animatronic to other parks.
You can even share your work online for others to enjoy through the workshop!
Use the selection tool to cover all scenery you want to save, including pathways and nearby scenery not included in the group. Then, confirm your selection and choose the option to save the blueprint.
A menu will appear where you must fill out the following required fields before you can save the blueprint:
- Scenery title
- Item description
- Browsing location
You can also specify which filters apply to your animatronic, as well and preview the in-game cost to build it in your park. When that’s all done, you can save the blueprint and use it at your leisure.
How To Use The Event Sequencer
Another way you can enhance your animatronics is by using special effects and the event sequencer. You’ll need to place different special effects from the custom scenery menu, such as the bubble makers, into the scene along with an event sequencer.
From there, you can interact with the event sequencer to adjust the triggers for the scene. This can be a continuous loop, a one-time event, or anything in-between based on your preferences.
You can add objects to the sequencer and play around with additional tracks to fully customize the experience!
You can start or stop special effects, change the color of the effect, or manage the specific triggers to create something truly unique. Timing can be customized as well to change how long an effect displays.
The possibilities are endless, so spend time experimenting in sandbox mode to get a better grasp on the controls and develop your skills as a theme park master!
Next
Planet Coaster 2: How To Build Custom Shops And Facilities
We look at the custom build tools for assembling buildings for your shops and facilities.
Source link



Leave a Reply