From the moment you set out on your journey, you are told that Baramos is the endgoal, the archfiend whose demise will finally bring peace to the world. It is the journey that the Hero’s father set out on, and know you are going to finish it.

Related
How Many Dragon Quest Games Are There?
Dragon Quest is one of the oldest RPGs out there, and that means it has a whole bunch of games for you to play.
Well here you are, Dragon Quest 3 Remake‘s penultimate dungeon. The Maw of the Necrogond has no bosses for you to worry about, but it is packed with dangerous enemies and challenging navigation. here’s how to come out the enter side alive and well.
How To Access Maw Of The Necrogond
Using The Mountaincleaver
The first step in accessing the Necrogond is creating that path that leads to it. This involves acquiring the Mountaincleaver sword, battling Garboyle at the top of Mt. Necrogond, and ultimately tossing the sword into the volcano’s depths.
Mountaincleaver can be equipped as a weapon until you throw it into the volcano, so use it while you still have a chance.
This creates an eruption, which ultimately cools into the river approaching the Maw, creating a path you can walk on. This is the beginning of the end to your journey, so make sure you’ve picked out a team you’re comfortable with, and have all the best equipment you currently have equipped.
Recommended Party
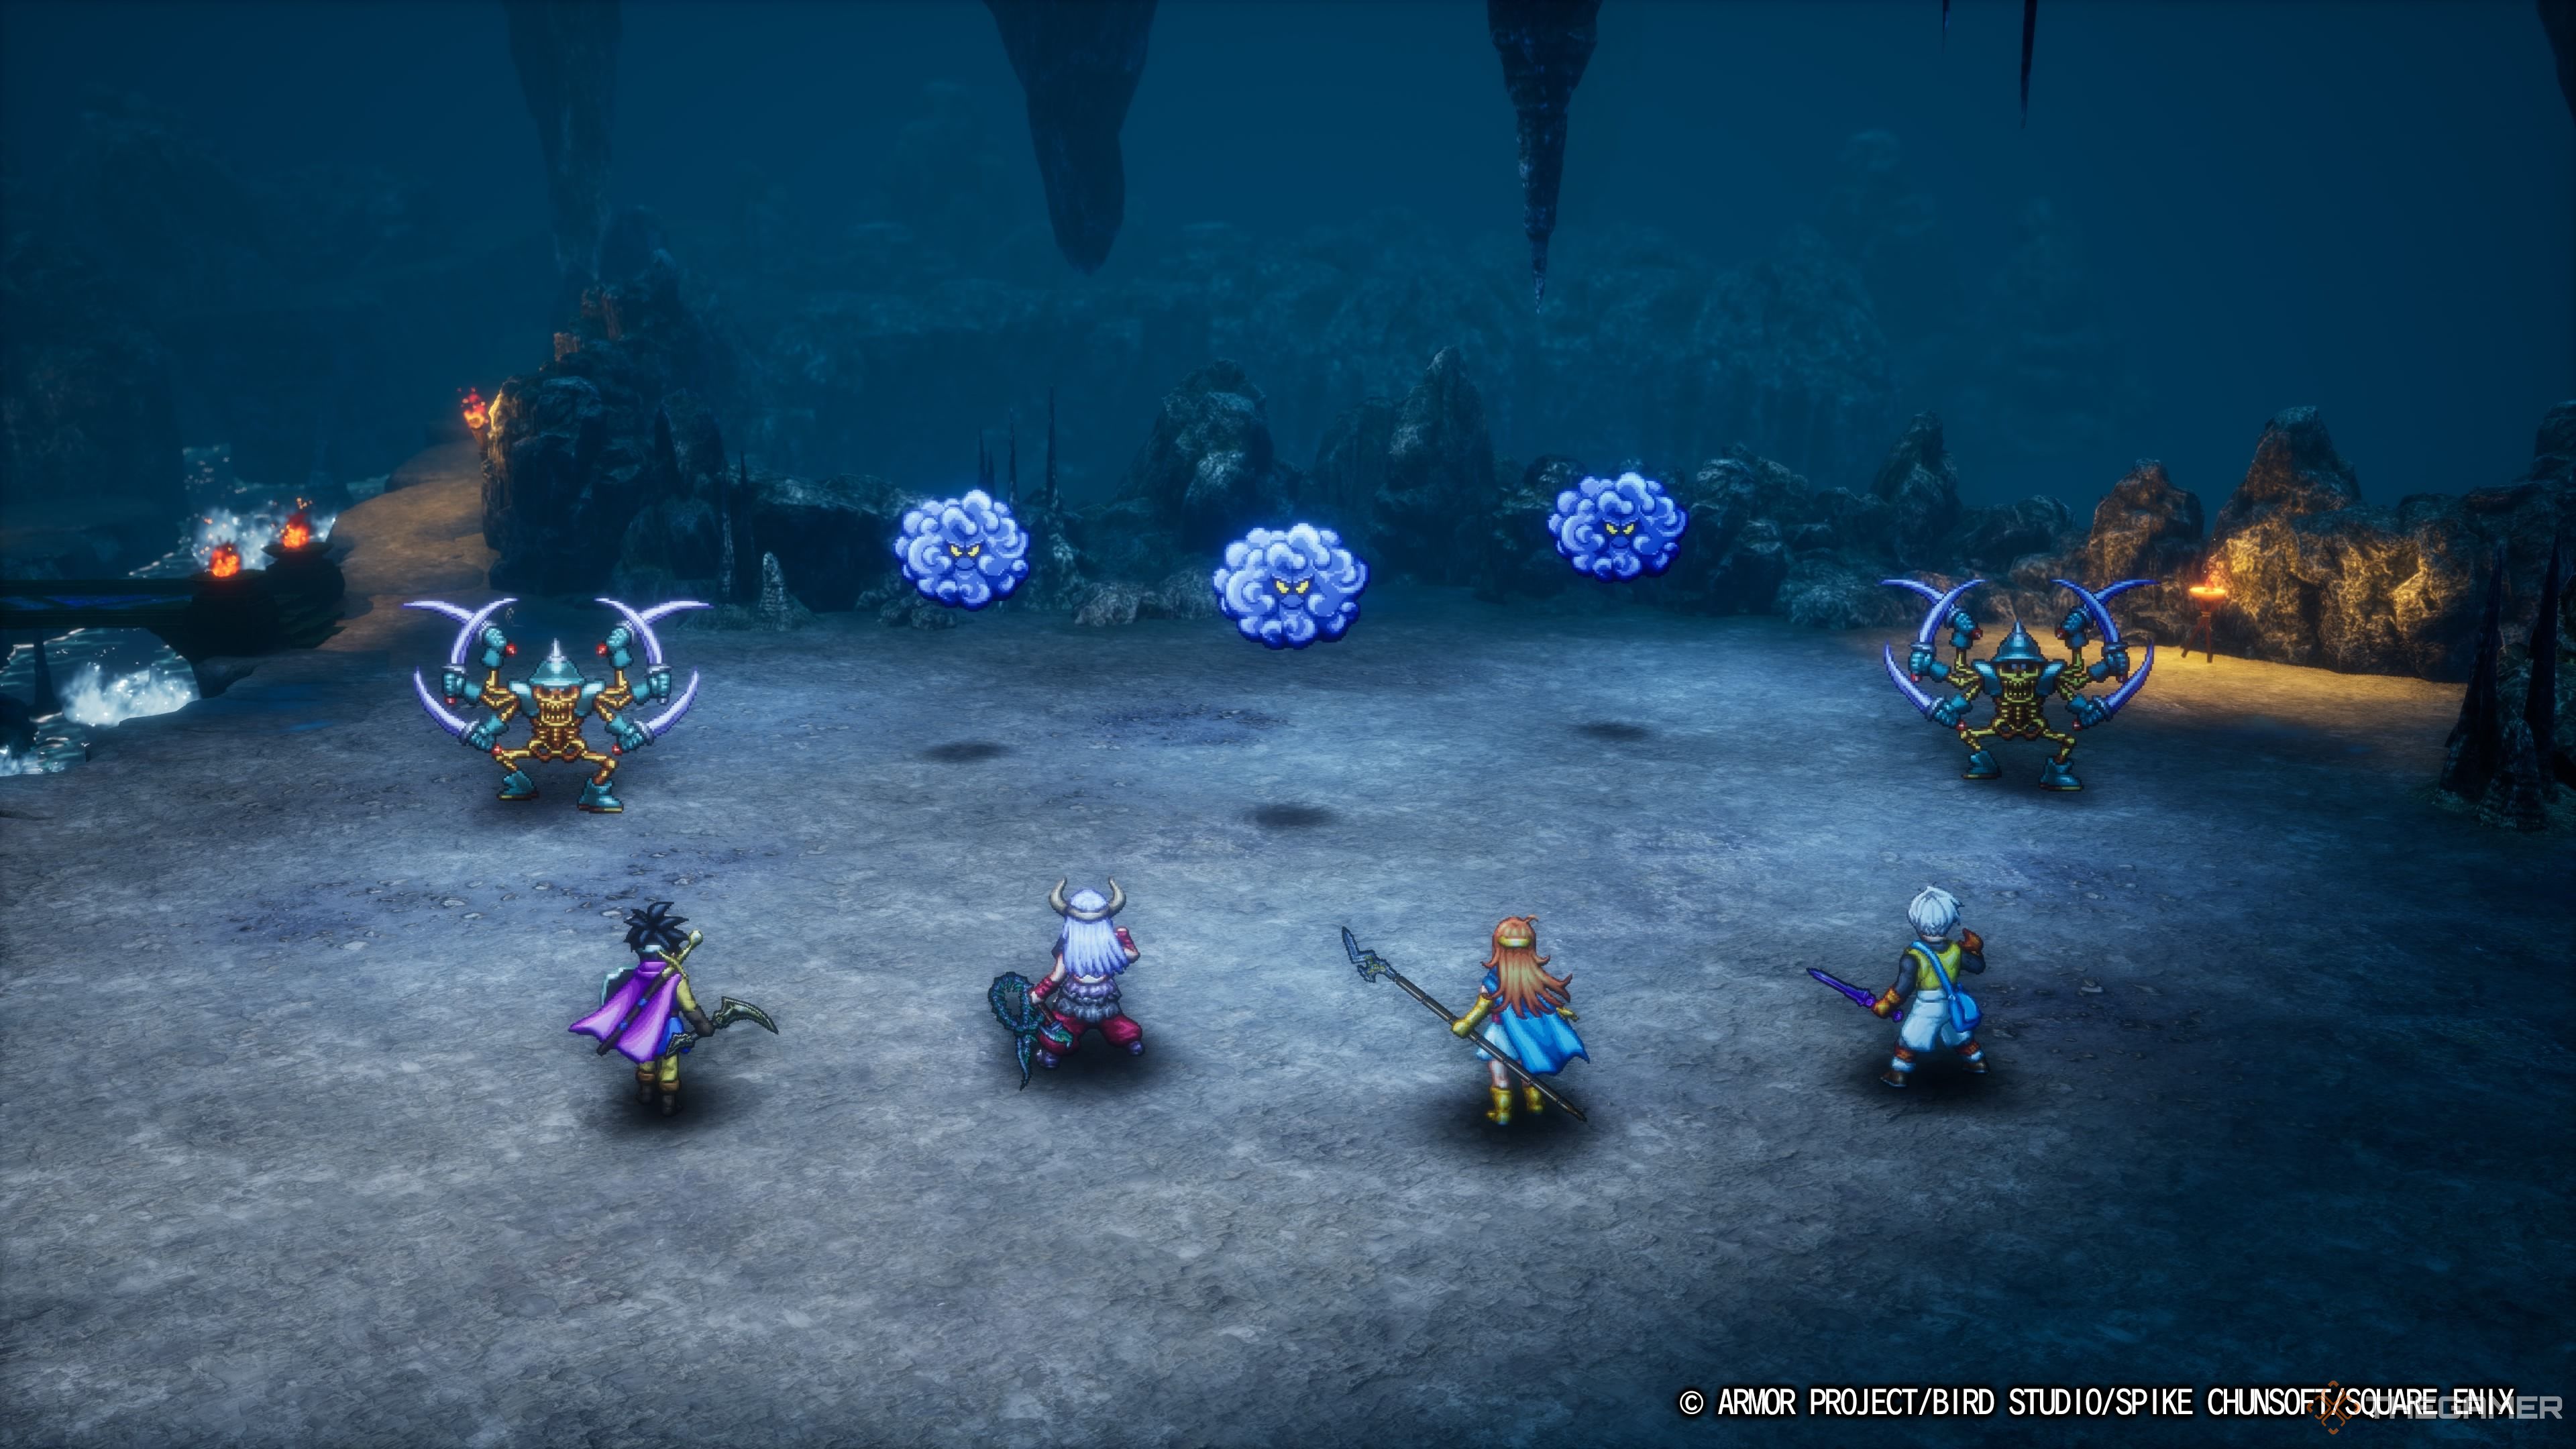
The Maw of the Necrogond is one of the most challenging dungeons in the game purely by merit of the fact that it is so long and packed with challenging enemies. If you’ve been neglecting to use healing items up until this point, you might want to make sure you’re stocked up. If you leave the dungeon to heal up, you’ll have to start all over again from the beginning.
Here is the party we brought as a recommendation:
- The Hero, with a build favouring physical Strength over all else with a Paragon personality.
- A Monster Wrangler with a Tough Cookie personality to make them physically powerful and sturdy.
- A Mage-turned-Sage with a Slippery Devil personality to maximise her magical power.
- A Priest-turned Warrior with very high Strength and Resilence who could take a hit while also buffing the party.
At this point in the game, it would be very helpful to have invested in changing Jobs to give your party much more utility since you’ll want to have settled on a final party at this point.
Navigating Maw Of The Necrogond
Moving through the Necrogond is a bit of a struggle because it’s not quite as linear as many other dungeons. Tracking the map quite closely is essential so you don’t wind yourself into a dead-end and run yourself ragged anywhere near the end of the dungeon.
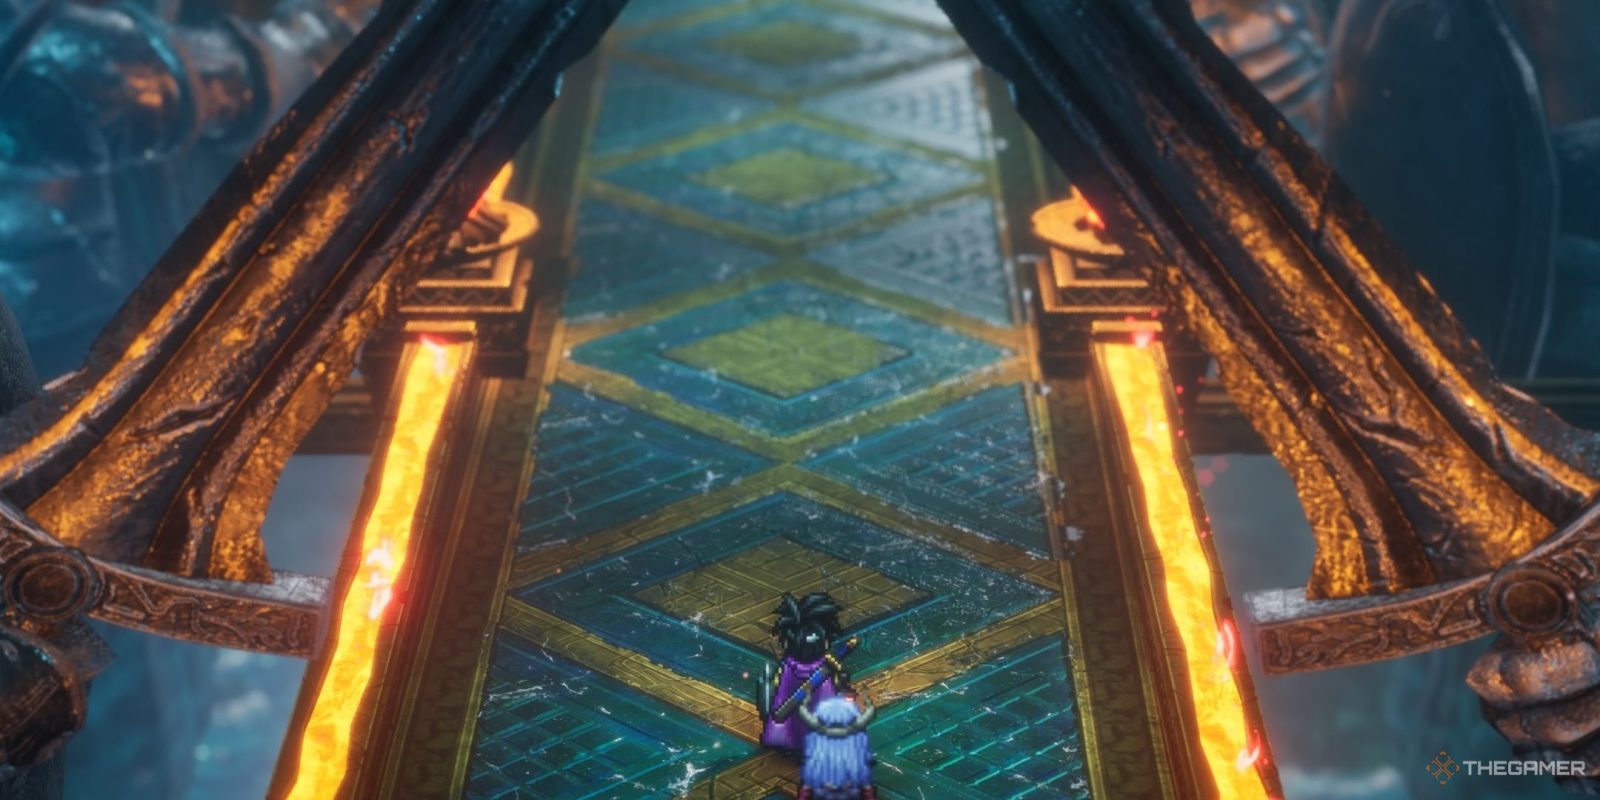
The first room, B1, is entirely linear. Proceed past the menacing statues to floor L1. This will put you in the south-east corner of the room. Unless you’re searching for treasures, simply follow the path fully south until you reach the stairs that lead to floor L2.
On floor L2, there will be an exit on the right, and in the south. The right brings you to a looping corridor with a Mimic, so ignore this one and take the southern exit instead to floor L3.
Be mindful of the holes here. Falling into them will bring you back to floor L1.
On floor L3, there is a path to the north, south, and east. The former two will bring you to treasures, while the east will bring you to a cliff edge. While this might seem like a dead end, jumping off here is the way forward, dropping you into a new section of floor L2.
Here, you will be dropped into a large open room with a ladder at the north and south ends. The south ladder leads to treasure, while the north ladder brings you forward. Take this one now to return to floor L3.
You will now be directly north of the previous cliff you jumped off to reach this area in the first place. There are no other treasures on this floor, so head east to reach floor L4.
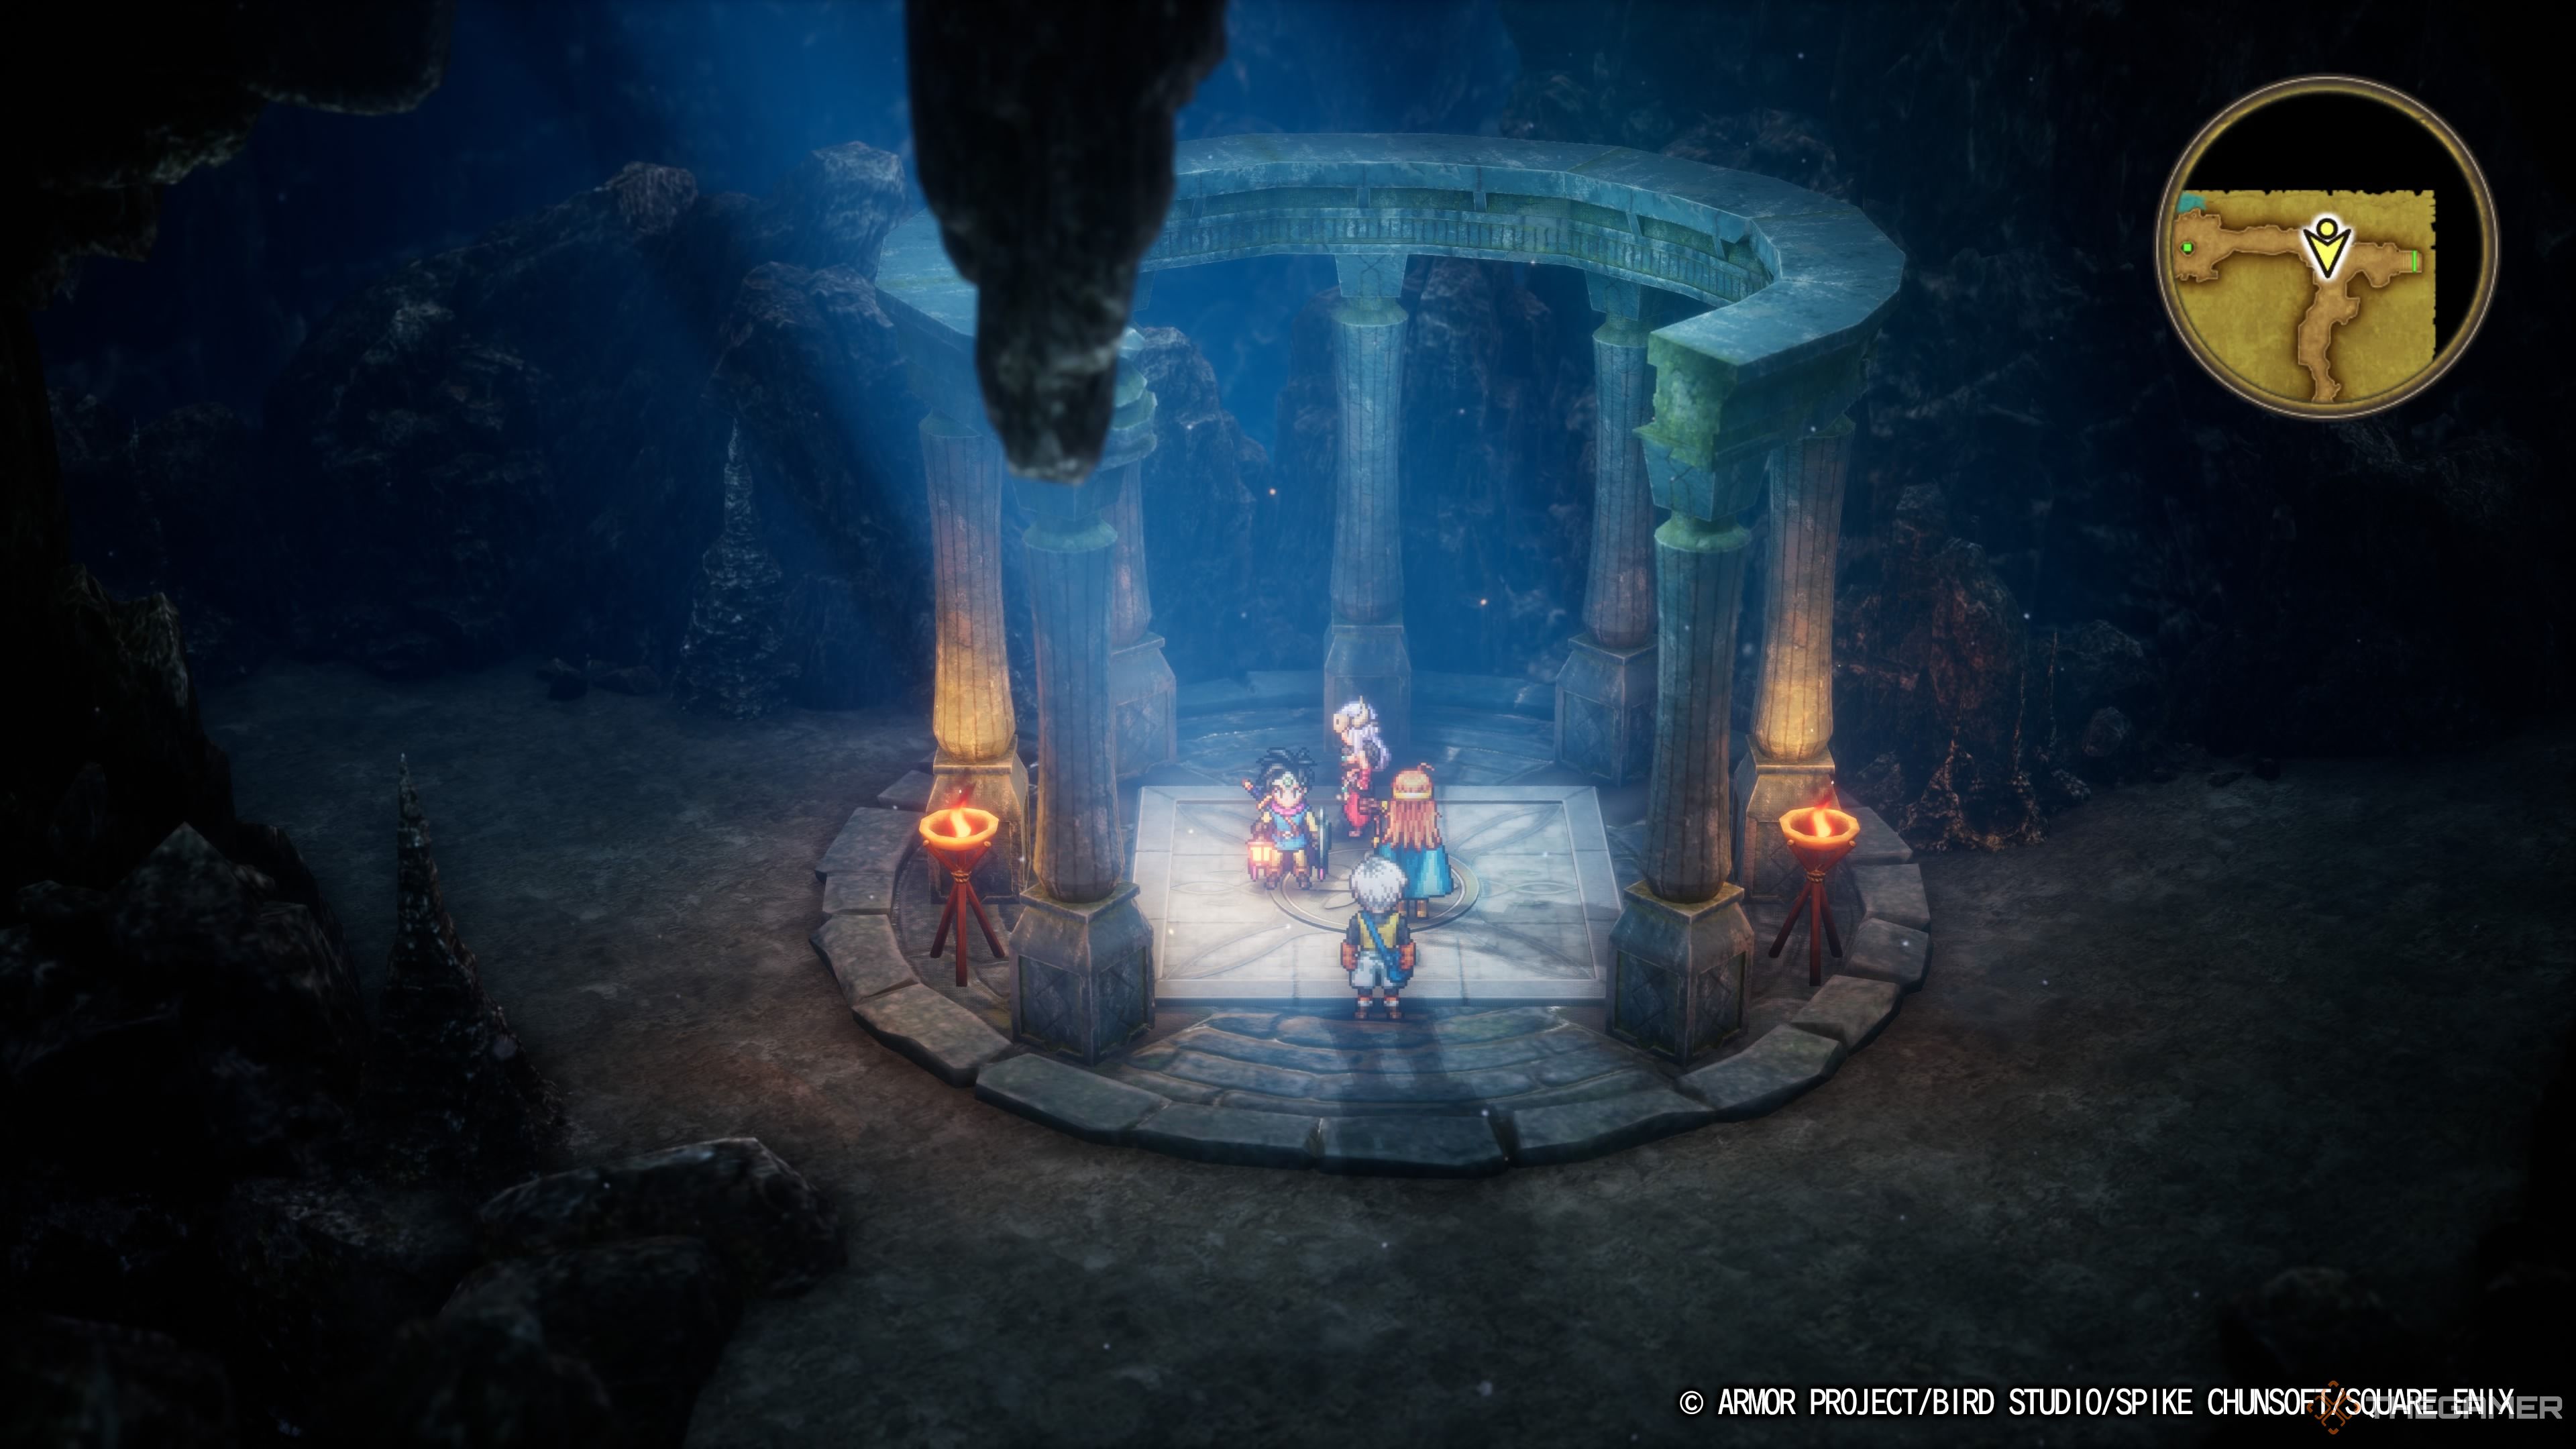
Make sure to stop into the shrine here before proceeding to fully heal your party and restore their stamina. This is the last chance you have to heal up fully.
This next area, L4, is massive. You start in the lower left corner, and the winding paths can make it a bit hard to actually read where you’re going. The fact that many of the treasures are also Mimics means deviating from the core path can be incredibly punishing.
Travel north until you reach the second bridge, cross it, and then continue north until you can go east again. Then take the first path south until you come across a bridge. Cross it, and the the next turn east almost immediately after you cross.
At this point, follow the south path around until you’re along the straight and narrow path towards the exit. This is a very long path and you’ll likely run into plenty of enemies so keep yourself healed up. Once you climb up those stairs, you will be on floor L5, which is a linear corridor leading to the exit of the Maw of the Necrogond.
Every Optional Item
The Necrogond has no key items for the picking, nor any bosses for you to battle either. It’s more of a gauntlet, and endless stamina battle until you can get yourself out the other end safely. That does mean it is littered with incredible loot though, and here’s where to find it all.a
While certain floors like L2 are repeated many times, there are actually multiple distinct parts to the floor that can only be accessed from different areas.
The vast majority of these items will be incredibly useful to your team, having a bit of something for every Job there is. The Spiked Armour is a special standout, damaging any enemy that hits with you a relatively high portion of the damage they dealt to you. It’s best to equip this on one of your sturdier characters.
Heading To The Necrogond Shrine
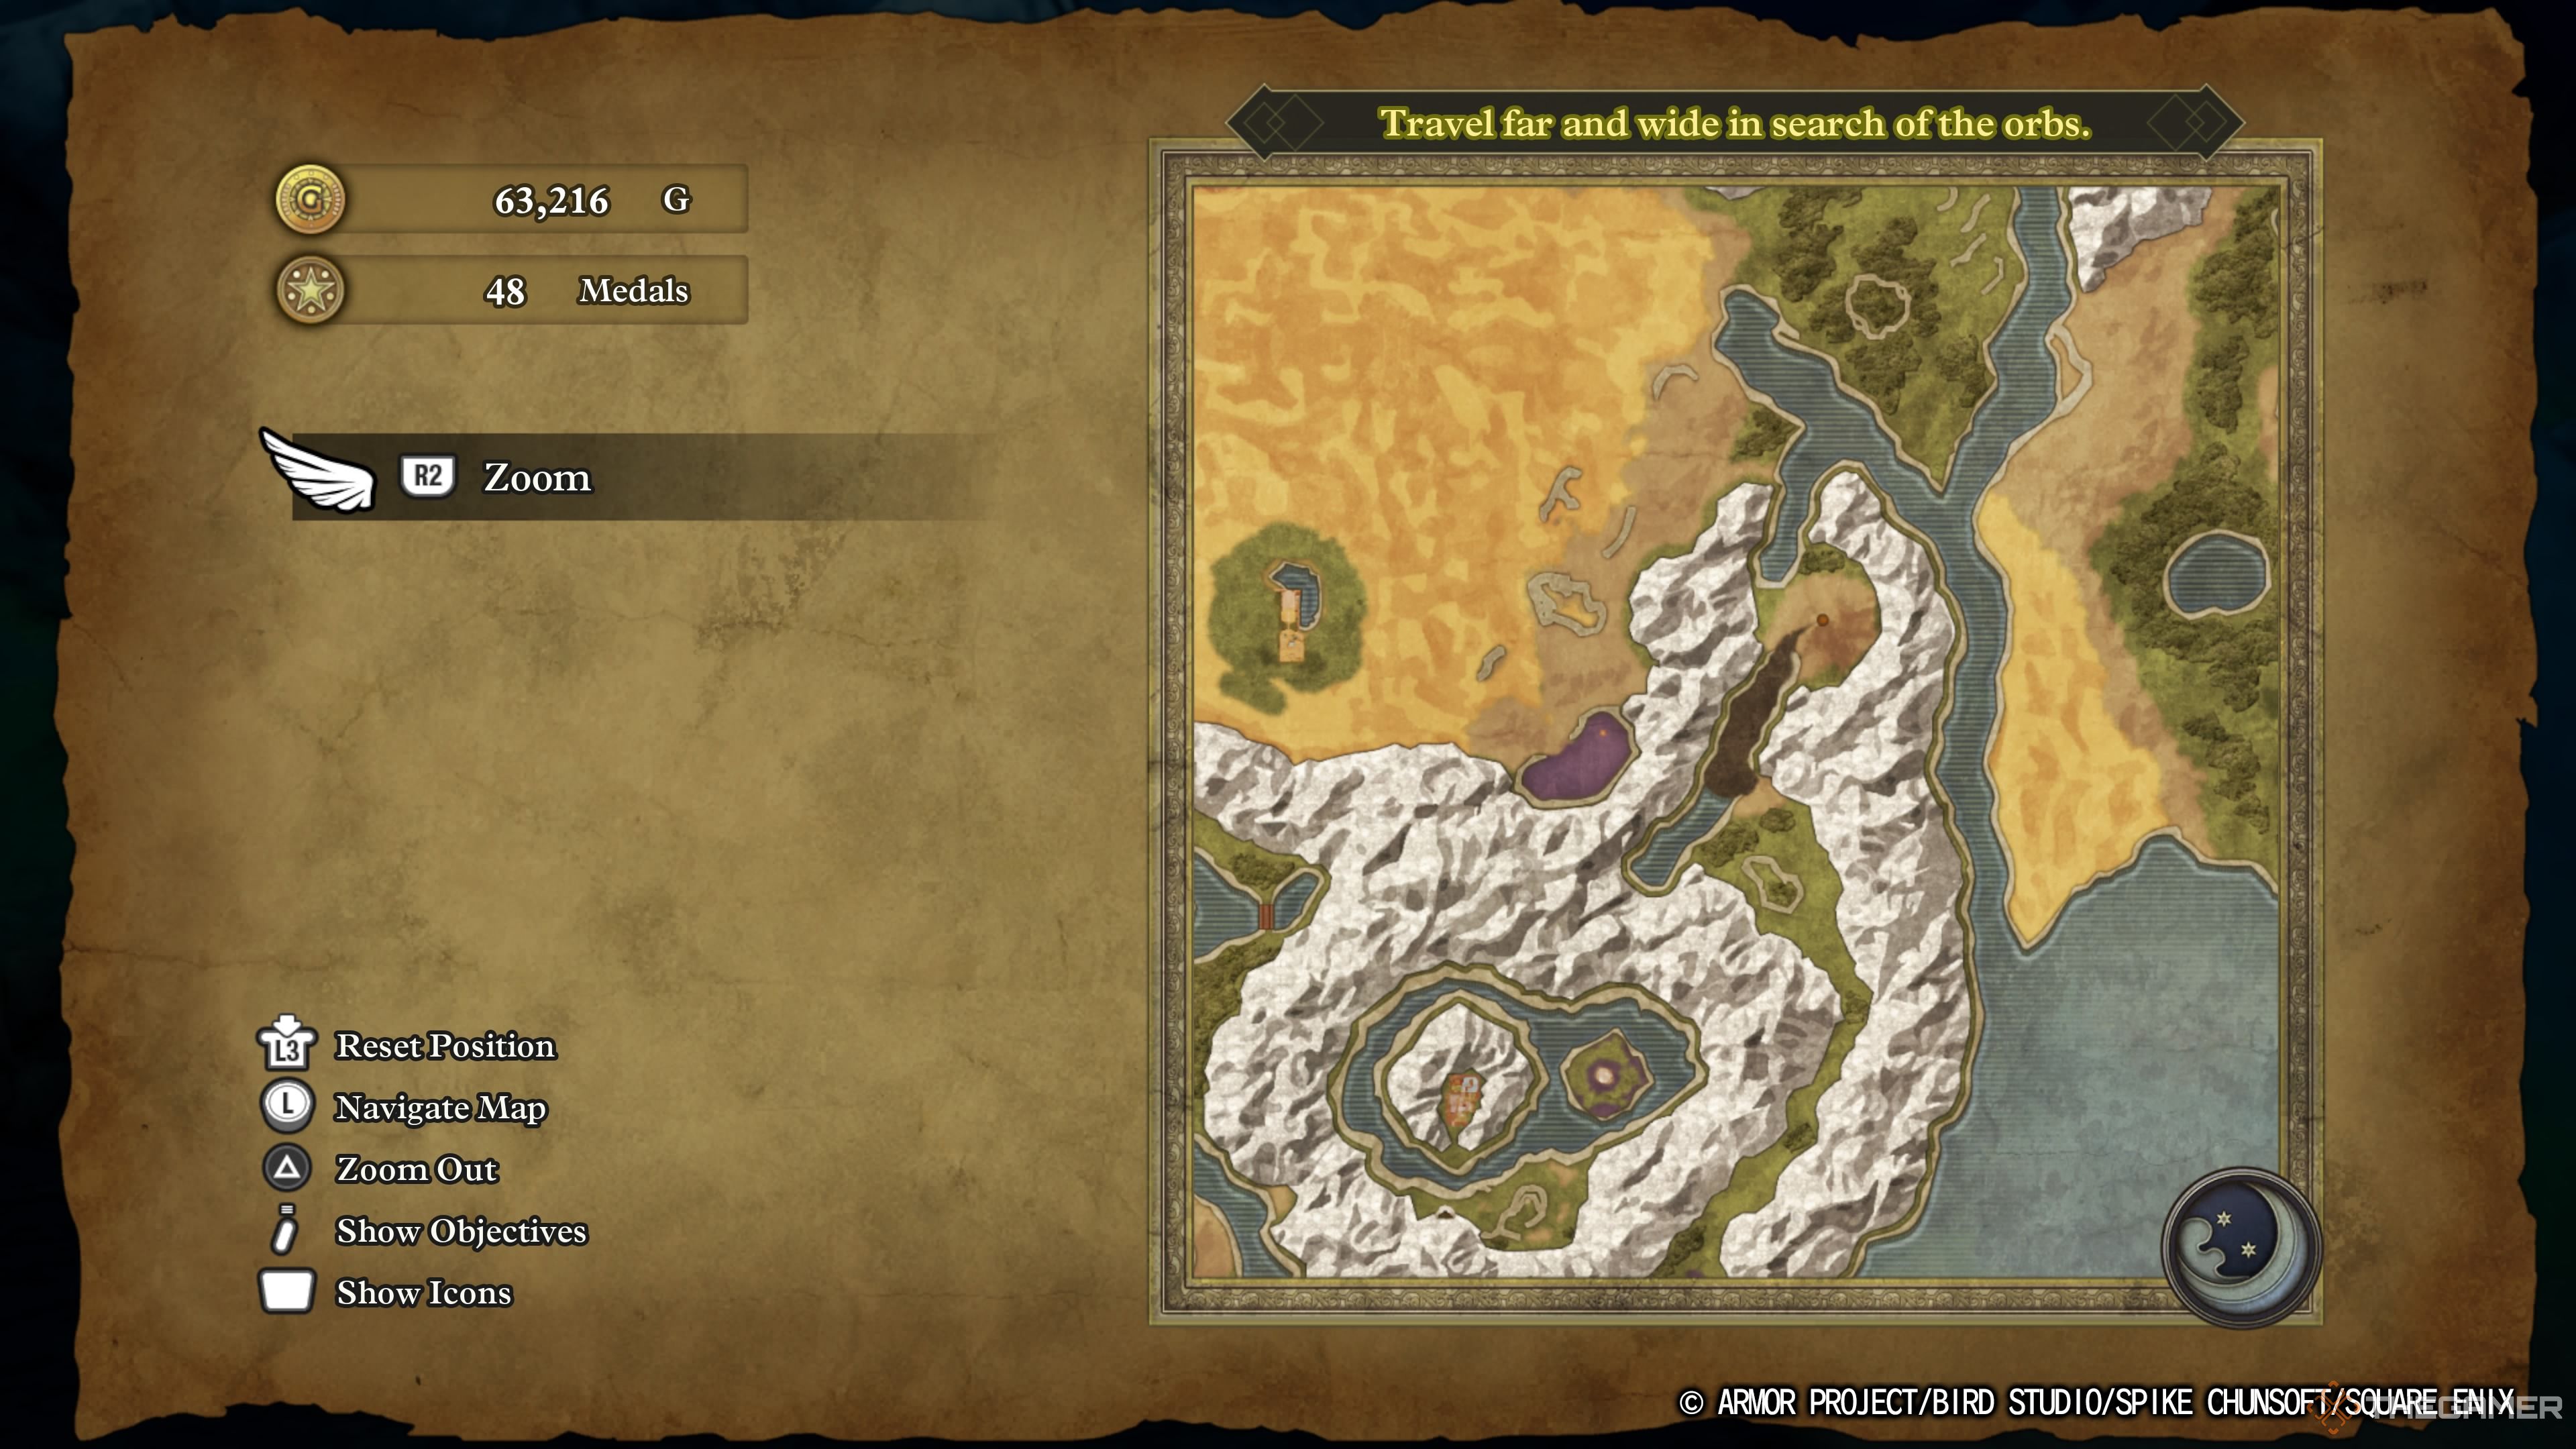
Once you’ve finally tasted some fresh air again after battling your way through the Necrogond, you’ll immediately be met with Baramos’ Castle awaiting you on the island ahead, though you currently have no means of reaching it. For now, head to the east instead.
In this direction, you will find a building atop the hill. This is the Necrogond shrine. Pick up the Dragon Scale in the barrel around the east side, and then enter the building.
Inside will be a man who is delighted at your presence, and offers you up the Silver Orb so you can finally complete your mission. If this was the final Orb you needed, then you can head over to the Everbird shrine in the snowy south-west of the world. The final battle with Baramos is almost at hand.
Next
Monster Wrangling Breathes New Life Into Dragon Quest 3
Dragon Quest 3 is already a fantastic game, but how much does the new class and associated side quest affect things in the remake?








Leave a Reply