You may not have noticed, but the world of Dragon Quest 3 Remake, Gaia, is almost 1:1 analagous with our own world. Portoga is Portugal, Romaria is Italy, Baharata is India, and so on. It’s very funny when you become aware of it, making this next location all the more funny.
Related
Monster Wrangling Breathes New Life Into Dragon Quest 3
Dragon Quest 3 is already a fantastic game, but how much does the new class and associated side quest affect things in the remake?
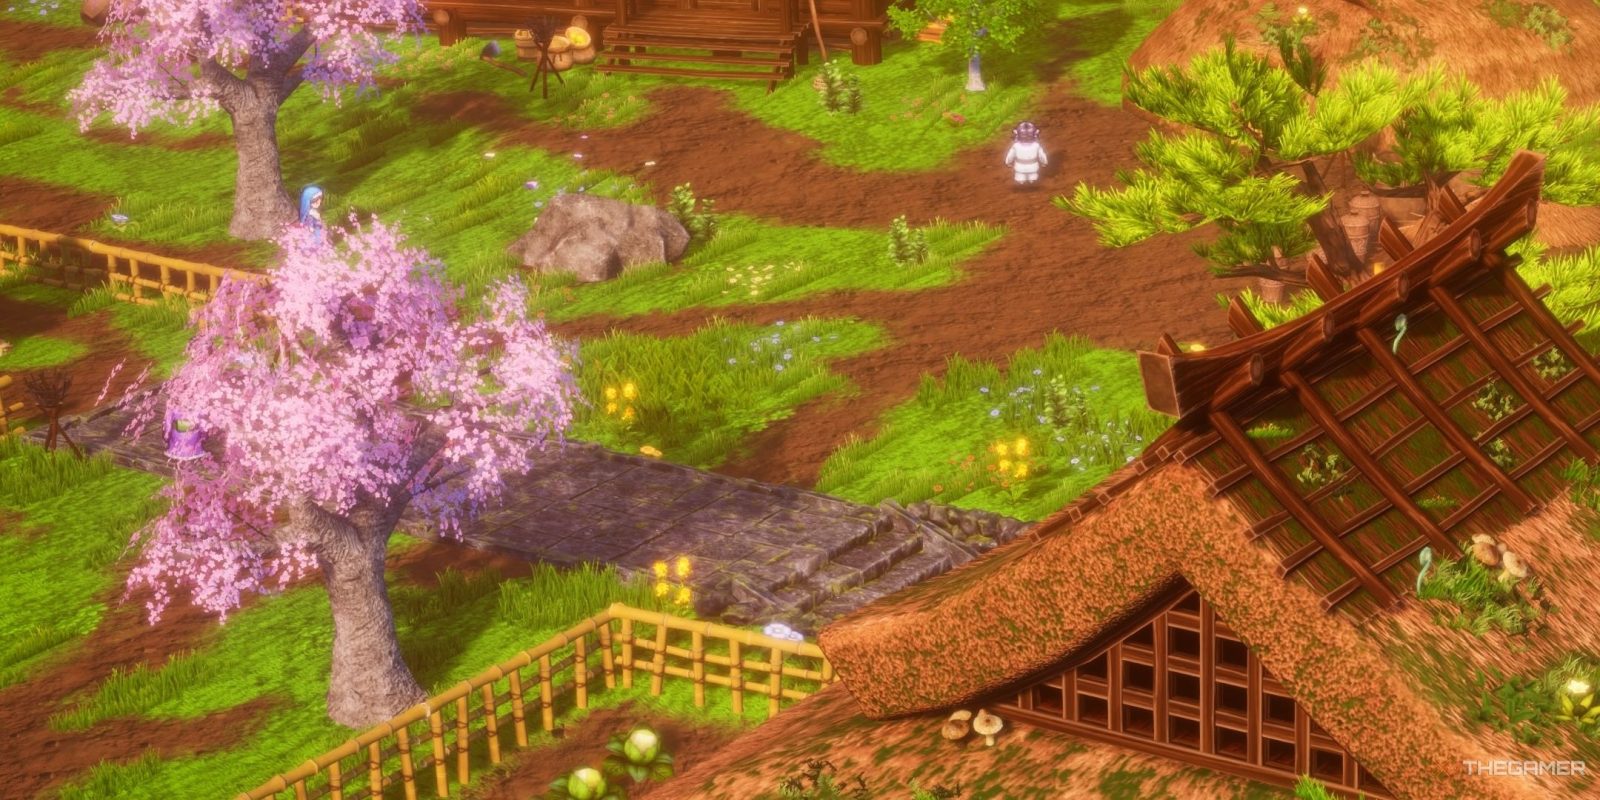
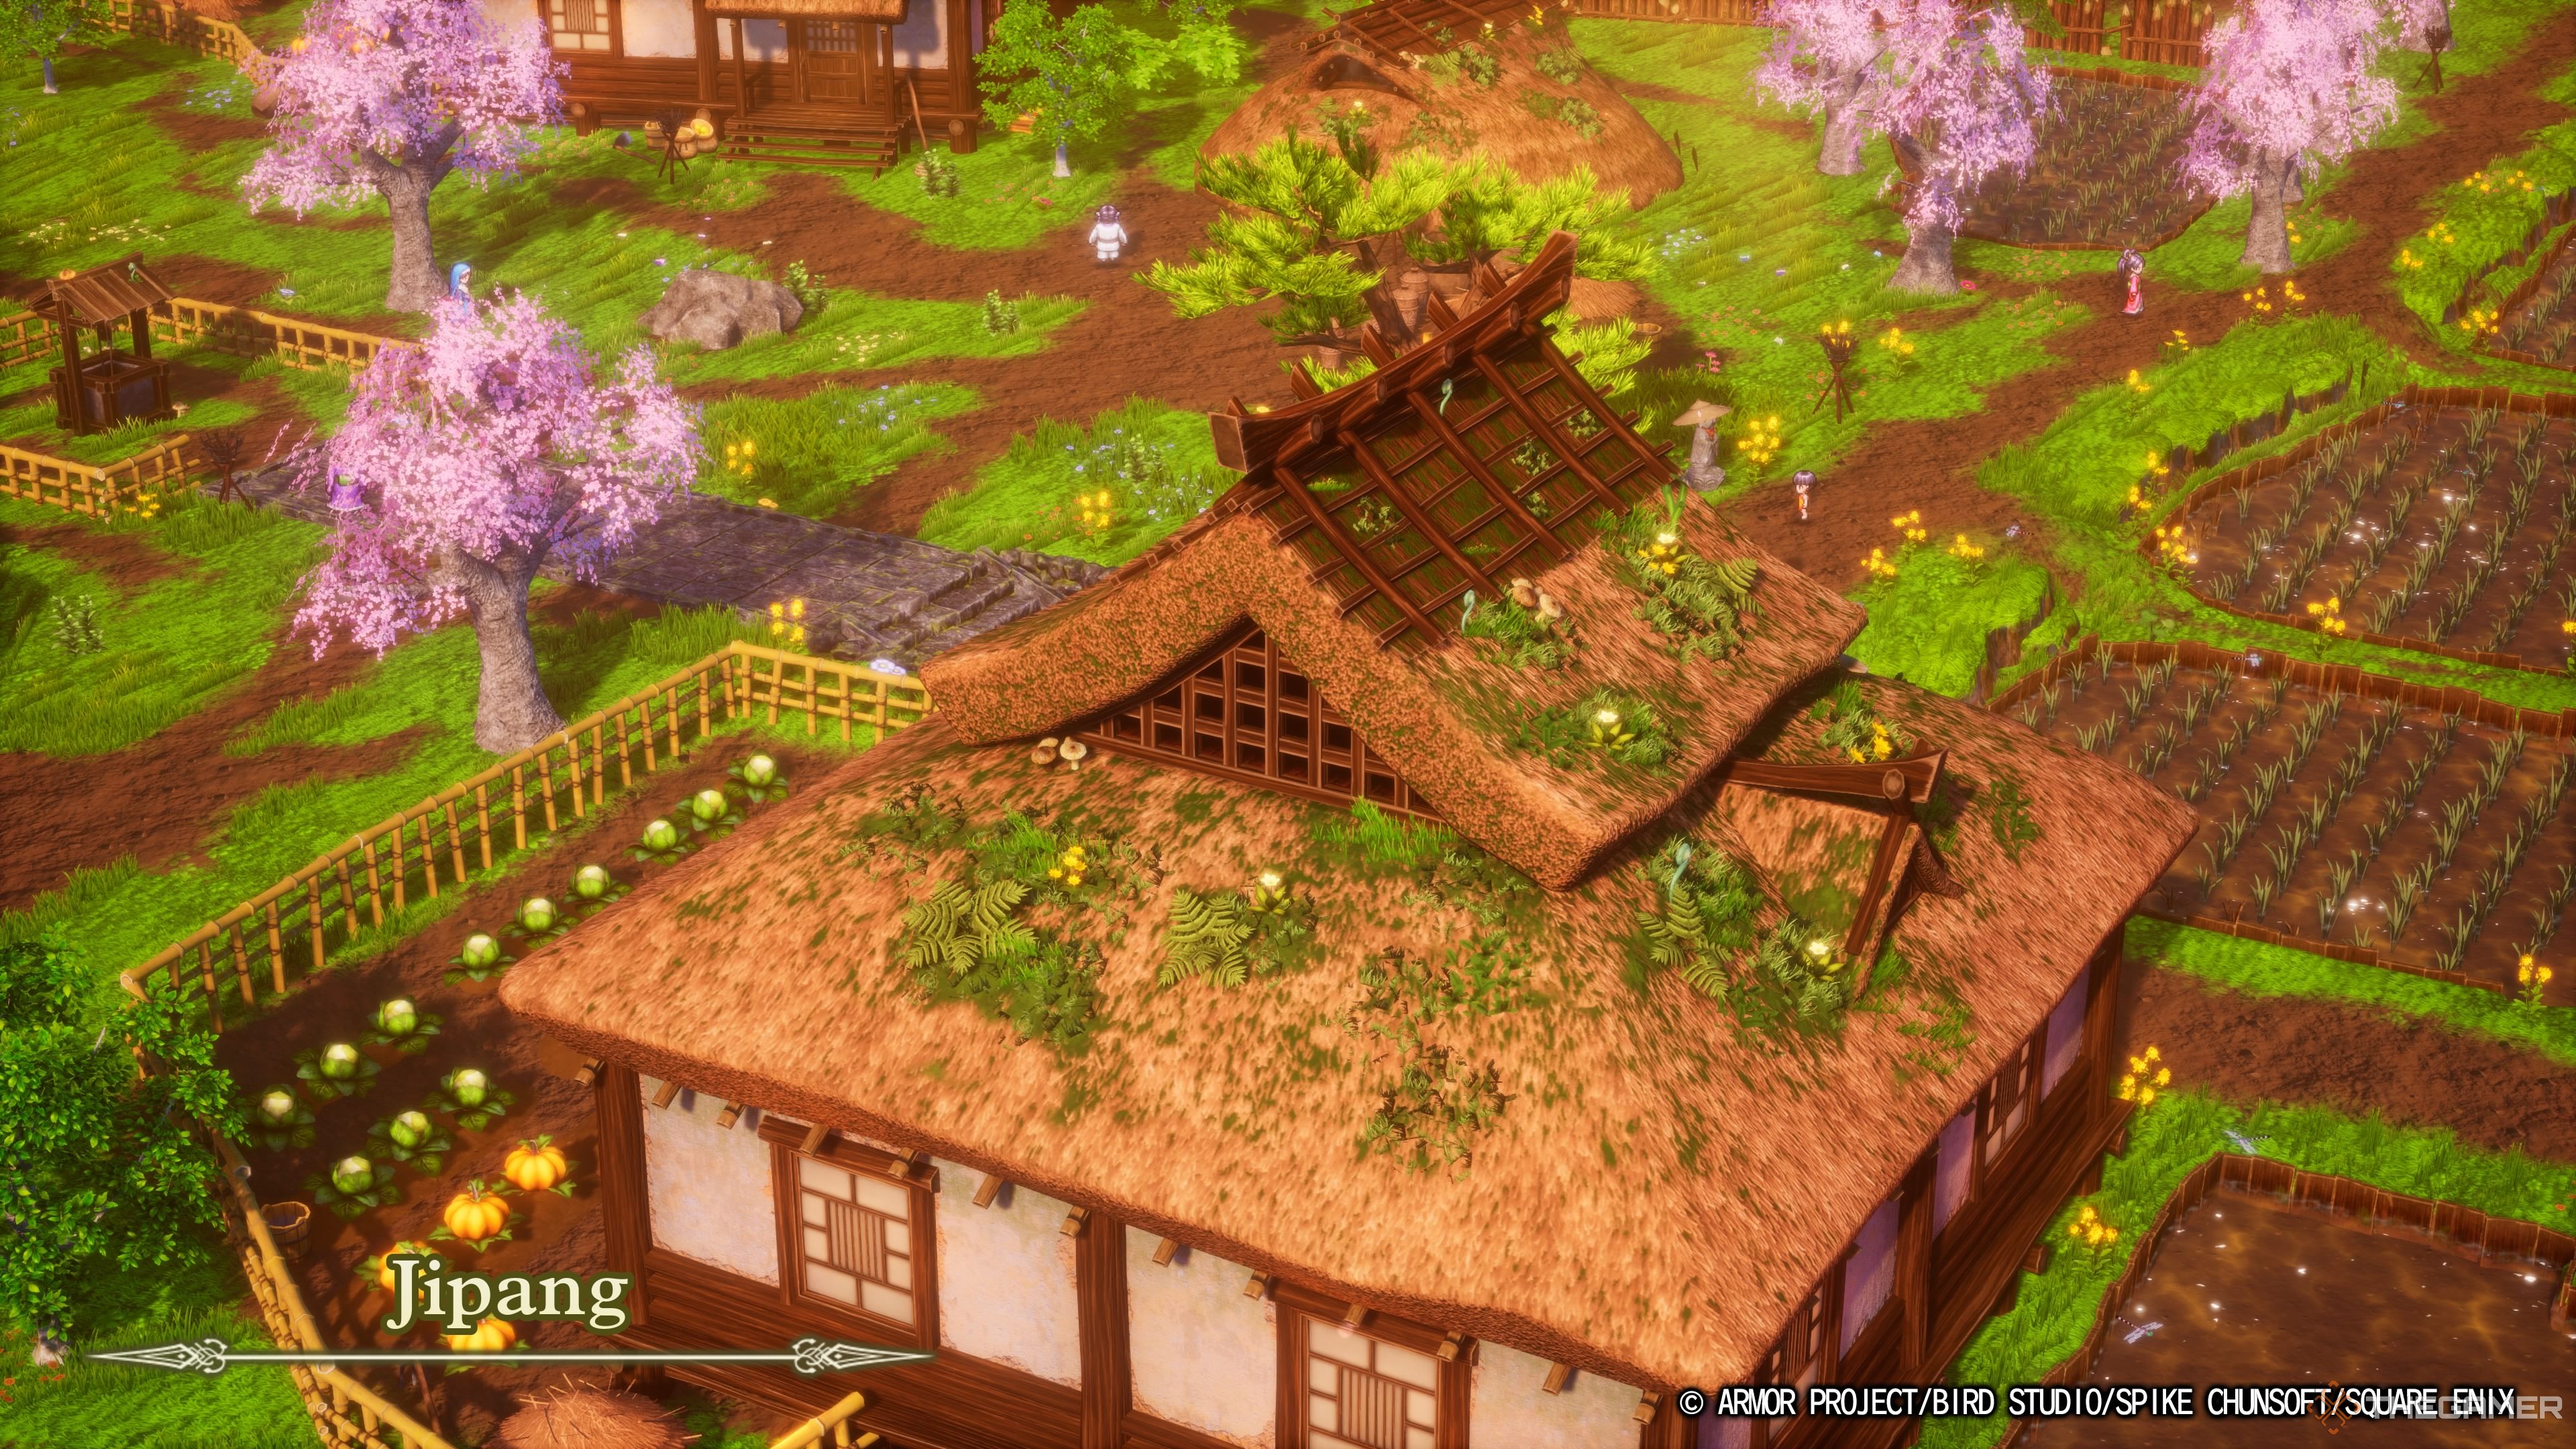
Jipang, it’s in-game name likely derived from the Marco Polo-coined Cipangu, is very blatantly based on real-world Japan. The story depicted within the nation of Jipang pulls heavily from actual Japanese myths, and has one of the more involved questlines in the game.
Where To Find Jipang
Finding Jipang
When you come to the awareness that the world map is based on the actual world, you can find Jipang by simple deduction. It is found to the east of Baharata, and south of Mur. It is the small archipelago of islands, with the actual town of Jipang located on the largest one.
It goes without saying that the ship granted to you by the King of Portoga is necessary to make this journey. That said, you can sail to Jipang as soon as you get the ship, with no other obstacles blocking your journey.
Exploring The Town
Once you land in Jipang, you are greeted with the sad tale of their lives. Every once in a while, they must sacrifice a young maiden to the vile serpent, Orochi, to protect their Queen Pimiko, and the existence of their home in turn. However, Jipang is not a nation susceptible to outsiders, a statement affirmed to you by Queen Pimiko if you attempt to speak with her.
So what can you do here? Well there is a priest to let you save your game, though he also states that the people here would rather praise Pimiko than the Goddess. After saving, take your time to explore Jipang before you attempt to solve their woes.
Here are all the items you can find spread around the town:
- Plain Clothes in a wardrobe in an otherwise empty house.
- A Dummy accessory by a rock formation down the well.
- A Catula monster you can recruit in the upper right section of the map by a fence.
- Hardwood Headwear in the wardrobe of another of the houses.
- A Mini Medal in a pot in the cellar by the left side of town.
- A Dragon Scale on the ground by the foundations on the left side of the palace.
- A Mini Medal in the room of pots in the Palace.
- A Scale Shield in a wardrobe in the upper right room of the Palace.
- Training Togs in the wardrobe directly to the right of that.
You can also find Yayoi in the cellar hiding in a rather large pot to avoid being sacrificed. She thanks you for your silence, and tells you to stay away from the dreaded Orochi’s Lair to the east of town. Yet with all of the town suffering, of course you must do your heroic duty. To the den of Orochi you go.
Recommended Level And Party
While Orochi may not be the most difficult boss in the game, it’s still important to be wary of when exactly you challenge them. They are a good challenge if battled around level 20, while they become significantly easier around level 25. As such, that means you could challenge them as one of the first bosses after you get your own ship.
Even with a high level, a well-coordinated team is essential to victory. We went though Orochi’s lair with a team of the Hero, a Monster Wrangler, a Sage, and a Priest. This gave us a good variety of elements, physical damage, magical attacks, and plenty of buffing. We would recommended a similar set-up.
If you really want to make a unique team, don’t be afraid to change Jobs at Alltrades Abbey. A Priest-turned-Warrior can give you some serious physical damage without sacrificing the powerful buffs.
Navigating Orochi’s Lair
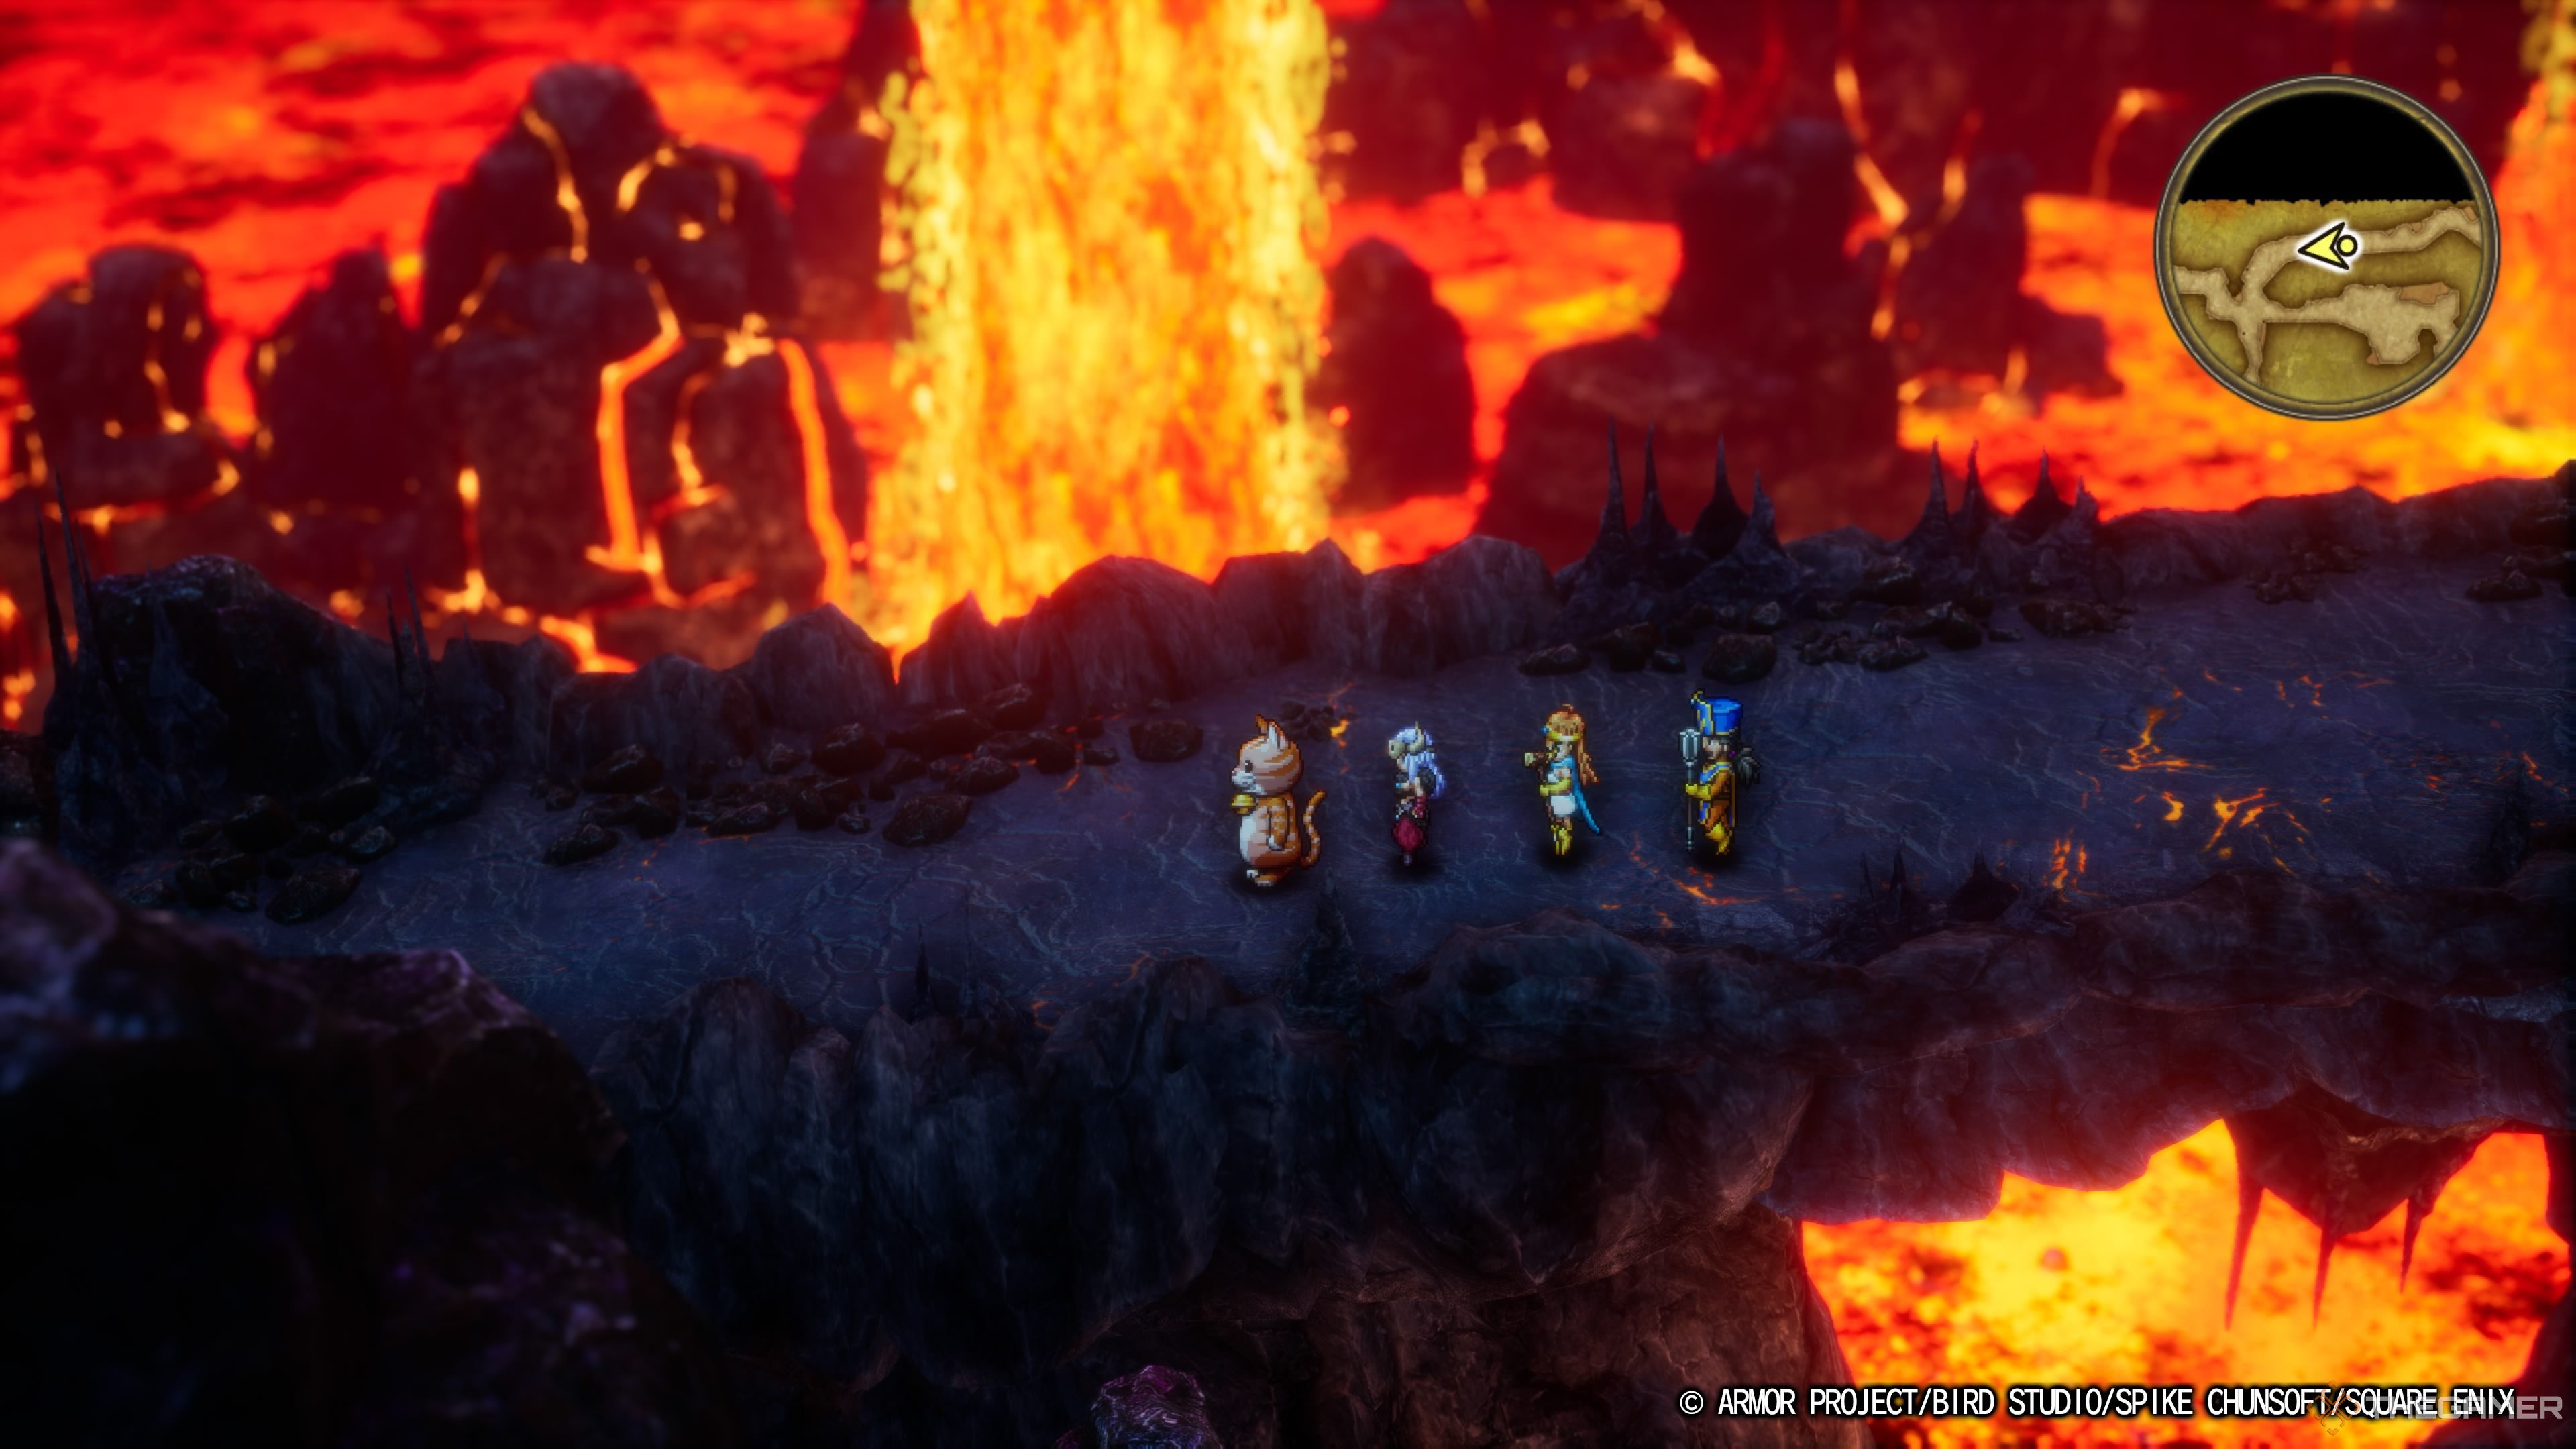
Orochi’s Lair is coated with magma and winding paths that delve ever lower into the cave. The majority of enemies you face here will have Fire spells and high defences, so bring along some Crack spells and other Ice-elemental attacks, and equip some Ice-resistant accessories so you can handle the heat.
It’s important to be mindful of your map while in Orochi’s Lair, as it is quite easy to get turned around. There is only one path that leads to floor B2, and that is found right at the very south end of this floor. Avoid all the other detours unless you’re looking for items, and proceed to floor B2.
Floor B2 is significantly smaller, with only a pathway to the left, right and forward. The forward path brings you to the altar where maidens are sacrificed. To the right will lead you to Orochi, so make sure you’re prepared before going forward.
After your battle with them, you will immediately be brought back to Pimiko’s Palace.
Every Optional Item In Orochi’s Lair
Orochi’s Lair isn’t the longest dungeon, though it does have quite a few optional paths that bring you to some great items. Here’s all of them listed below:
|
Item |
Floor |
Directions |
|---|---|---|
|
Black Pyjamas |
B1 |
Down the first path south from the entrance. |
|
Light Shield |
B1 |
In the wide path in the left side of the map before the longer pathway towards floor B2. |
|
Magmalice (Monster) |
B1 |
Before heading north towards the B2 entrance, continue eastwards to find this monster. |
|
Mask of Implacability |
B1 |
In the same room as the B2 entrance, head to the small area to the east to find this item in a chest. |
|
Mini Medal |
B2 |
Found on the floor at the very end of the left path. |
|
Orochi’s Sword |
B2 |
Dropped by Orochi when defeated during the first fight against them. |
All of these items are great, the Mask of Implacability especially. It is a cursed item though, and makes anyone who wears it permanently confused. The amazing defence boost might not be worth the extra hassle.
Battling Orochi
First Battle
At the end of Orochi’s Lair, you meet none other than the eponymous beast itself. They are a massive, five-headed monster who engages you in battle the moment they set eyes on you. You can see them from quite a bit away thankfully, so heal yourself up before moving into battle.
In this battle, Orochi is actually quite simple to battle. They have a pretty simple attack pattern, using only a regular attack, which deals decent but not significant damage, and Wildfire, a Fire-elemental attack that damages the entire party.
They are weak to both Lightning and Ice, so your Hero and Sage will be doing the majority of the damage this time around. Use your Priest to Sap Orochi’s defence, as well as Insulatle to increase your defence against Wildfire.
That’s it, really. Use Oomph on your Hero to really boost the strength of Lightning Slash and they’ll be down in short order. Once they’re below half-health, they’ll start doing two attacks in a single turn, though this shouldn’t prove much of a hassle if you keep your own defences high. You’ll follow them through the portal they summon upon their defeat.
Second Battle
After going through the portal, you’ll end up outside the Palace of Pimiko. Take this brief moment to heal up before entering the palace, as that will automatically trigger the next battle against Orochi. Once you’re prepped, head in.
This second battle functions much the same as the previous one, except Orochi is much more powerful this time, with a few extra attacks thrown in. They also carry over the ability to use two moves in one turn, so prioritise setting up your defences immediately. Rarely, they will also roar which will cause any party member scared by it to lose their turn.
The biggest addition to Orochi in this battle is the move, Inferno. This basically functions as an incredibly powerful version of Wildfire, and can potentially one-hit weaker members of the party if you don’t have Buff or Insulatle applied. They can still do two attacks in this turn as well, so you’ll never want to let your party fall below more than half-HP.
Graciously, they will never use Inferno twice in a single turn.
Otherwise, the fight proceeds as before. They retain their same weakness to Lightning, though the extra attacks means you may want your Sage to be playing support this time. As such, make sure Oomph is applied to your Hero and Sap is used on Orochi so you can deal maximum damage.
When they’re defeated, the people of Jipang will praise you as their new saviour, and offer you the Purple Orb as thanks. Kindly, they will also give you an Agility Ring, Yggdrasil Leaf, and a Dieamend. With that, Jipang is saved and you are one step closer to defeating Baramos.

Next
Monster Wrangling Breathes New Life Into Dragon Quest 3
Dragon Quest 3 is already a fantastic game, but how much does the new class and associated side quest affect things in the remake?











Leave a Reply