While Dragon Quest 3 Remake’s Skyfell Tower before this might have felt like a relatively easy process, the Great Pyramid wants you to know that no, you can’t just coast through every dungeon with whatever party you want and no planning. This dungeon demands excellence.
Related
Dragon Quest 3 Remaster Preview: Prepare To Be Insulted
Wonder how being a raging narcissist will help me on my quest…
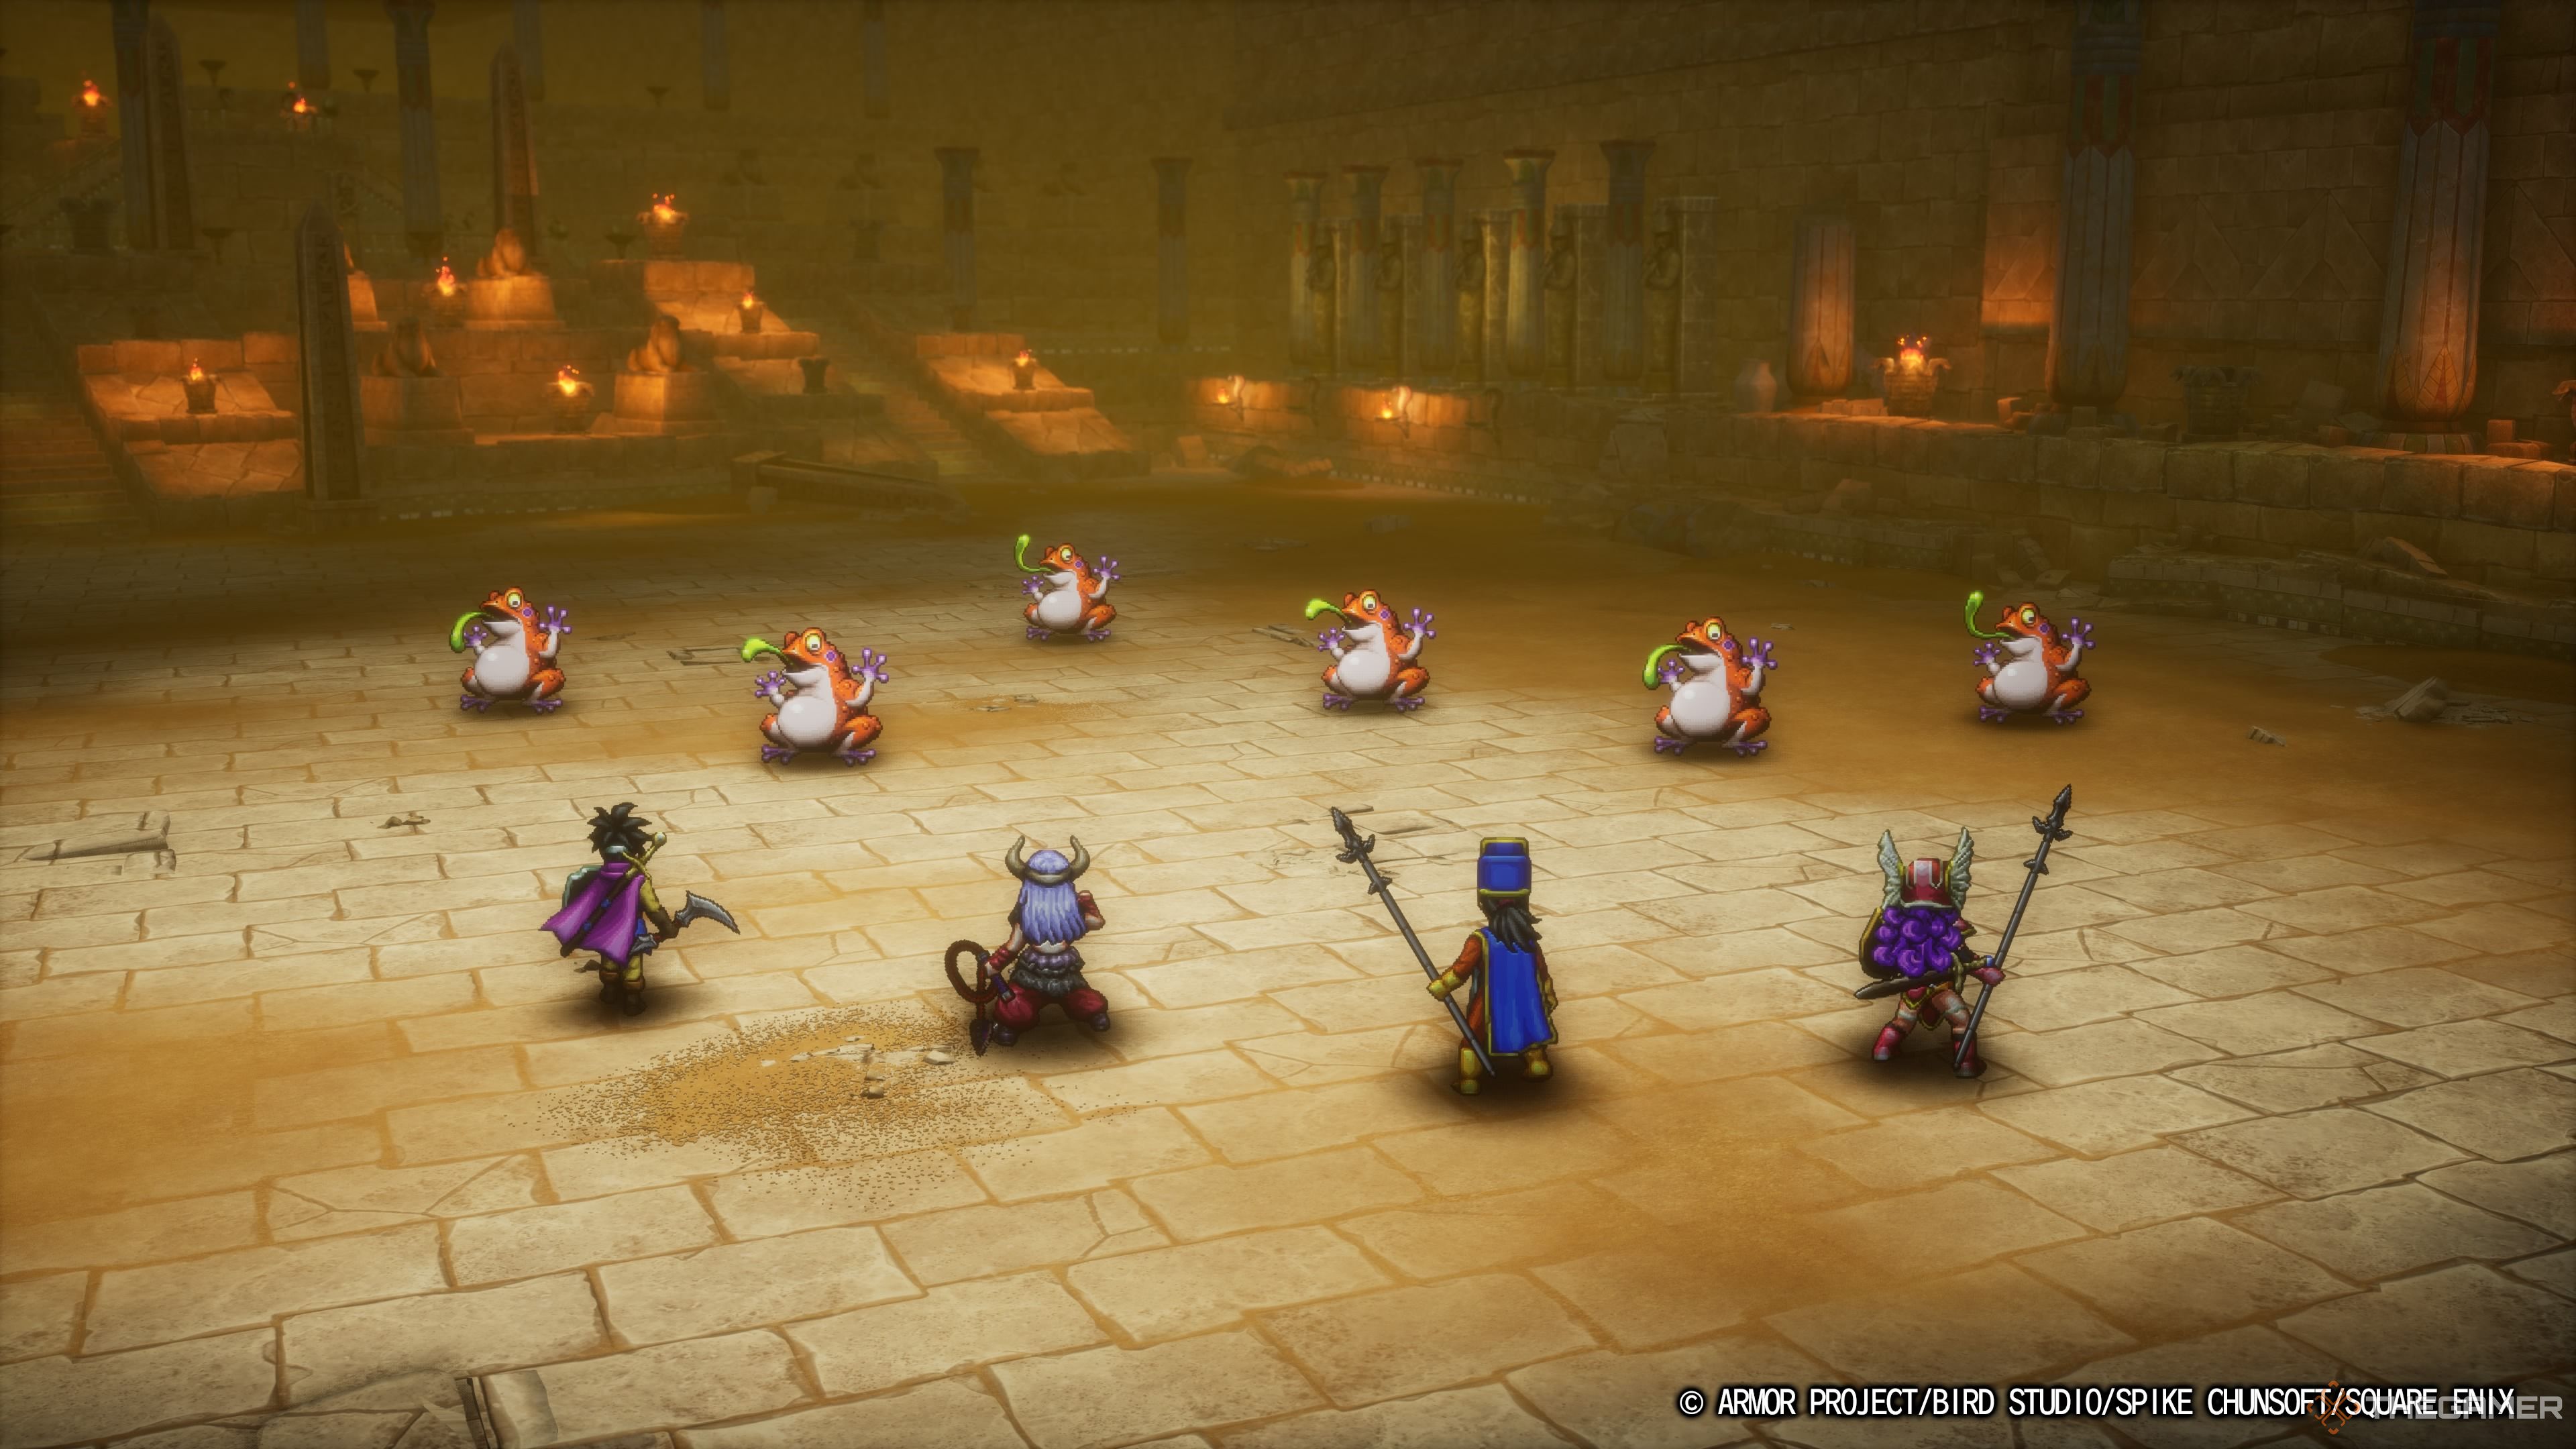
Despite being a relatively early dungeon, the Great Pyramid also feels like one of the most difficult because of the sheer difficulty jump. It’s boss is difficult, its regular enemies are challenging, and the dungeon is loaded with booby traps. You’ll need your wits about you if you want to come out alive with the treasure.
Recommended Level And Party For The Great Pyramid
The Great Pyramid is accessed through the desert, north of the town of Ibis. It’s best you check in there first to get a general feel for the dungeon, as the queen will give you pointers on what to look out for.
Once you actually reach the base of the Great Pyramid, you’ll want to have your team ready and rearing to go. This dungeon is equal parts challenging in terms of enemies and its own environmental gimmicks. Here’s the team we’d recommend:
- A Monster Wrangler for their wide variety of moves.
- A Mage for their magic attacks and the Peep spell.
- A Priest for their buffs and healing.
As well as this, you’ll want to be around level 15 as a minimum, though ideally you should be closer to around level 18 if you want to surpass some of the more challenging aspects. This applies primarily to the boss.
The dungeon is quite long as well, and it’s very easy to get lost as well, so try to conserve your MP where possible. If you need to make a hasty exit, remember to use the Evac spell or even just Zoom back to Ibis to heal up.
Navigating The Great Pyramid
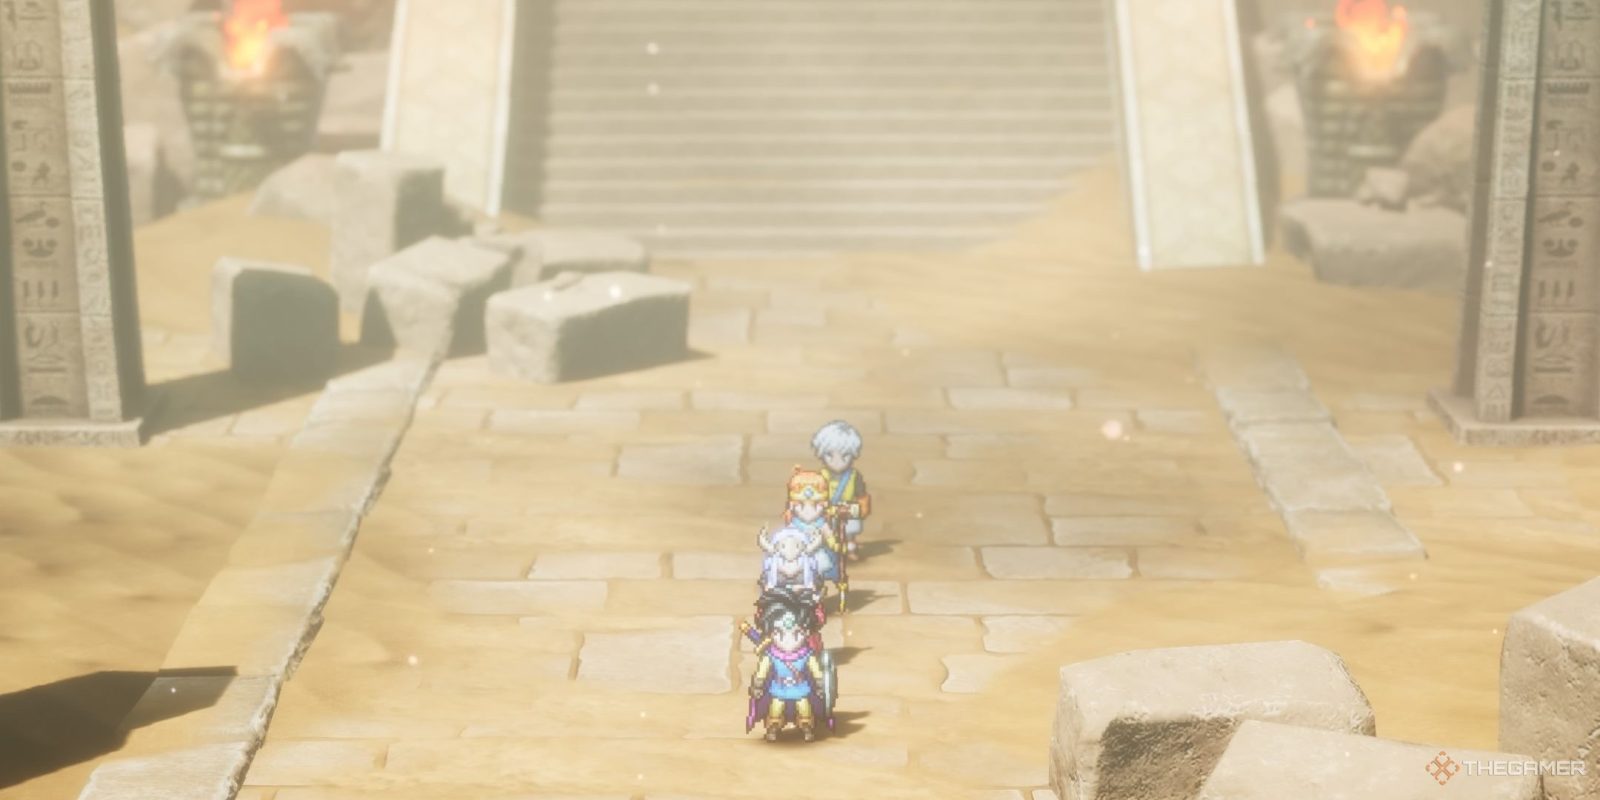
The Great Pyramid is composed of six floors, excluding the exterior as there isn’t much in terms of exploration to be achieved here. From the base, there will be two entrances. The left one will lead you to the underground section of the Great Pyramid, while the centre one will bring you to the first floor.
The underground is where you will be dropped to through the various trap doors in the Great Pyramid proper. In this area, the enemies are quite strong and your magic is blocked entirely. That means no magic attacks, no healing, and no using Zoom or Evac either. Staves do keep their power, however, so make sure to keep some equipped on your party as back-up.
Head up the stairs onto the first floor. From the map, you will see that this area is relatively straightforward, with side corridors that lead to four distinct smaller rooms. These rooms are optional, and contain many chests. However, many of them are actually Canniboxes which will be obscenely powerful. They are next to impossible to beat, so avoid the chests for now.
Don’t step on the scales in the centre of the room. These will drop you to the underground section where you can’t use magic.
If you have the Peep spell on a Mage, you can use that to see if a chest is safe to open. Blue means it has an item, red means it will attack you.
Continue north and take the second right. This will lead you to the stairs that bring you to the second floor. This area looks massive, but it’s mainly just long corridors. The stairs at the very centre-bottom of the map leads to the third floor, while those on the top-left lead back to the first floor where you can find some new chests. When you’re ready, take the stairs to the third floor.
The third floor is slightly more complex, and is laid out symmetrically. The stairs on the top left and right both lead to the fourth floor, though you will immediately be met with a locked door that can only be opened with the magic key. As such, return to the third floor to solve a rather puzzling puzzle.
The Button Puzzle
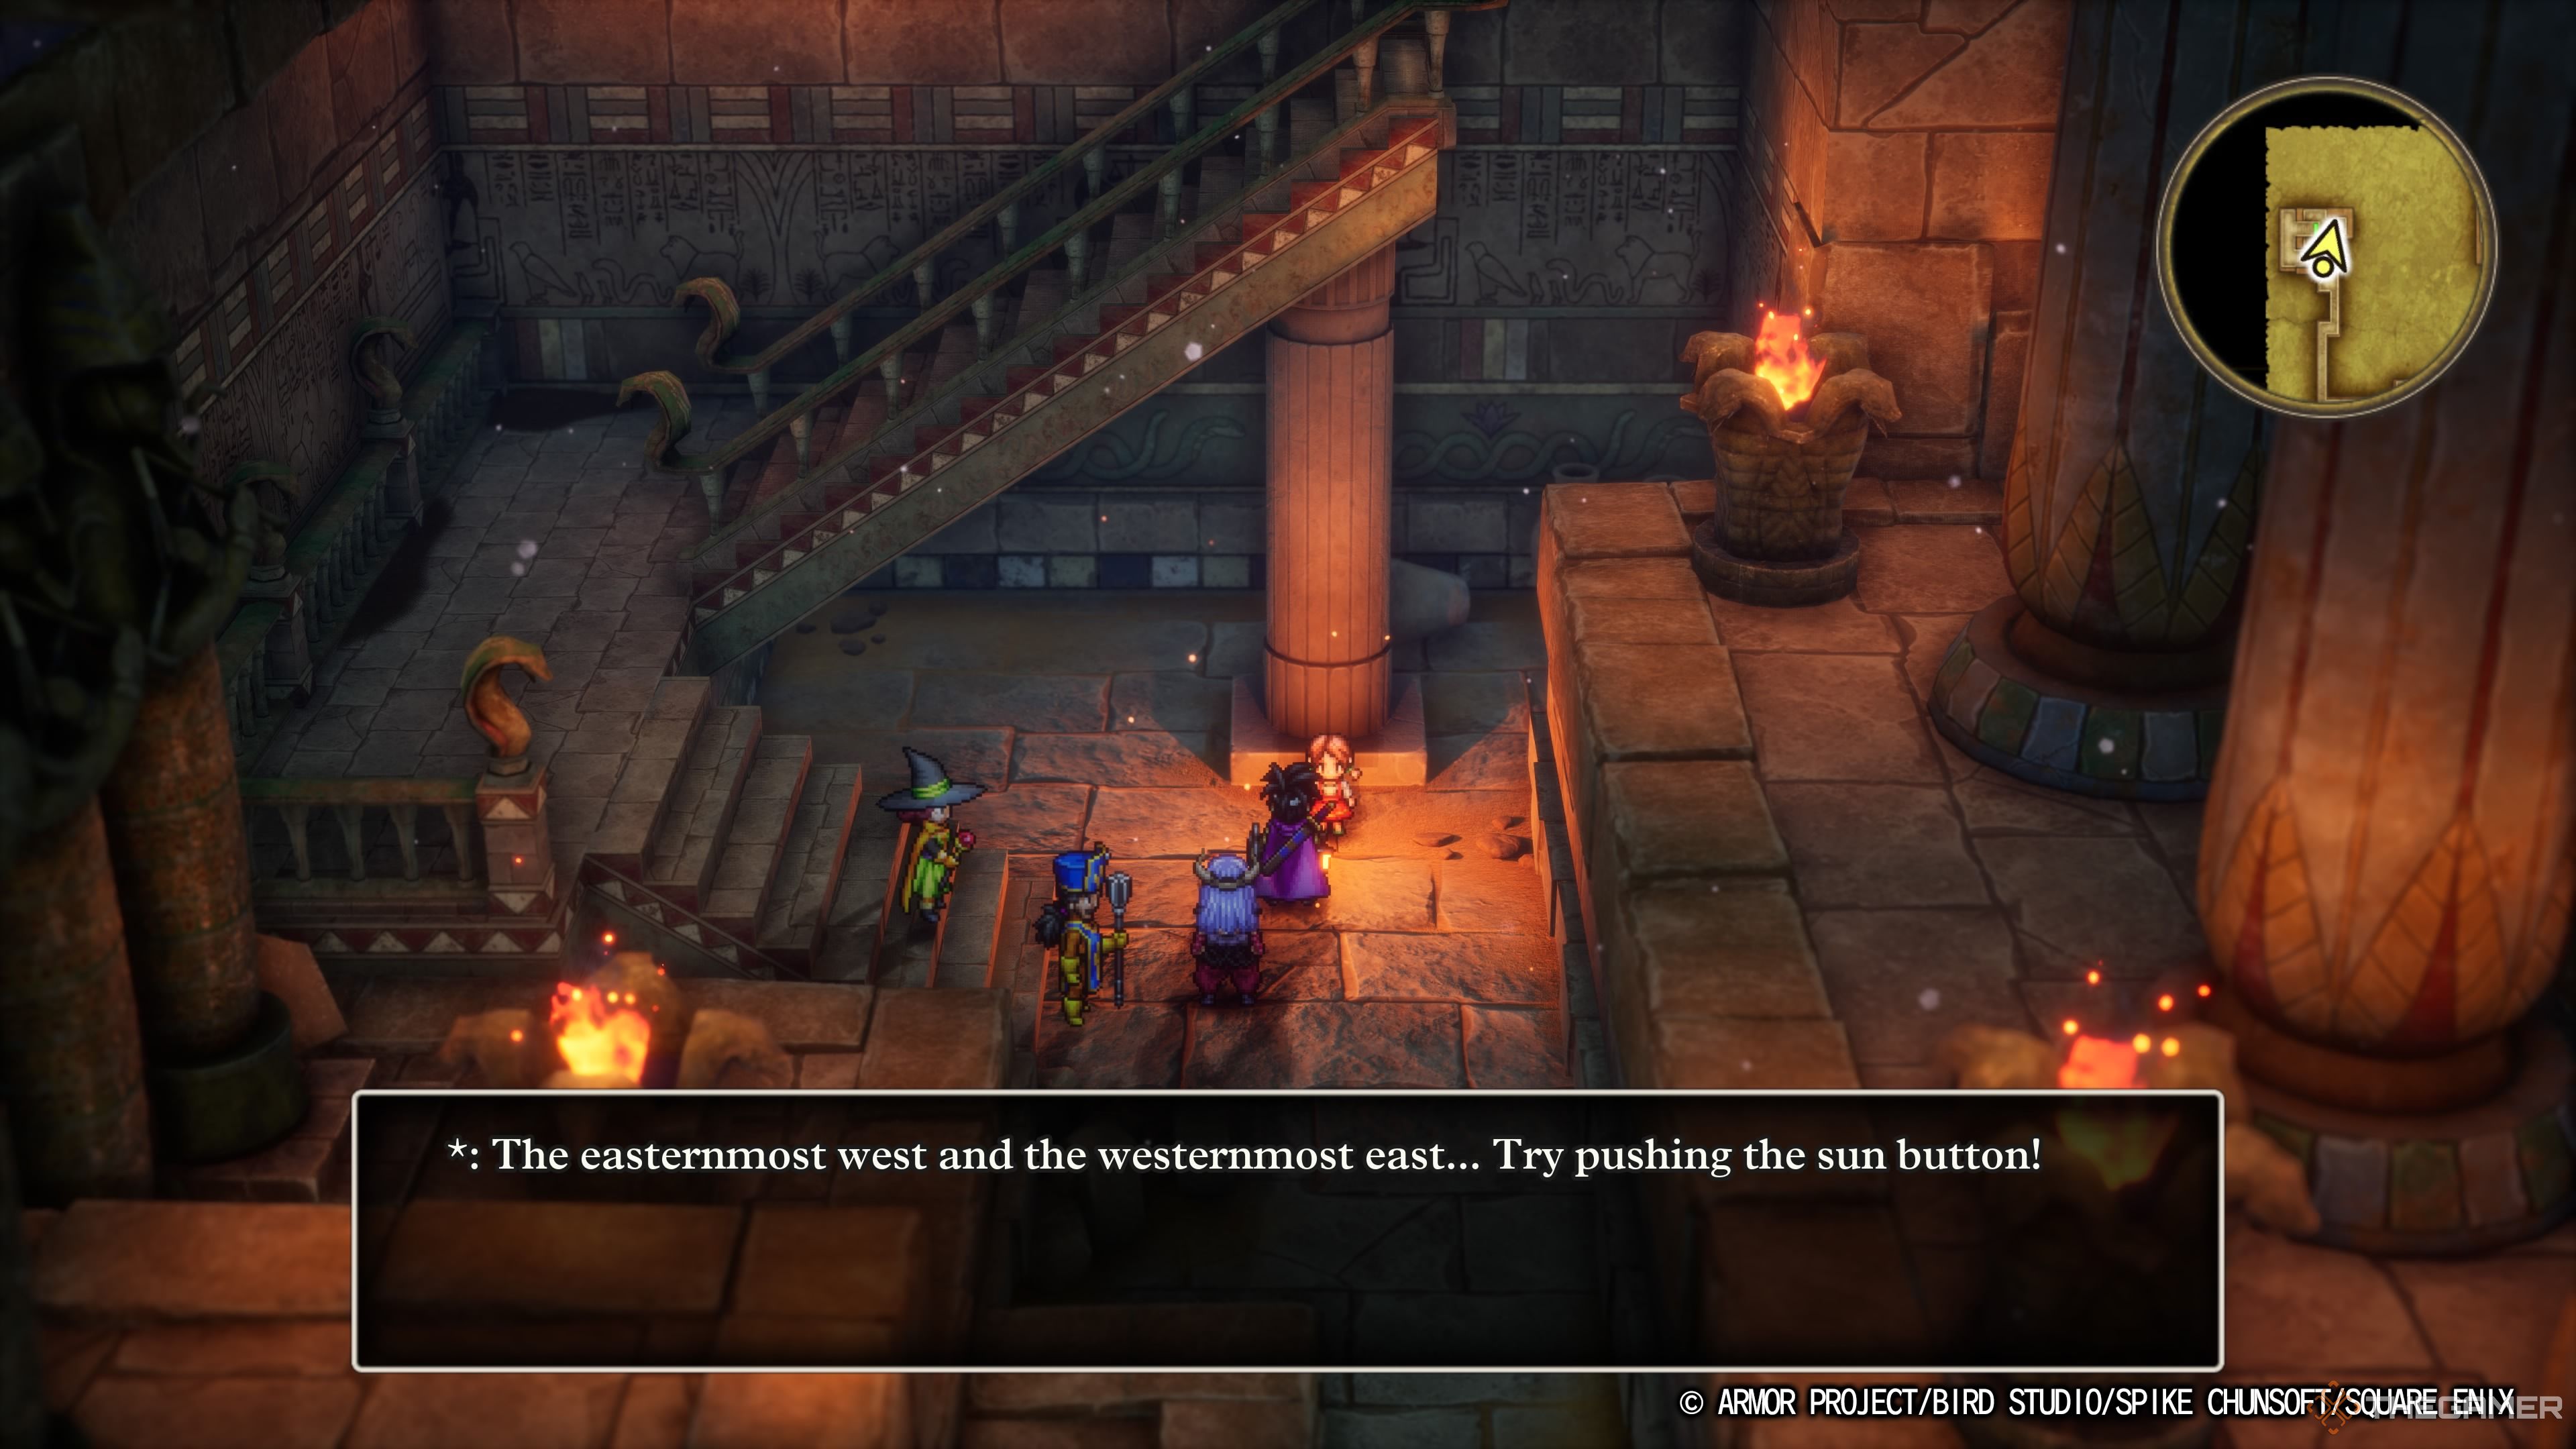
In the bottom left and right of this floor, there will be four buttons, two on each side. At the very centre-top of this floor will be a locked floor. Pressing the correct buttons will open this room. So what’s the correct order? Well, it’s a bit complex to figure out.
In the top-left, there is a small child who will say to press the sun button, with a riddle that says “the easternmost west, and the westernmost east“. If you want to spend the time figuring out what this means, go ahead. Instead, here’s the actual order you press the buttons in:
- In the lower left, press the button closest to the wall. The leftmost left.
- In the lower right, press the button closest to the wall. The rightmost right.
If you press the wrong button, the ground will open up beneath you and drop you to the previous floor.
The actual order you press them doesn’t matter, as long as you press the right buttons. Once you have pushed both of the correct buttons, the door to the central chamber will unlock. Make sure your party is healed up first, as you are about to fight the Ripper of the Rift, the boss of the Great Pyramid.
Once you’ve defeated them, you can get the Magic Key from the right chest. Proceed back up to the fourth floor and unlock the previously locked door. You will see a statue surrounded by treasure chests, and a yellow glow will appear on them if you use Peep. These will summon enemies when opened, so ignore them for now and proceed up to the fifth floor.
This is another small floor with next to nothing in it. Open the door and proceed up the stairs to the tip of the Great Pyramid. You can pick up a Mini Medal on the floor to the far left, and then jump off the pyramid to return to the base. You are now free to return to Ibis, and can now move through any door that is coloured blue.
Every Optional Item In The Great Pyramid
General Items
The Great Pyramid, pulling heavily from the European excursions into and pillaging of the Egyptian pyramids, is absolutely packed with treasures. However, playing off the same idea, the pyramid is also riddled with traps, and the treasures aren’t excluded from this.
Here’s where to find every hidden treasure in the Great Pyramid:
|
Item |
Floor |
Location |
|---|---|---|
|
Poison Needle |
B1 |
By the left statue in the upper-right corner. |
|
Magic Water |
1F |
In a chest in the first right corridor. |
|
Unsealant |
1F |
In a chest up the small set of stairs in the second left corridor. |
|
Knuckledusters |
1F |
In a chest in on the right closest to the wall in the upper-left section of the area. This can only be reached by going down the stairs on the second floor. |
|
Prayer Ring |
1F |
In a chest on the right closest to the wall in the lower-left section of the area. This can only be reached by going down the stairs on the second floor. |
|
Mini Medal |
1F |
In a chest on the far-left end of the room.This can only be reached by going down the stairs on the second floor. |
|
Seed of Wisdom |
2F |
In a chest in the very bottom-left at the end of a long vertical path. |
|
Seed of Luck |
2F |
Found by examining the floor at the very bottom-left corner at the end of a horizontal path. |
|
Imp (Monster) |
3F |
The child by the upper-left staircase. Need Ra’s Mirror to reveal her. |
|
Banishing Bell |
3F |
In the left chest in the central chamber after defeating Ripper of the Rift. |
|
Magic Key |
3F |
In the right chest in the central chamber after defeating Ripper of the Rift. |
|
Fizzle-retardant Suit |
5F |
In a chest in the upper-left corner of the map beside a titled obelisk. |
|
Mini Medal |
Tip |
On the far-left on the floor after reaching the very tip of the Great Pyramid. |
The most important aspect of the Great Pyramid to keep in mind is that any chest you open may well be a Cannibox instead. Make sure to use Peep on any chest you aren’t confident on opening.
Canniboxes aren’t hiding any special rewards for beating them, nor do they offer a high amount of experience. They are genuinely best avoided.
The Treasures Of The Pharaoh
After defeating Ripper of the Rift and picking up the Magic Key, you can finally pass through the locked door on the fourth floor, only to be met with a giant statue surrounded by treasure chests. Every chest contains an item, but will also summon enemies to battle you.
While none of the enemies are exceptionally difficult, you might want to prioritise the chests you open to save yourself getting beaten by a small mistake. Here are the contents of every chest, starting with the leftmost at the bottom, and proceeding in counter-clockwise formation:
- Special Medicine
- Holy Lance
- Elfin Elixir
- Magical Skirt
- 1,120 Gold Coins
- Seed of Agility
- Yggdrasil Lead
- 710 Gold Coins
- Seed of Strength
- Chimaera Wing
- Oomph Powder
- 567 Gold Coins
- Ten Ton Toupee
- 348 Gold Coins
Are these items worth losing your life over? Of course not, but some are worth a bit more of a risk than others. It’s up to you to decide if you’re strong enough to grab them or, or be a bit more selective. You can always come back later, too, if you’d prefer to toughen up a bit first.
How To Beat The Ripper Of The Rift
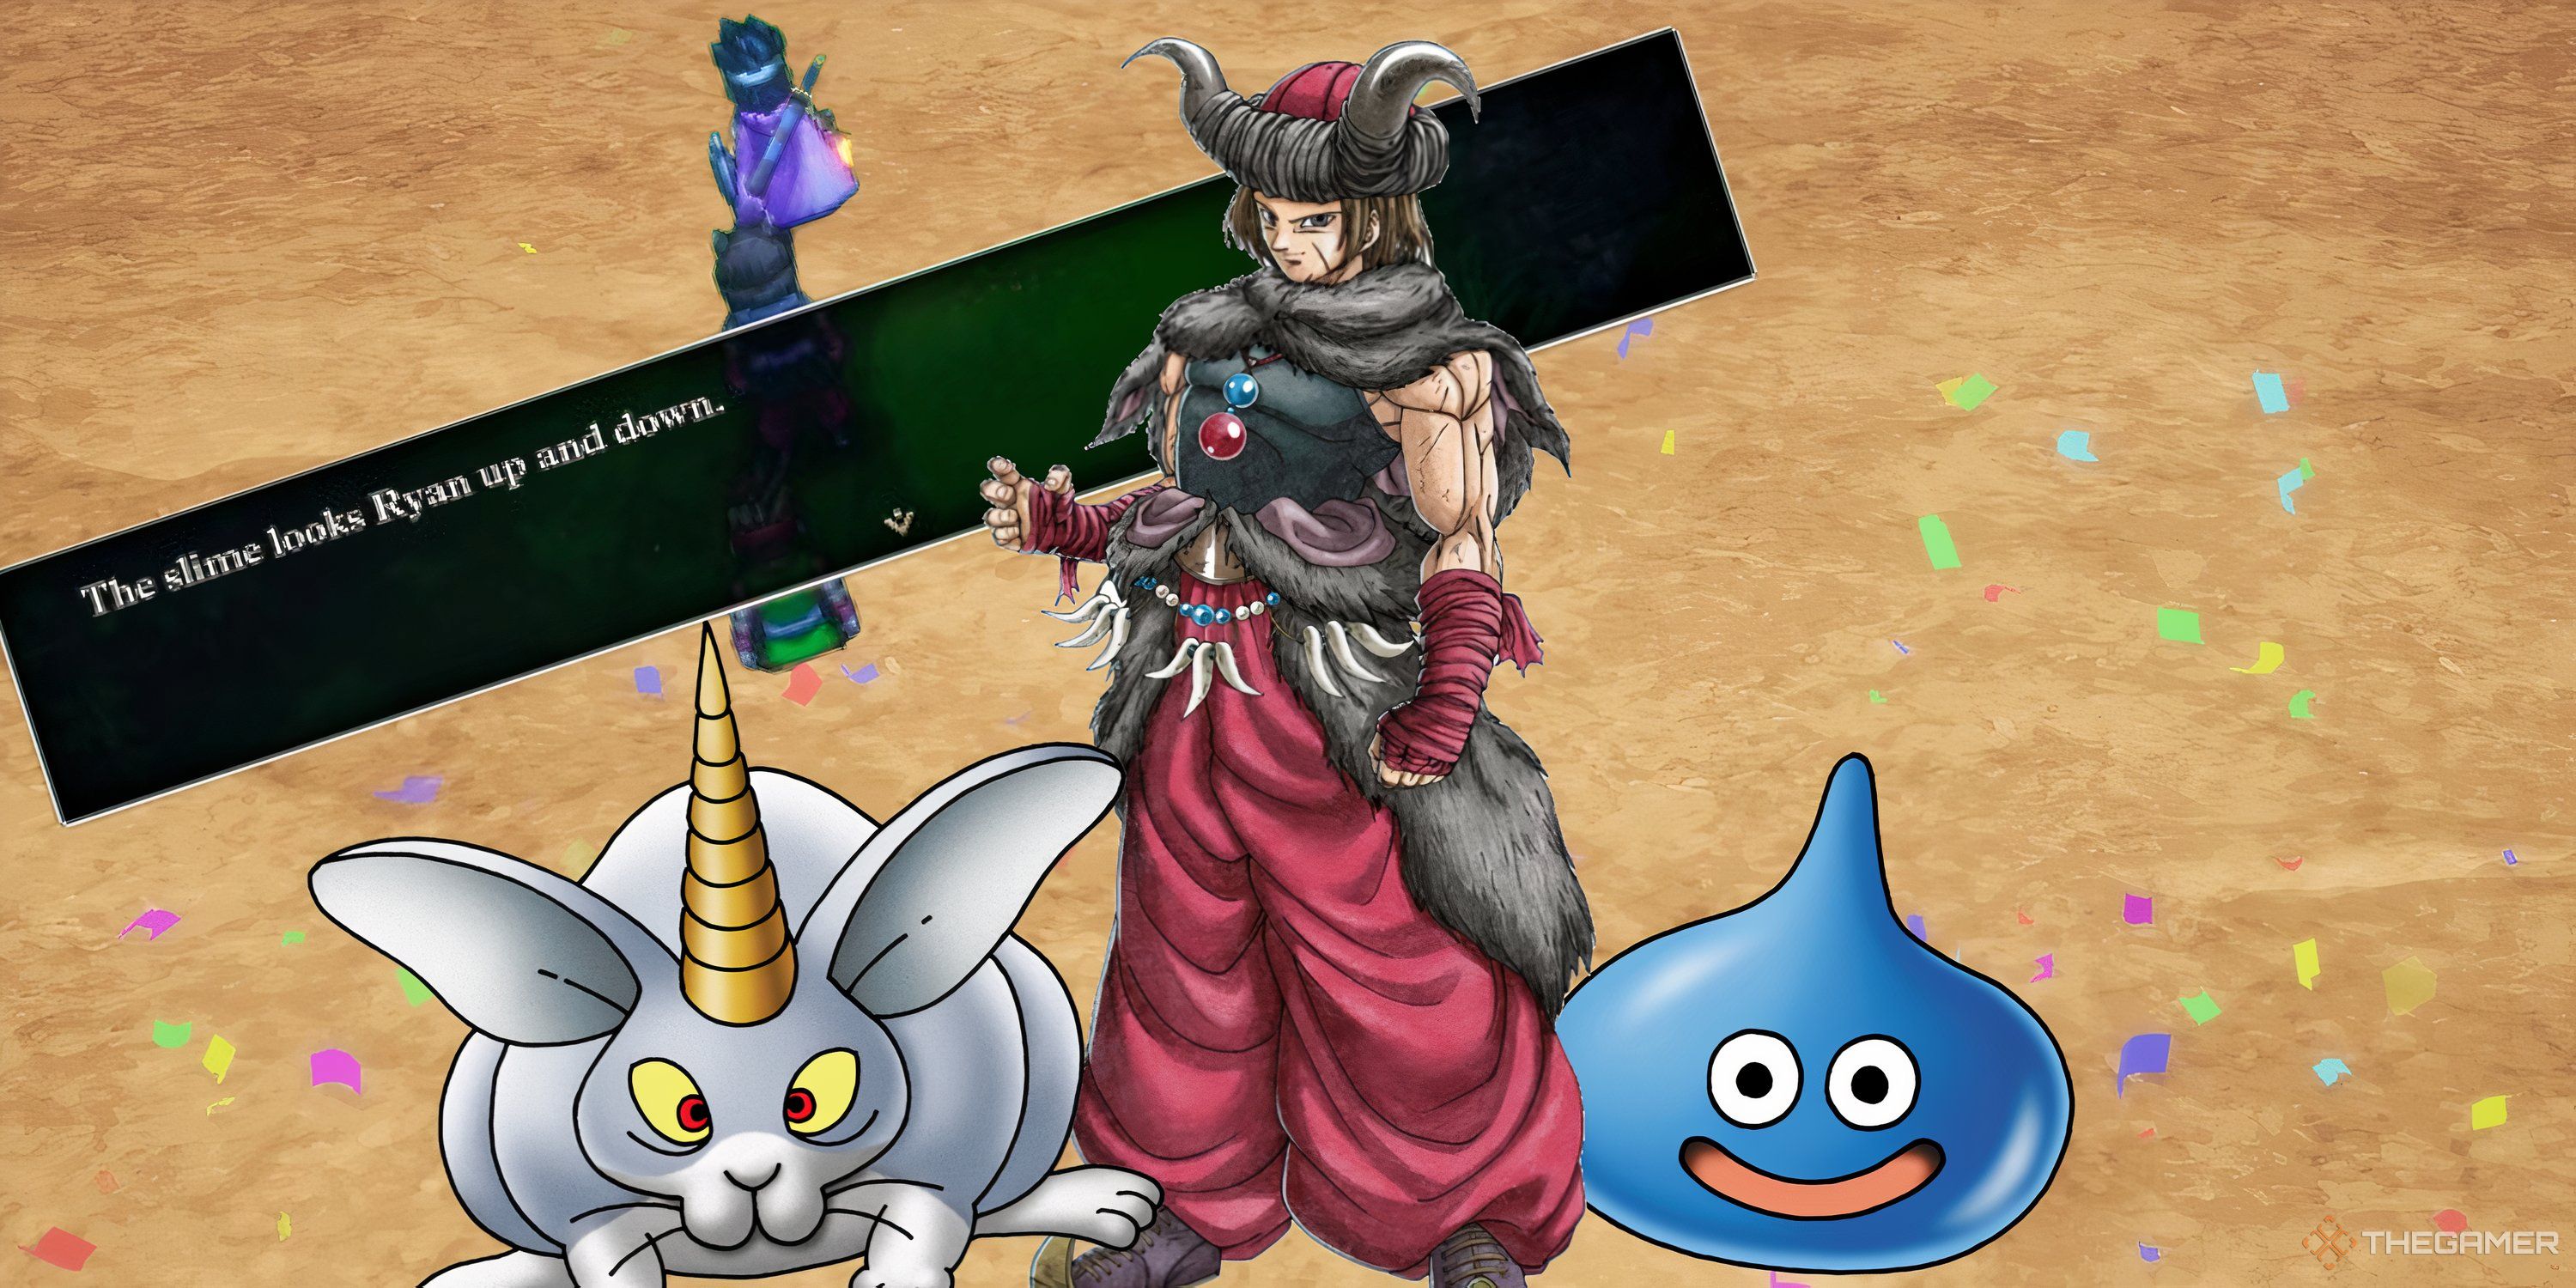
The boss of the Great Pyramid is the Ripper of the Rift, a foe that is much more fearsome than all the regular enemies in the dungeon thus far. To make matters worse, he is backed up a duo of Kylla. They’re not the toughest, but they’re a sufficient distraction from the Ripper.
The Ripper can take two actions every turn, while the Kyllas can only take a single one. However, the Ripper is susceptible to Snooze. A such, try to put him to sleep first and focus on taking out the Kyllas first. They’re both seperate, so focus all your attention on one at a time.
The Kyllas are weak to Lightning, so make sure your Hero is focusing on them. They don’t have any particular resistance to physical attacks either, so take sure everyone else is hitting them with melee where possible.
While the Kyllas are still standing (or floating, really), the Ripper will mainly use Woosh and Dazzle, which will hit the entire party, as well as melee attacks, which only hit a single character at a time. After the Kyllas are defeated, he will also throw in Wind Sickles, which hits a single character, and an upgraded form of Woosh, Swoosh.
As such, it is critical to keep your Kabuff up at all times, and to have a character dedicated to healing. The Ripper is also resistant to Ice, while he is weak to Lightning. The Hero is the only character with access to Lightning moves, so take advantage of Oomph Powder if you have it to give you some extra power against him.
It’s a pretty tough battle, so don’t be afraid to grind a little bit if you want to overpower him. Just make sure you go in with full HP and MP so you have plenty available for healing, and don’t forget your buffs.
With him defeated and the Magic Key acquired, you are free from the Great Pyramid and back to your regularly scheduled adventure.
Next
Monster Wrangling Breathes New Life Into Dragon Quest 3
Dragon Quest 3 is already a fantastic game, but how much does the new class and associated side quest affect things in the remake?
Source link






Leave a Reply