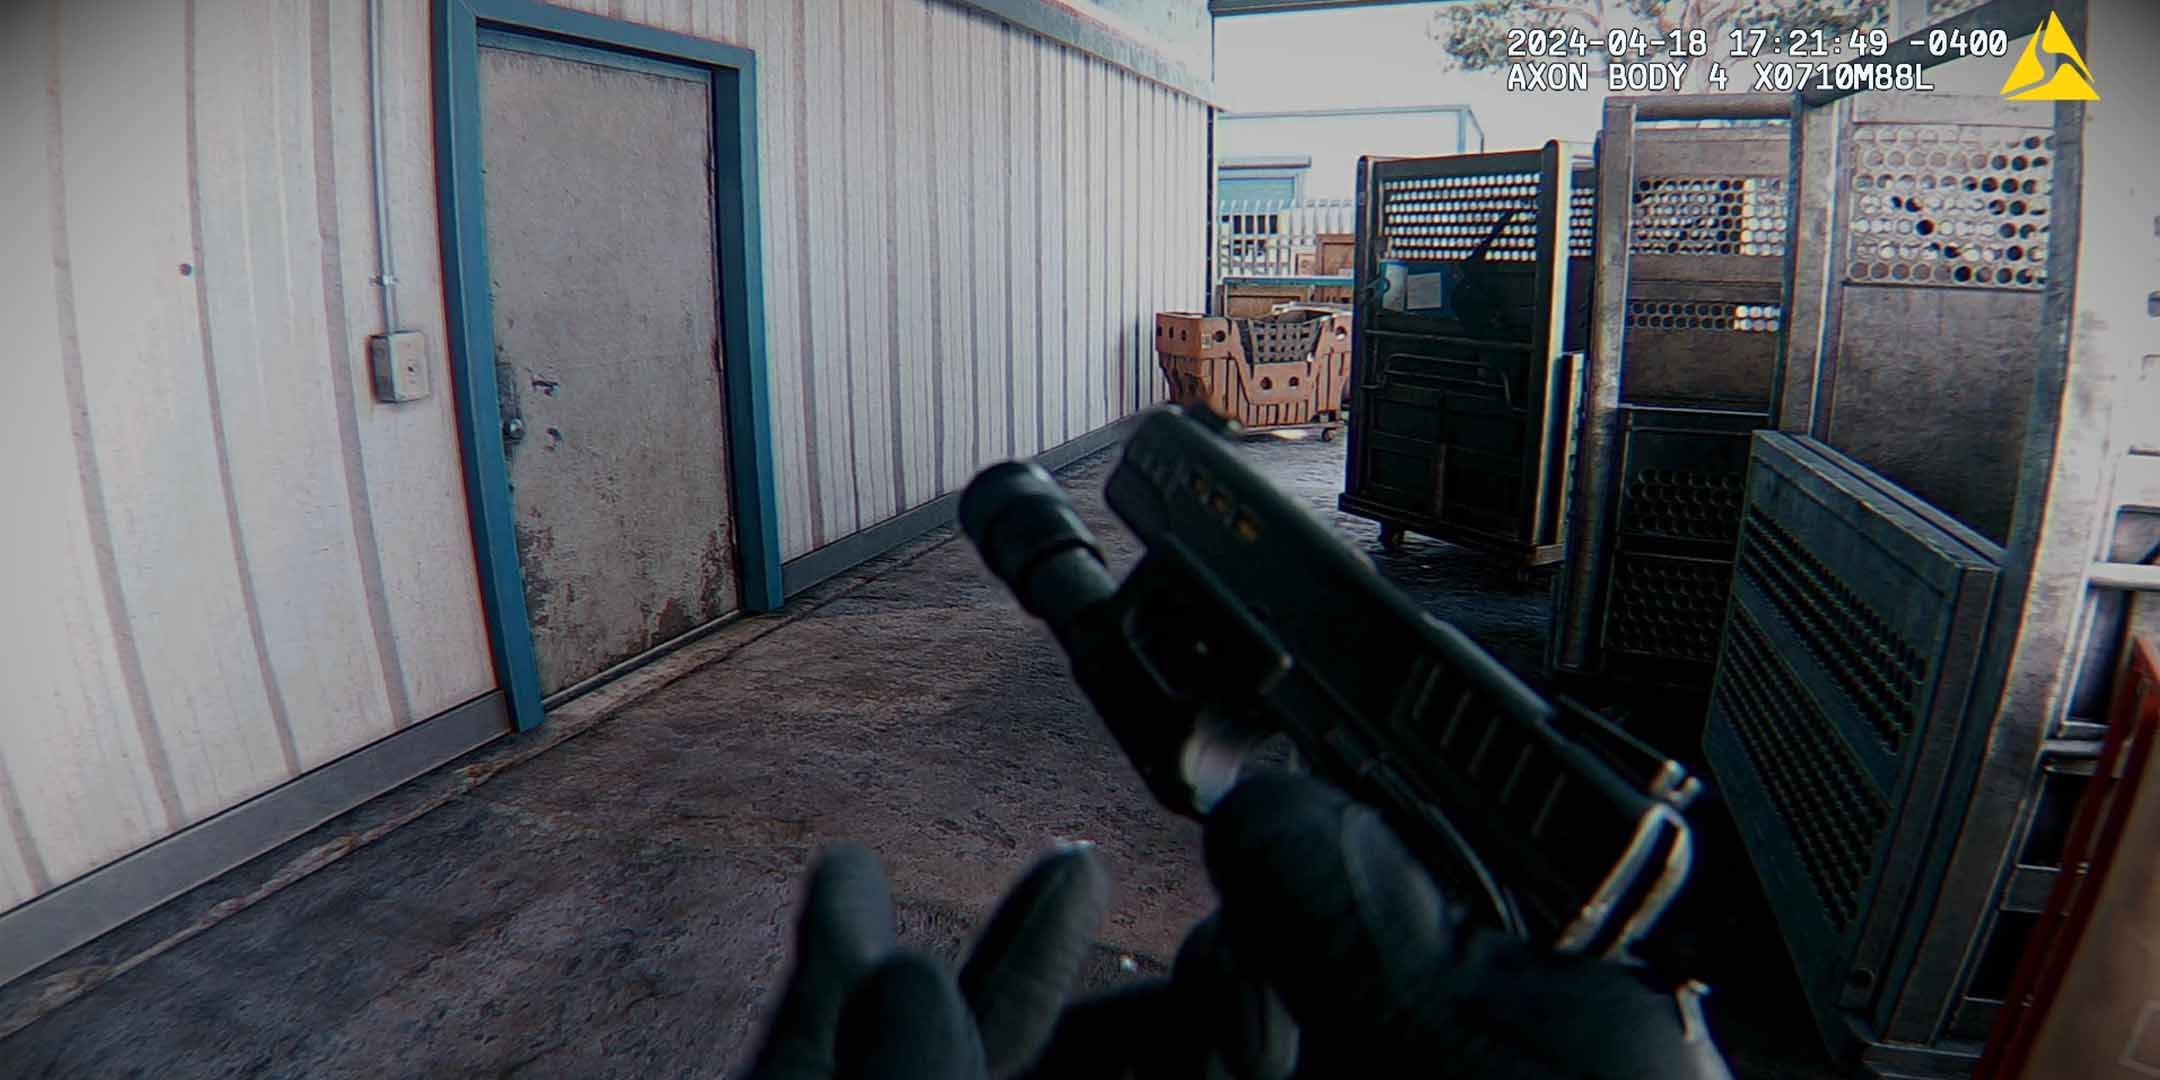
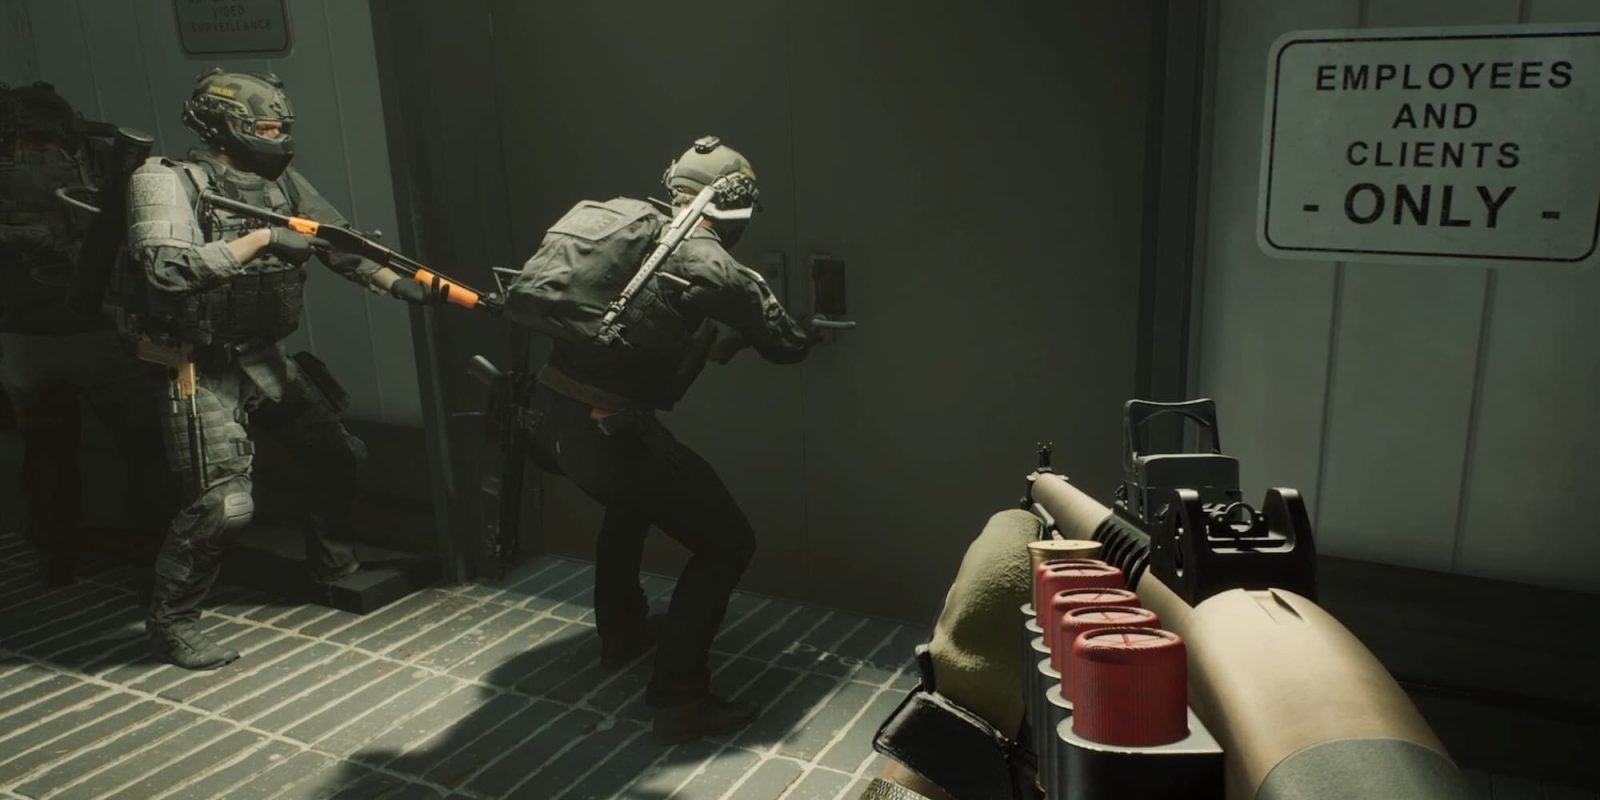
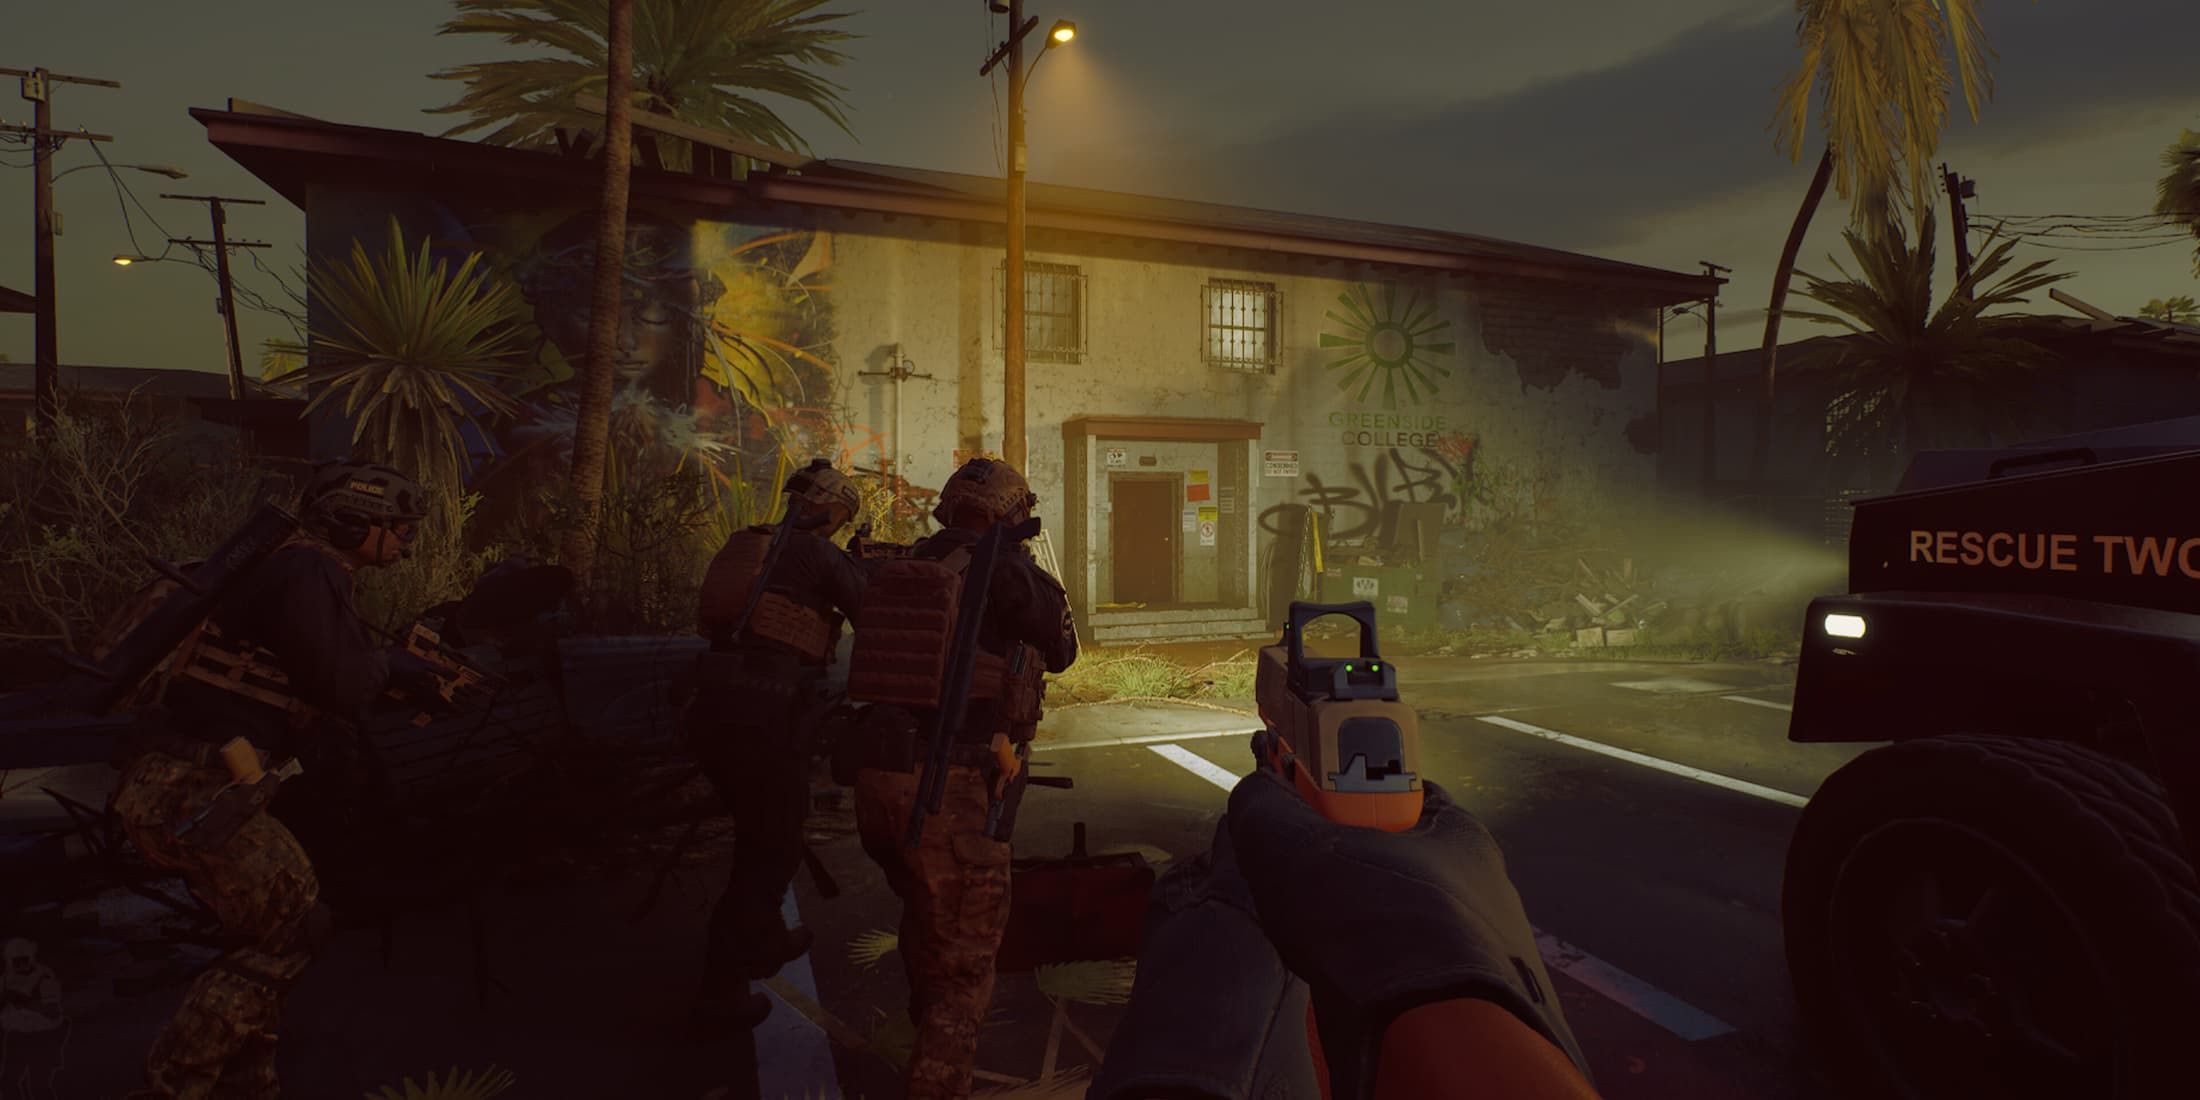
Ready or Not comes with a plethora of weapons and maps straight out of the box, but there’s even more content to be had in the form of user-made mods. The game’s modding scene is already thriving, offering players custom guns, cosmetics, scenarios, and more.
2:29
Related
The Best Mods in Ready or Not
Ready or Not continues to thrive as an immersive tactical shooter, but for those who want more, that’s where these mods come in
There are a couple of options when it comes to sourcing Ready or Not mods, and not all of them are installed the same way. For those who are looking for how to get custom content working, here’s a quick guide covering exactly that.
Updated November 13, 2024 by Marc Santos: Installing mods for Ready or Not is great for players who want to spice their game up with new content or features. However, doing so can cause some issues when setting up a multiplayer game, as mismatched files between clients may lead to connection issues. As such, we’ve updated this guide to include a section that’s all about disabling and removing mods in Ready or Not, as well as other options on how to solve file conflicts between clients.
How to Install Mods in Ready or Not
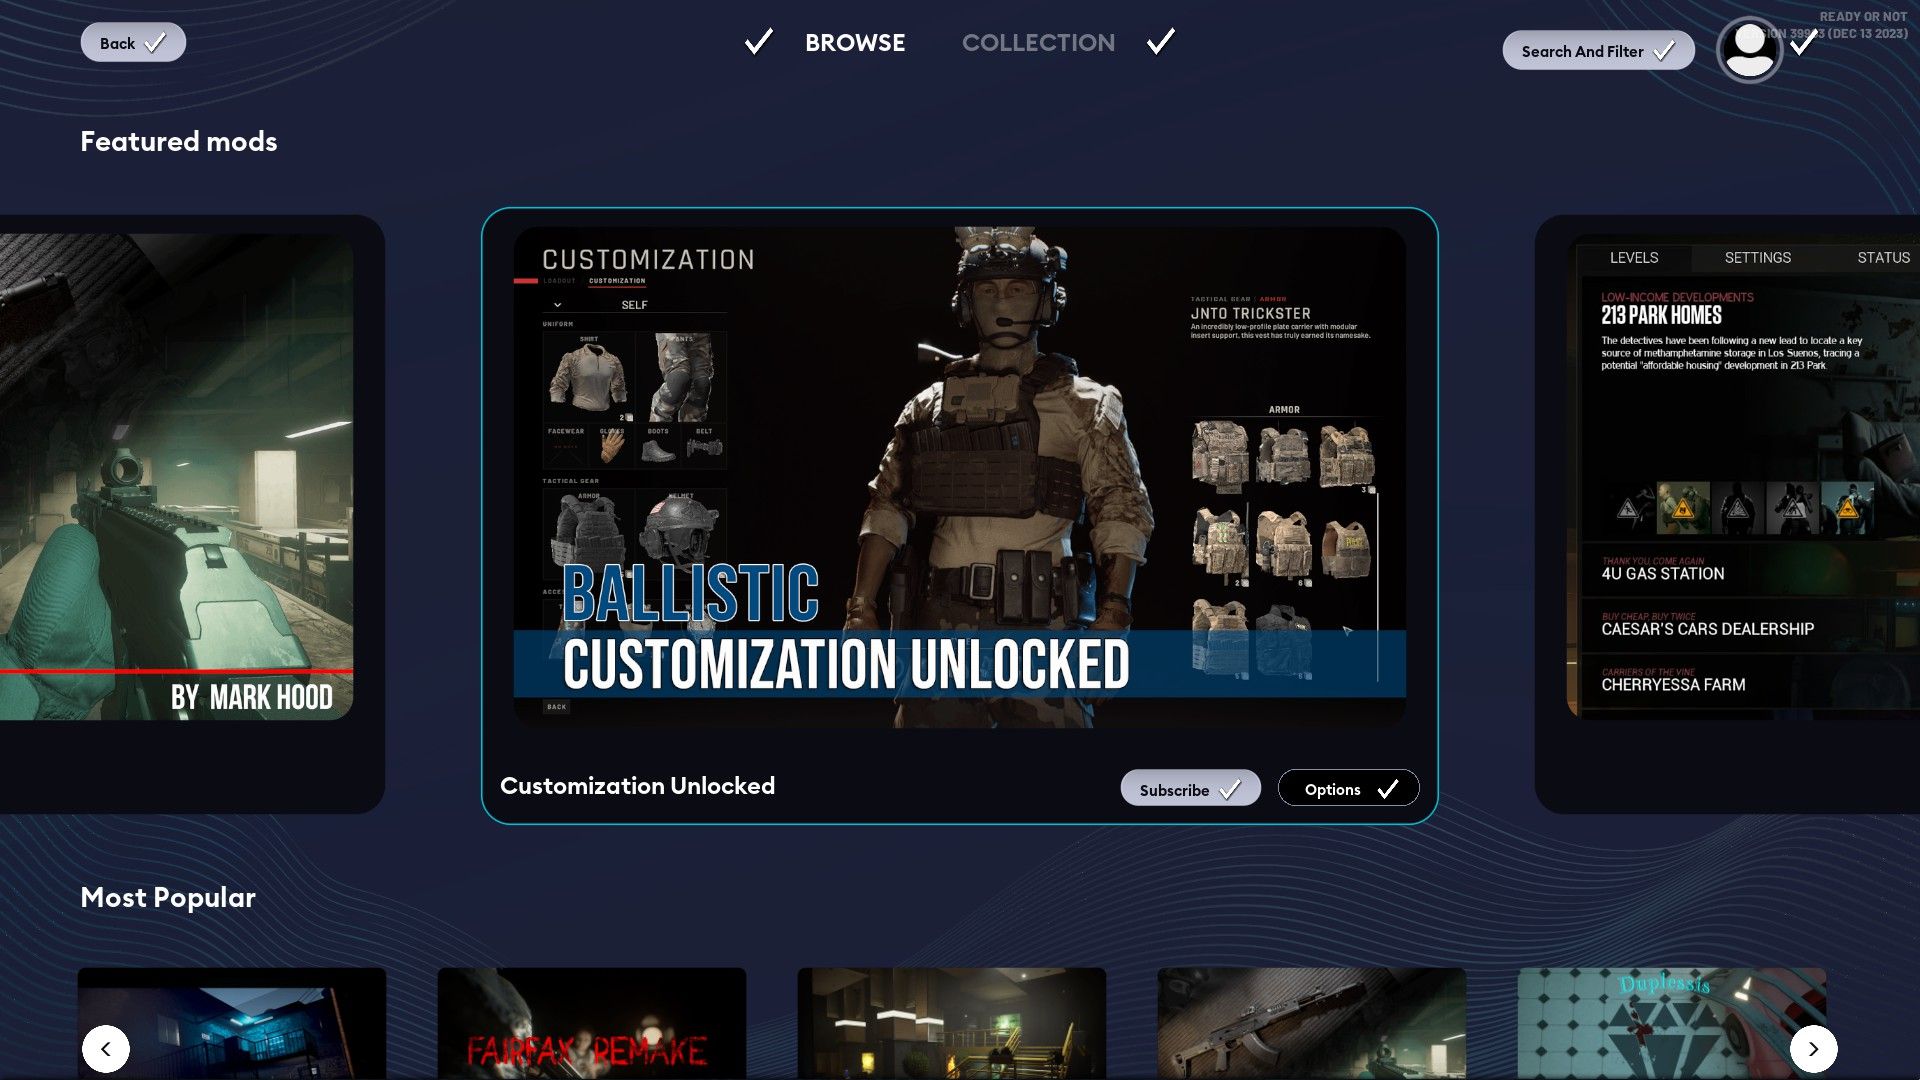
Players have two options when it comes to downloading mods: the in-game mod.io browser or the ubiquitous Ready or Not Nexusmods page. Players can install mods from either source as long as the mods themselves don’t conflict with each other.
The in-game mod browser functions similarly to the Steam Workshop. All you have to do here is pick a mod and subscribe to it. Although, you might be asked for email verification if it’s your first time using this particular mod.io browser. If that’s the case, enter your email address and enter the verification code that gets sent to it.
Once you subscribe to a mod, it’ll automatically be downloaded and installed. You’ll need to restart your game afterward to load the mod correctly. All installed mods will appear on the Collections tab of the mod browser, where they can be easily enabled and disabled.
How to Manually Install Mods in Ready or Not
If you’re getting content from Nexusmods, you’ll likely have to install it manually. For the majority of mods, the installation process simply involves downloading and extracting mod files to Ready or Not’s Content folder, which can be located in the following default installation address:
- C:\Program Files (x86)\Steam\steamapps\common\Ready Or Not\ReadyOrNot\Content\Paks
After extracting or pasting the mod files here, they should get automatically detected and incorporated into the game. Unfortunately, without the use of a mod manager, players won’t be able to keep track of manually installed mods as conveniently as with the mod.io browser. If you ever want to disable a mod downloaded from the Ready or Not Nexus, then you’ll have to delete the .pak file itself.
If your
Ready or Not
mods are not working, then they’re likely outdated. In this case, the only option is to wait until they get updated by their authors.
How to Remove Mods in Ready or Not
Having mods installed may lead to issues with connecting to other players, and it might even lead to the game itself failing to launch. When these happen, your best bet is to uninstall the mods you have on your game.
There are two ways to do this. First, you can go back to the Paks folder of your Ready or Not installation directory and delete files that don’t begin with “pakchunk”. Files that aren’t named pakchunk are non-essential, and can be safely removed without causing issues. You can also delete the modio folder to get rid of mods you downloaded via the in-game mod screen.
If manually removing mods doesn’t work, select the “Launch Clean Mods/Save Data” option when you next boot the game on Steam. However, this will clear all your save data, which means you’ll have to unlock items and progress through the story mode again from scratch.





Leave a Reply