Key Takeaways
- Survivor perks like Decisive Strike, and Self-Care provide crucial benefits for survival in Dead By Daylight.
- Scavenger can refill toolboxes, increasing the player’s odds of survival.
- Utilize these powerful perks to improve repair speed, escape dangerous situations, and stay alive longer in the game.
There are more than 100 perks for Survivors in Dead By Daylight and each has its own roles and niche uses in the game. For beginners, it can be hard to identify which perks are most valuable, and even veterans can get pigeonholed over time without realizing there are better choices for keeping themselves alive.
3:50

Related
Dead By Daylight: Every Killer, Ranked
Dead By Daylight allows players to play as their favorite killers from horror movies, along with some fresh faces. However, not all killers are equal.
Therefore, it’s good for players to have an idea of some of the most powerful survivor perks in Dead by Daylight and their primary uses. While perks like Sole Survivor are immensely powerful for the individual, it doesn’t benefit the team so it doesn’t make the list, after all the goal is to get everyone out alive.
Updated November 13, 2024, by Mara Cowley: Dead by Daylight continues to carry the torch of the most popular asymmetrical multiplayer horror game, blowing every competitor out of the water. Many games have come and gone in the genre, but none can quite reach the same levels of popularity, and as such Dead by Daylight retains its player base once more, and may have reeled in even more due to the return 2v8 game mode, and the addition of more characters. Video game icon Lara Croft has found her next adventure in the fog and has Trever Belmont from Castlevania, facing off against Dracula once again in a completely new universe. Both have come equipped with some of the best Survivor perks DbD and as such, there have been a few further additions to this article.
38 Scavenger
Get More Use Out of Toolboxes
- Tier 1 – 2,500 Bloodpoints – Recharging a Toolbox reduces Repair speed by -50 % for the next 40 seconds
- Tier 2 – 3,250 Bloodpoints – Recharging a Toolbox reduces Repair speed by -50 % for the next 35 seconds
- Tier 3 – 4,000 Bloodpoints – Recharging a Toolbox reduces Repair speed by -50 % for the next 30 seconds
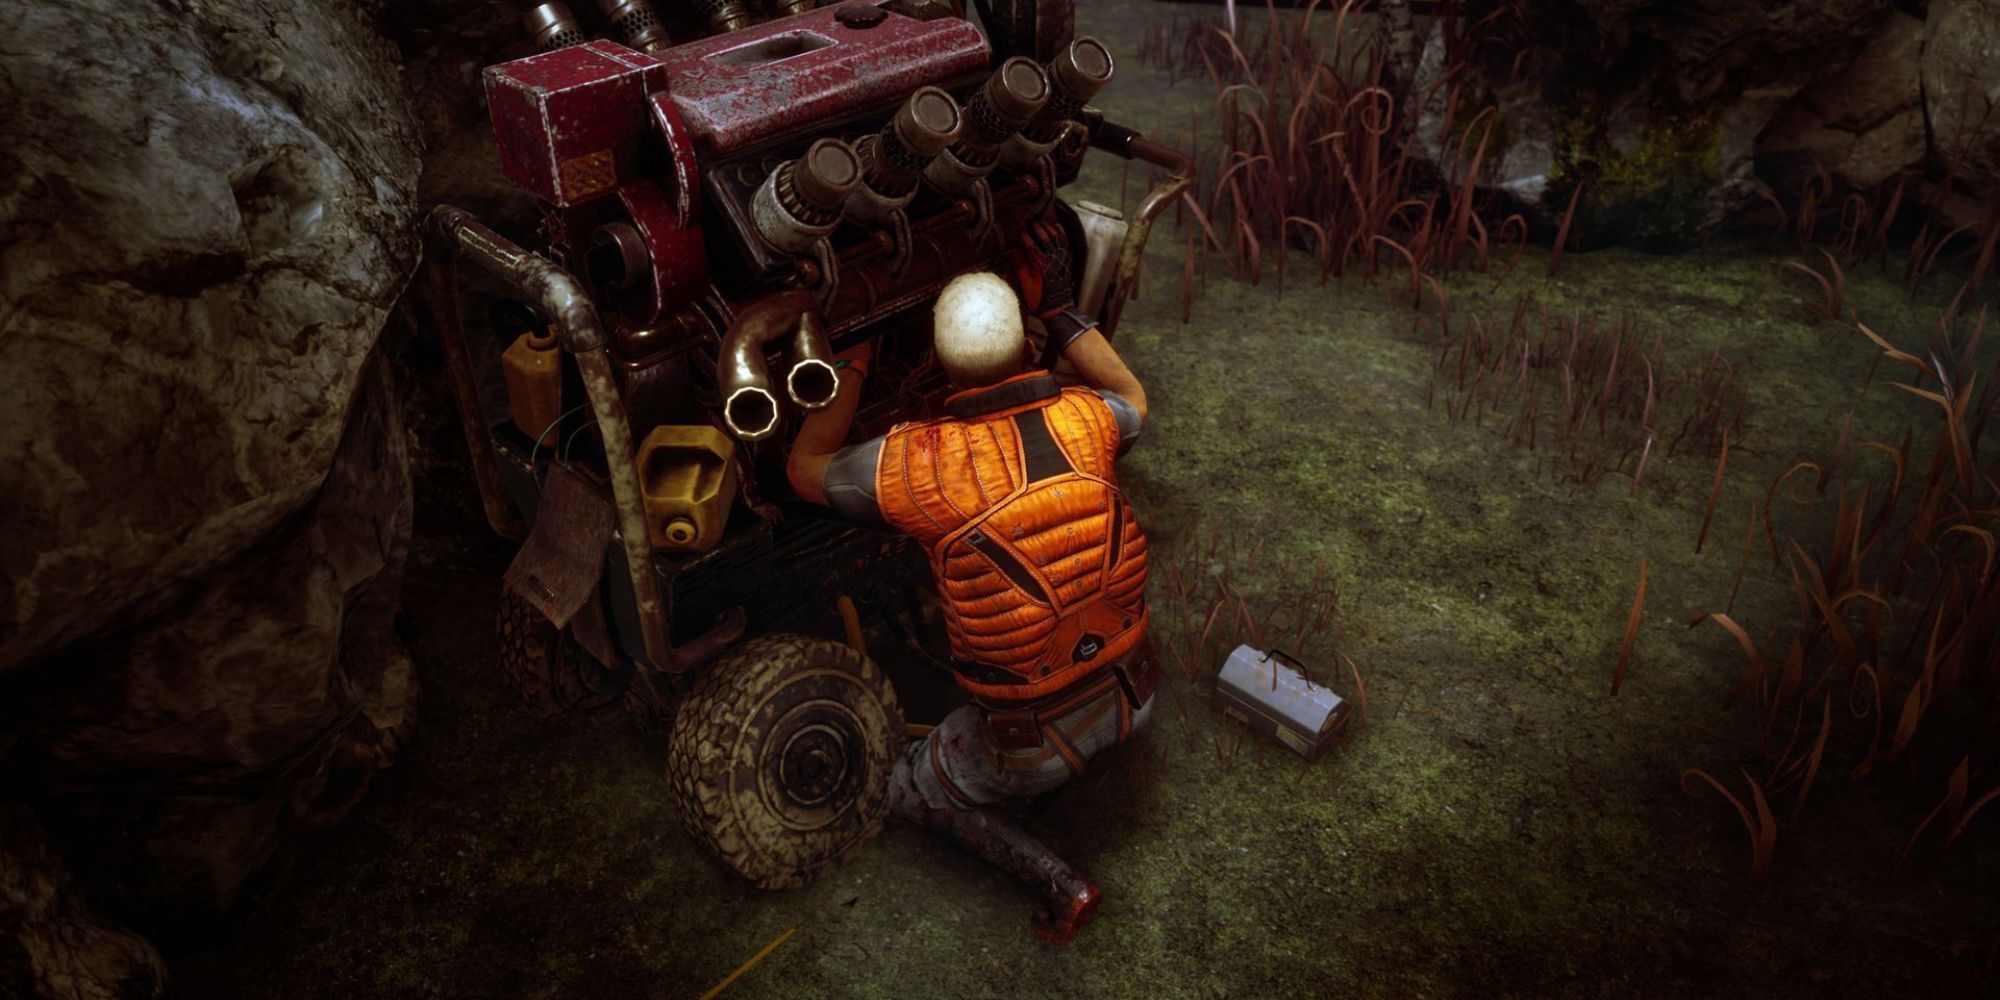
Toolboxes are one of the more useful items to take into a trial, as they help Survivors complete their main objective with greater efficiency. Unfortunately, they do not last the whole match, and even with add-ons to increase charges, they probably won’t get more than a full generator’s worth of use out of one.
But with Scavenger equipped, players can rake up tokens by landing great skill checks to completely refill all charges. The caveat is that the repair speed will be reduced by a certain set amount of time depending on the perk’s rarity, but players can still get plenty of benefits from just a single toolbox.
37 Decisive Strike
Allows Players to Escape the Clutches of a Killer After Being Unhooked
- Tier 1 – 2,500 Bloodpoints – Decisive Strike lasts 40 seconds
- Tier 2 – 3,250 Bloodpoints – Decisive Strike lasts 50 seconds
- Tier 3 – 4,000 Bloodpoints – Decisive Strike lasts 60 seconds
This perk is more useful for players who find themselves getting caught often or who are fulfilling the role of keeping the Killer distracted. After being freed or freeing oneself from a Hook Decisive Strike kicks in and is available to use for up to 60 seconds at Tier III.
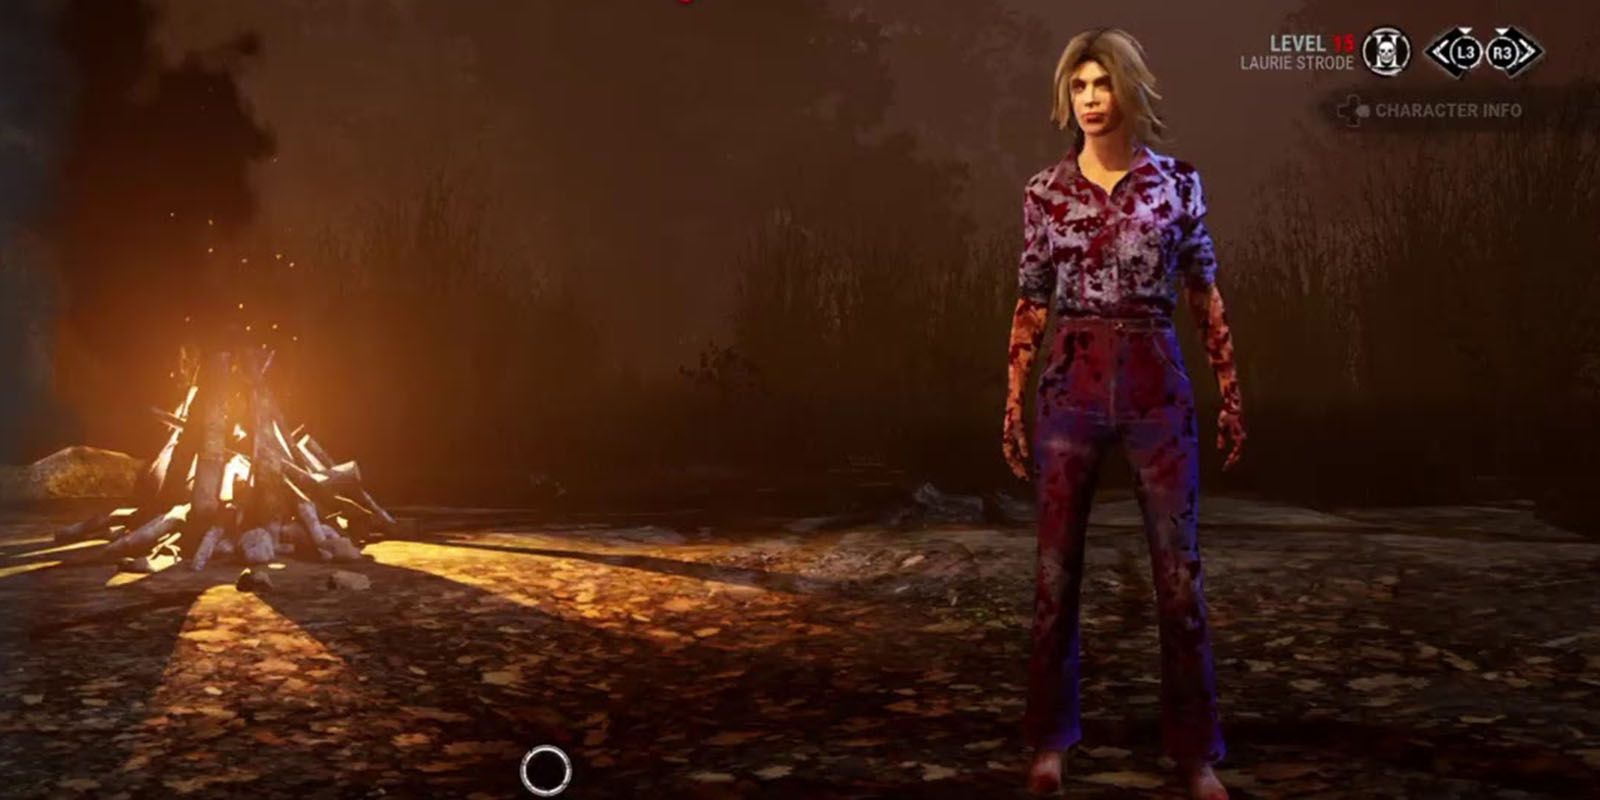
When grabbed by the Killer with this perk active, players can perform a skill check which will automatically free them from the Killer’s grasp and stun them for five seconds. Players do become the Obsession of the Killer afterward, but it’s often worth it. Laurie gets this ability automatically.
36 Self-Care
Unlocks the Ability to Heal Without a Med-Kit
- Tier 1 – 2,500 Bloodpoints to self-heal at 25% normal Healing Speed.
- Tier 2 – 3,250 Bloodpoints to self-heal at 30% normal Healing Speed.
- Tier 3 – 4,000 Bloodpoints to self-heal at 35% normal Healing Speed.
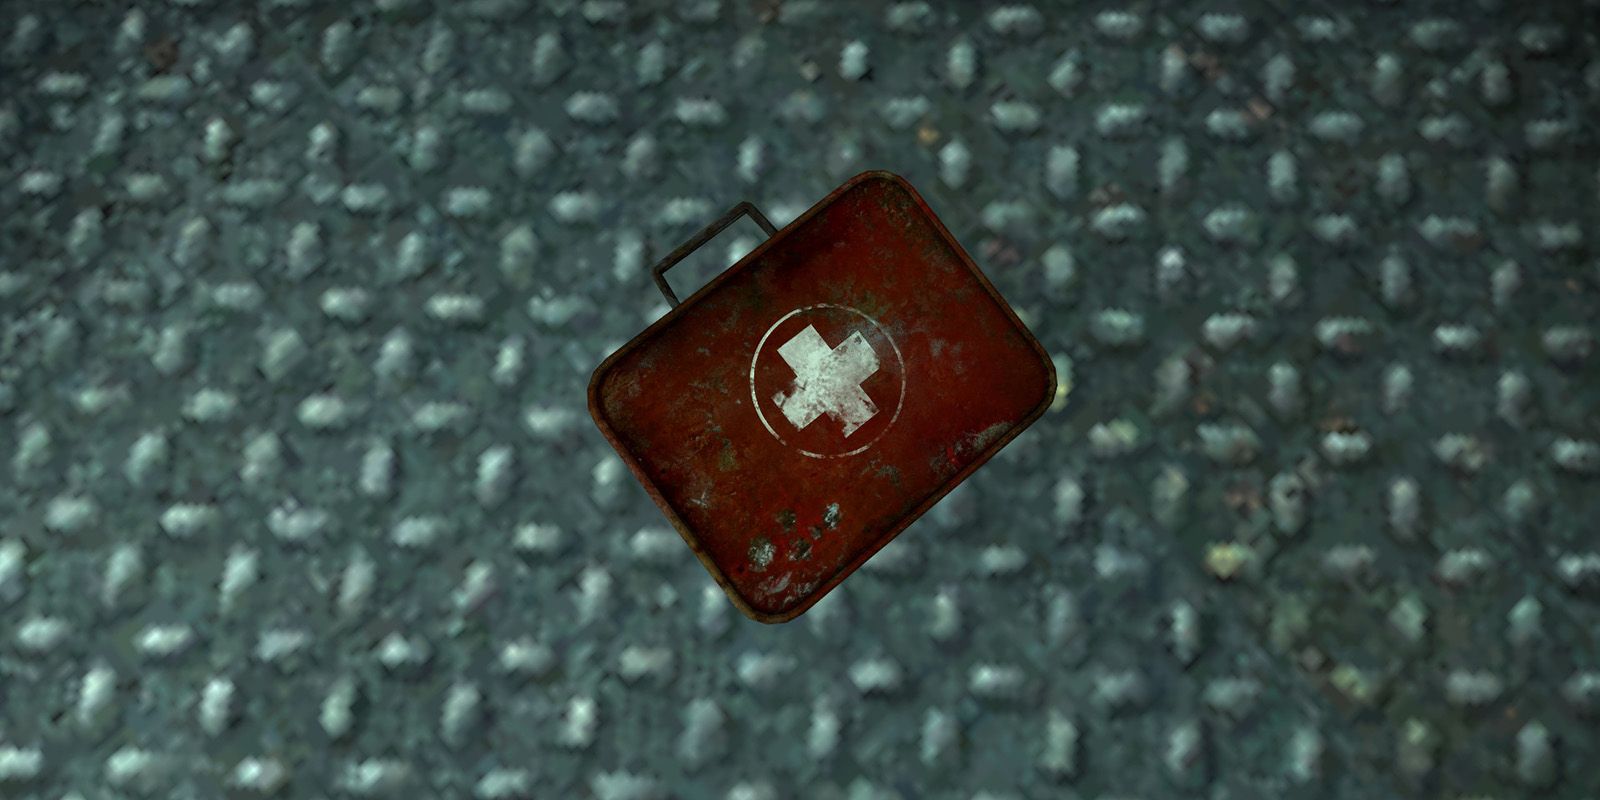
In every game, Survivors will inevitably take damage and typically the only way to heal is via Med-Kits, which are uncommon and get used almost as soon as they are found.
Self-Care allows the survivor to heal themselves without but at the cost of normal healing speed, as it would otherwise be too powerful of a perk. There’s no limit to the number of uses and a dedicated healer can keep the entire group in decent shape without ever finding a Med-Kit. Claudette Morel gets this perk automatically.
35 Bardic Inspiration
Gain the Chance to Bolster Allies
- Tier 1 – 2,500 Bloodpoints for 110 seconds Cool-Down
- Tier 2 – 3,250 Bloodpoints for 100 seconds Cool-Down
- Tier 3 – 4,000 Bloodpoints for 90 seconds Cool-Down
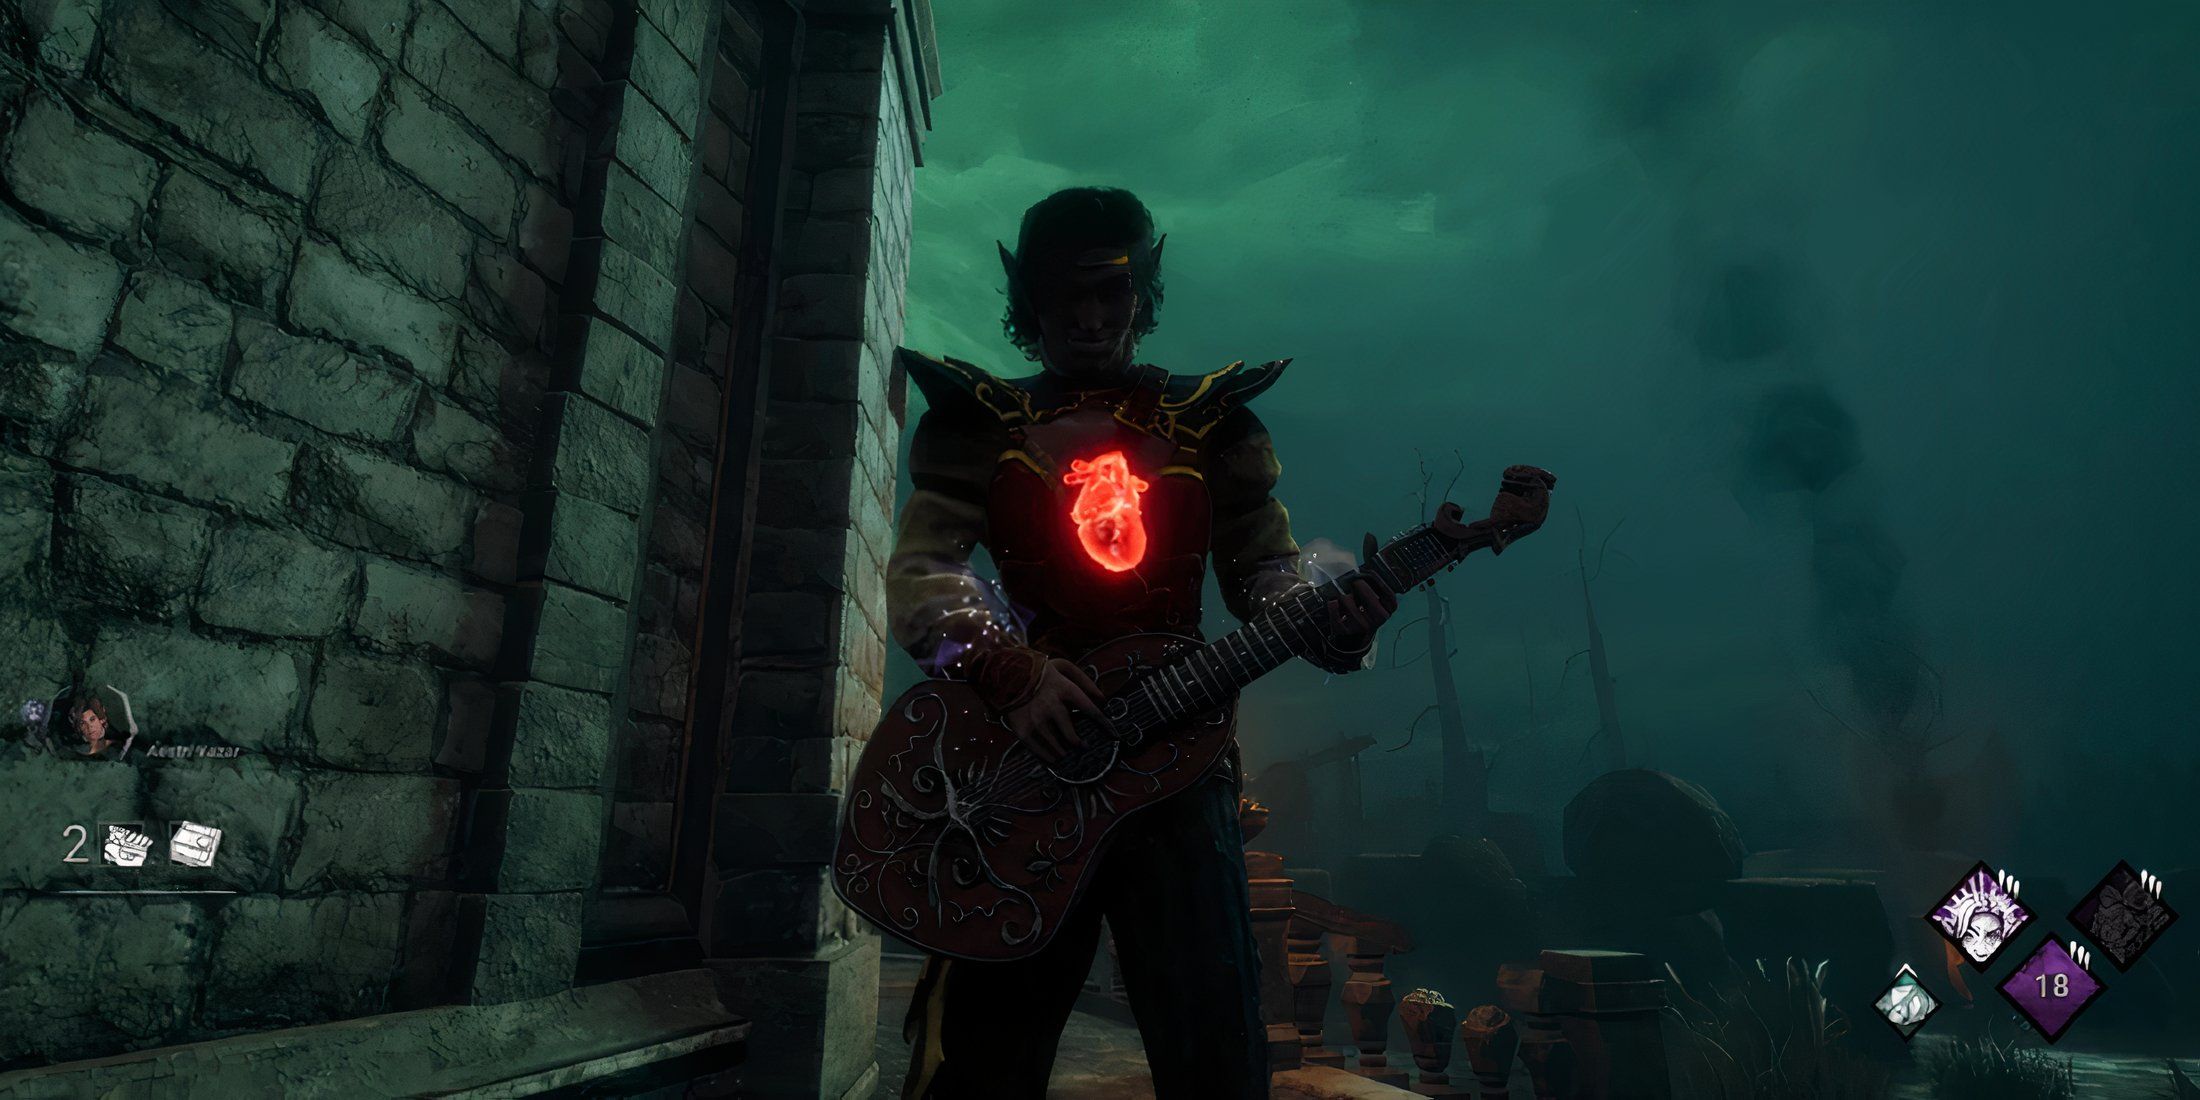
The Dungeons and Dragons/Dead by Daylight collaboration was one no one saw coming, bringing two original new Survivors and iconic boss monster Vecna into the fog. They came with D&D-flavored perks, none quite as obvious as Bardic Inspiration, an actual mechanic from the tabletop game.
After standing still, all they need to do is press the Active Ability button to summon forward a lute to play a song. The effects of the song are determined by the role of a d20, with only a natural one having an adverse effect. 2-10 gives skill checks more progression, 11-19 increasing this progression from 1 to 2, and a natural 20 equaling 3%, the effects last 90 seconds. This allows Survivors to repair generators with great efficiency, and better their odds of escaping alive.
34 Specialist
Gather Tokens to Repair with More Efficiency
- Tier 1 – 2,500 Bloodpoints – Reduces repair charges needed by a maximum of 12 charges.
- Tier 2 – 3,250 Bloodpoints – Reduces repair charges needed by a maximum of 18 charges.
- Tier 3 – 4,000 Bloodpoints – Reduces repair charges needed by a maximum of 24 charges.
Generators are the main objective for Survivors to complete, and the key to their escape. A previous patch raised how long it takes for Survivors to fully repair a generator to try and avoid ‘gen-rush’ games for more fun trials for everyone.
But this could potentially cost Survivors their lives as the Killers use the extra time to hunt down Survivors and hook them, so it might behoove Survivors to equip perks to better their gen repair speed. While Prove Thyself might be the best in this regard, Specialist is also a good perk. After unhooking a Survivor or rummaging through a chest, the Survivor gains 1 token to a maximum of 6, and each token reduces the repair charges needed by 2, 3, or 4 charges per token.
33 Desperate Measures
Increases Healing and Hooking Speed to Help Survivors Outrun the Killer
- Tier 1 – 2,500 Bloodpoints – Healing/Unhooking speeds are increased by 10% per Survivor, for up to 40%
- Tier 2 – 3,250 Bloodpoints – Healing/Unhooking speeds are increased by 12% per Survivor, for up to 48%
- Tier 3 – 4,000 Bloodpoints – Healing/Unhooking speeds are increased by 14% per Survivor, for up to 56%
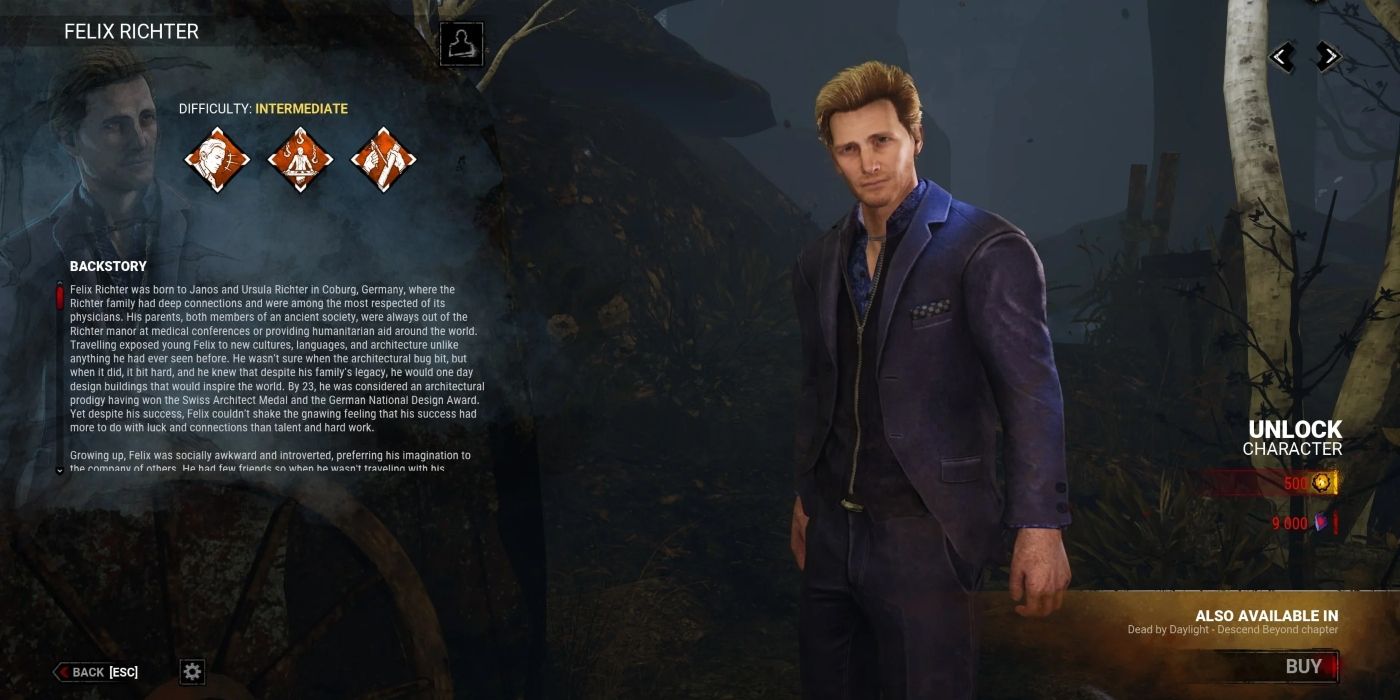
For players looking for a role focused on healing and support, Desperate Measures is what they’re looking for. Belonging to Felix Richter, Desperate Measures will increase the action speeds in both healing and unhooking Survivors by up to 14% per injured Survivor, which can total up to a 56% increase.
Desperate Measures is a simple perk but one that will certainly come in handy, as Survivors are being injured and hooked all the time. Even with multiple injured Survivors, players with this perk will end up being a huge savior to the other Survivors.
32 Botany Knowledge
Players Can Heal Faster But at the Cost of Med-Kit Efficiency
- Tier 1 – 2,500 Bloodpoints for 30% Increased Healing Speed
- Tier 2 – 3,250 Bloodpoints for 40% Increased Healing Speed
- Tier 3 – 4,000 Bloodpoints for 50% Increased Healing Speed
- Med-kit efficiency reduced by 20%
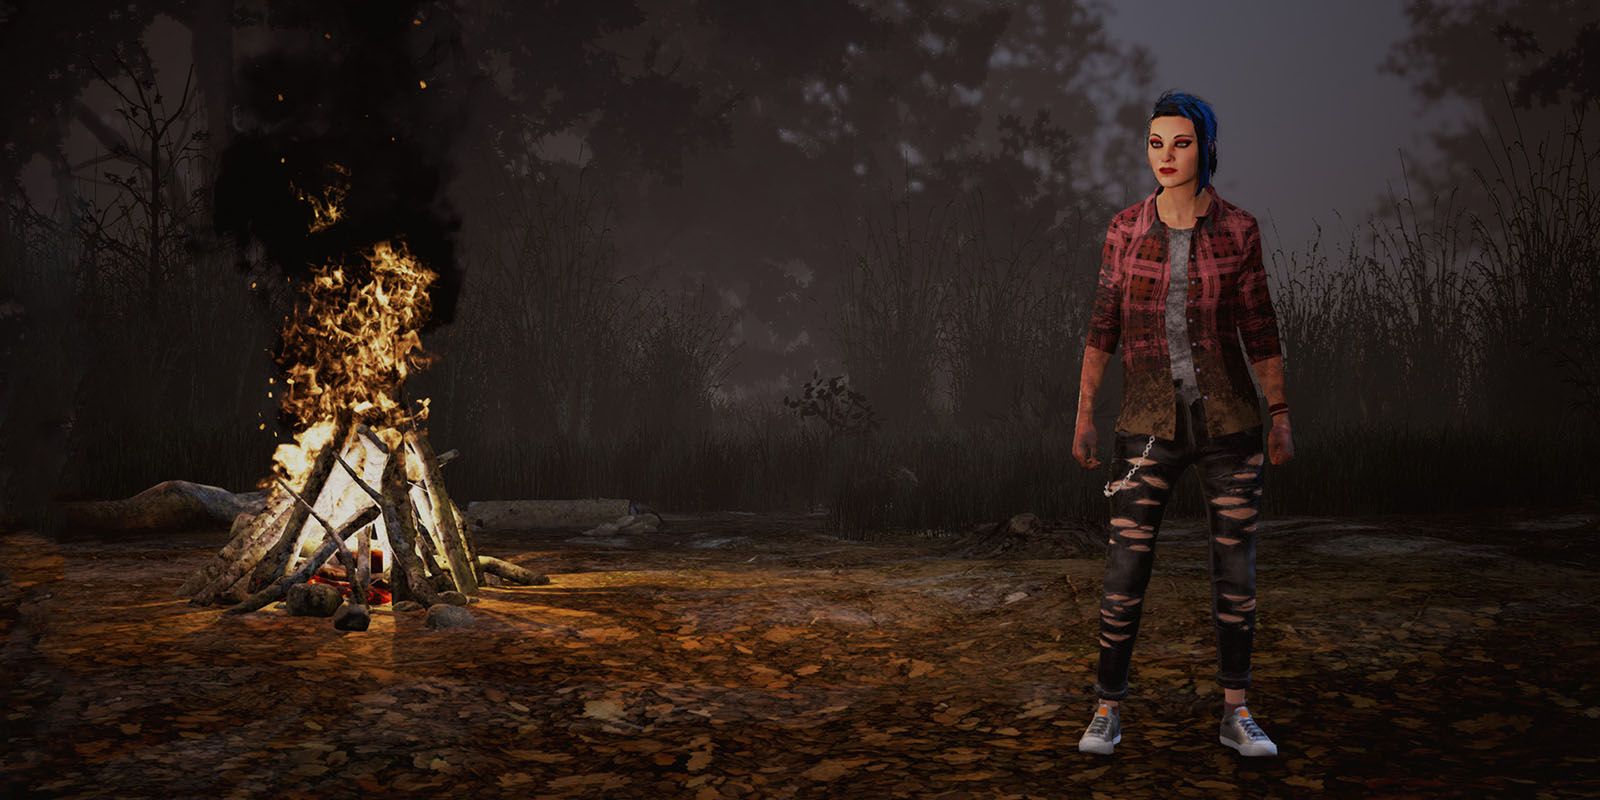
Avoiding damage is practically impossible for Survivors. As a result, healing is a critical component for staying alive and winning the round. This makes Botany Knowledge a very handy perk for Survivors to stay alive.
This also has a significant advantage for the rest of the team as this player can be the designated healer. Claudette comes with this perk automatically and it must be unlocked for everyone else.
31 Exultation
Increase the Viability of Items
- Tier 1 – 2,500 Bloodpoints for 40 seconds Cool-Down
- Tier 2 – 3,250 Bloodpoints for 35 seconds Cool-Down
- Tier 3 – 4,000 Bloodpoints for 30 seconds Cool-Down
- Recharges the Item by 25%
Items are one of the tools Survivors can employ in trials to better their odds of survival. Toolboxes help with repairs or sabotaging hooks, med-kits allow for self-healing or quicker healing of allies, and flashlights can buy valuable time in chases if aimed properly.
Survivors are sure to feel it when they run out of charges. Exultation allows them to recoup some of their losses while also upgrading the rarity of their item. As such, this perk can definitely see use in trials, but the only caveat is that players must land a pallet stun in order for the perk to work.
30 Moment of Glory
Survivors Can Automatically Heal from Being Injured
- Tier 1 – 2,500 Bloodpoints to automatically heal after 80 seconds
- Tier 2 – 3,250 Bloodpoints to automatically heal after 70 seconds
- Tier 3 – 4,000 Bloodpoints to automatically heal after 60 seconds
The ability to heal one’s self is a rare thing without the use of a med-kit after nerfs to perks such as Boon: Circle of Healing, but the ability to automatically heal is even rarer. But this is one of the perks that is arriving at the game with Trevor Belmont from the upcoming Castlevania collaboration.

Related
Dead by Daylight Crossover Tier List
Dead by Daylight has been home to almost 20 crossovers over the last 8 years, and while all are fun to see in the game, they’re certainly not equal.
After unlocking or rummaging through a chest, the next Survivor becomes injured, they are inflicted with the Broken status effect, which means they can’t be healed by any means. But after a determined number of seconds, dependent on the perks’ rarity, they are automatically healed. If players can evade the Killer’s grasp, this perk can make the difference between life and death.
29 Hardened
Gain Information Instead of Giving It
- Tier 1 – 2,500 Bloodpoints to reveal the Killer’s aura for 3 seconds
- Tier 2 – 3,250 Bloodpoints to reveal the Killer’s aura for 4 seconds
- Tier 3 – 4,000 Bloodpoints to reveal the Killer’s aura for 5 seconds
Aura reading is a powerful mechanic on both sides of the match, as being able to see the opponent offers a big advantage. Killers can see their next prey instead of hunting them down the old-fashioned way, and Survivors can see any mind games they might play around loops.
Players can benefit from seeing the Killer’s aura with this Lara Croft perk Hardened. After unlocking a chest or blessing/cleaning a totem, they can no longer scream by any means which gives away their location and instead see where the Killer is on the map.
28 Urban Evasion
Players Can Stealth Without Sacrificing Speed
- Tier 1 – 2,500 Bloodpoints to increase Movement Speed by 90%
- Tier 2 – 3,250 Bloodpoints to increase Movement Speed by 95%
- Tier 3 – 4,000 Bloodpoints to increase Movement Speed by 100%
This simple passive perk is immensely powerful for players in almost any given situation. It dramatically improves the survivor’s movement speed while crouching. At Tier III it doubles the survivor’s speed when compared to other survivors.
Whether it’s evading detection, sneaking across large portions of the map, recovering from exhaustion, or coming to a downed ally’s aid this perk is invaluable. Nea Karlsson gets it automatically.
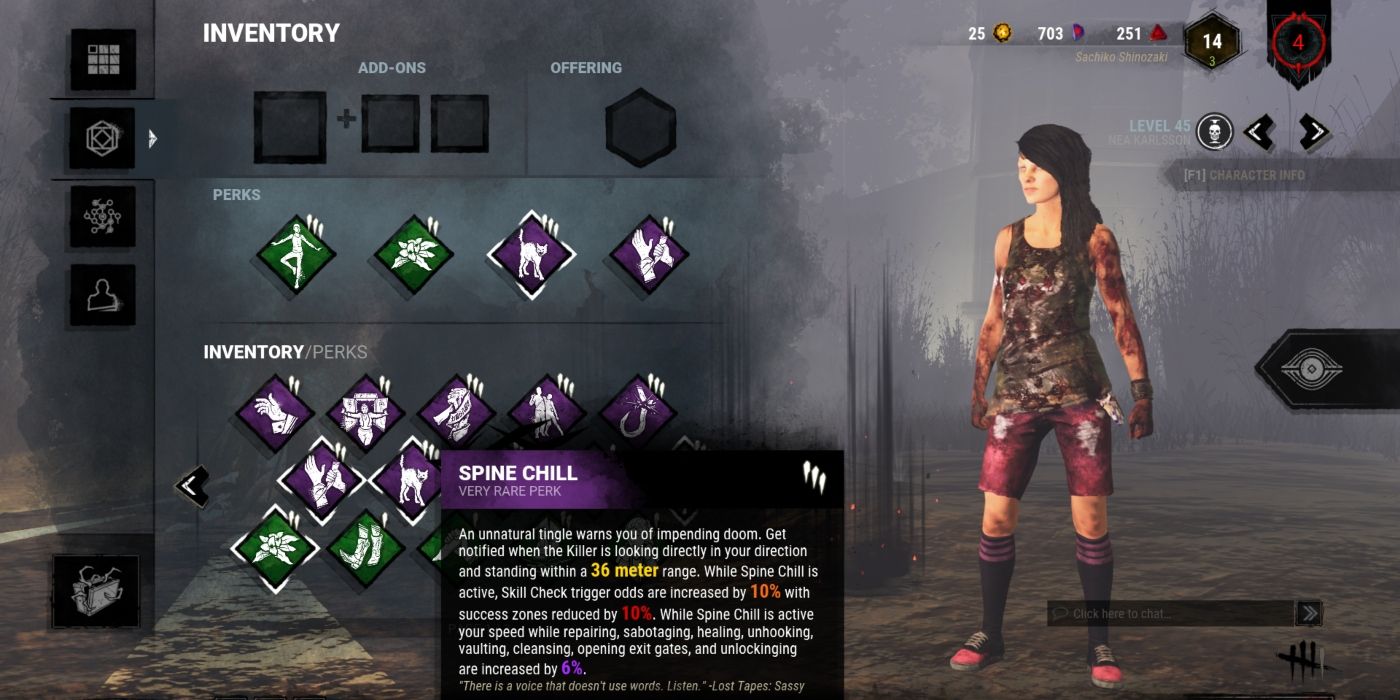
27 Spine Chill
Whenever the Killer is Close, the Survivor Gains a Speed Buff
- Tier 1 – 2,500 Bloodpoints – Speeds for Healing, Repairing, Sabotaging, Unhooking, Cleansing, Blessing, and Unlocking is increased by 2%
- Tier 2 – 3,250 Bloodpoints – Speeds for Healing, Repairing, Sabotaging, Unhooking, Cleansing, Blessing, and Unlocking is increased by 4%
- Tier 3 – 4,000 Bloodpoints – Speeds for Healing, Repairing, Sabotaging, Unhooking, Cleansing, Blessing, and Unlocking is increased by 6%
As a general perk available to all Survivors, it can easily become one of the most useful overall perks in the game. Spine Chill automatically activates whenever the Killer is looking in the player’s direction, and is within range.
When this happens, the Action Speeds in a variety of areas will be increased, ranging from Healing to Repairing and everything in between, helping them do what they need to and escape before the Killer catches up with them.
26 Windows Of Opportunity
Vault Locations Will be Highlighted Yellow, Letting Players See Where They Should Go Next
- Tier 1 – 2,500 Bloodpoints – Auras of objects within 24 meters are visible.
- Tier 2 – 3,250 Bloodpoints – Auras of objects within 28 meters are visible.
- Tier 3 – 4,000 Bloodpoints – Auras of objects within 32 meters are visible.
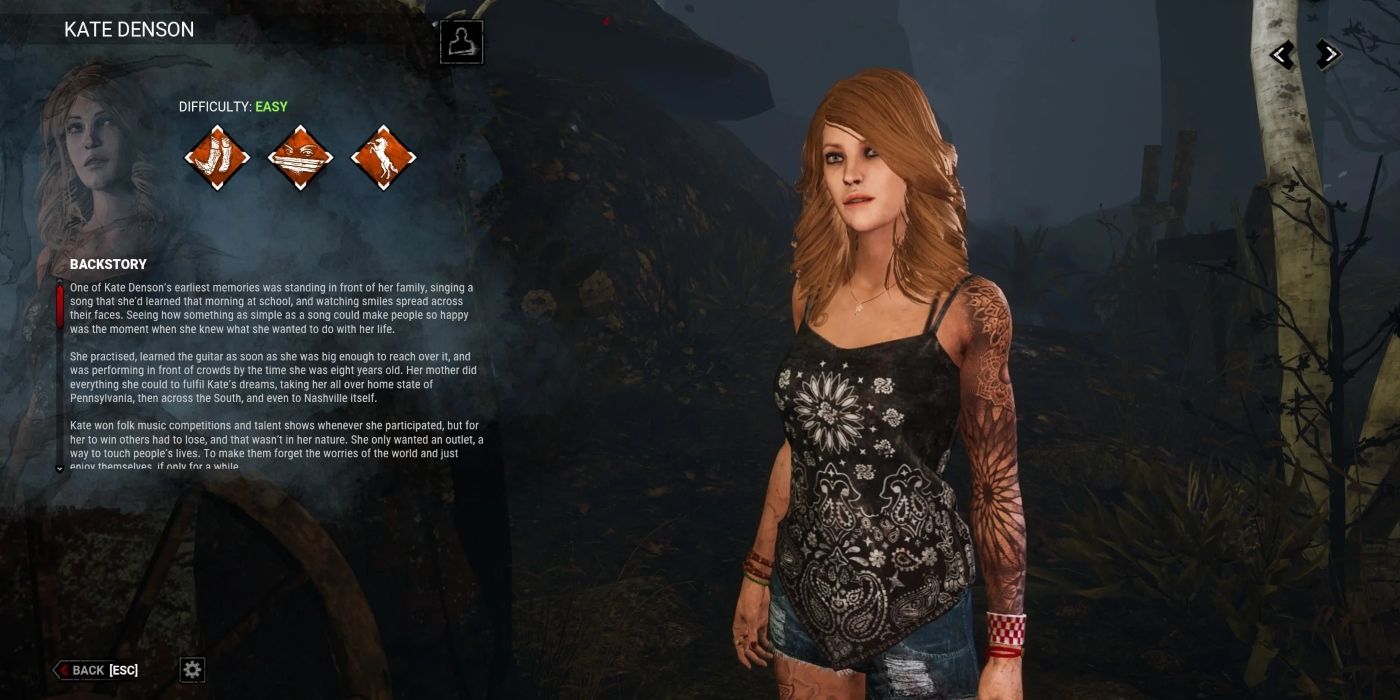
Utilizing objects such as breakable walls and pallets can be key when evading the Killer. Players who want an easier time finding these objects will want to have Windows of Opportunity. This perk, belonging to Kate Denson, allows players to see the auras of breakable walls, pallets, and windows from within a certain range that increases with each tier.
This perk is especially useful for beginners, as getting into a chase with a Killer on an unfamiliar map might be chaotic if players don’t know what’s around them. Veteran players may find themselves using this perk less and less, but whenever a new map is added to the game, returning to Windows of Opportunity for a round or two may not be the worst idea.
25 Finesse
Allows Survivors to Make Their Escape From Vault Hits
- Tier 1 – 2,500 Bloodpoints – Perk has a cooldown of 40 seconds
- Tier 2 – 3,250 Bloodpoints – Perk has a cooldown of 35 seconds
- Tier 3 – 4,000 Bloodpoints – Perk has a cooldown of 30 seconds
Perks that increase Survivors’ speed always come in clutch during chases, as Killers have a faster base speed than Survivors, and can gain bloodlust to become even faster, so it’s only fair they have something that can even the playing field a bit.
Lara Croft has one such perk called Finesse, which gives players a 20% speed to players vaults while they are healthy, which can be needed for players to escape those deadly window hits. The fact that it has a cooldown rather than granting exhaustion makes this powerful, but it is offset by the fact players can only benefit while they are healthy.
24 Off the Record
Hides the Survivor’s Aura from the Killer, Allowing Them to Remain Undetected
- Tier 1 – 2,500 Bloodpoints – Perk is activated for 60 seconds
- Tier 2 – 3,250 Bloodpoints – Perk is activated for 70 seconds
- Tier 3 – 4,000 Bloodpoints – Perk is activated for 80 seconds
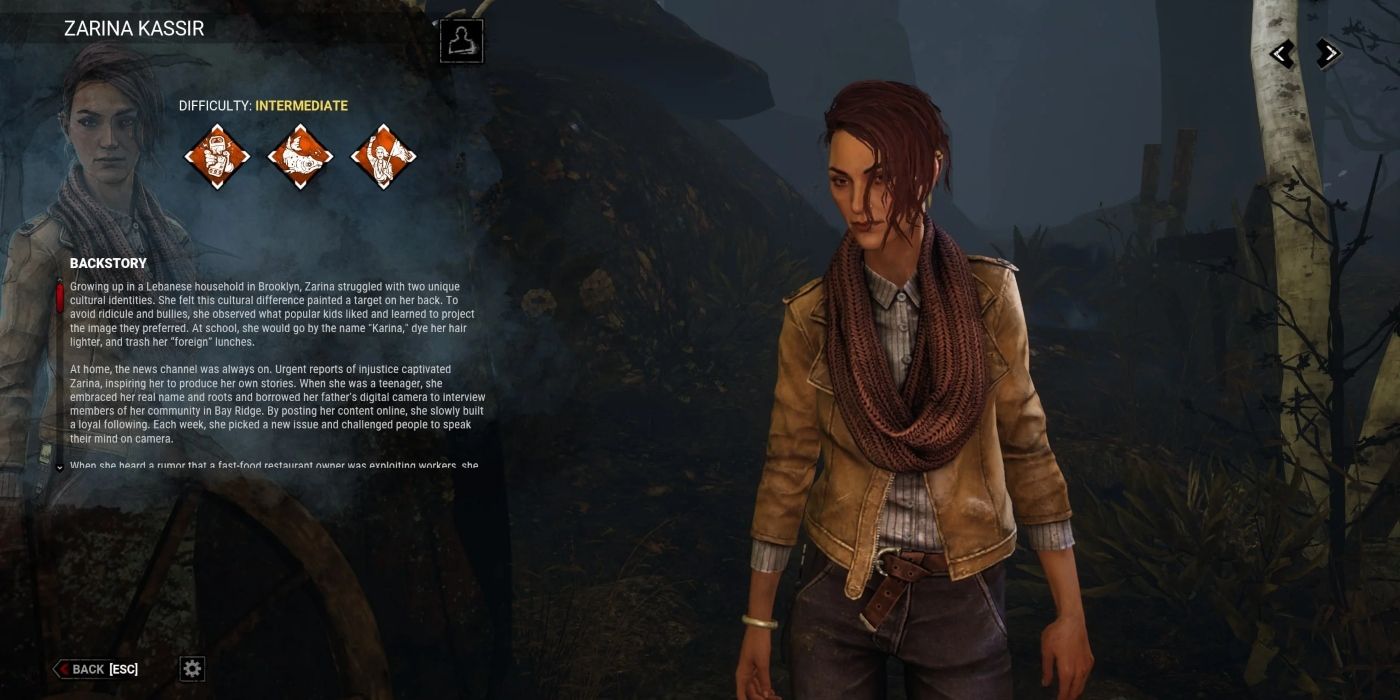
Off the Record is a great perk that players can use to avoid being found by the Killer. A perk belonging to Zarina Kassir, Off the Record, activates after players are unhooked, whether by themselves or from other Survivors. For up to the next 80 seconds, the player’s aura will be undetectable to the Killer, meaning they can easily slip away completely unnoticed.
When this happens, players are also given the Endurance status effect and the suppression of any Grunts of Pain. So not only will players’ auras be invisible with this perk, but they’ll also be able to slip away silently.
23 For The People
At the Cost of the Players’ Health, They Can Immediately Heal Another
- Tier 1 – 2,500 Bloodpoints – Broken after healing lasts for 80 seconds
- Tier 2 – 3,250 Bloodpoints – Broken after healing lasts for 70 seconds
- Tier 3 – 4,000 Bloodpoints – Broken after healing lasts for 60 seconds
For players wanting to help heal others, For the People may be an effective perk. It can only be activated if the player is at full health, but For the People allows players to heal other survivors in a full Health State without the need for a Med-Kit. As a downside, doing so will make the player become the Obsession. However, having this perk gives players a 0% chance of being the Killer’s initial Obsession.
It would be understandable if some players might hesitate to grab this perk since they become the new Obsession instantly after using it. However, for any players who want to focus on teamwork and helping others over themselves, For the People can be a powerful grab. This perk is exclusive to Zarina Kassir.
22 We’re Gonna Live Forever
Give Endurance to Other Survivors to Help Them Survive
- Tier 1 – 2,500 Bloodpoints to consume 1 token to grant Endurance status effect for 6 seconds.
- Tier 2 – 3,250 Bloodpoints to consume 1 token to grant Endurance status effect for 8 seconds.
- Tier 3 – 4,000 Bloodpoints to consume 1 token to grant Endurance status effect for 10 seconds.
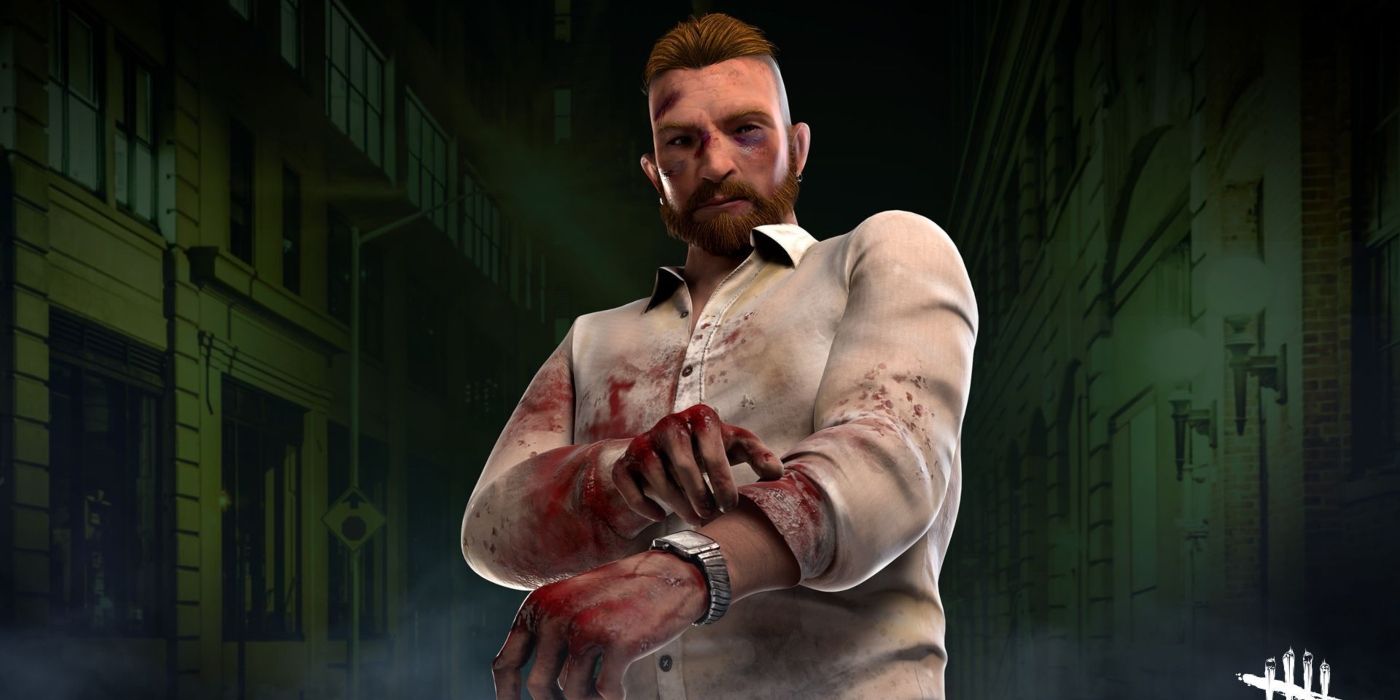
We’re Gonna Live Forever is one of the strongest assets players can acquire if they want to play as a team. Exclusive to David King, We’re Gonna Live Forever first increases players’ Healing Speed significantly when healing a dying Survivor. By performing helpful activities, players can acquire tokens. These activities include performing a Safe Hook Rescue, blinding the Killer to rescue a carried Survivor, or taking a Protection Hit for any injured Survivor.
In turn, players can then use these tokens to grant the Endurance status effect to any Survivor who has been healed from the Dying State. The Endurance effect also lasts longer with each increased Tier. This perk may not do much for the player using it, but it does wonders for the other players in the game.
21 Wicked
Guarantees Escape From the Dreaded Basement Hooks
- Tier 1 – 2,500 Bloodpoints – The Aura of the Killer is revealed for 16 seconds after the player is unhooked by any means.
- Tier 2 – 3,250 Bloodpoints – The Aura of the Killer is revealed for 18 seconds after the player is unhooked by any means
- Tier 3 – 4,000 Bloodpoints – The Aura of the Killer is revealed for 20 seconds after the player is unhooked by any means.
Basement hooks are the scariest hooks to be placed on in the game, as they are inside a building with one exit and entrance, making them easy for Killers to guard. Killers such as Trapper or Hag can make them nigh impossible by placing many traps to ensnare rescuers, and Insidious Bubba can hide silently and strike before the other Survivor can unhook or escape.

Related
Dead by Daylight: All Sable Ward Cosmetics, Ranked
The latest Dead by Daylight Survivor has turned every trial into a fashion show. Here are Sable Ward’s best looks in the game.
Wicked allows Survivors to take matters into their own hands, guaranteeing a successful unhook from a basement hook, and revealing the aura of the Killer to them so they can see if the Killer is headed right back in their direction or not. If they aren’t, players could make use of Sable’s other perks that revolve around the basement.
20 Deliverance
Raises the Chances of Self-Unhook to 100%
- Tier 1 – 2,500 Bloodpoints – Broken after unhooking lasts 100 seconds.
- Tier 2 – 3,250 Bloodpoints – Broken after unhooking lasts 80 seconds.
- Tier 3 – 4,000 Bloodpoints – Broken after unhooking lasts 60 seconds.
It’s nice to get rewarded for being a good team player. Deliverance does just this by giving the player a 100% guarantee to Self-Unhook after performing a Safe Hook Rescue for someone else. There is no time limitation for this perk and it can be activated repeatedly.
Related
Beginner Tips for Dead by Daylight
In a game of life and death, these eleven tips can help newcomer Survivors and Killers in Dead by Daylight tip the scales in their favor.
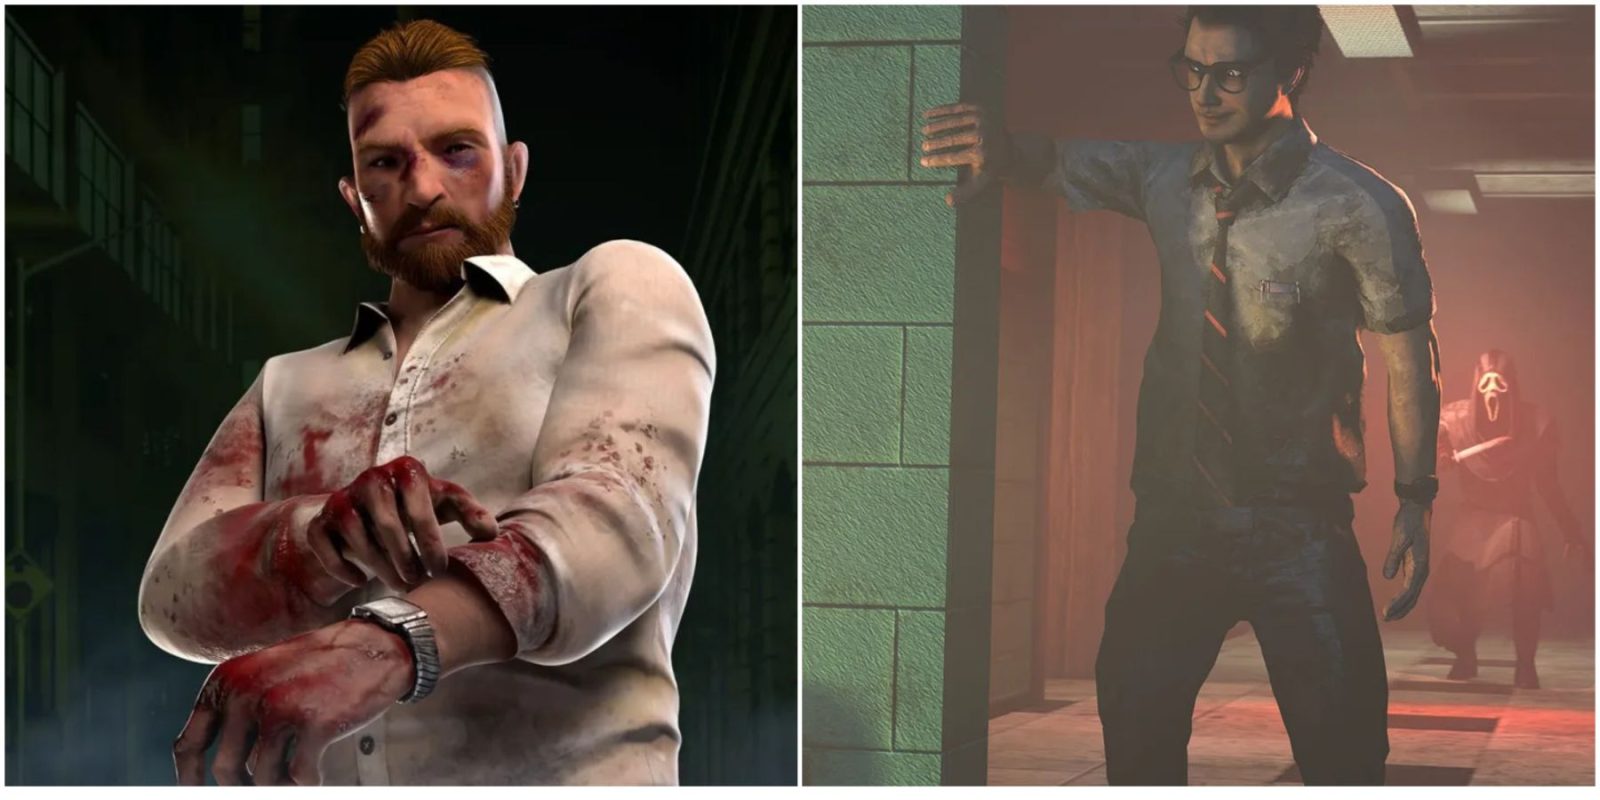
The ability to self-unhook is tremendous towards the end of the round whenever other teammates might be dead. It can also come in handy for players who are sacrificing themselves to help others get away. A Survivor that can unhook themselves is a major headache for the Killer. Adam gets this ability automatically.
19 Circle of Healing
Self Care With Greater Efficiency
- Tier 1 – 2,500 Bloodpoints – Healing speed increased by 50%
- Tier 2 – 3,250 Bloodpoints – Healing speed increased by 75%
- Tier 3 – 4,000 Bloodpoints – Healing speed increased by 100%
As far as healing goes, Circle of Healing is one of the most valuable perks in the game. A boon belonging to Mikaela Reid, Circle of Healing can be activated during the Trial by creating a Boon Totem. Doing so will create a soft chime within a radius of 24 meters. Any player within that 24-meter radius will have their healing speeds increased. They will also unlock the Self-Care ability, meaning that they can self-heal at 50% of their normal healing speed without a Med-Kit.
However, it comes at the cost that the Survivors can no longer have a Med-Kit on themselves, and that the healing speed no longer stacks when using the Med-Kit. But, the ability to heal at a greater speed can still prove clutch in close matches.
Source link












Leave a Reply