Quick Links
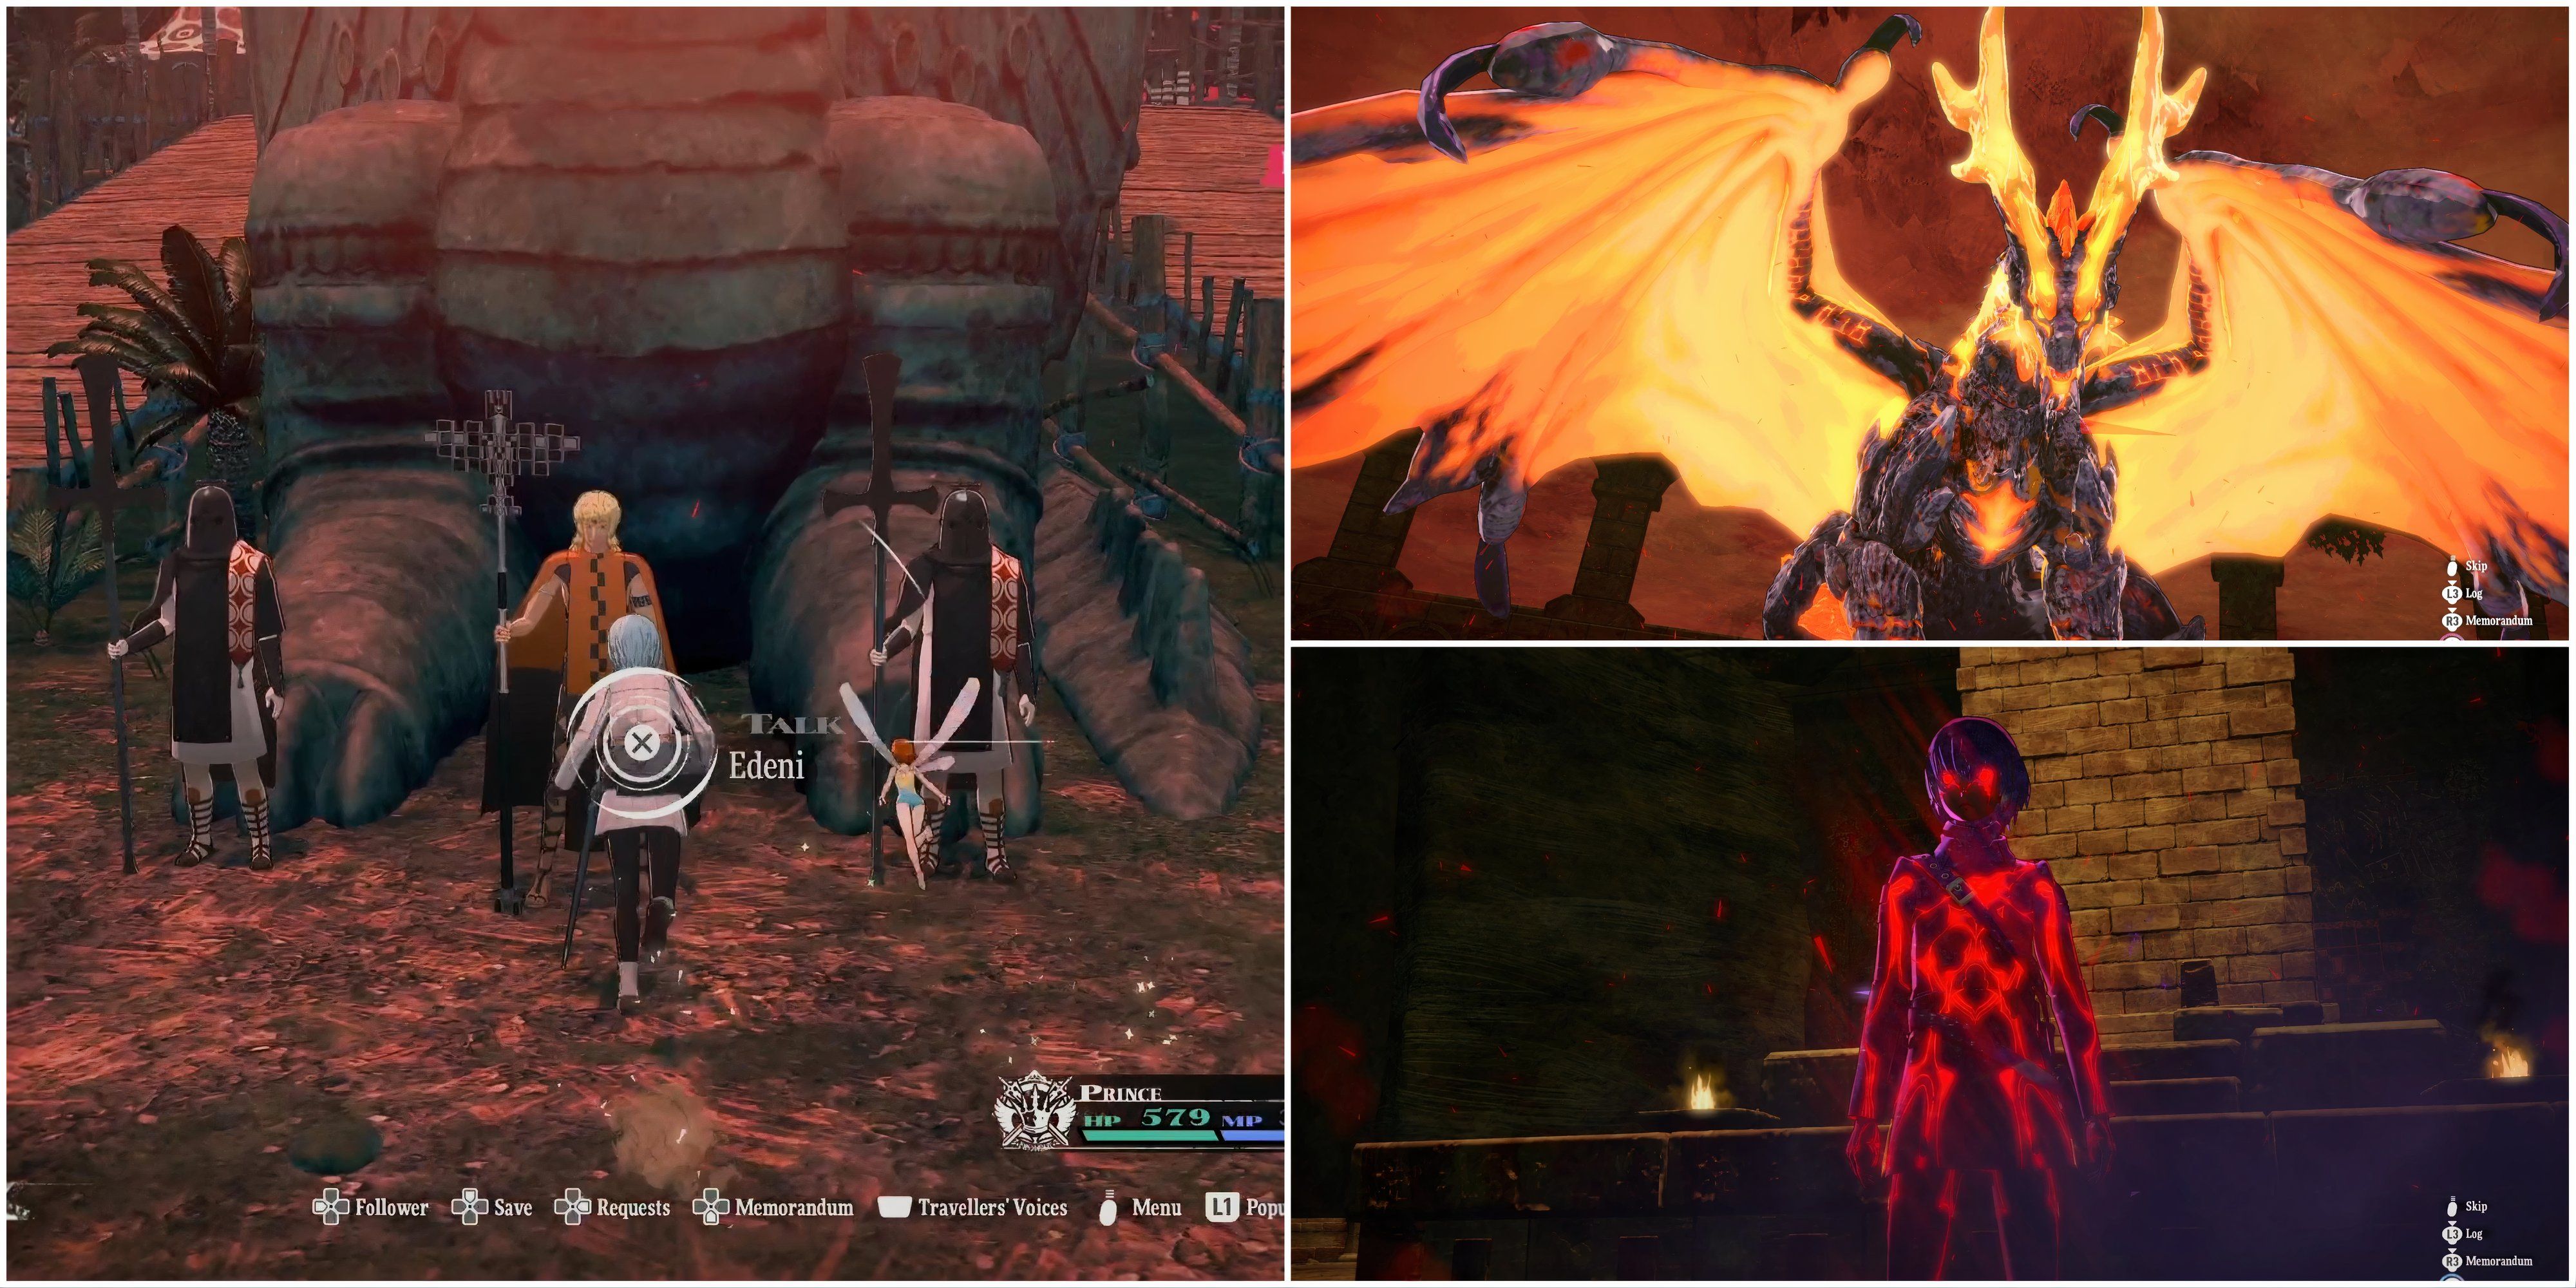
During the final month of Metaphor: ReFantazio, the world will be covered in the new weather effect called Dread, and you’ll be given one month to prepare for the final battle with Louis. During this time, you’ll get the Trial Of The Dragon, which will have you face some of the hardest bosses in the game.
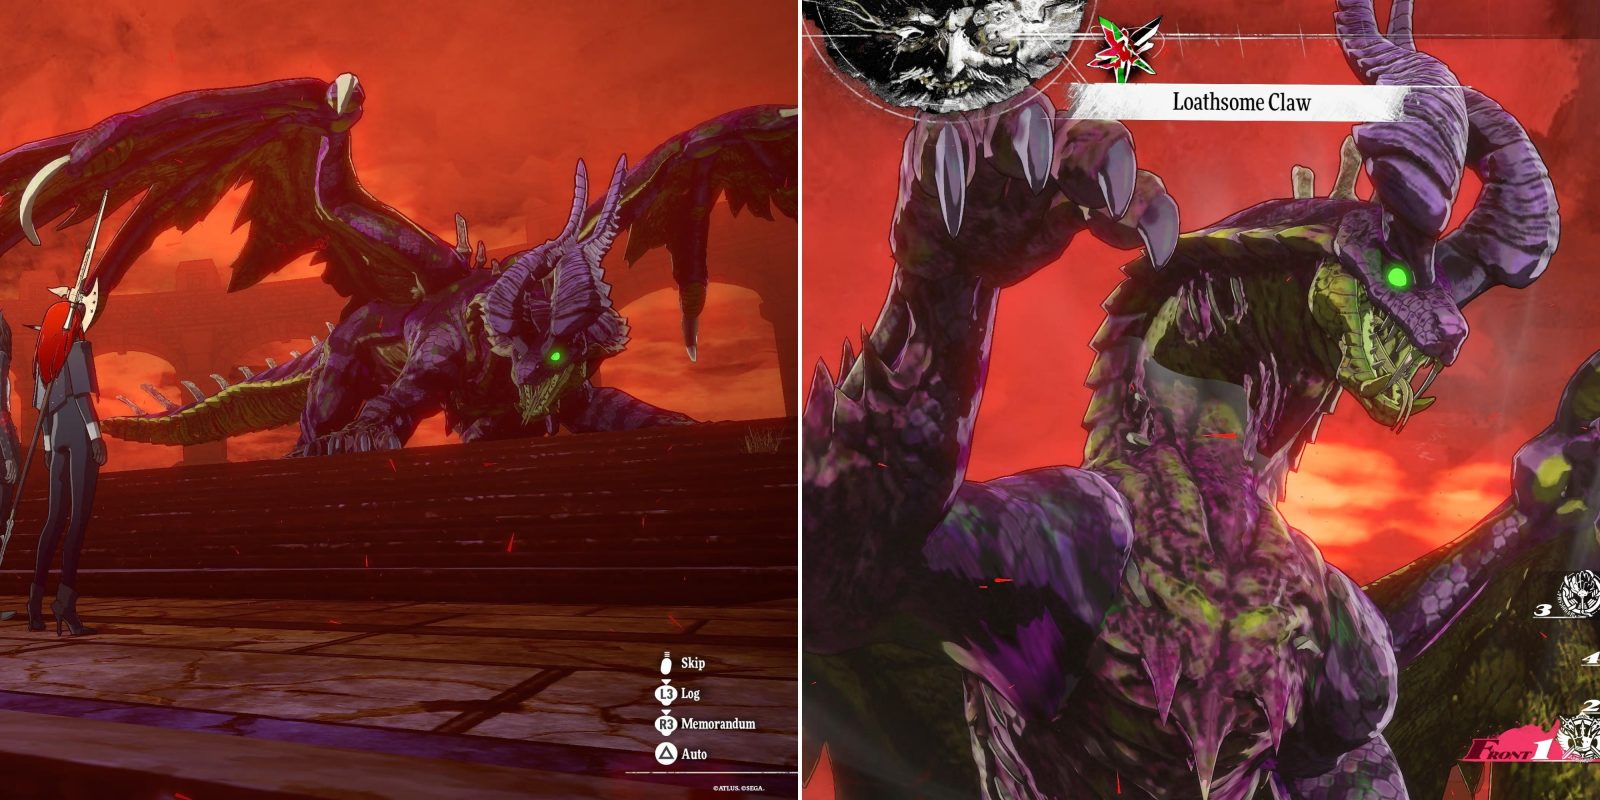
These dragons can be fought in any order you want, and the Devourer Of Stars is arguably the hardest one. This fight has multiple gimmicks that have you fighting with an arm and leg tied behind your back, but it is possible to win with the right strategy and a good bit of luck.

Related
Metaphor: ReFantazio – How to Beat All Trials Of The Dragon
Metaphor: ReFantazio has four challenging Dragon Trials, each ending with a powerful boss fight. Here’s a guide on completing all trials successfully.
- Junah: Royal Masked Dancer – Debilitate, Medicall, Ice-Blue Dance, Dekaja, Ren Patra, Makarakarn
- Protagonist: Prince – Royal Slash, Hero’s Cry, Tetrakarn
- Strohl: Warlord – Shelter Formation, Megidola, Frigid Fortress Tactic
- Eupha: Royal Summoner – Summon Fairy (Modified), Vitalja, Matarukaja, Marakukaja
- Bring lots of Curative Coney Roast, other party-wide healing items, and Balms of Life.
- Max out Catherina and Gallica’s bond ranks to help your odds.
While not a necessity, max out Catherina’s bond and make sure she is at the tower with you this day, as she will begin the battle by damaging the boss for a free 5,000 points. Gallica’s bond rank will only give her a chance of jumping into the battle and giving you an extra two Press Turn icons randomly, though it greatly helps whenever it does trigger. Some skills listed above can be moved to other Archetypes through Skill Inheritance, but most of the listed skills are a necessity.
Also, try to equip gear of any kind that makes your party resistant to Hex.

Related
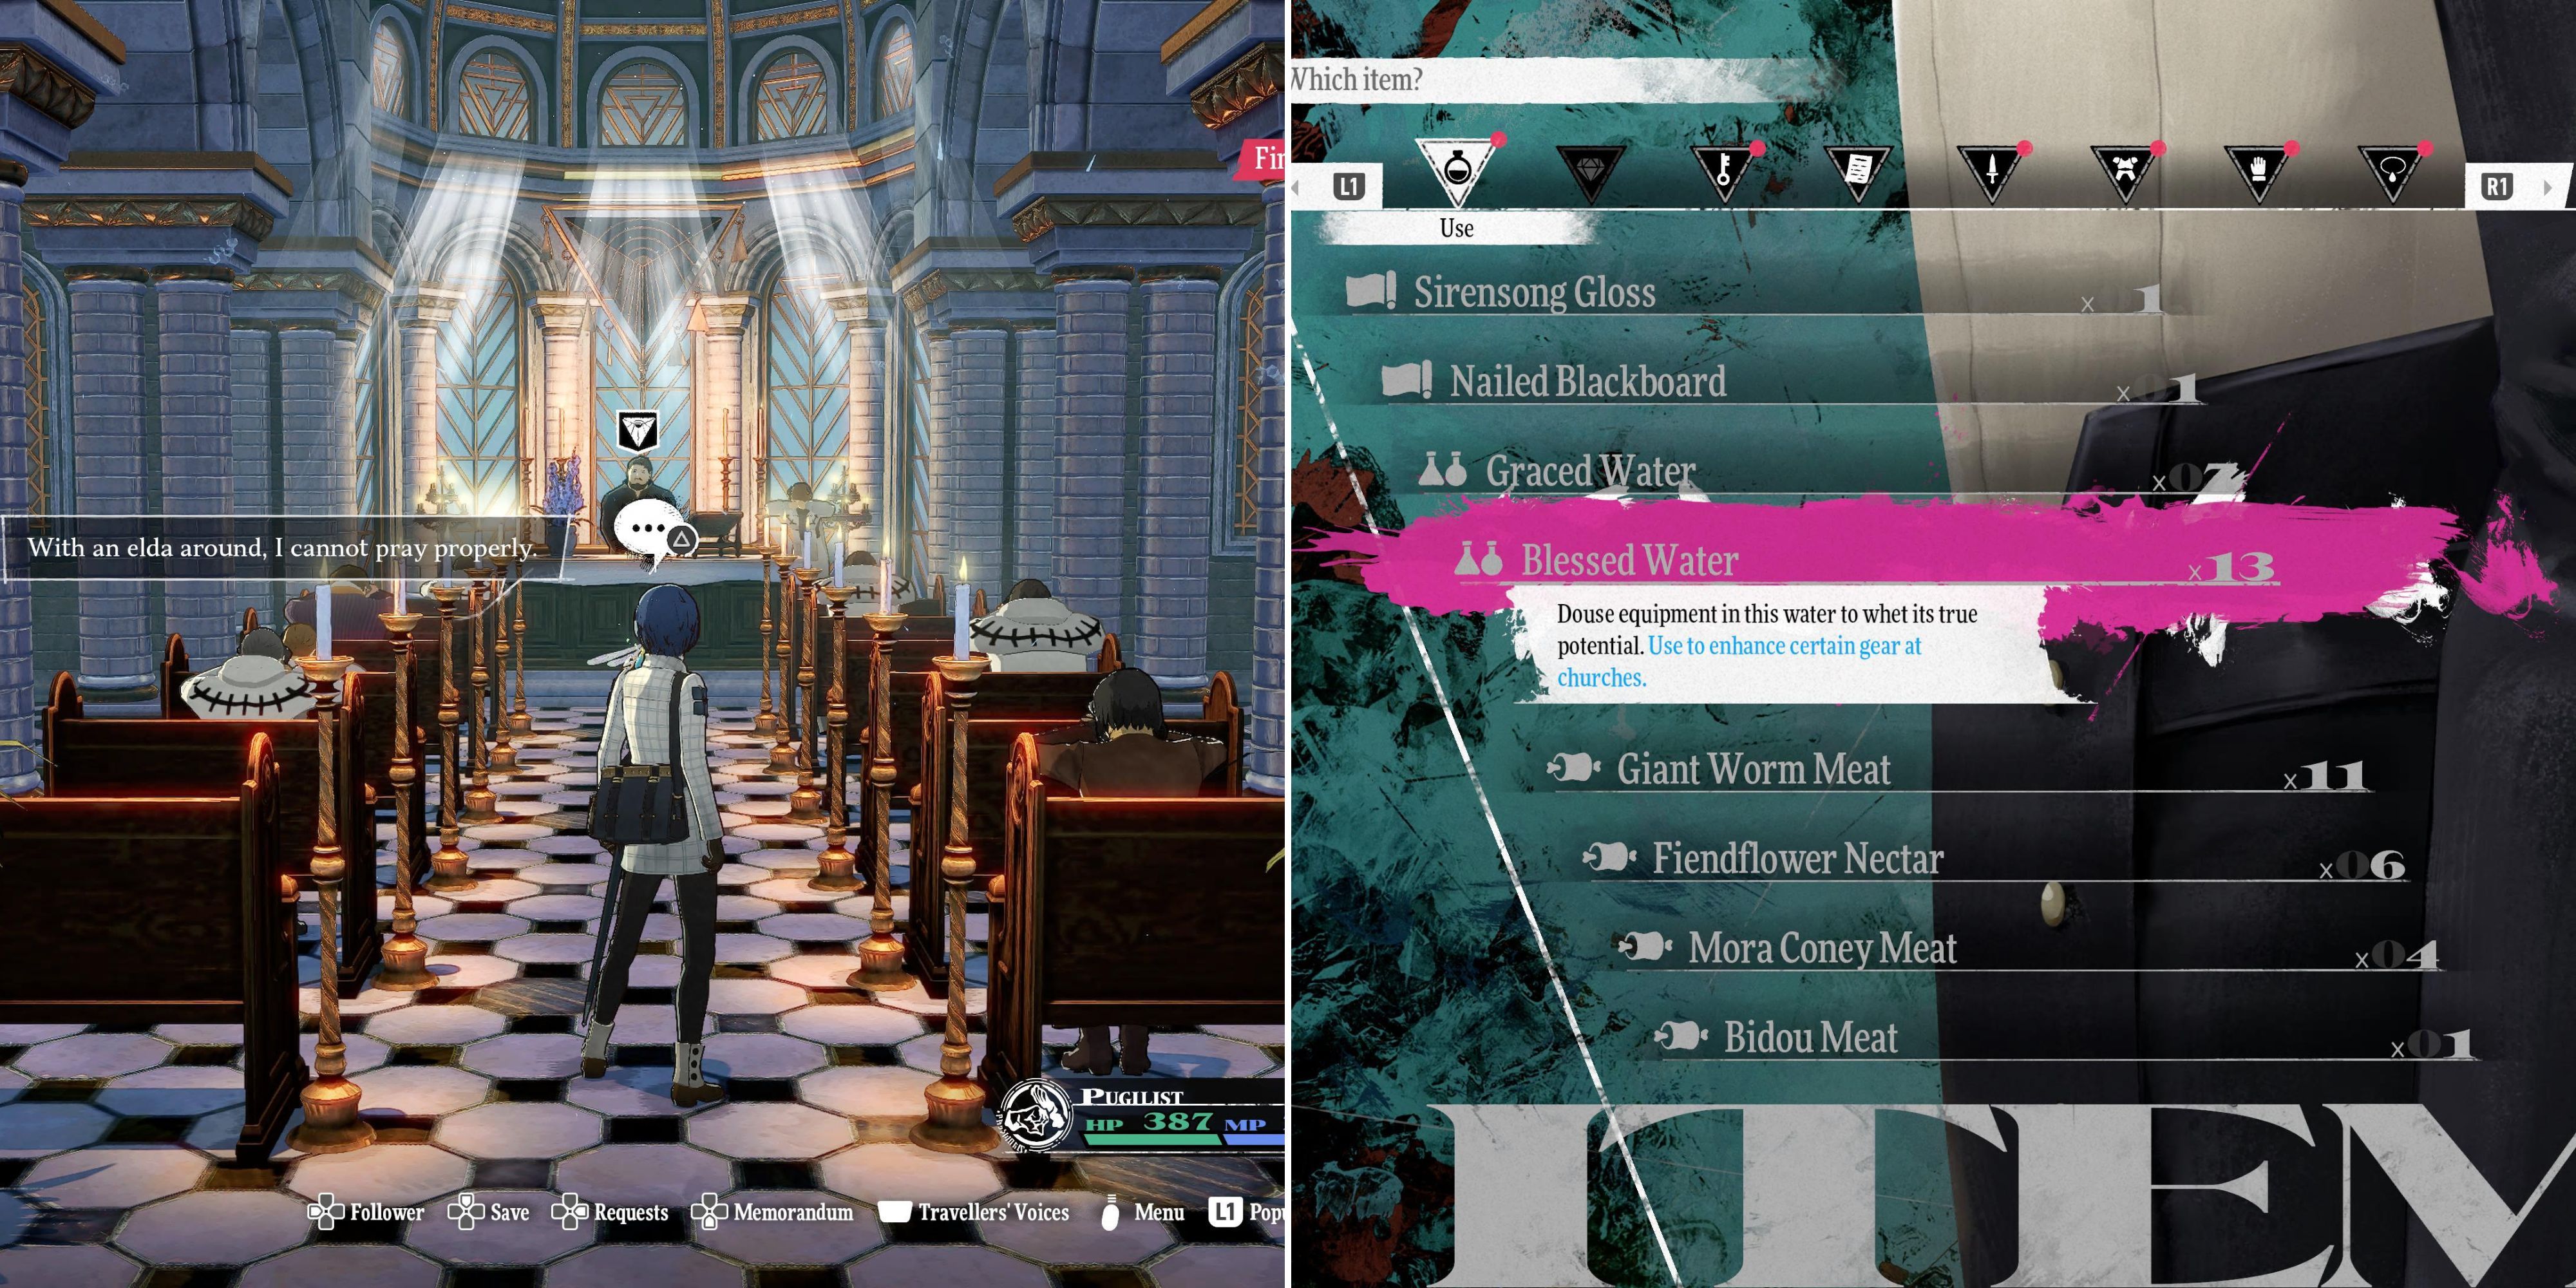
Metaphor: ReFantazio – Where To Get Blessed, Graced, & Heavenly Water
Blessed, Graced, and Heavenly Water are used to purify gear at the church in Metaphor: ReFantazio; here’s how to get each one.
This boss has multiple gimmicks you’ll need to work with, and it’s best to accept that there is a lot of RNG with this fight, and you may need to start over in order to get the ideal run. The gimmicks are:
- This boss reflects all types of damage, so Almighty is your only option, naturally.
- On its first turn, the dragon will use a unique ability that sets everyone’s health to a maximum of 300 for the entire fight.
Whenever the dragon doesn’t have buffs, it will use Great Dragon Shriek twice to get its attack maxed out, though this will use two Press Turn icons. It also has Dekunda, which will reset any debuffs you apply, and Reset All, which undoes any buffs on your entire party. These all may seem like great disadvantages, and they are, though they can be exploited to choose how the boss will use its turns.
On your first turn, use Ice-Blue Dance from the Masked Dancer, followed by Frigid Fortress Tactic from your Warlord, ending with Summon Fairy (Modified) from the Royal Summoner. This chain will be your main damage-dealing method, along with powerful Royal Slashes from the Protagonist whenever possible. Use Shelter Formation on a second round of turns to get the party’s defense up, and use Dekaja when the bosses’ attack is up to dispel all three ranks and force it to get those buffs active again. The occasional debilitate will also help either lower the boss’s defense and hit rate, while also making it waste a turn on Dekunda.
Tetrakarn and Makarakarn are absolute necessities in this fight.
You’ll also want to cast Makarakarn on the Warlord, as Toxic Breath will hit his weakness, but Makarakarn will protect him and also end the boss’s turn. It’s also helpful to have a Tetrakarn on the Prince, leading to the occasional basic attack which ends the boss’s turn. Save Hero’s Cry in case three party members go down or two go down towards the end. For the most part, this will be a long battle of you hitting the boss only when it’s very safe, as you’re goal each turn is to make sure it will waste its next set of turns, waiting for the one where it misses or hits Makarakarn or Tetrakarn. When that does happen, go all out with the ice attack chain, and also try to buff the protagonist with Vitalja to boost the damage from Royal Slash.
Great Dragon’s Wrath
The boss’s ace in the hole it may use towards the middle of its health bar is Great Dragon’s Wrath, which gives it four more Press Turn Icons, for a total of seven if it uses it on its first turn in Hard Mode. This is why it’s important to keep Tetrakarn and Makarakarn active, as hitting one of those will negate this skill and the following turn. If you don’t have one of these active, all you can do is hope the boss misses, as it will buff itself and almost always wipe out the party.


Leave a Reply