Terminus brings back the elaborate easter eggs that Treyarch’s Zombies mode is known for. Completing this quest is one of the most difficult things you can do in Call of Duty: Black Ops 6, but it comes with some exclusive cosmetics and useful in-game upgrades if you choose to continue the match once you’re done with the questline.

Related
Call Of Duty: Black Ops 6 Zombies – Every Hidden Easter Egg On Terminus
Here’s your go-to list for every hidden easter egg available on Terminus.
In this guide, we give a thorough walkthrough of how to complete the main Terminus easter egg, everything from quest steps to optimal strategies for solo and group play. We also cover how to craft the DRI-11 Beamshasher, how to decode the resonator machine, and provide some attack breakdowns for the Patient 13 final boss.
Loadout Recommendations
Terminus’ main easter egg has two mandatory boss fights, one halfway through the quest and a multi-phase fight at the finale. You’ll need to be armed to the teeth to finish this easter egg, especially if you attempt to complete the entire questline solo.
Weapons
|
ASG-89 |
Shotgun |
Best weapon for the easter egg. Excellent burst DPS and precision damage while ADS. |
|---|---|---|
|
GS45 |
Pistol |
Second best option. Great AoE damage, but has ammo issues. |
|
LR 7.62 |
Sniper Rifle |
Great for add clear. Absurd AoE damage, but low fire rate. |
|
Beamsmasher |
Wonder Weapon |
Required for the easter egg. Alt-fire slows targets, primary fire deals high DPS. |
Our main weapon recommendations for this easter egg are the ASG-89 and the Beamsmasher. At least one member of your squad needs a Beamsmasher to complete the easter egg, so having one is non-negotiable. At the very least, one is guaranteed from the easter egg itself.
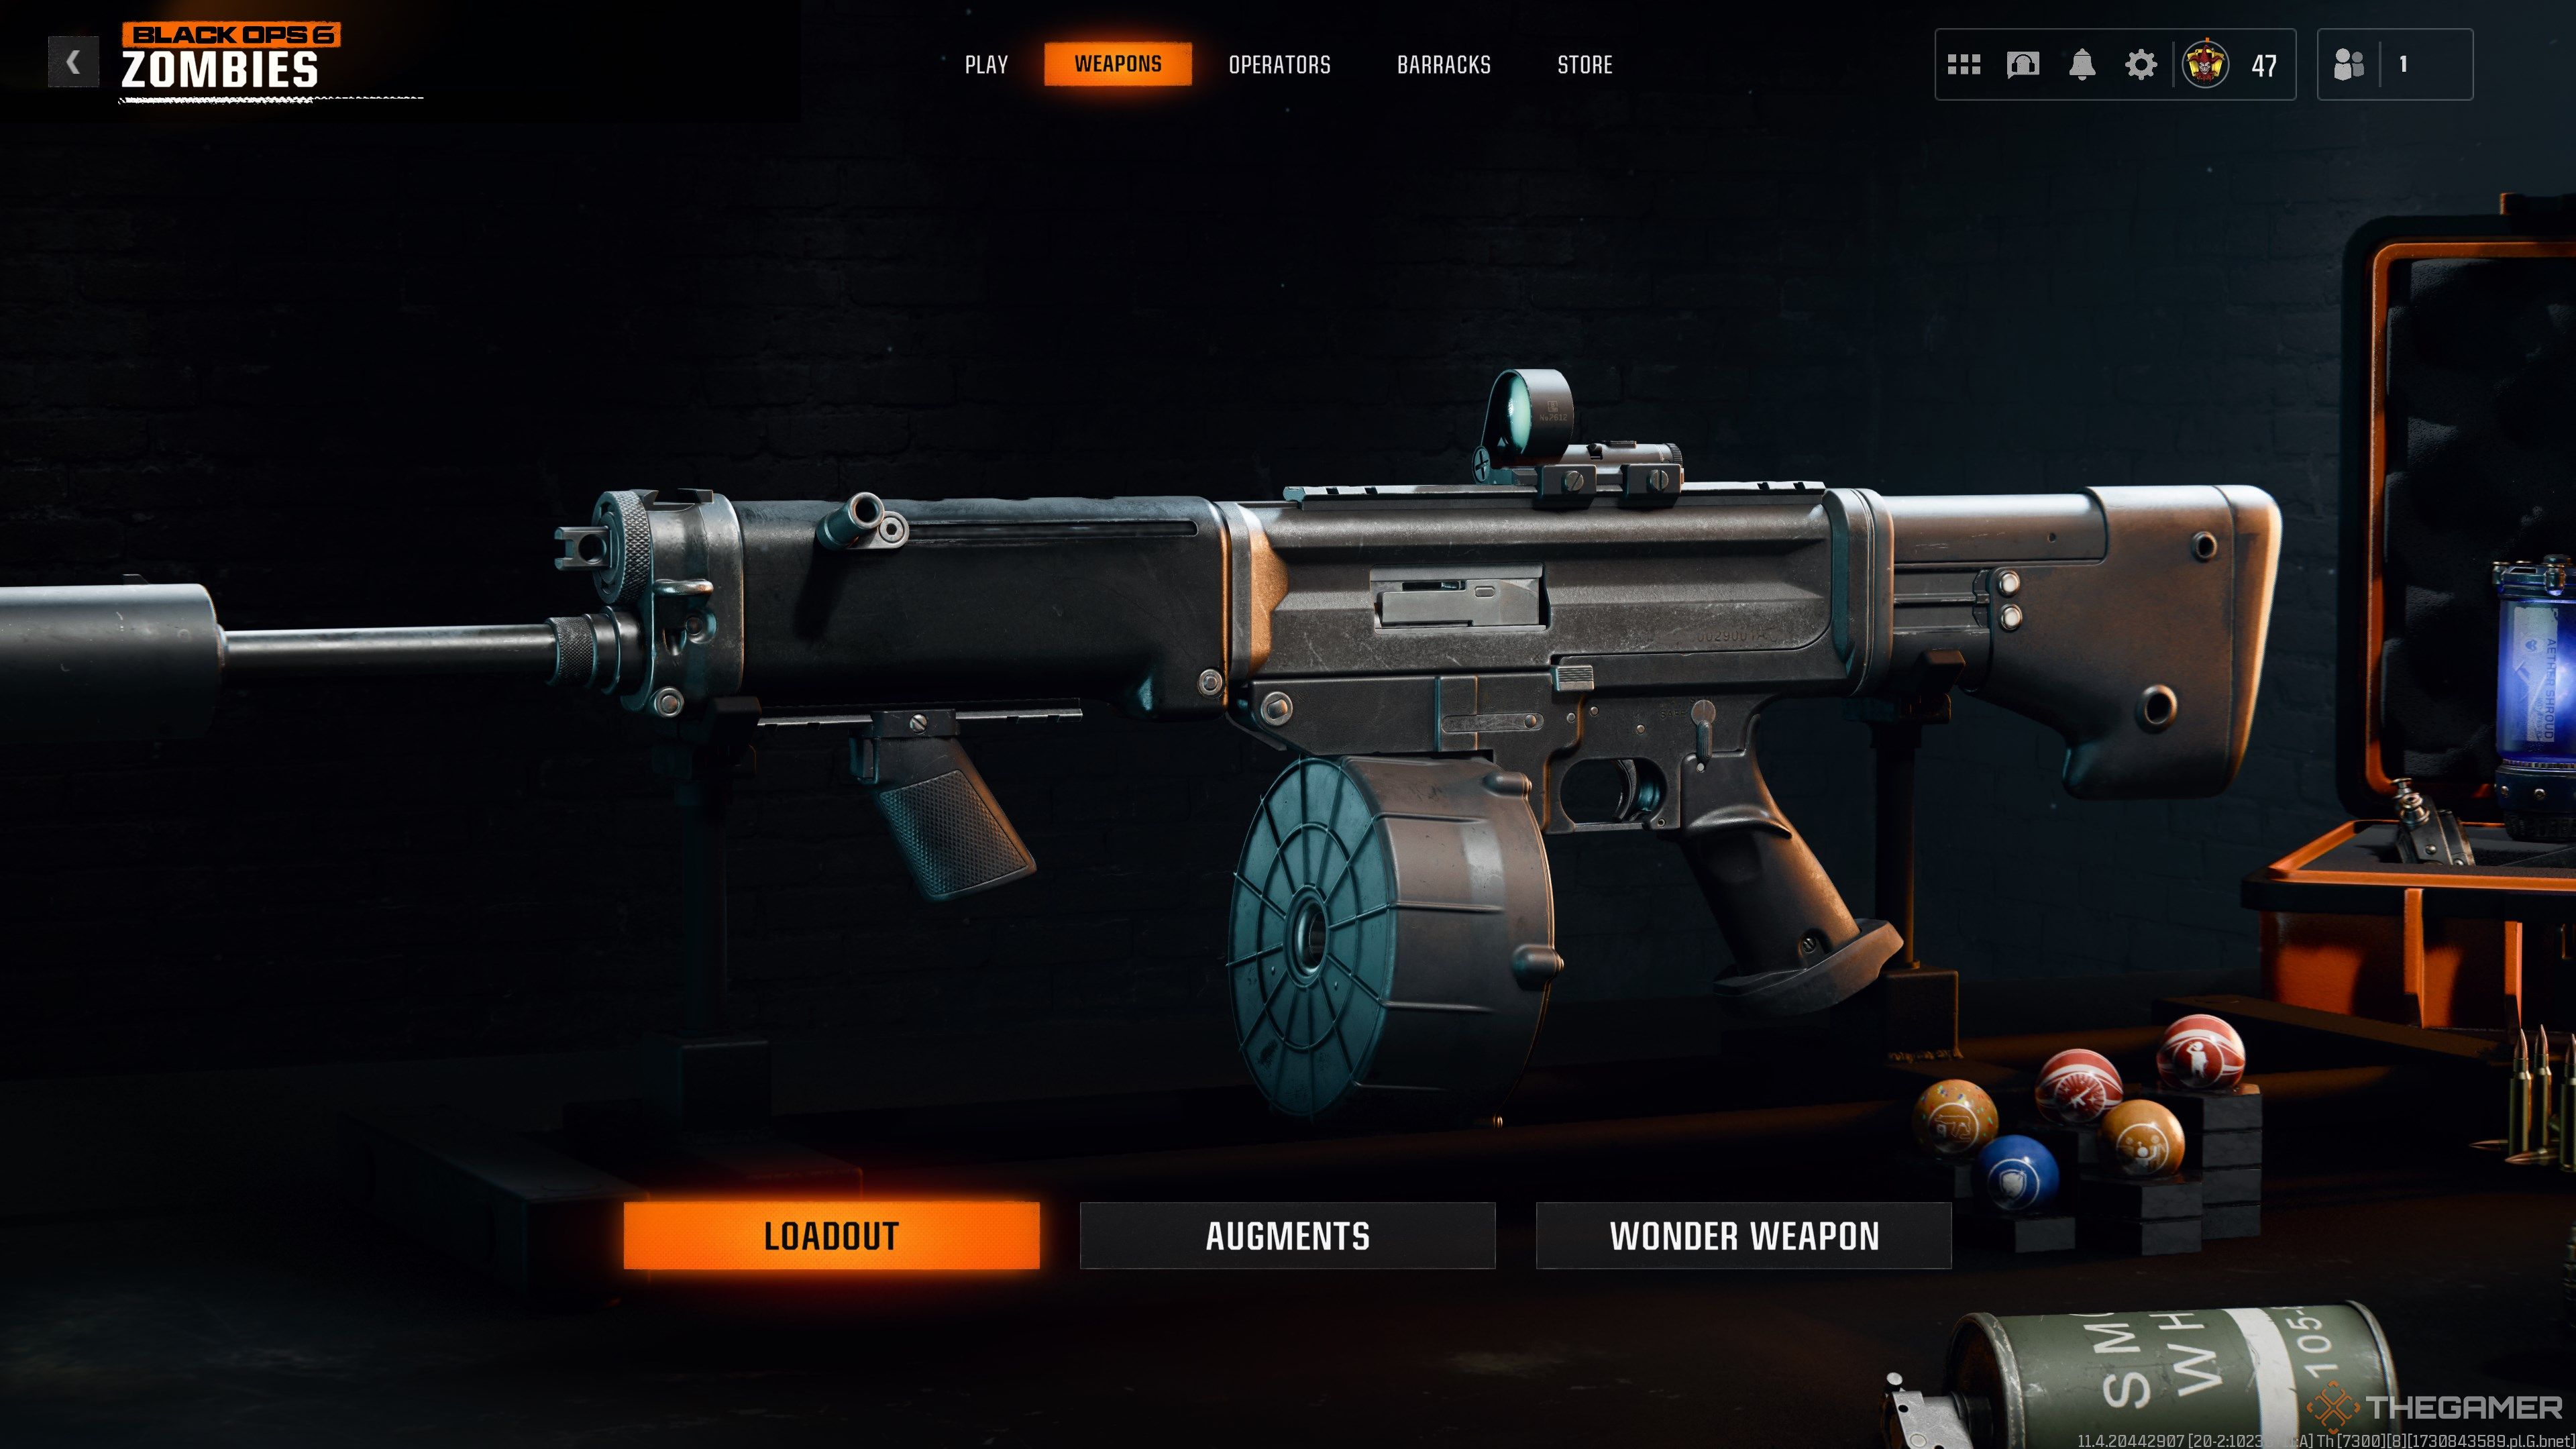
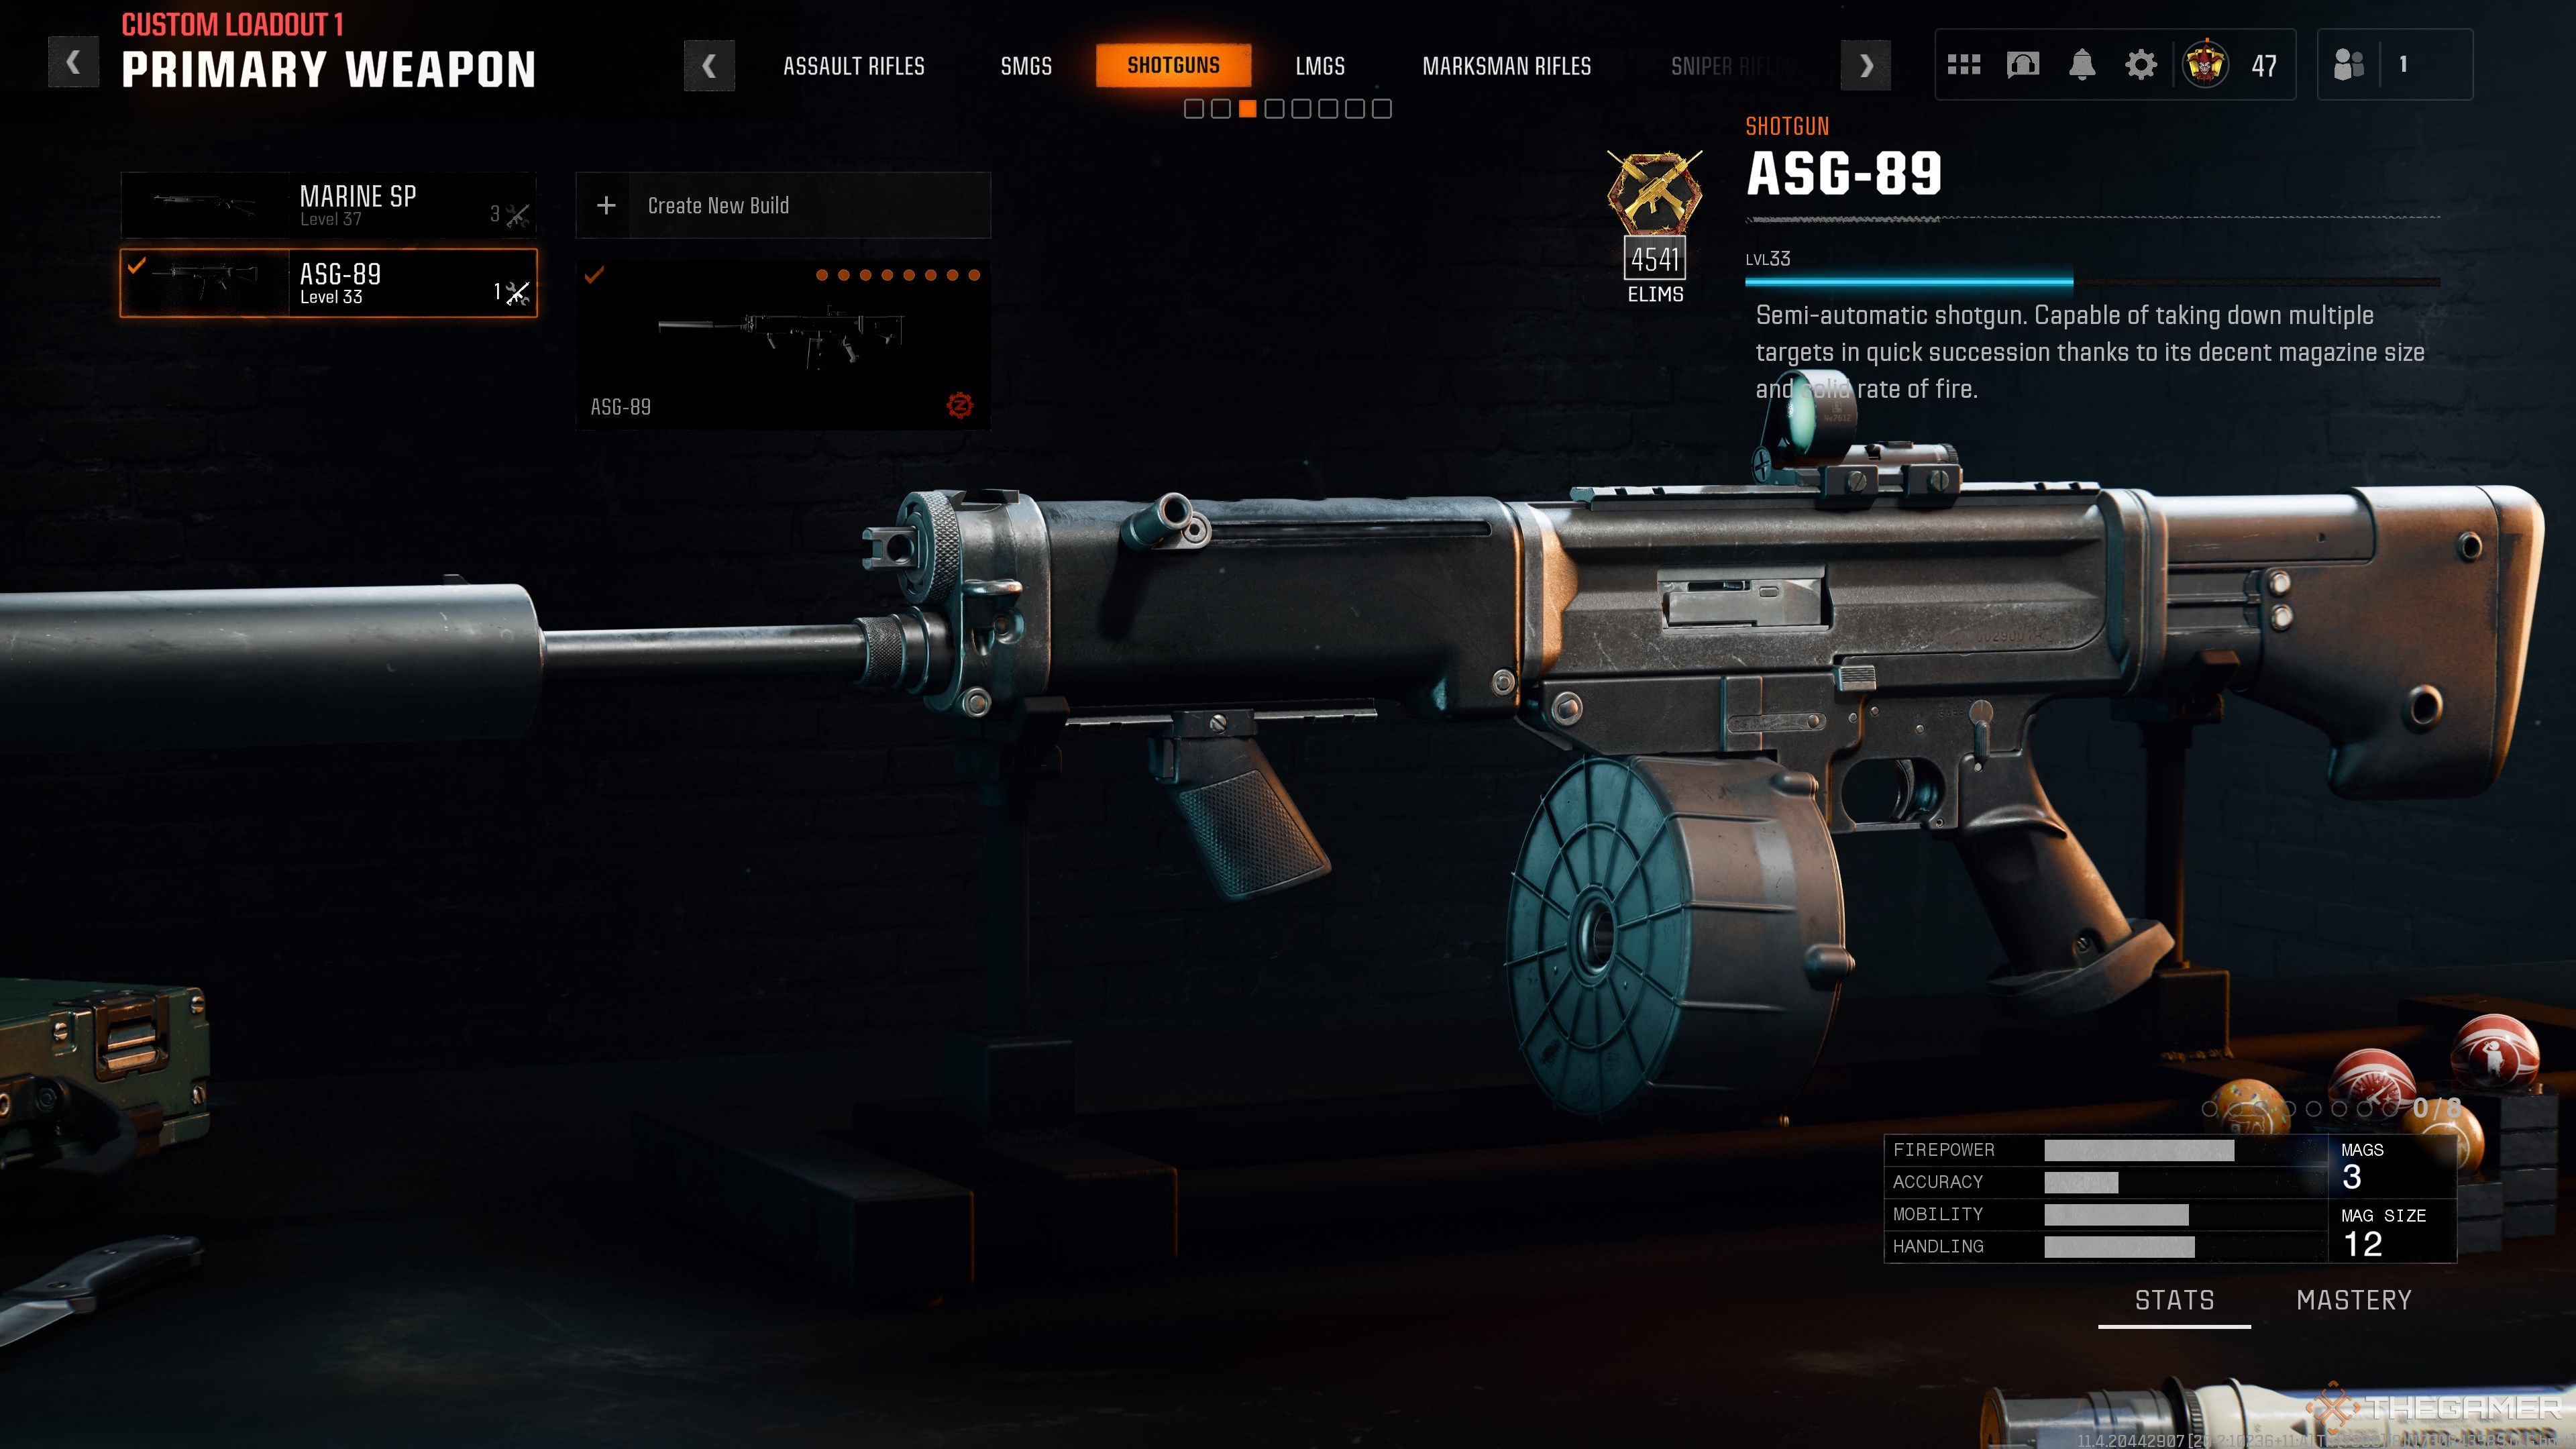
Excluding the wonder weapon, you’ll want the ASG-89. It’s a semi-auto shotgun that chews through hordes and can deal excellent single-target DPS when Pack-A-Punched. Build the weapon for ADS speed and magazine size, and you should melt through the boss fights with no problem.
If explosives are more your style, give the GS45 a try. This pistol turns into an explosive weapon when Pack-A-Punched, doubling as a strong crowd control tool and a single-target DPS option. The LR 7.62 is generally better in both categories, but its slow fire rate and ADS speed make it tricky to use in the final boss fight; pick whichever weapon you prefer.
Augments
|
Tribologist |
PhD Flopper |
Doubles your slide distance and speed. Trivializes the final boss’ attack patterns. |
|---|---|---|
|
Dying Wish |
Quick Revive |
If you would die, Quick Revive is lost instead. Effectively a cheat death perk. Downright mandatory for solo attempts. |
|
Armor Mitigation |
Jugger-Nog |
Greatly increases your armor’s damage mitigation. Allows you to comfortably survive Amalgam grab attacks. |
You’ll need to fight multiple Amalgams and a fairly tough boss, so you’ll want augments that buff your survivability and mobility. Tribologist for PhD Flopper is your strongest option here. This doubles your slide distance, allowing you to slide past hordes of undead. It’s especially useful for avoiding the final boss’ slam attacks.
Quick Revive’s Dying Wish augment allows you to take lethal damage without becoming downed.
There’s no limit to how many times you can purchase Quick Revive with this augment, so make sure Quick Revive is always active before you attempt a new step.
We also recommend you use the Hardened Plates augment for Jugger-Nog. This greatly reduces the HP damage you receive while you have armor plates active, allowing you to tank Amalgam grab attacks and other high-damage sources.
Equipment
|
Combat Axe |
Lethal |
Reusable lethal equipment that can trigger Stamin-Up’s Hot Foot augment. |
|---|---|---|
|
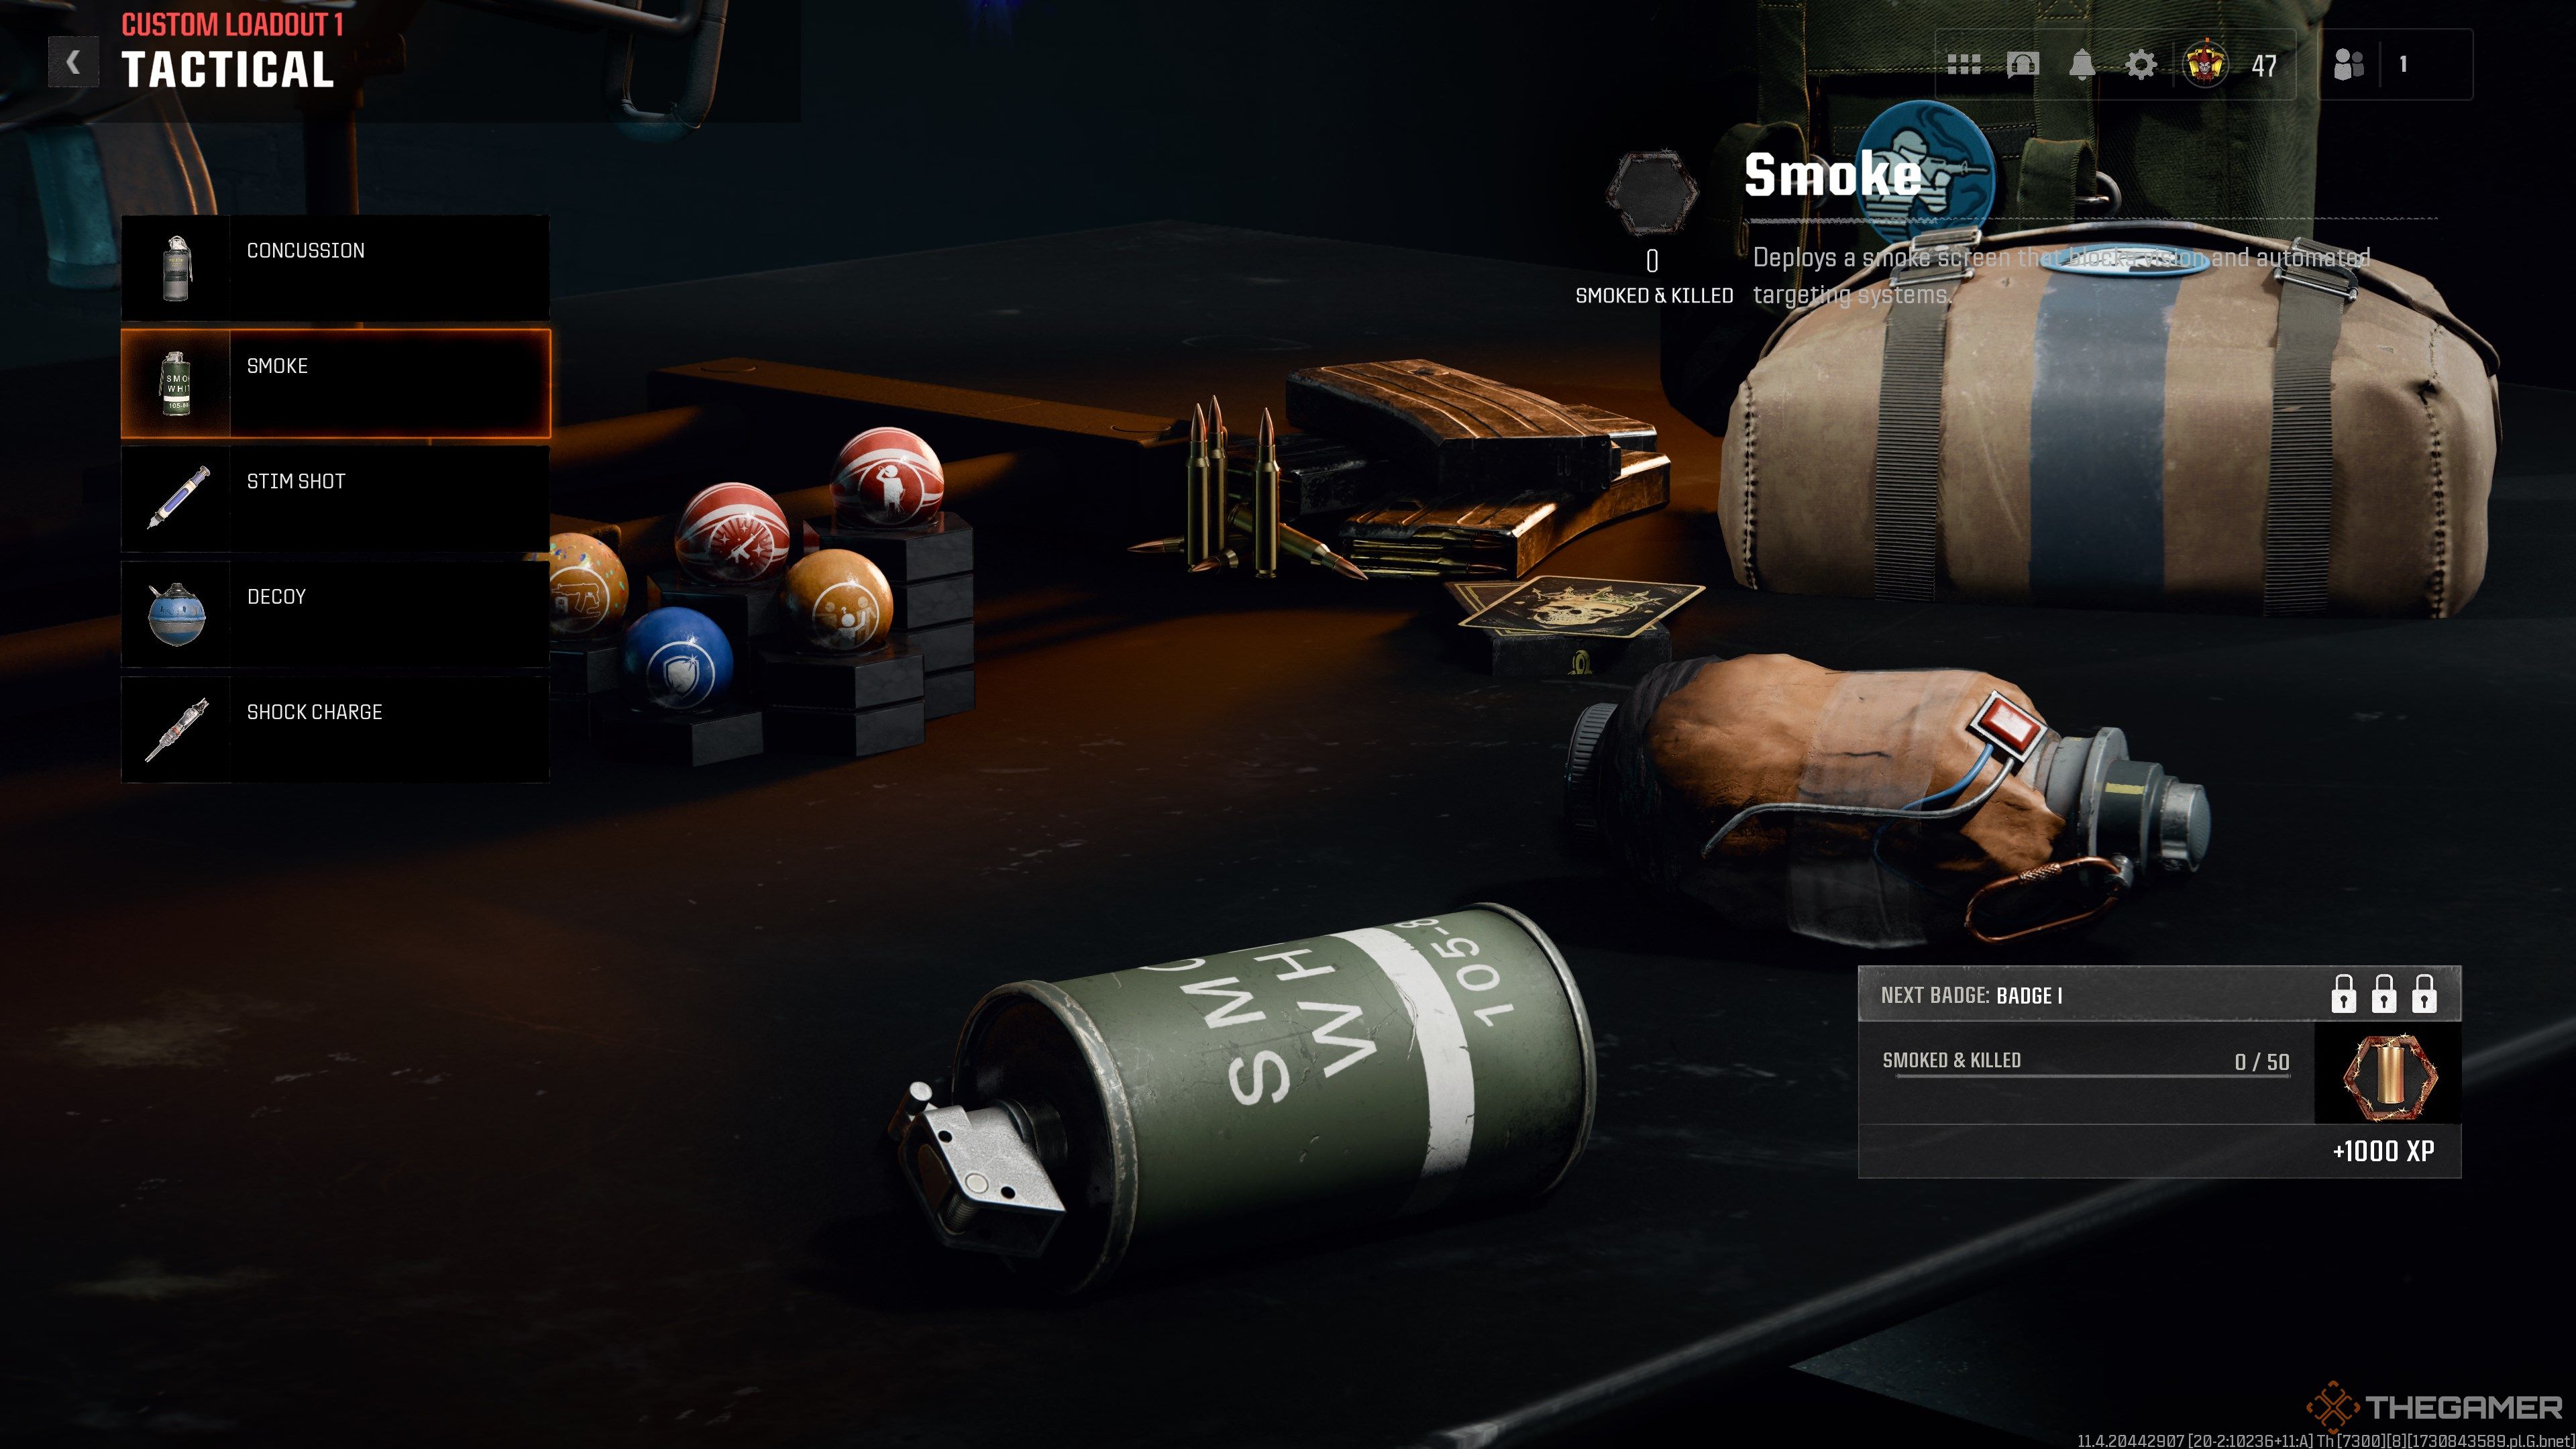
Smoke Grenades |
Tactical |
Drops zombie aggro while inside, ideal for the bomb defusal step. |
|
Aether Shroud |
Field Upgrade |
Same role as Smoke Grenades. |
Your choice of equipment is much less rigid. We recommend the Combat Axe if you have the Hot Foot upgrade for Stamin-Up unlocked. If you ever get swarmed, throw a single Combat Axe and sprint out of there instantly. If you don’t have that augment, you can use any lethal in its place.
Smoke Grenades are highly recommended for co-op and downright mandatory for solo play. Standing inside the smoke will make you invisible to zombies for a short duration. This is necessary for a bomb defusal step towards the end of the easter egg. Failing this step immediately ends the match, so you want to ensure you can complete it safely. That’s also why we recommend Aether Shroud.
Gobblegums
|
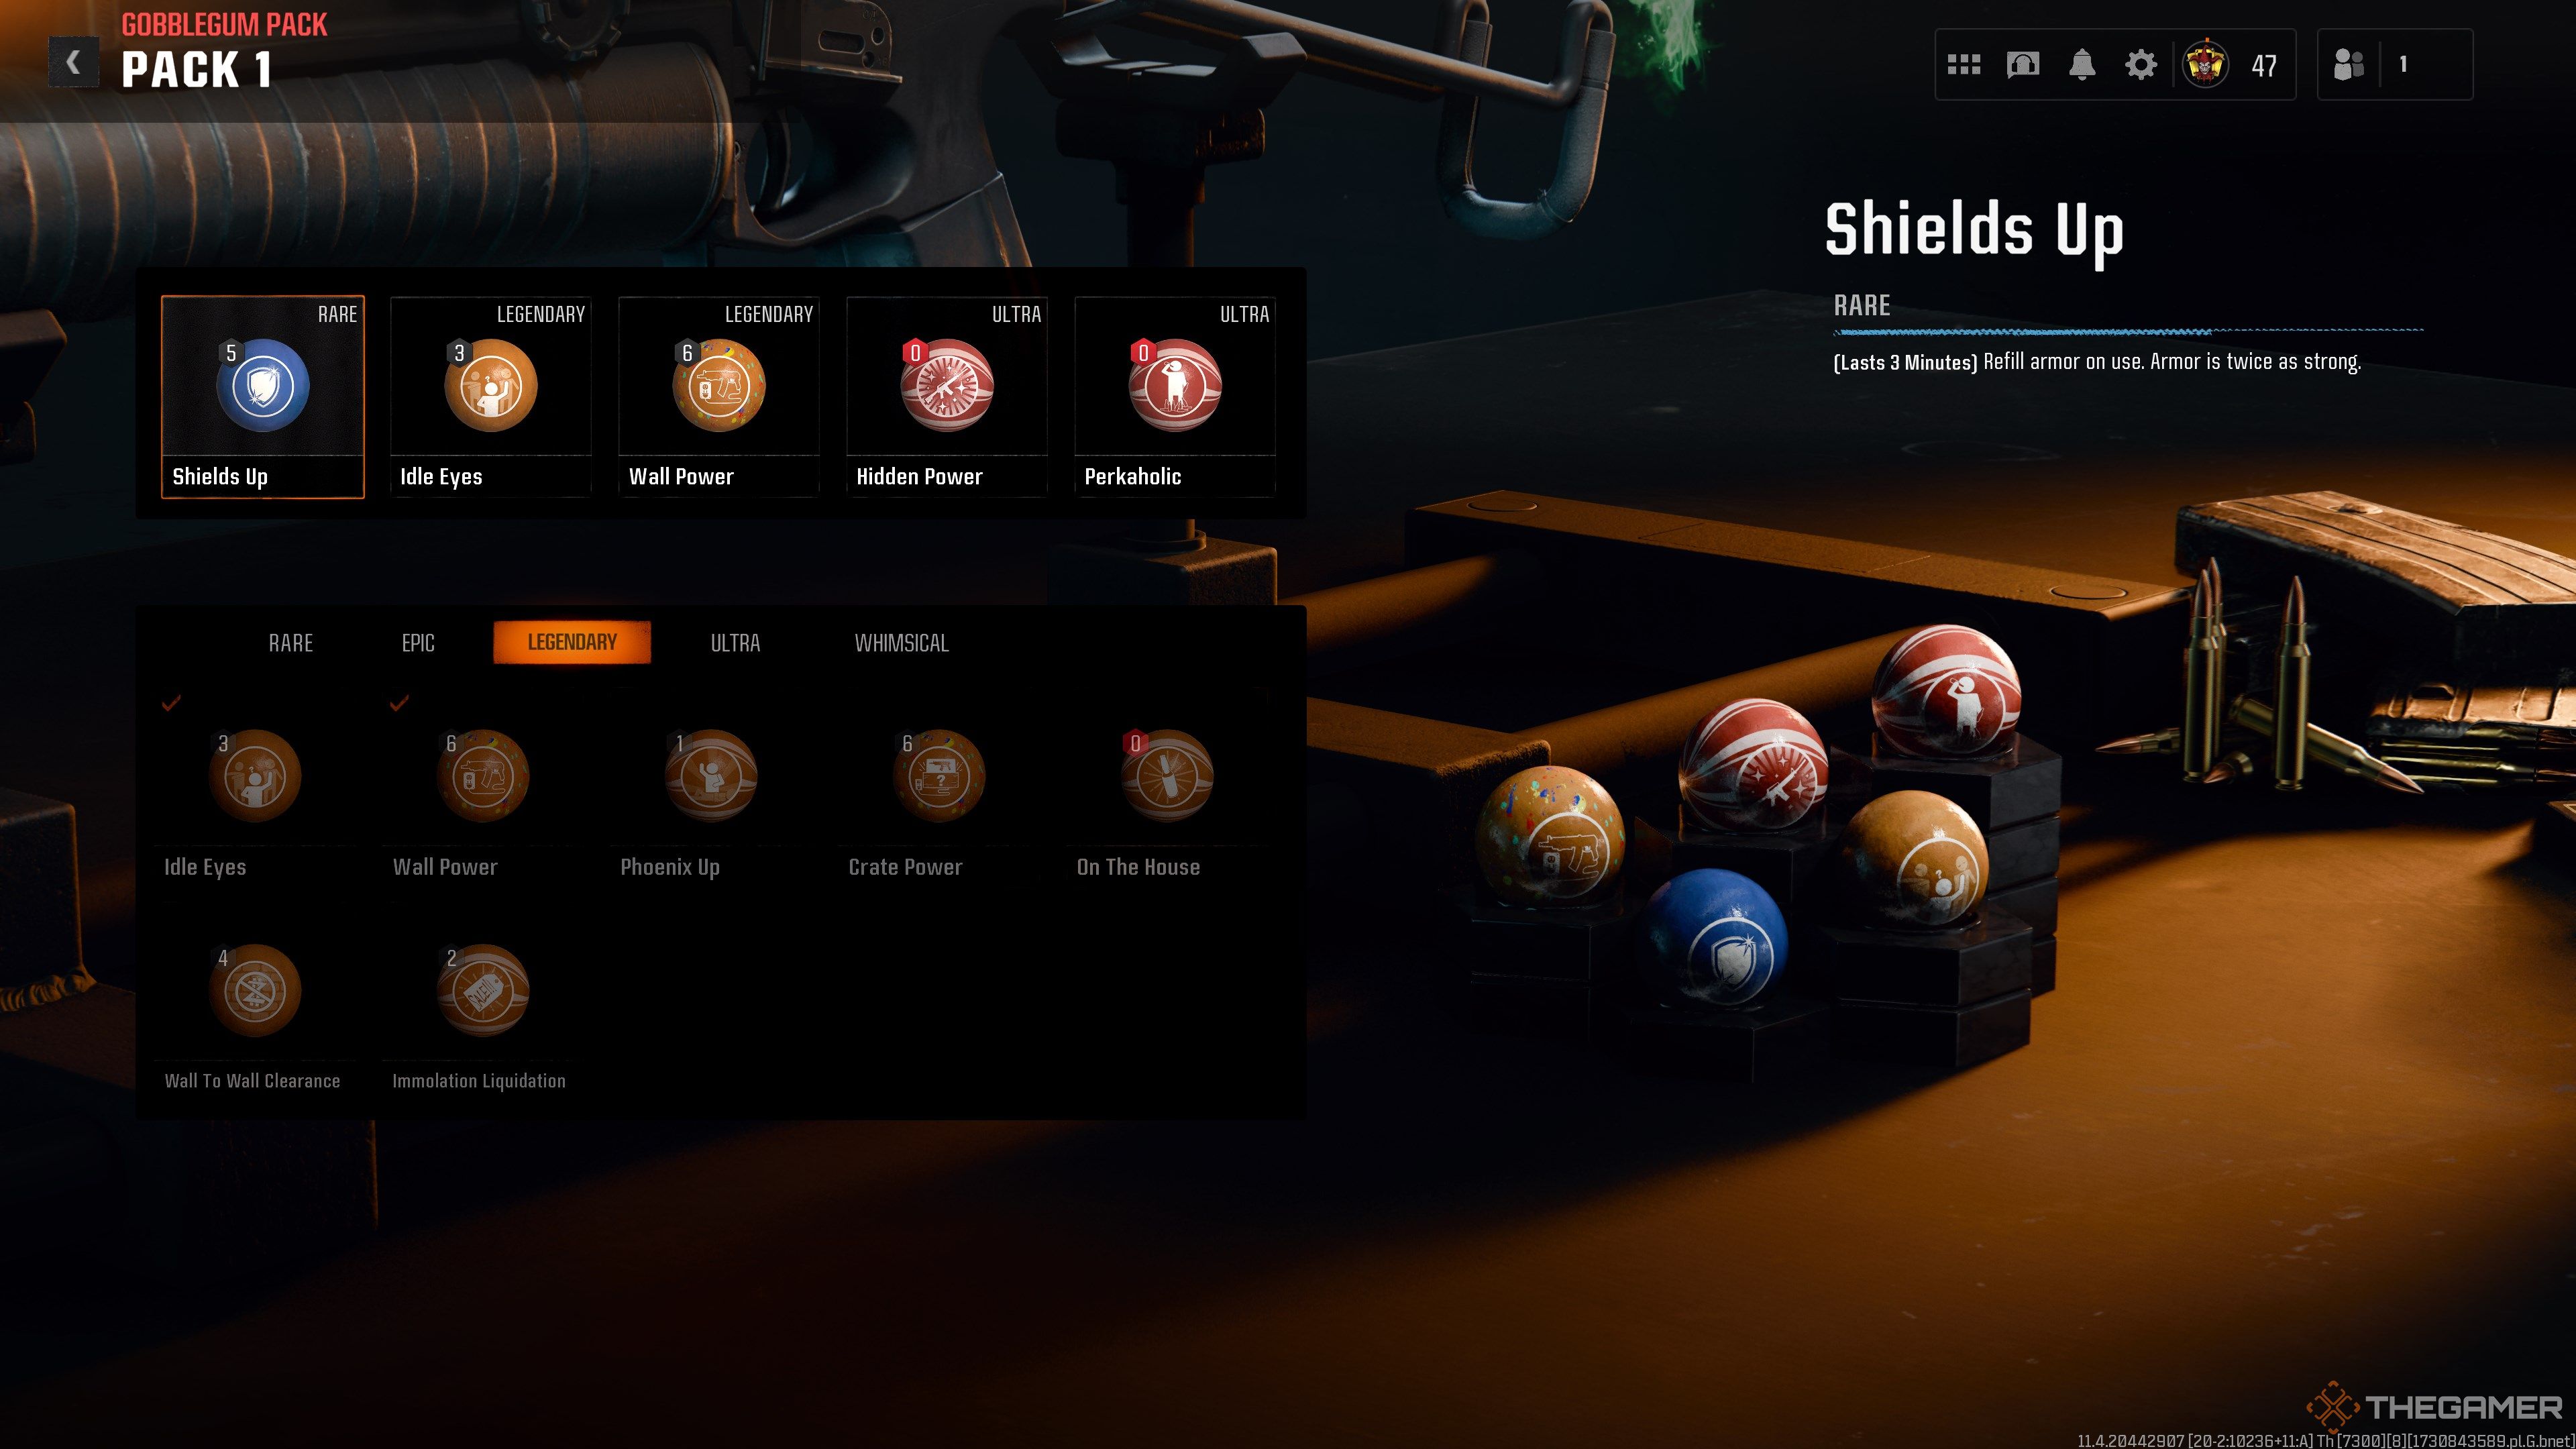
Shield Up |
Rare |
Your armor plates are twice as durable. Lasts 180 seconds. Helpful during both boss encounters. |
|---|---|---|
|
Idle Eyes |
Legendary |
Zombies in your field of view stop moving. Lasts 30 seconds. Makes the final boss much easier. |
|
Perkaholic |
Ultra |
Grants every perk on the map. Great for saving Essence. |
Gobblegums can be incredibly useful for this easter egg. Idle Eyes is our only hard recommendation. This makes enemies stand still whenever they enter your cone of vision, including boss units. Use this during the final boss to give yourself some breathing room.
Beyond that, anything that improves your survivability or saves time will be incredibly helpful. Shield Up is a major survivability boost for three minutes. Perkaholic saves tens of thousands of Essence, allowing you to attempt the boss fight at a much earlier round where ammo is cheaper and health is less inflated. Hidden Power is also useful if you hate farming Salvage.
Related
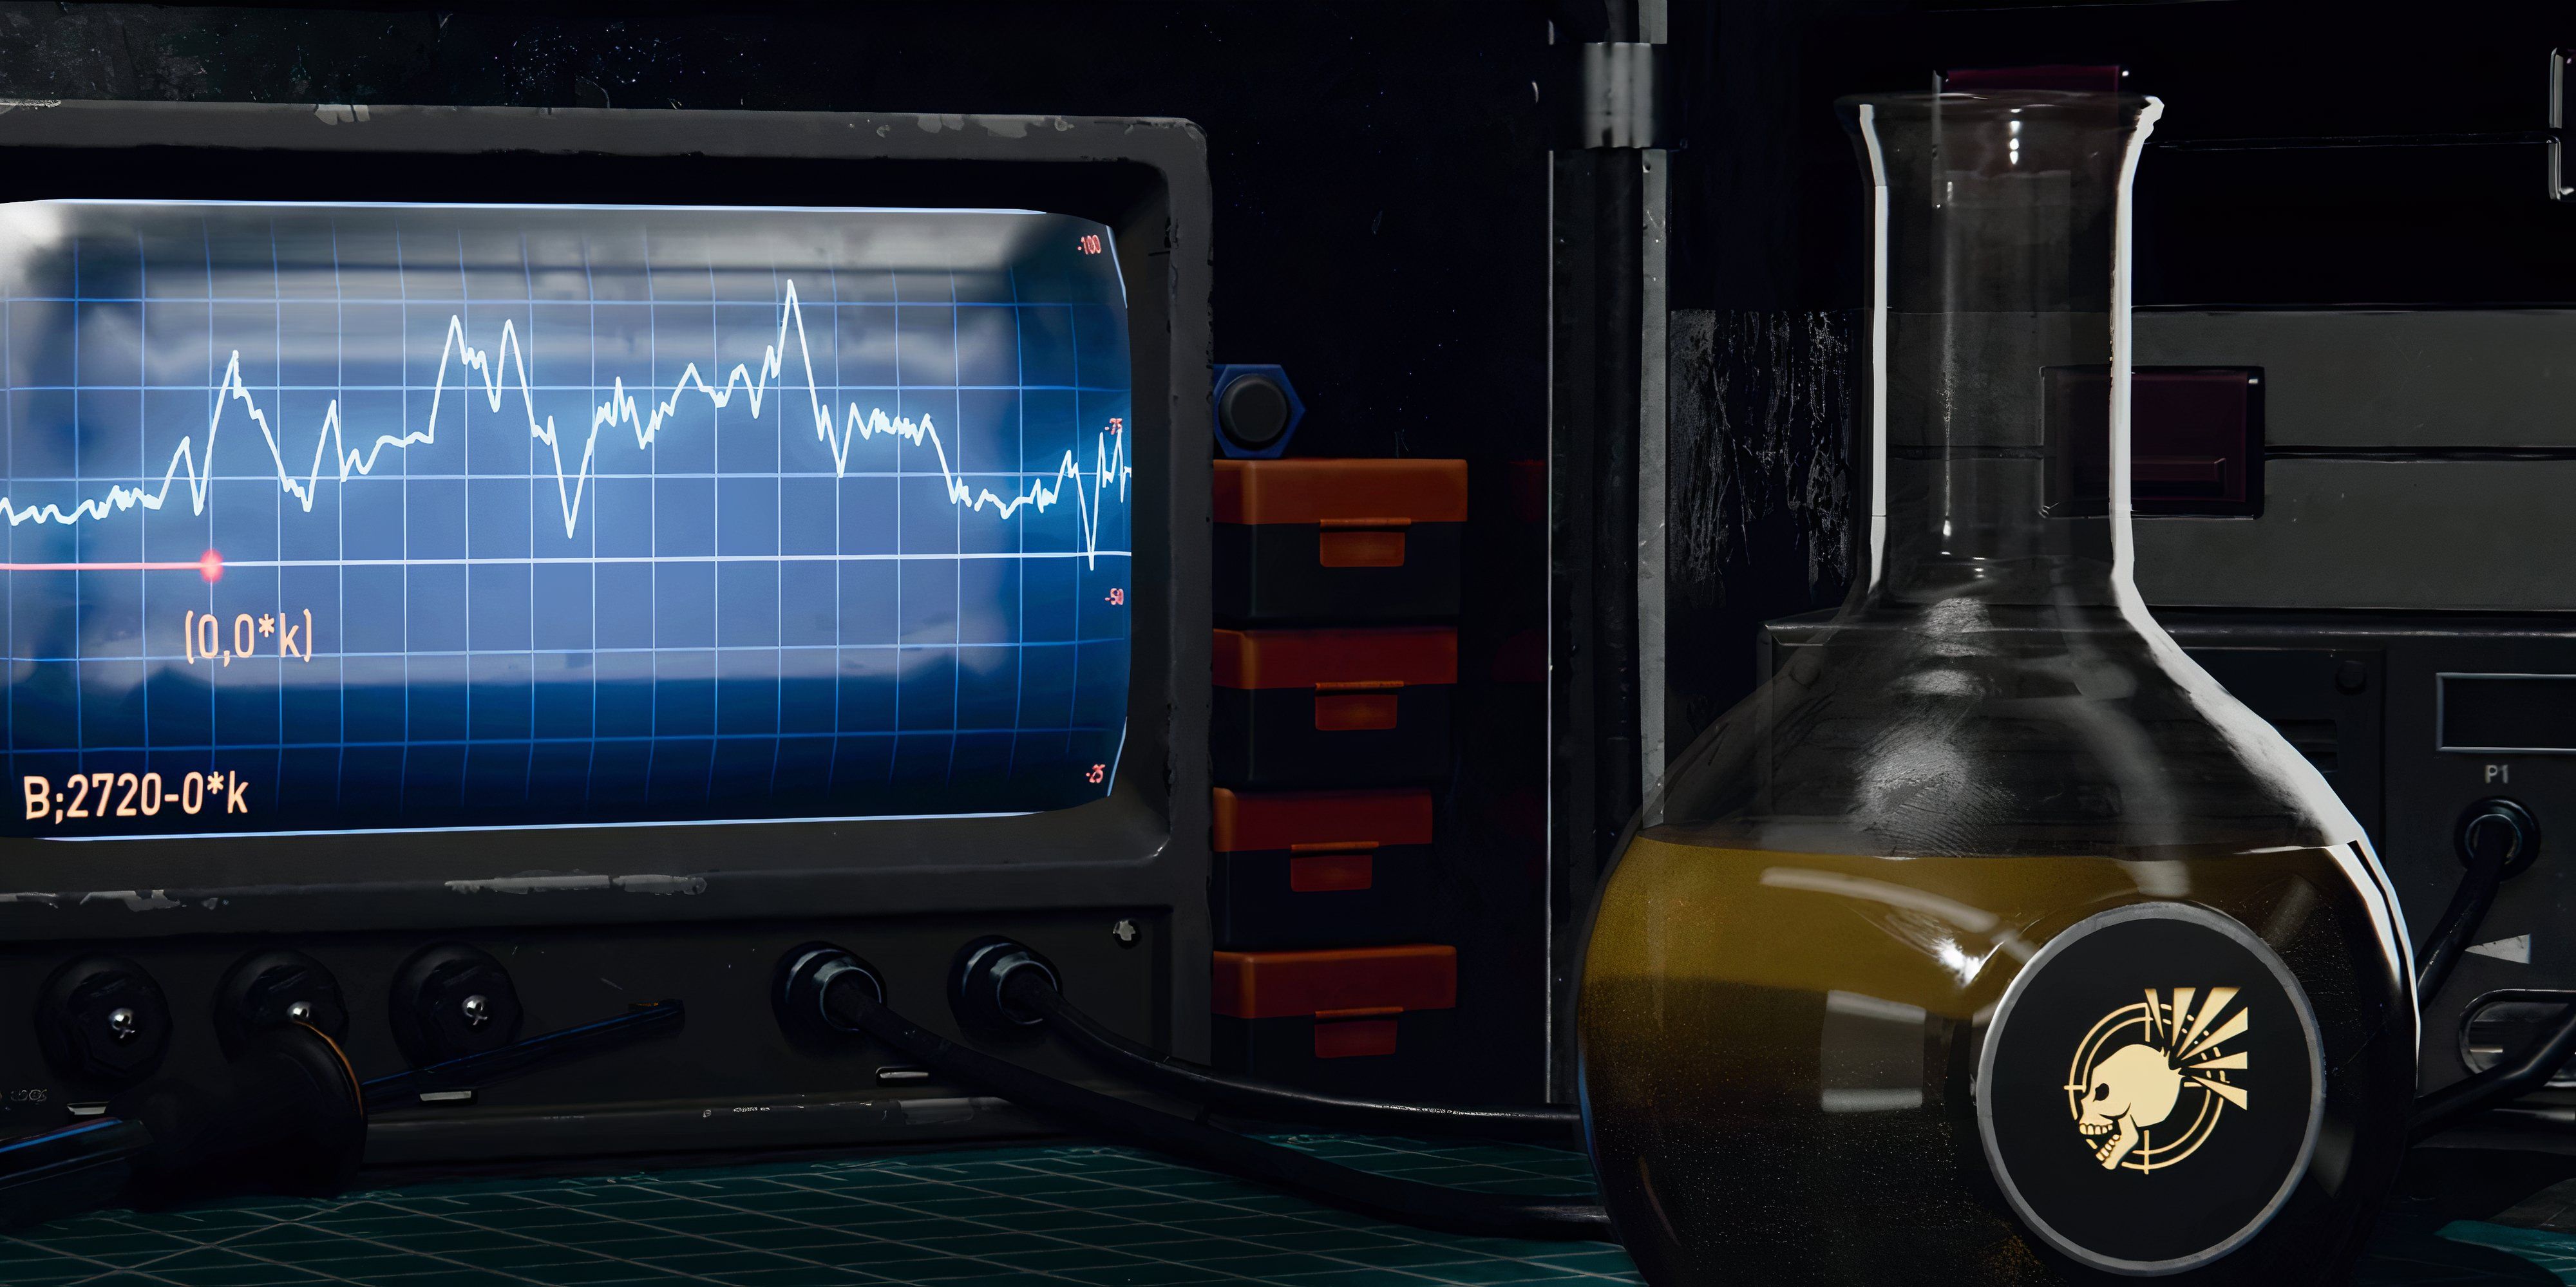
Call Of Duty: Black Ops 6 – Zombies Augments, Explained
Here’s how Augments work in Zombies in Black Ops 6.
Easter Egg Prerequisites
As with Liberty Falls, there are a few hard requirements before you can complete the Terminus Easter Egg.
- Activate every generator on the map. Power needs to be on before the first step can be completed.
- One weapon needs Dead Wire ammunition. This is needed for the first step.
-
Someone in your party needs the DRI-11 Beamsmasher. You can get this weapon from the Mystery Box or through the easter egg itself.
- You’ll craft the Beamsmasher early on in the easter egg, so don’t worry if you can’t get one to drop.
- (Solo) Smoke Grenades: You’ll need a few to safely complete the bomb defusal step.
Access The Hidden Laboratory
For this step, you need a weapon with Dead Wire ammunition installed.
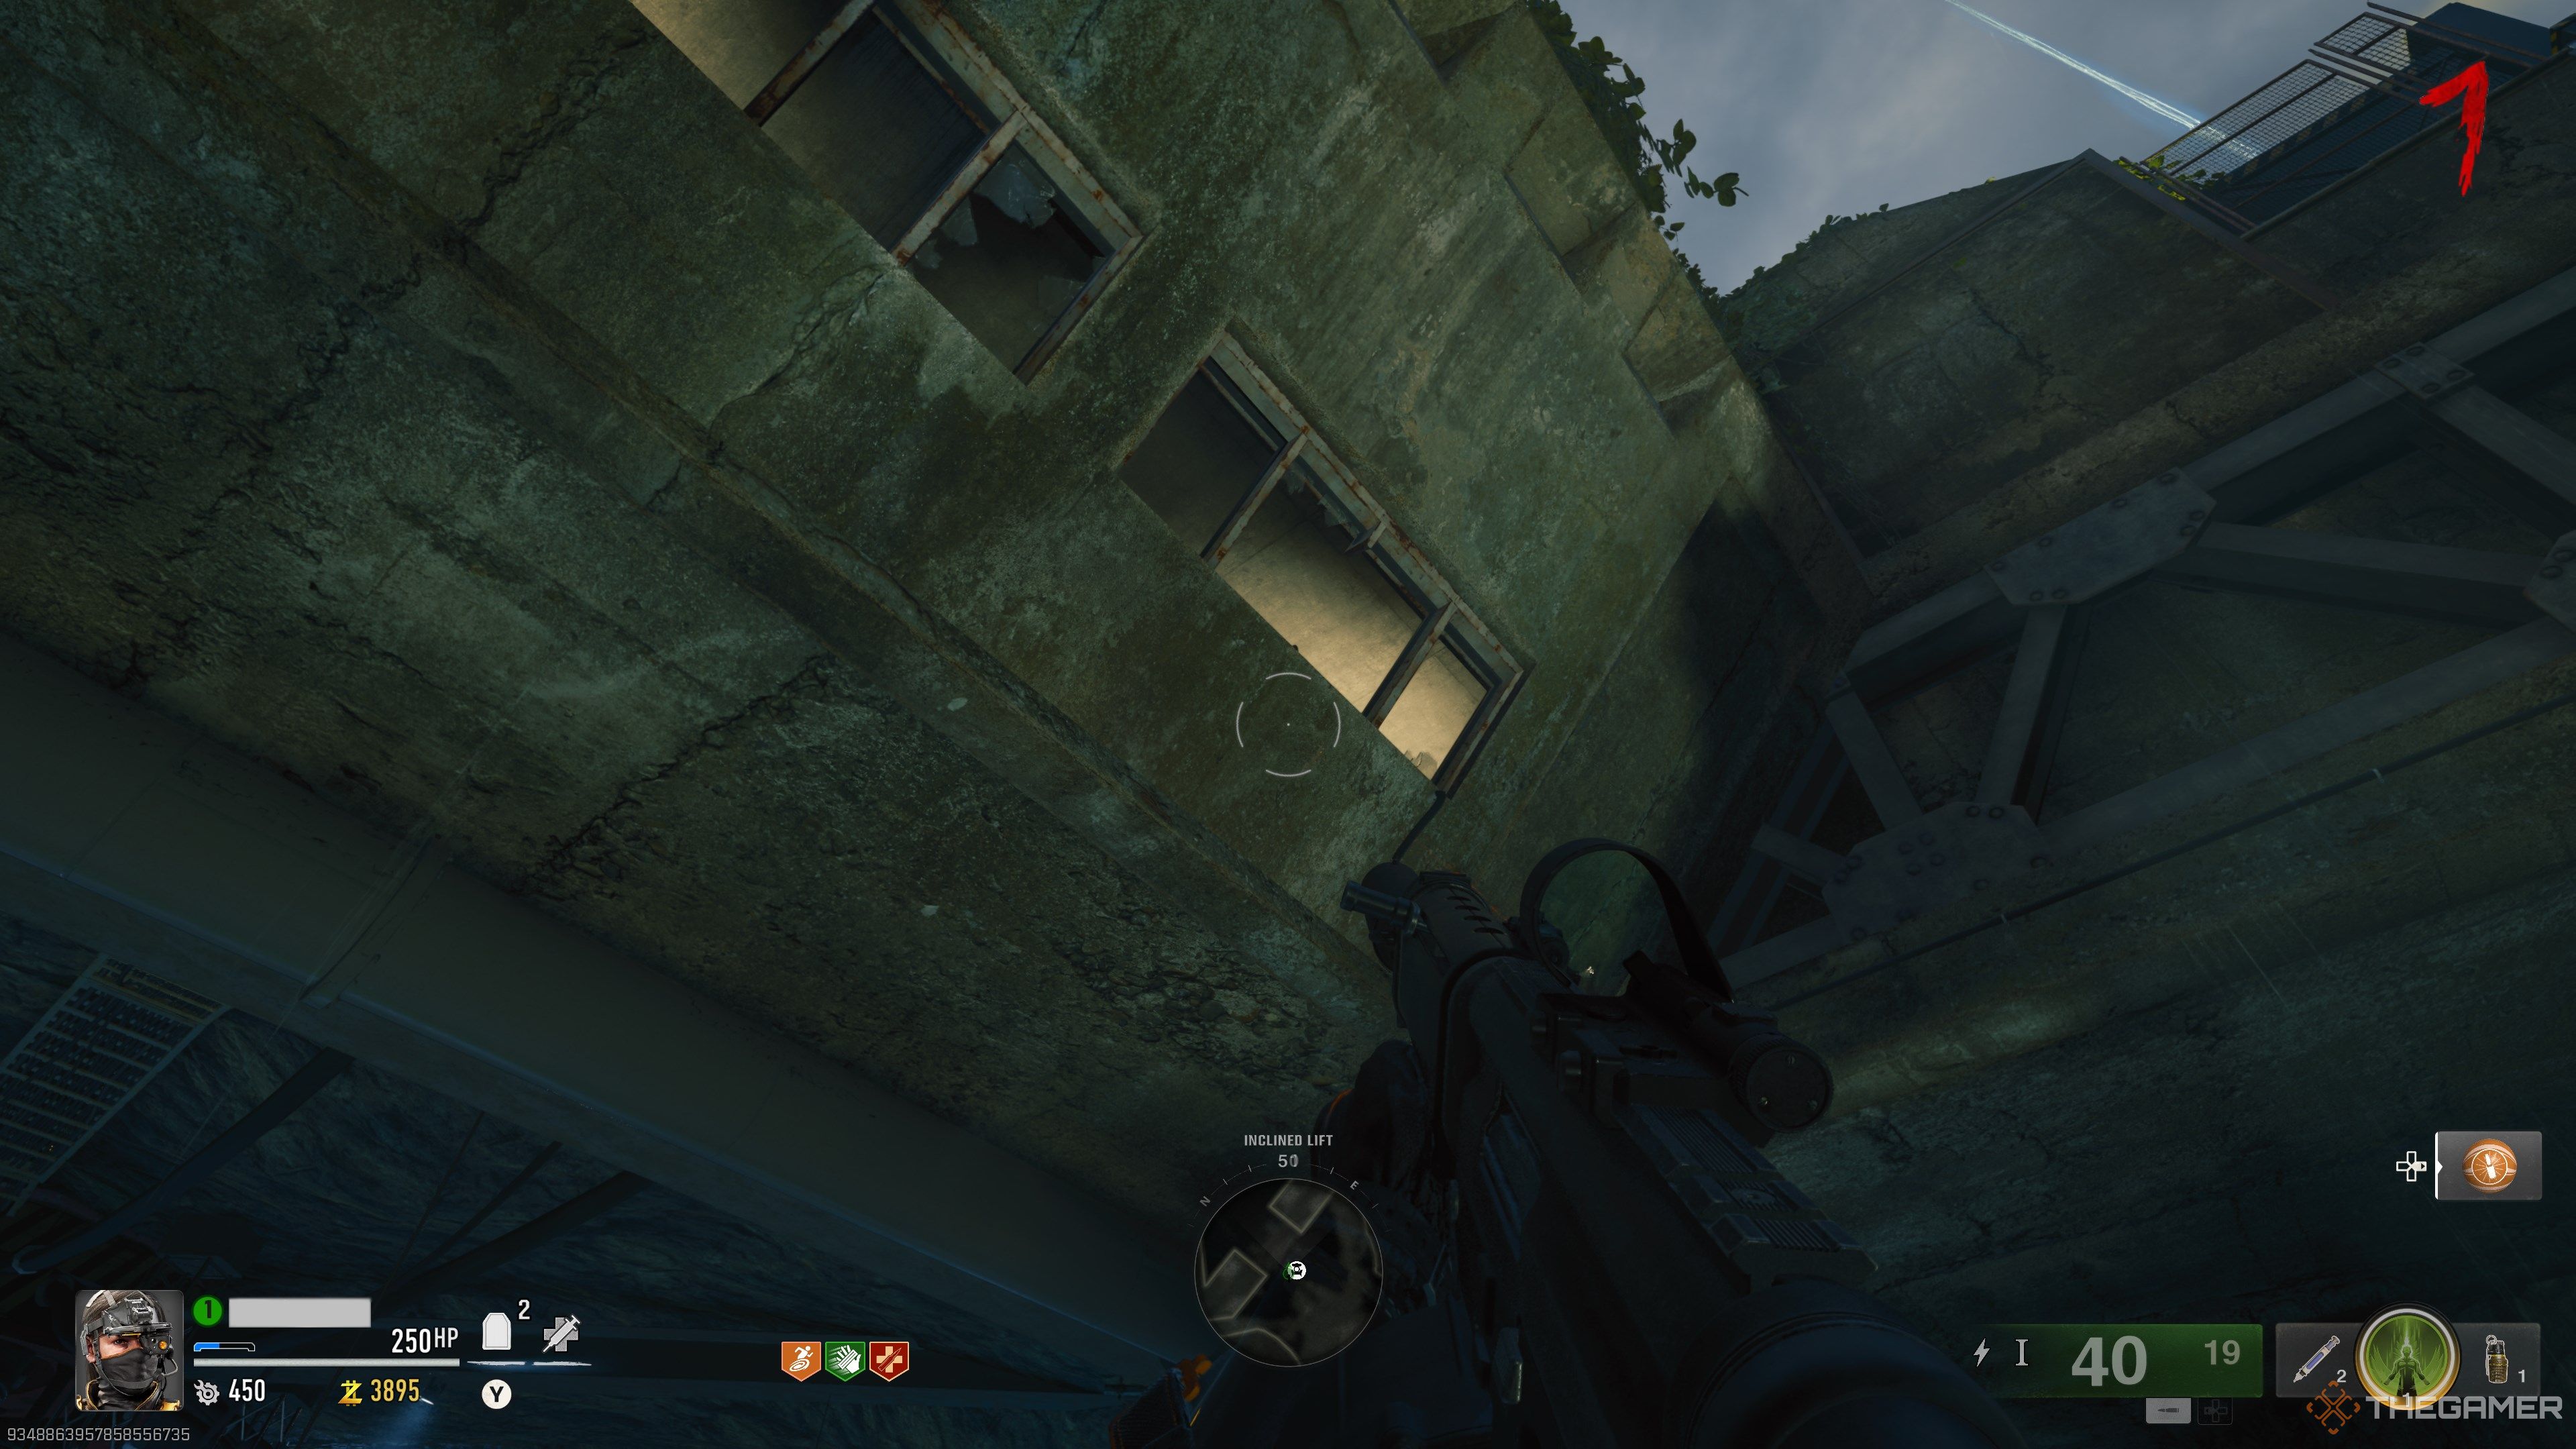
To start the easter egg, head to the Pack-A-Punch lift while it’s on the lower level. Activate the lift and have your Dead Wire weapon ready. Your goal is to shoot a series of electrical fuses with your Dead Wire weapon. There are five in total, three on the lift and two near the Jugger-Nog building:
- Through a narrow window slit while going up the elevator. Look northeast towards the lift controls.
- Look directly east towards the exit that leads to Stamin-Up. This one is only visible while the lift is ascending.
- Directly south, located right behind the Pack-A-Punch machine when the lift reaches the upper floor.
- Head inside the building where Jugger-Nog is at. The fuse box is right above the amp generator.
- Walk past the tentacle trap and look to your right. It’ll be next to a window.
Each fuse you shoot will spark with energy and send a current to the next fuse. After you shoot all five, the doors next to the fifth fuse will open, revealing a hidden laboratory.
Acquire The Multiphasic Resonator
Now that you can access the laboratory, kill the trapped zombie next to the entrance. They’ll drop a EMP Fob shortly after they die, which you can use to acquire a Multiphasic Resonator for the next step.
Once you get the EMP Fob, travel to the Sea Tower where Elemental Pop is (quadrant F6). There will be a table nearby with a locked pelican case. Interact with it to unlock the case and acquire the Multiphasic Resonator.
Once you have the resonator, return to the laboratory and interact with the resonator machine inside. It’ll be on a desk right next to the trapped zombie you killed earlier.
Find The Correct Frequency
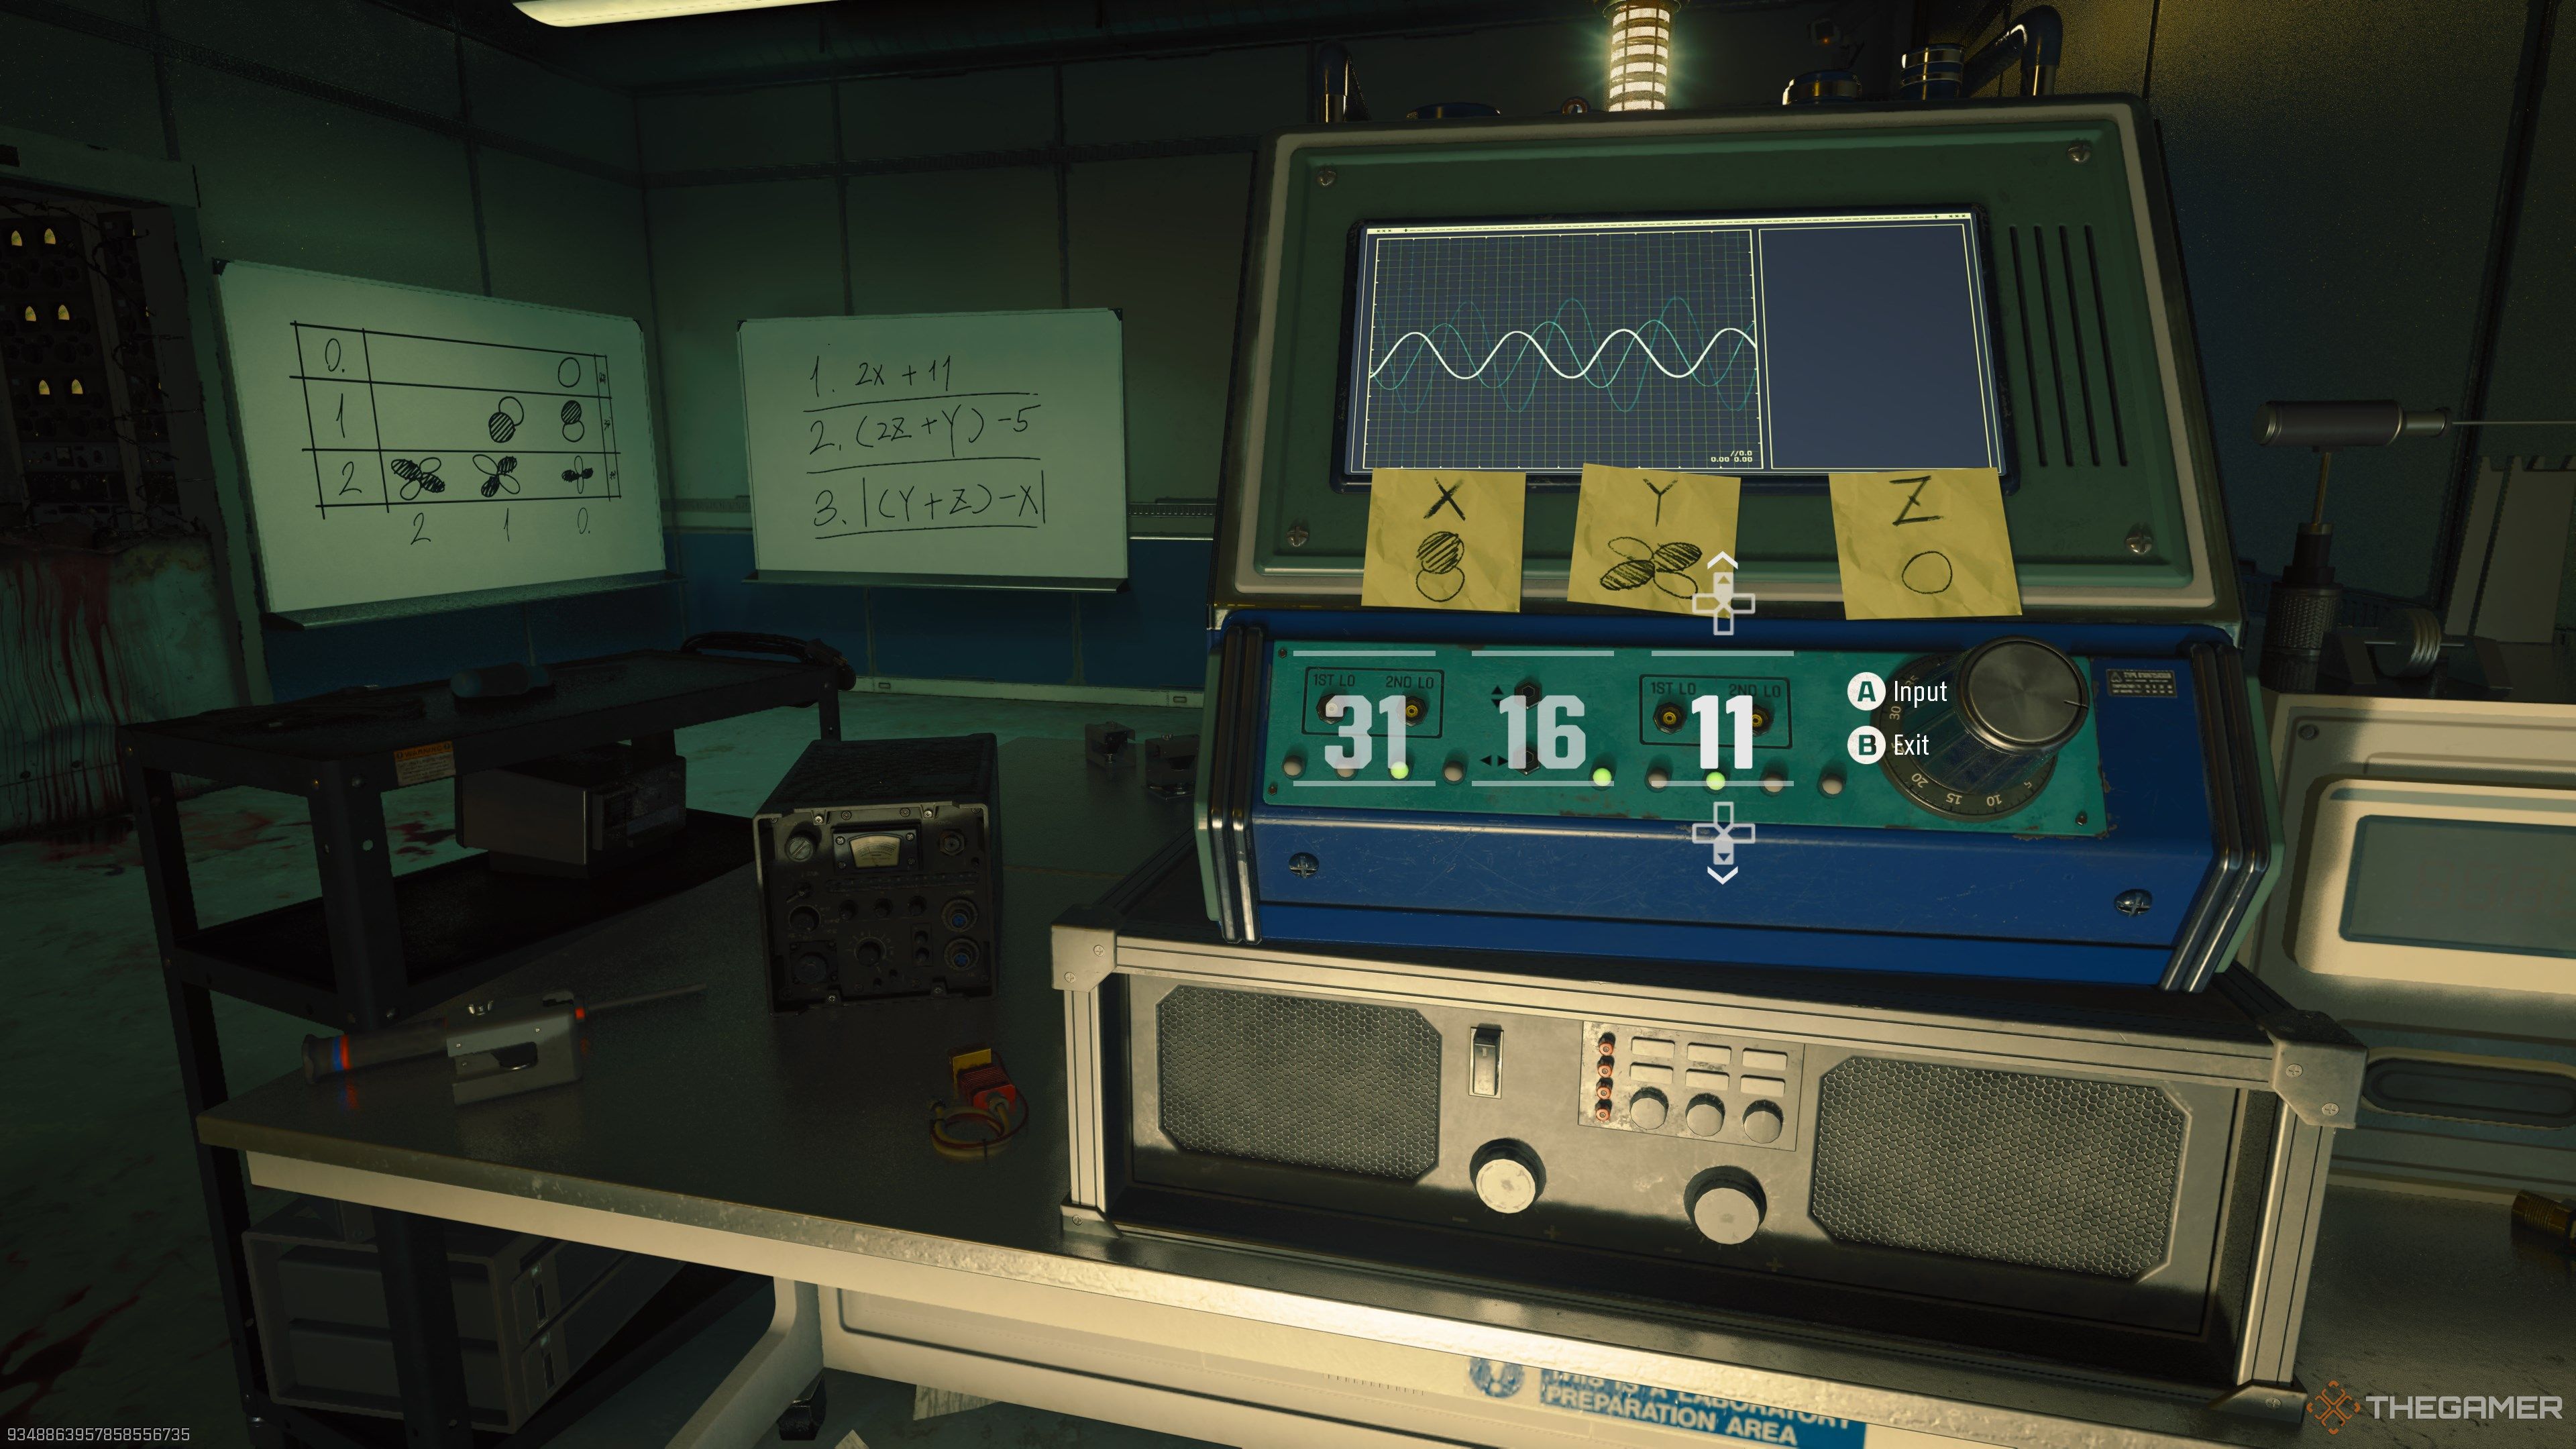
With the Multiphasic Resonator installed, you’ll need to input a specific code into the machine to continue the easter egg. You have two methods of completing this step:
- Bribe Peck: Give Peck 5,000 Essence for the code.
-
Solve a puzzle: Interact with three terminals on the island to find the correct symbols. Use those symbols to deduce the code.
- You’ll need a third-party website to solve this quickly. We recommend TerminusSolver.
Bribe Peck
Bribing Peck is the easiest way to complete this step. Head to the first generator near spawn (quadrant E/F4) and speak with Peck. You’ll need to give him 5,000 Essence to receive the code. Record the string of numbers he gives you on the nearby monitor, then return to the resonator machine and input the numbers Peck gave you.
Solve The Code Yourself
If you don’t have the Essence to spare or don’t mind a little busy work, you can solve the code yourself. You’ll need to interact with three terminals on the island to start the process. They are in the following locations:
- Quadrant F5: Outside the Stamin-Up building. Instead of going down the stairs towards the ammo crate, turn right.
- Quadrant F5: Just outside the Quick Revive building. The terminal is next to the stairs that lead to the Pack-A-Punch lift.
- Quadrant E5: Near the docks right under Elemental Pop. Rappel down the tower, then run up the stairs to your right.
When you return to the resonator machine, you’ll now have three sticky notes under the monitor labeled X, Y, and Z. You want to input these symbols into TerminusSolver to figure out the code. In our game, our symbols gave us the code “31, 16, 11.” If done correctly, the machine will display a map of Terminus Island and begin tracking down energy signatures. Continue playing the map until the machine triangulates a location (Round 9).
Build The DRI-11 Beamsmasher
You must be on Round 9 or higher before this step begins.
The resonator machine has pinpointed the coordinates for the DRI-11 Beamshamsher’s components, so now’s the time to craft it. Grab the Multiphasic Resonator from the machine, then make your way to Castle Rock Island (quadrant H4). It’s the same island where you collect your loot from the meteor easter egg.
Once there, you should see a floating blue orb on a small mound of dirt. Interact with the orb to place your Multiphasic Resonator. This will spawn dozens of zombies at your location, but they shouldn’t prove too challenging. One of the zombies will be struck by the orb after a few seconds, emitting a blue glow. Kill whichever zombie is glowing.
They will drop an orb once slain. You can interact with this orb to pick it up, restricting your mobility while held. Dunk the orb into the floating sphere to charge it. Repeat this one more time to complete the first charging sequence.
Grab the Multiphasic Resonator before you leave!
You’ll now need to hop back on your boat and repeat this sequence twice. The next orb will be on Crab Island (quadrant E7), followed by Temple Island (quadrant D2). Kill any glowing zombies you see, dunk their orbs into the floating sphere, grab the Resonator, and repeat.
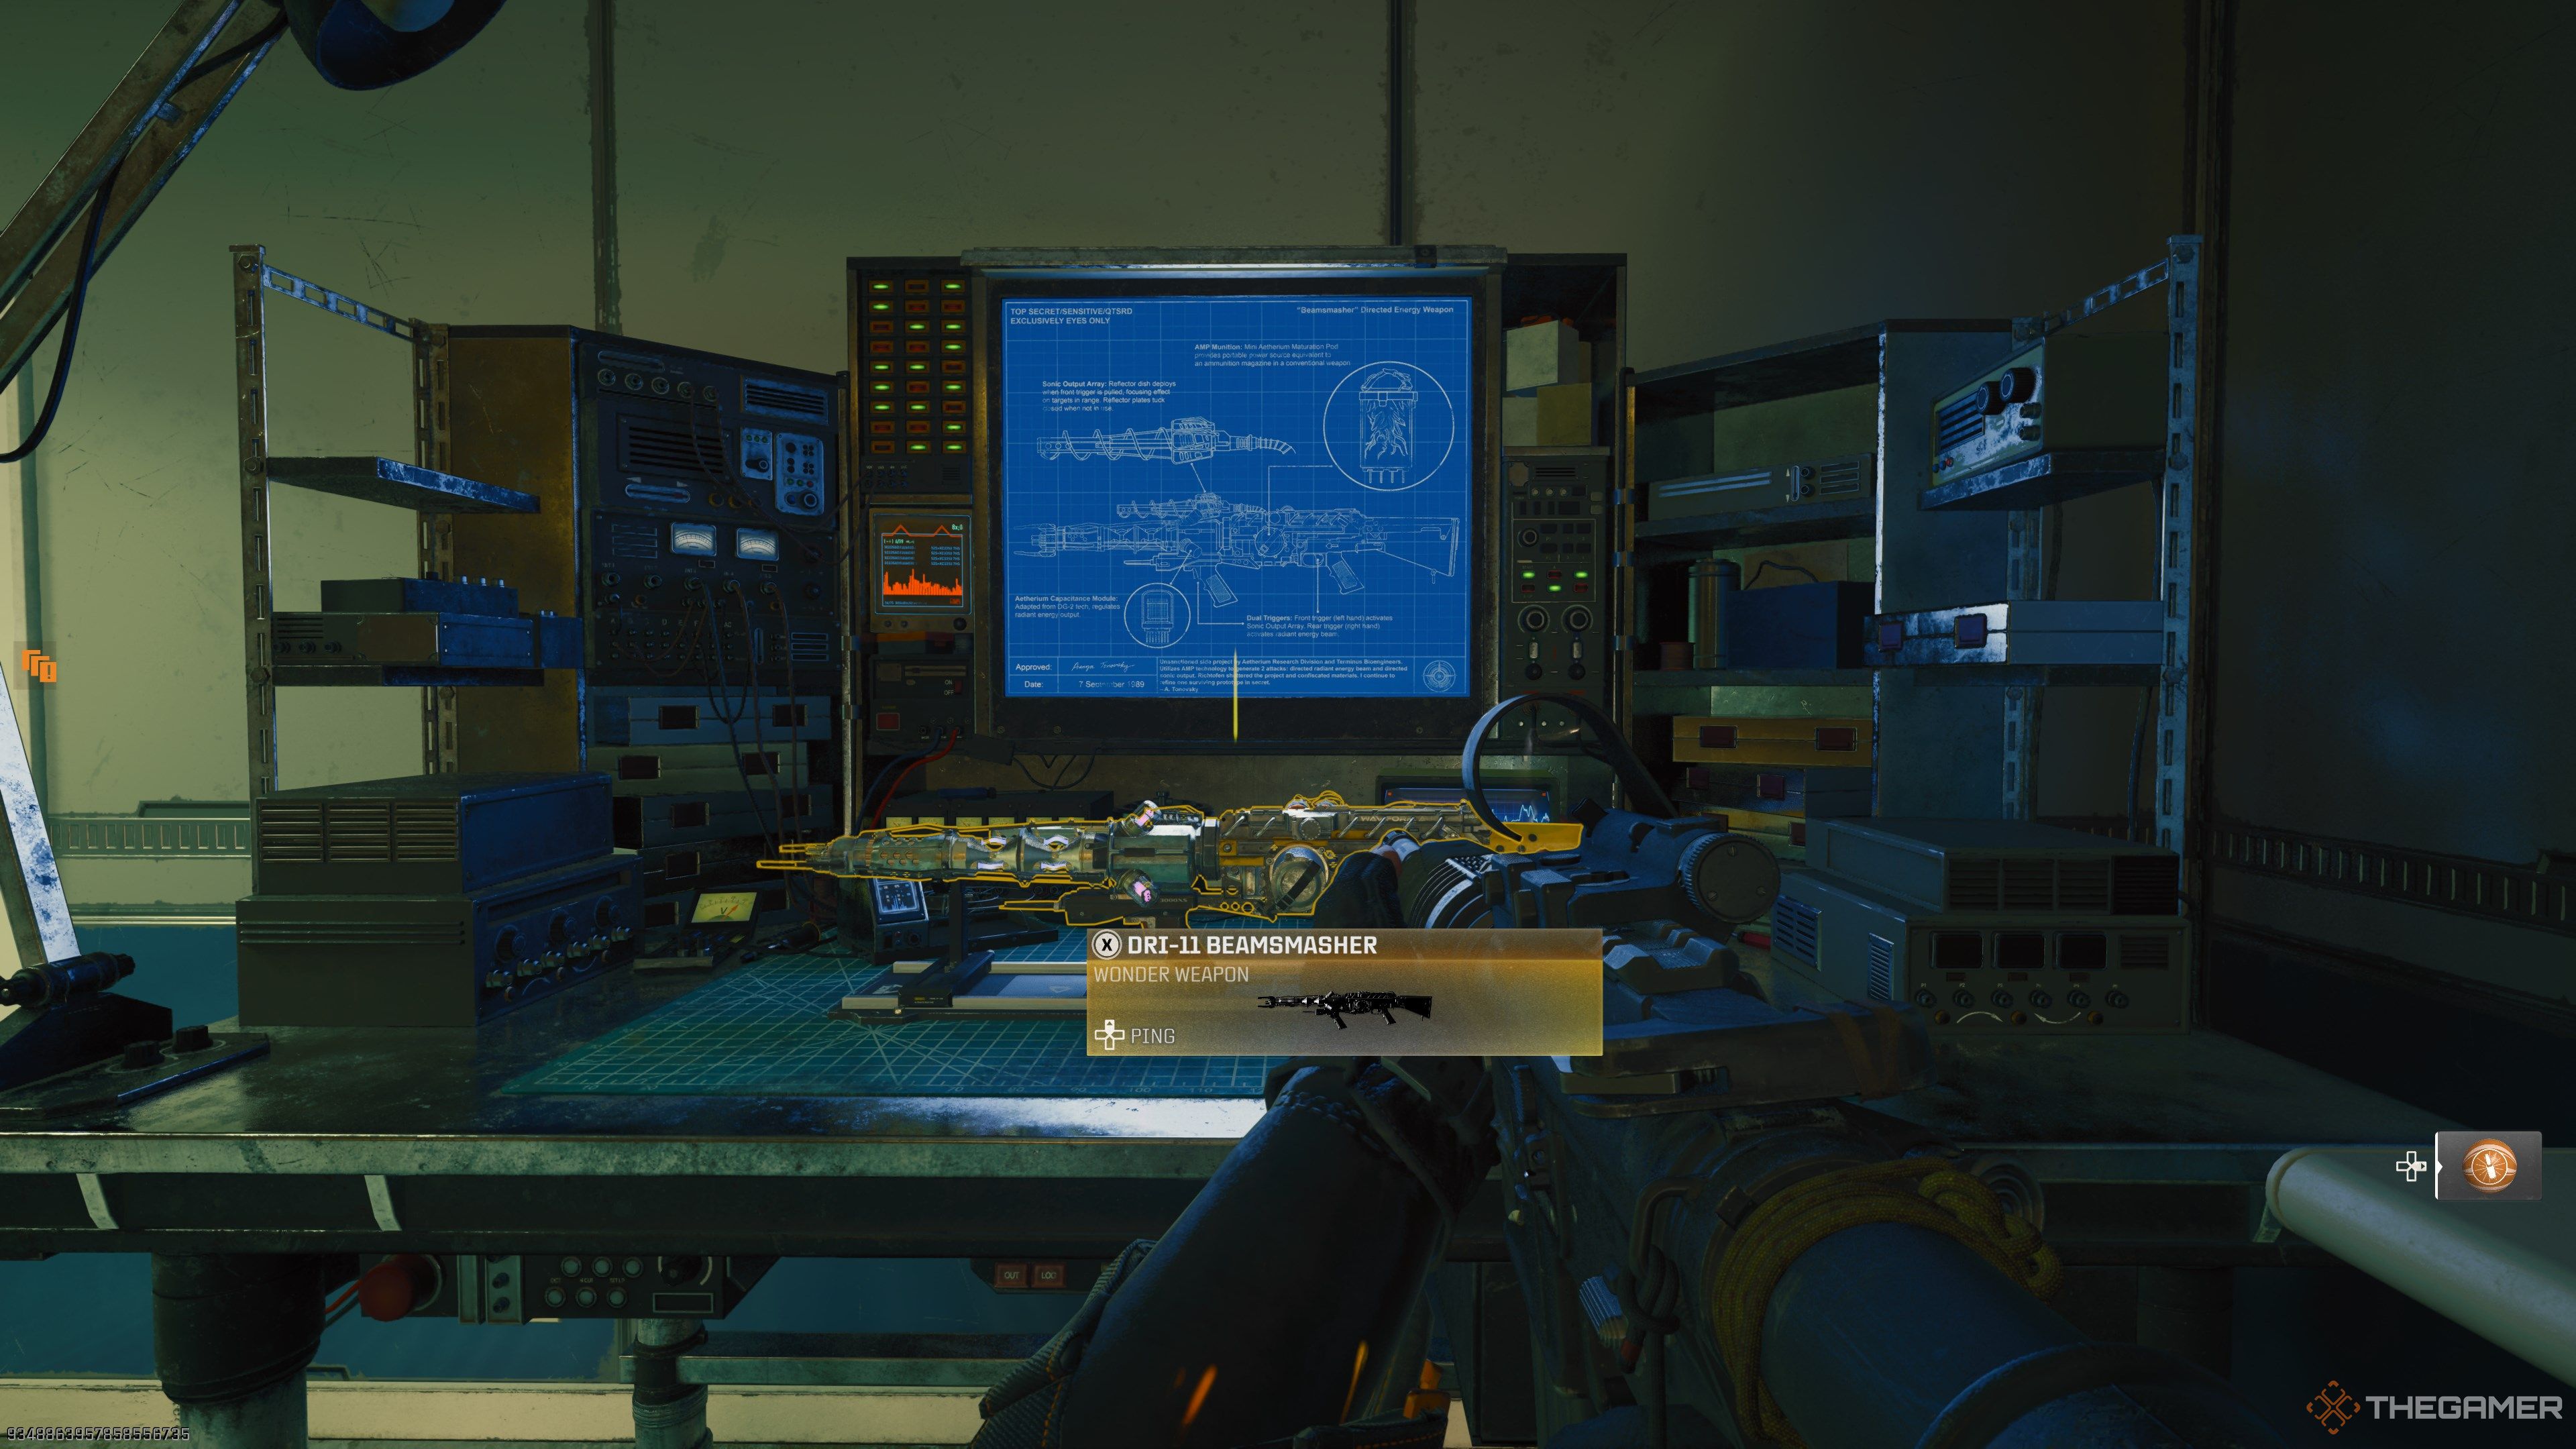
Once you’ve charged all three orbs, you’ll now have the Amp Munition part required to craft the DRI-11 Beamsmasher. Return to the laboratory and interact with the nearby workbench to craft the Beamsmasher for yourself. You can now use this wonder weapon for the rest of the match. Just be sure you don’t accidentally get rid of the Beamsmasher; it’s required for the next step.
Acquire The Lost Hard Drive
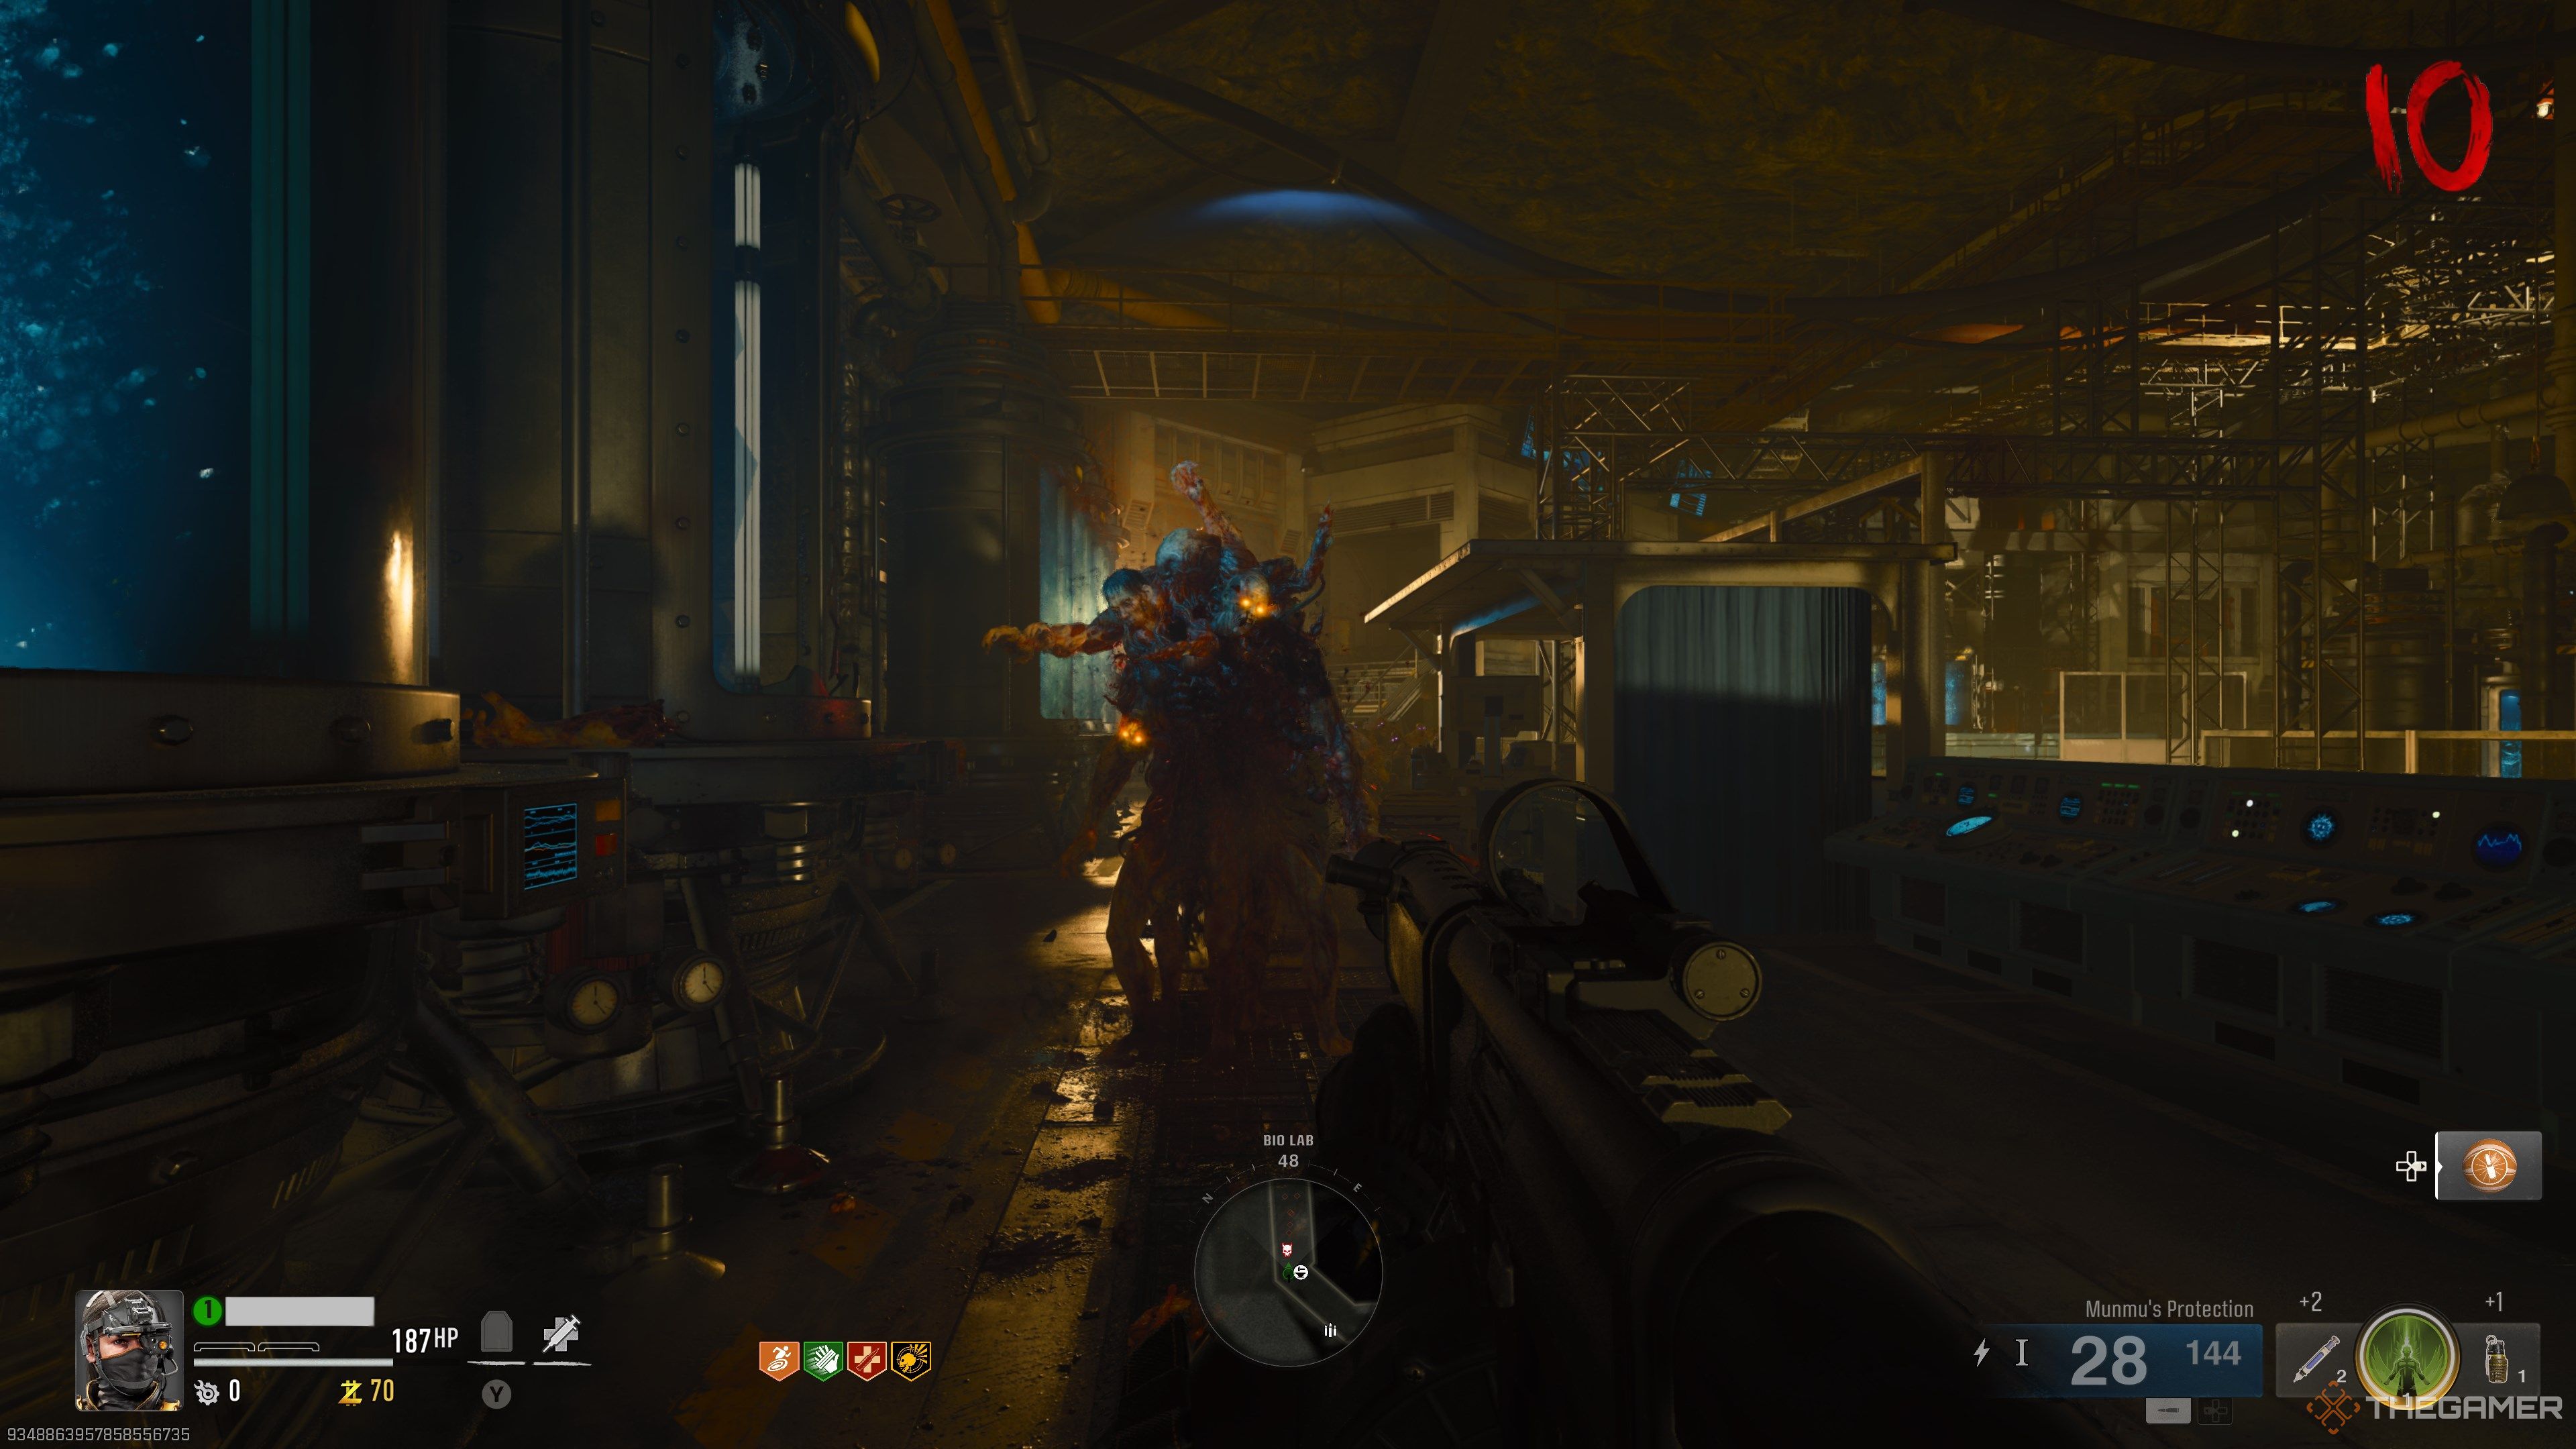
The lost hard drive is located in one of four tentacle traps on the map. You’re looking for a tentacle trap that has its top grate broken. If you see a pool of blood and a lost keycard right under the trap (fourth image in the gallery above), you’re at the correct one. As a quick reminder, here’s where you can find all four tentacle traps:
- At spawn, located next to Pack and the first generator.
- Besides the Jugger-Nog machine.
- In the Bio Lab, southwest exit.
- In the Bio Lab, southeast exit.
Once you find the correct tentacle trap, activate it to spawn the tentacle monsters. You then want to equip the Beamsmasher and shoot the middle of the tentacle trap. The face will recoil back and spit out the lost hard drive. Pick it up from the ground, then return to Pack. Hold interact on the little deposit box in front of his desk to give him the hard drive.
Release Nathan
Find Nathan’s Cell Code
There’s a person trapped inside the Bio Lab that you’ll need to free. To get Nathan out of his chamber, you’ll need to uncover a three-digit code from rather obscure context clues around Terminus Island. Look for the following objects in the listed order and record which number you see.
- Quadrant E4: Head to the Quick Revive room and look for a clock on the wall (facing southeast). Record the number closest to the hour hand (smaller hand).
-
Quadrant E5: Enter the Mess Hall and look for a playing card on a pinboard. The wall is directly across the Gobblegum machine. Record the number on the playing card.
- If the card is an Ace, record “1.”
- The suit of the card doesn’t matter.
- Quadrant F5: In the Engineering room, look for a sign that says “Days since last injury.” It’ll be next to the crafting bench. Record the number on the sign.
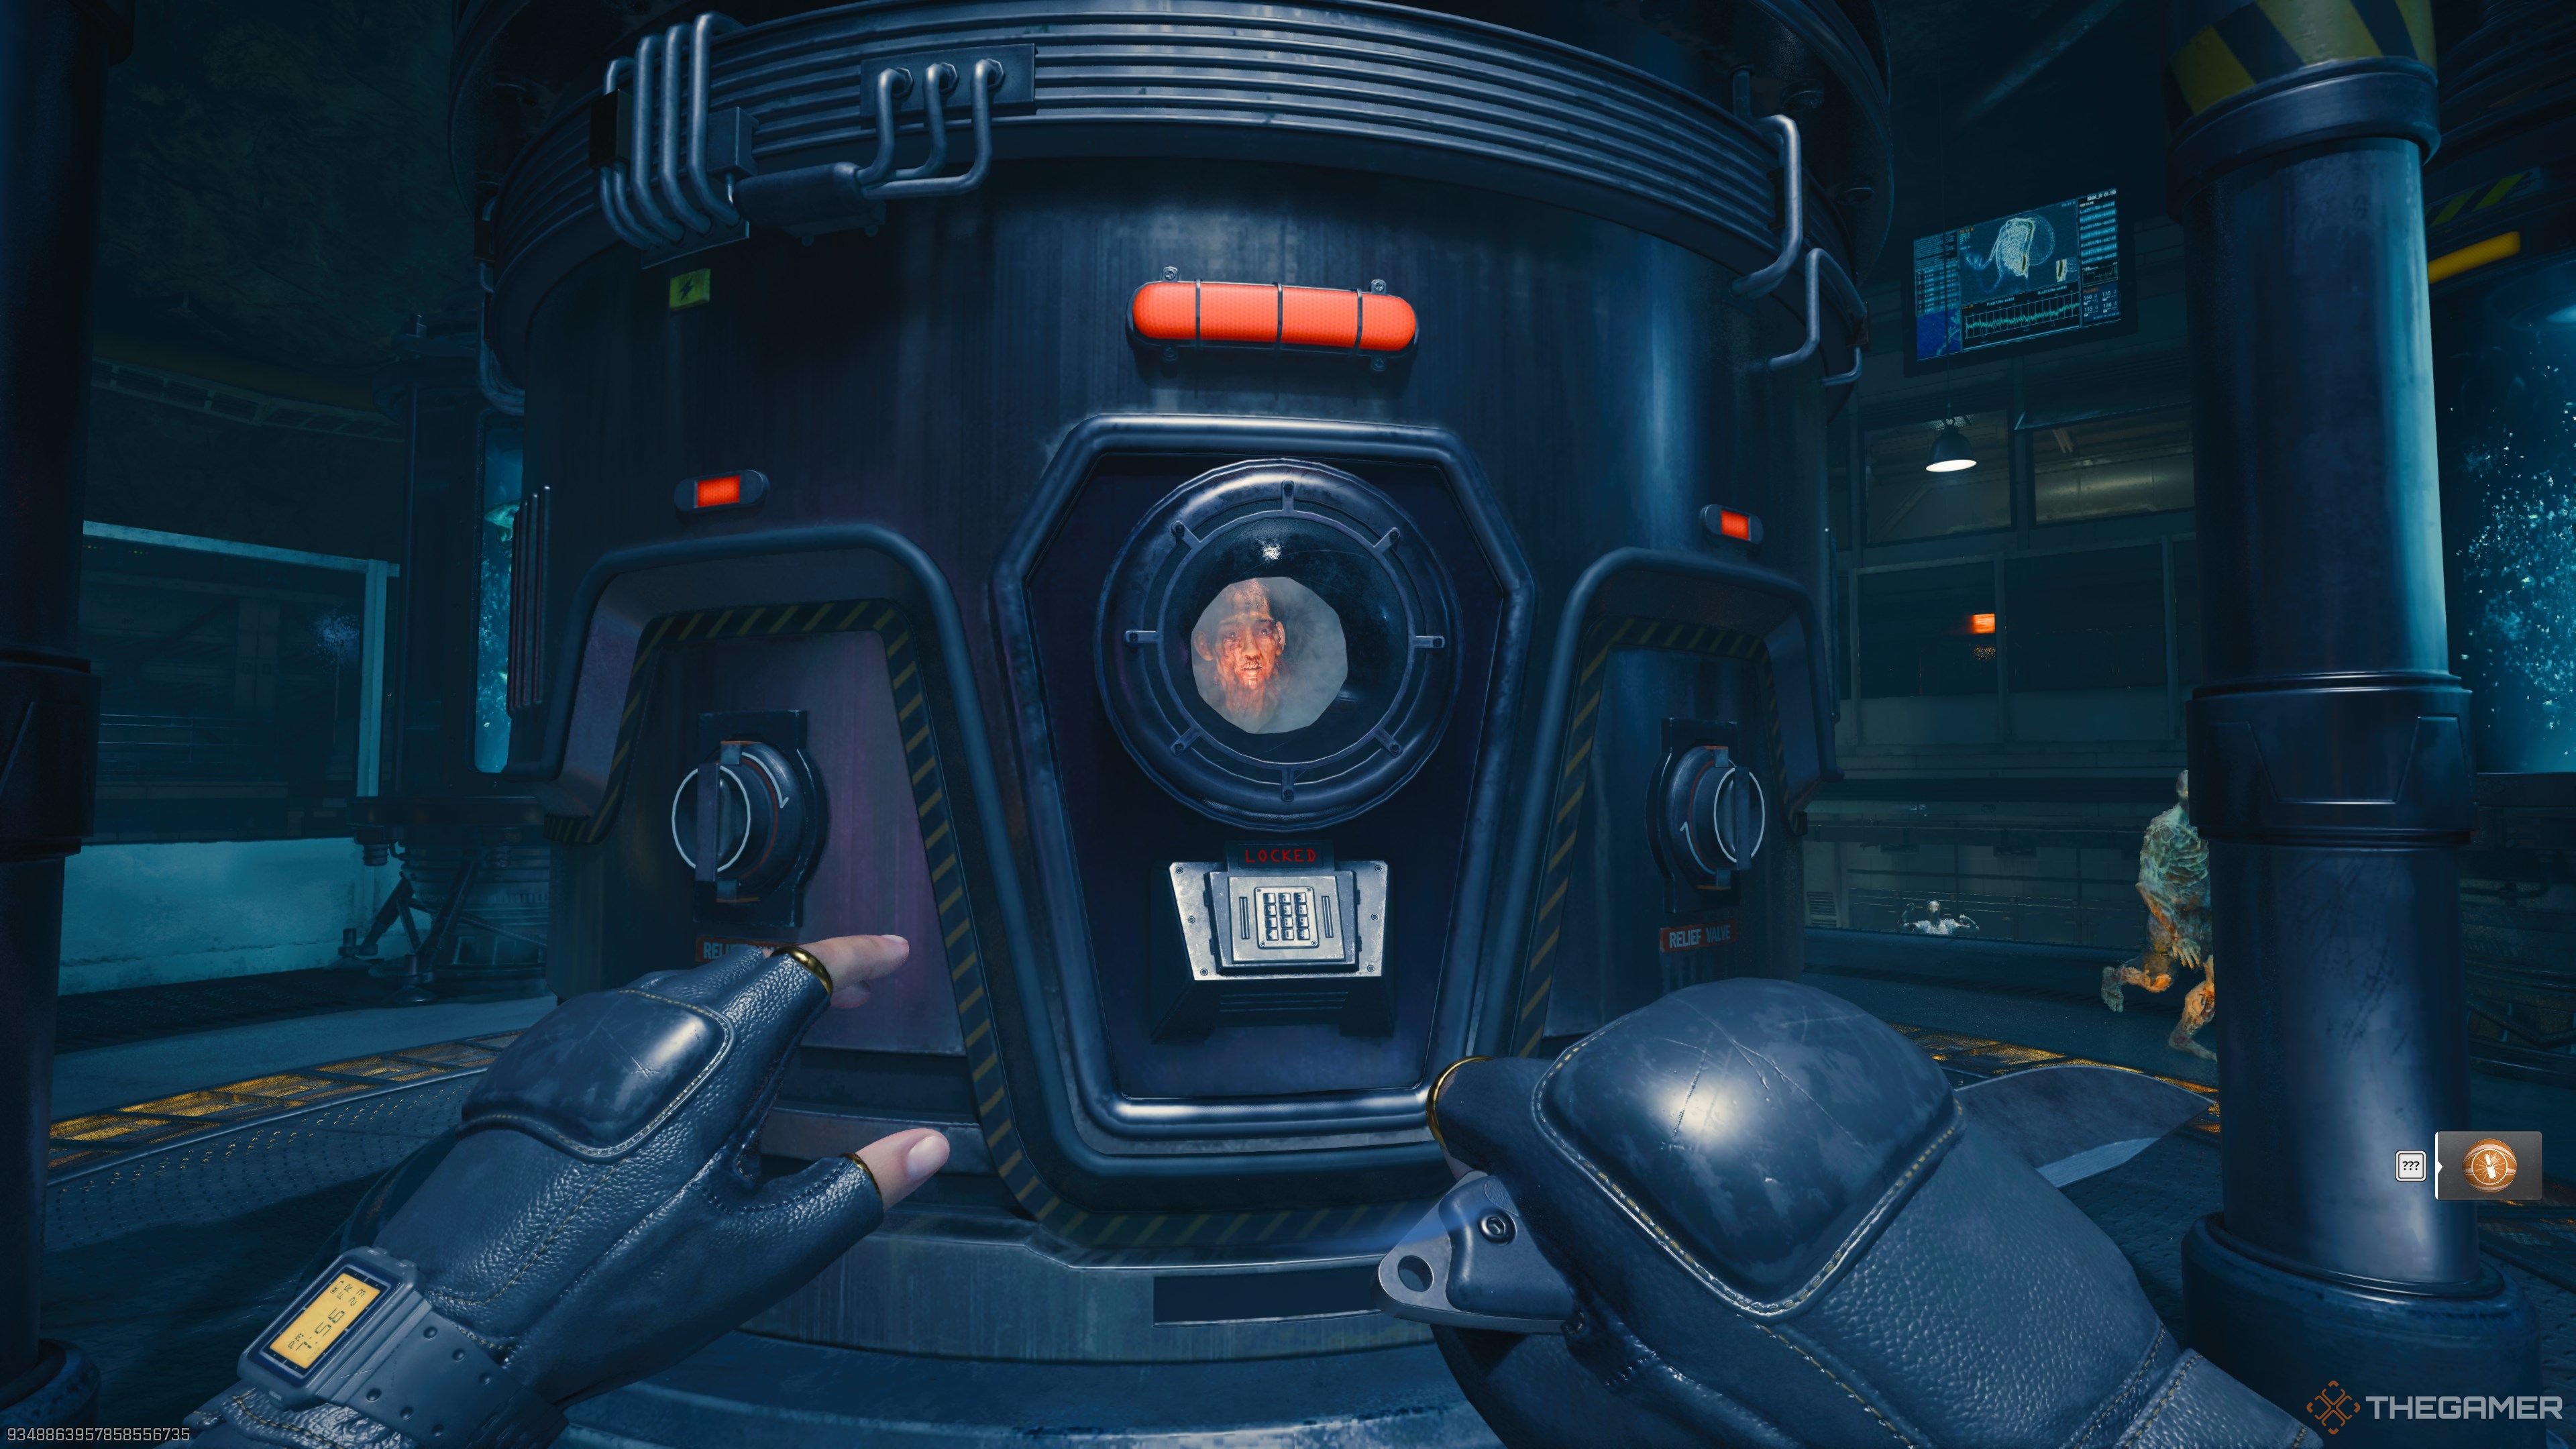
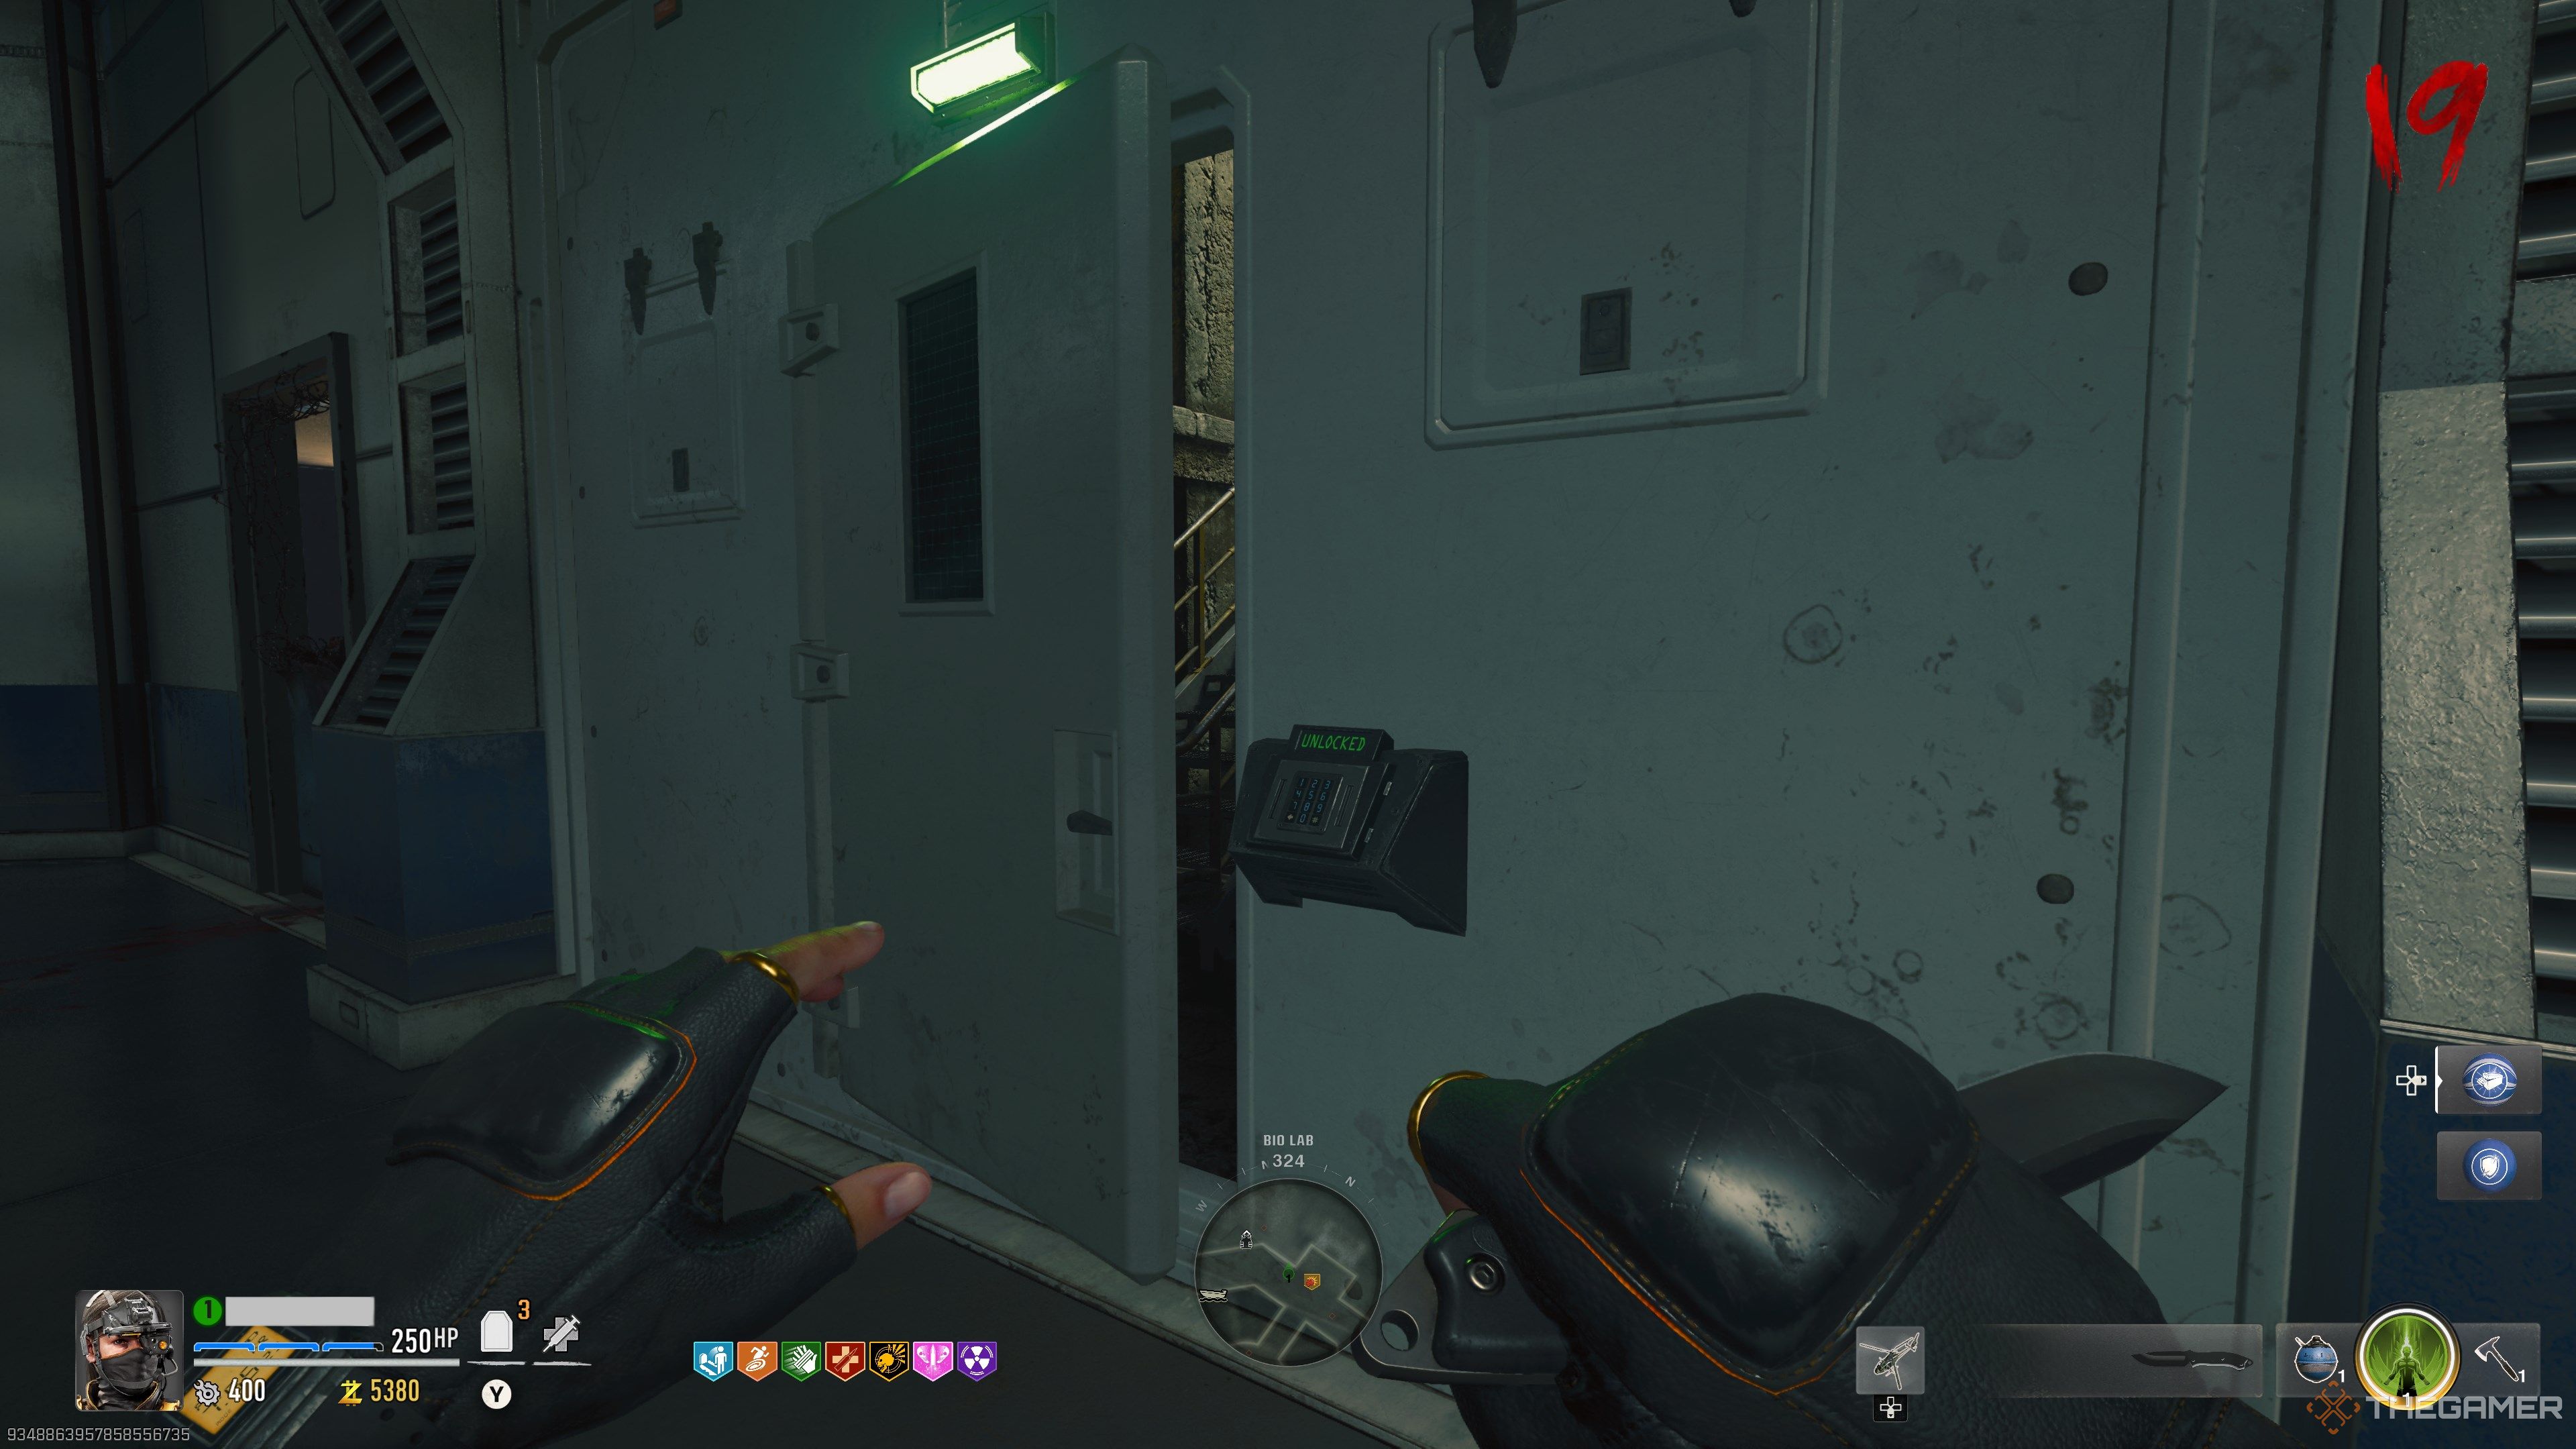
Once you have all three numbers recorded, go to the Bio Lab where you first found Pack-A-Punch. There will be a containment chamber in the middle of the room. Interact with the tube, wait for Nathan to say his piece, then interact with the containment chamber again to enter your code. If correct, you can now release Nathan from his imprisonment. Get ready for a boss fight.
Defeat Nathan
Nathan has been subject to the horrific experiments on Terminus Island and is now an Amalgam monster. This encounter locks your squad inside the Bio Lab with one simple objective: kill Nathan. He’s significantly tougher than your average Amalgam, so make sure you come prepared.
You’ll want a PAP2 weapon before attempting this, ideally PAP3 if you’re attempting this past Round 20. You’ll also want Jugger-Nog and at least a T2 armor vest so you don’t get one tapped by his grab attack.
The fight itself doesn’t have any notable mechanics or quirks. You’re stuck in the Bio Lab with a tanky Amalgam and infinitely-spawning zombies. Loop around the arena to generate space, taking out the armored zombies to restore your armor plates. Only focus on shooting Nathan after you generate some distance. If he gets close, jump into the water or run away to avoid getting swarmed.
Grab attacks are the only thing you need to be wary of. Nathan’s grab attack can one-tap you if you have no armor or Jugger-Nog. Make sure you always have armor in your vest during this fight. If you run low, you can use the crafting bench inside the Bio Lab to convert your spare Salvage into armor plates. Loop around the map, focus on Nathan’s heads to chunk his HP, and mow down the fodder units to keep your armor topped up.
Reconnect Severed Network Cables
After the cutscene finishes playing, jump over the railing on your right and swim to the bottom. You should find a keycard next to some algae. Be sure to grab it before proceeding.
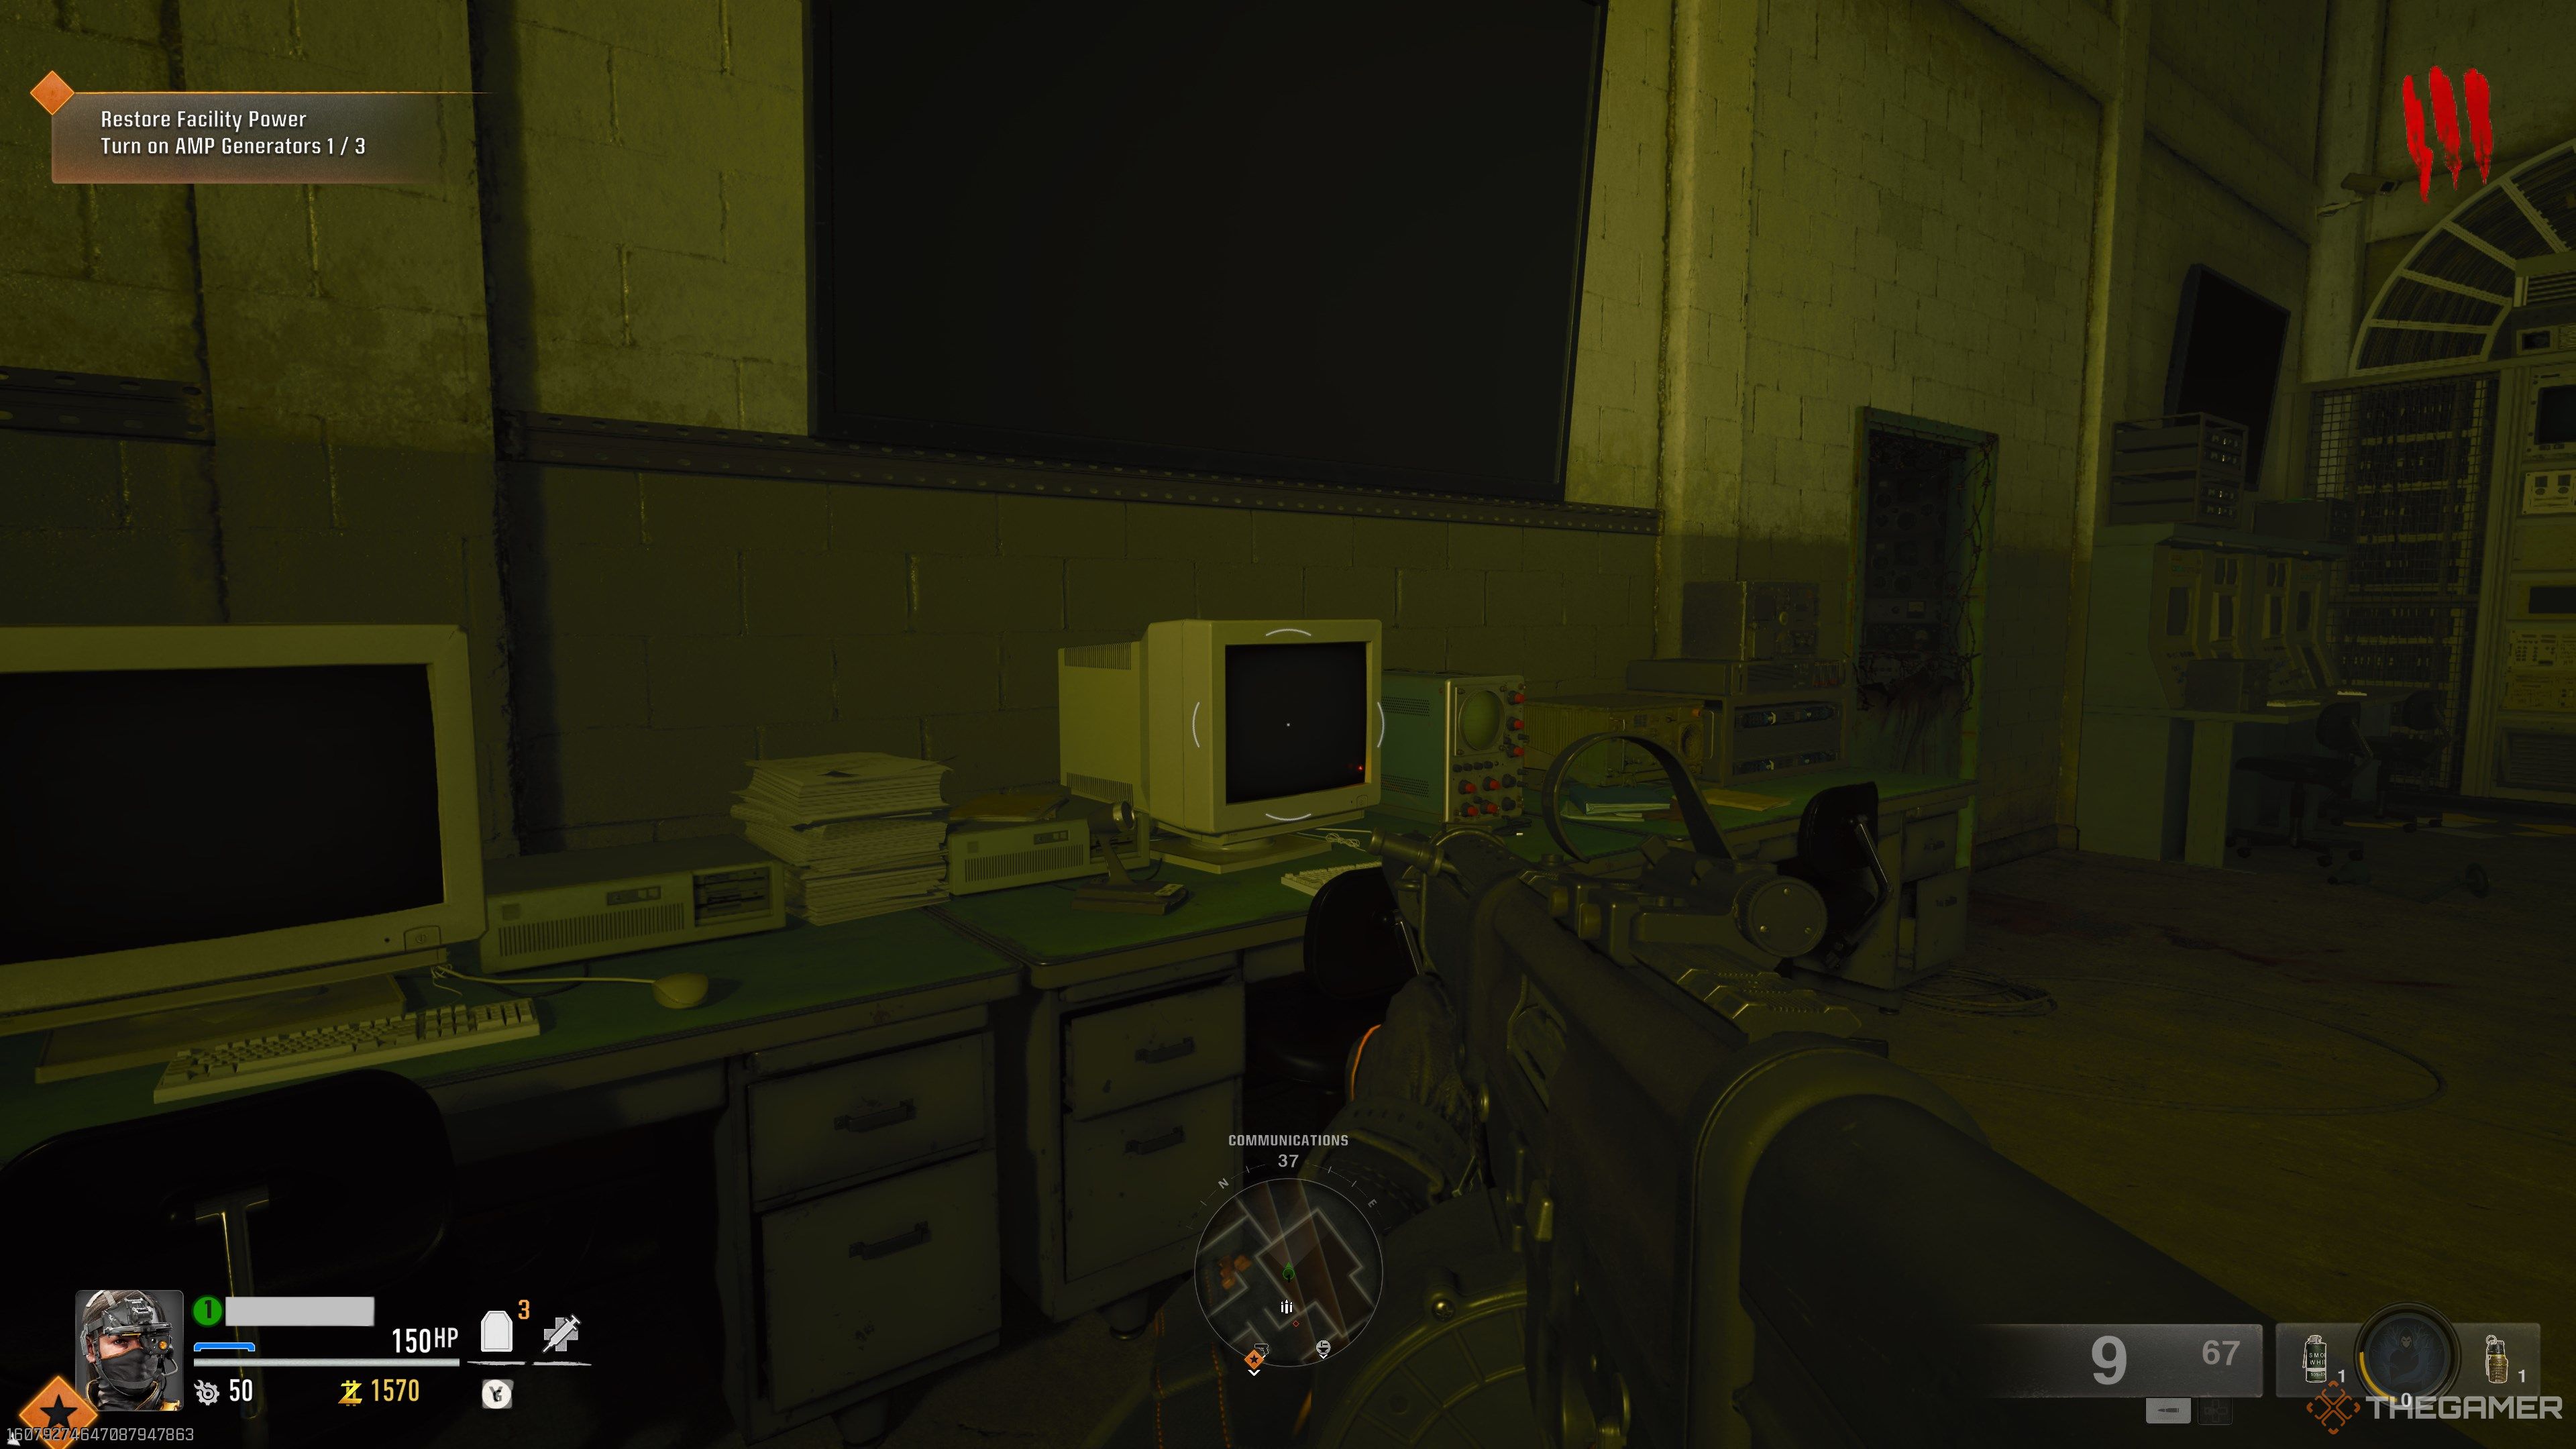
You’ll need to activate the SAM AI to find a way to foil Modi’s plans. Make your way to the Communications building south of Stamin-Up and interact with the CRT monitor inside. It’ll display an error message after a few seconds. It looks like a few cables connectors are missing in the facility, and it’s up to you to find them.
Purchase a boat and travel to the sunken ship at quadrant C5/6. Enter the hole near the front of the boat and dock near the ladder. Climb up to find the spare connectors you need. Grabbing a spare connector will trigger a lockdown, forcing you to clear multiple waves of zombies. The ASG or any explosive weapon shouldn’t struggle with this part.
You can use Shock Charges to bypass the lockdown section of this step. Throw it next to the hatch when the lockdown begins. So long as it zaps a nearby zombie, the lockdown will lift and open the hatch.
With a spare connector handy, get back on your boat. There are three potential connectors you need to repair. Since there are only two connectors on the ship, one of these isn’t going to need repairs. If you find the fixed connector, simply go to the next spot. The locations are as follows:
|
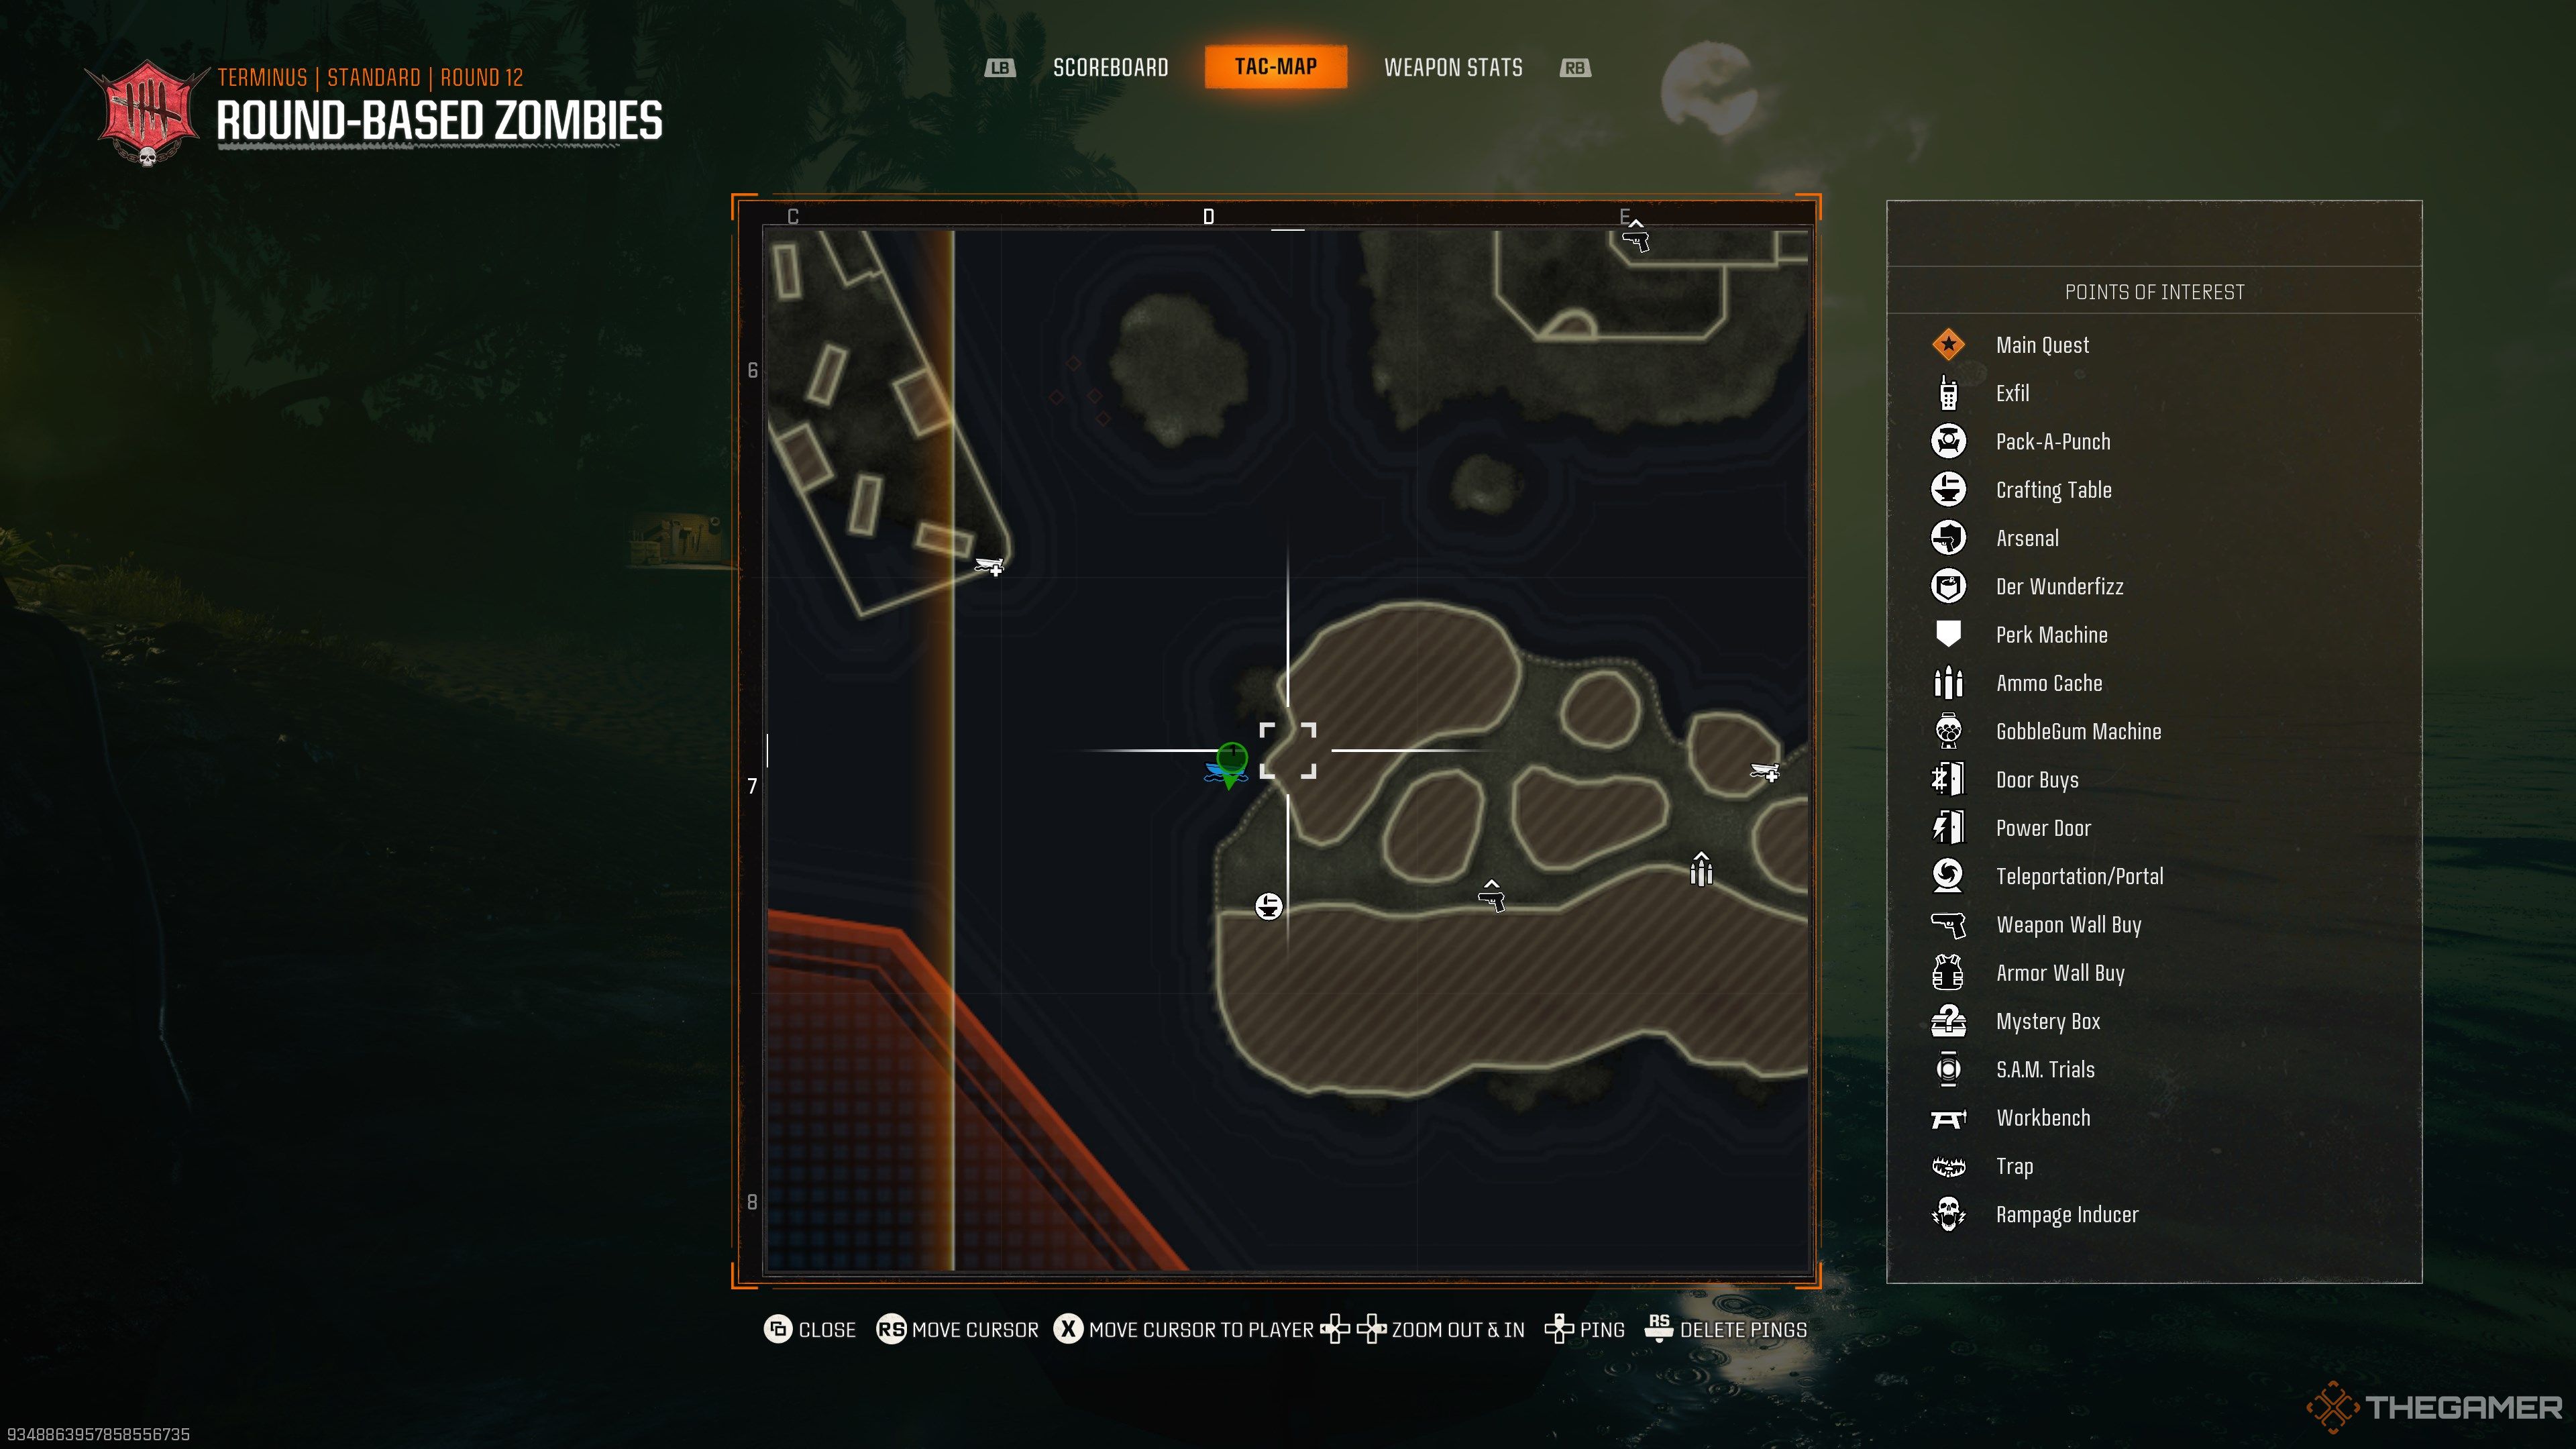
Crab Island |
Quadrant D7 |
Found on the northwest corner on the coast. Dock your boat near the shore and look for cables. |
|---|---|---|
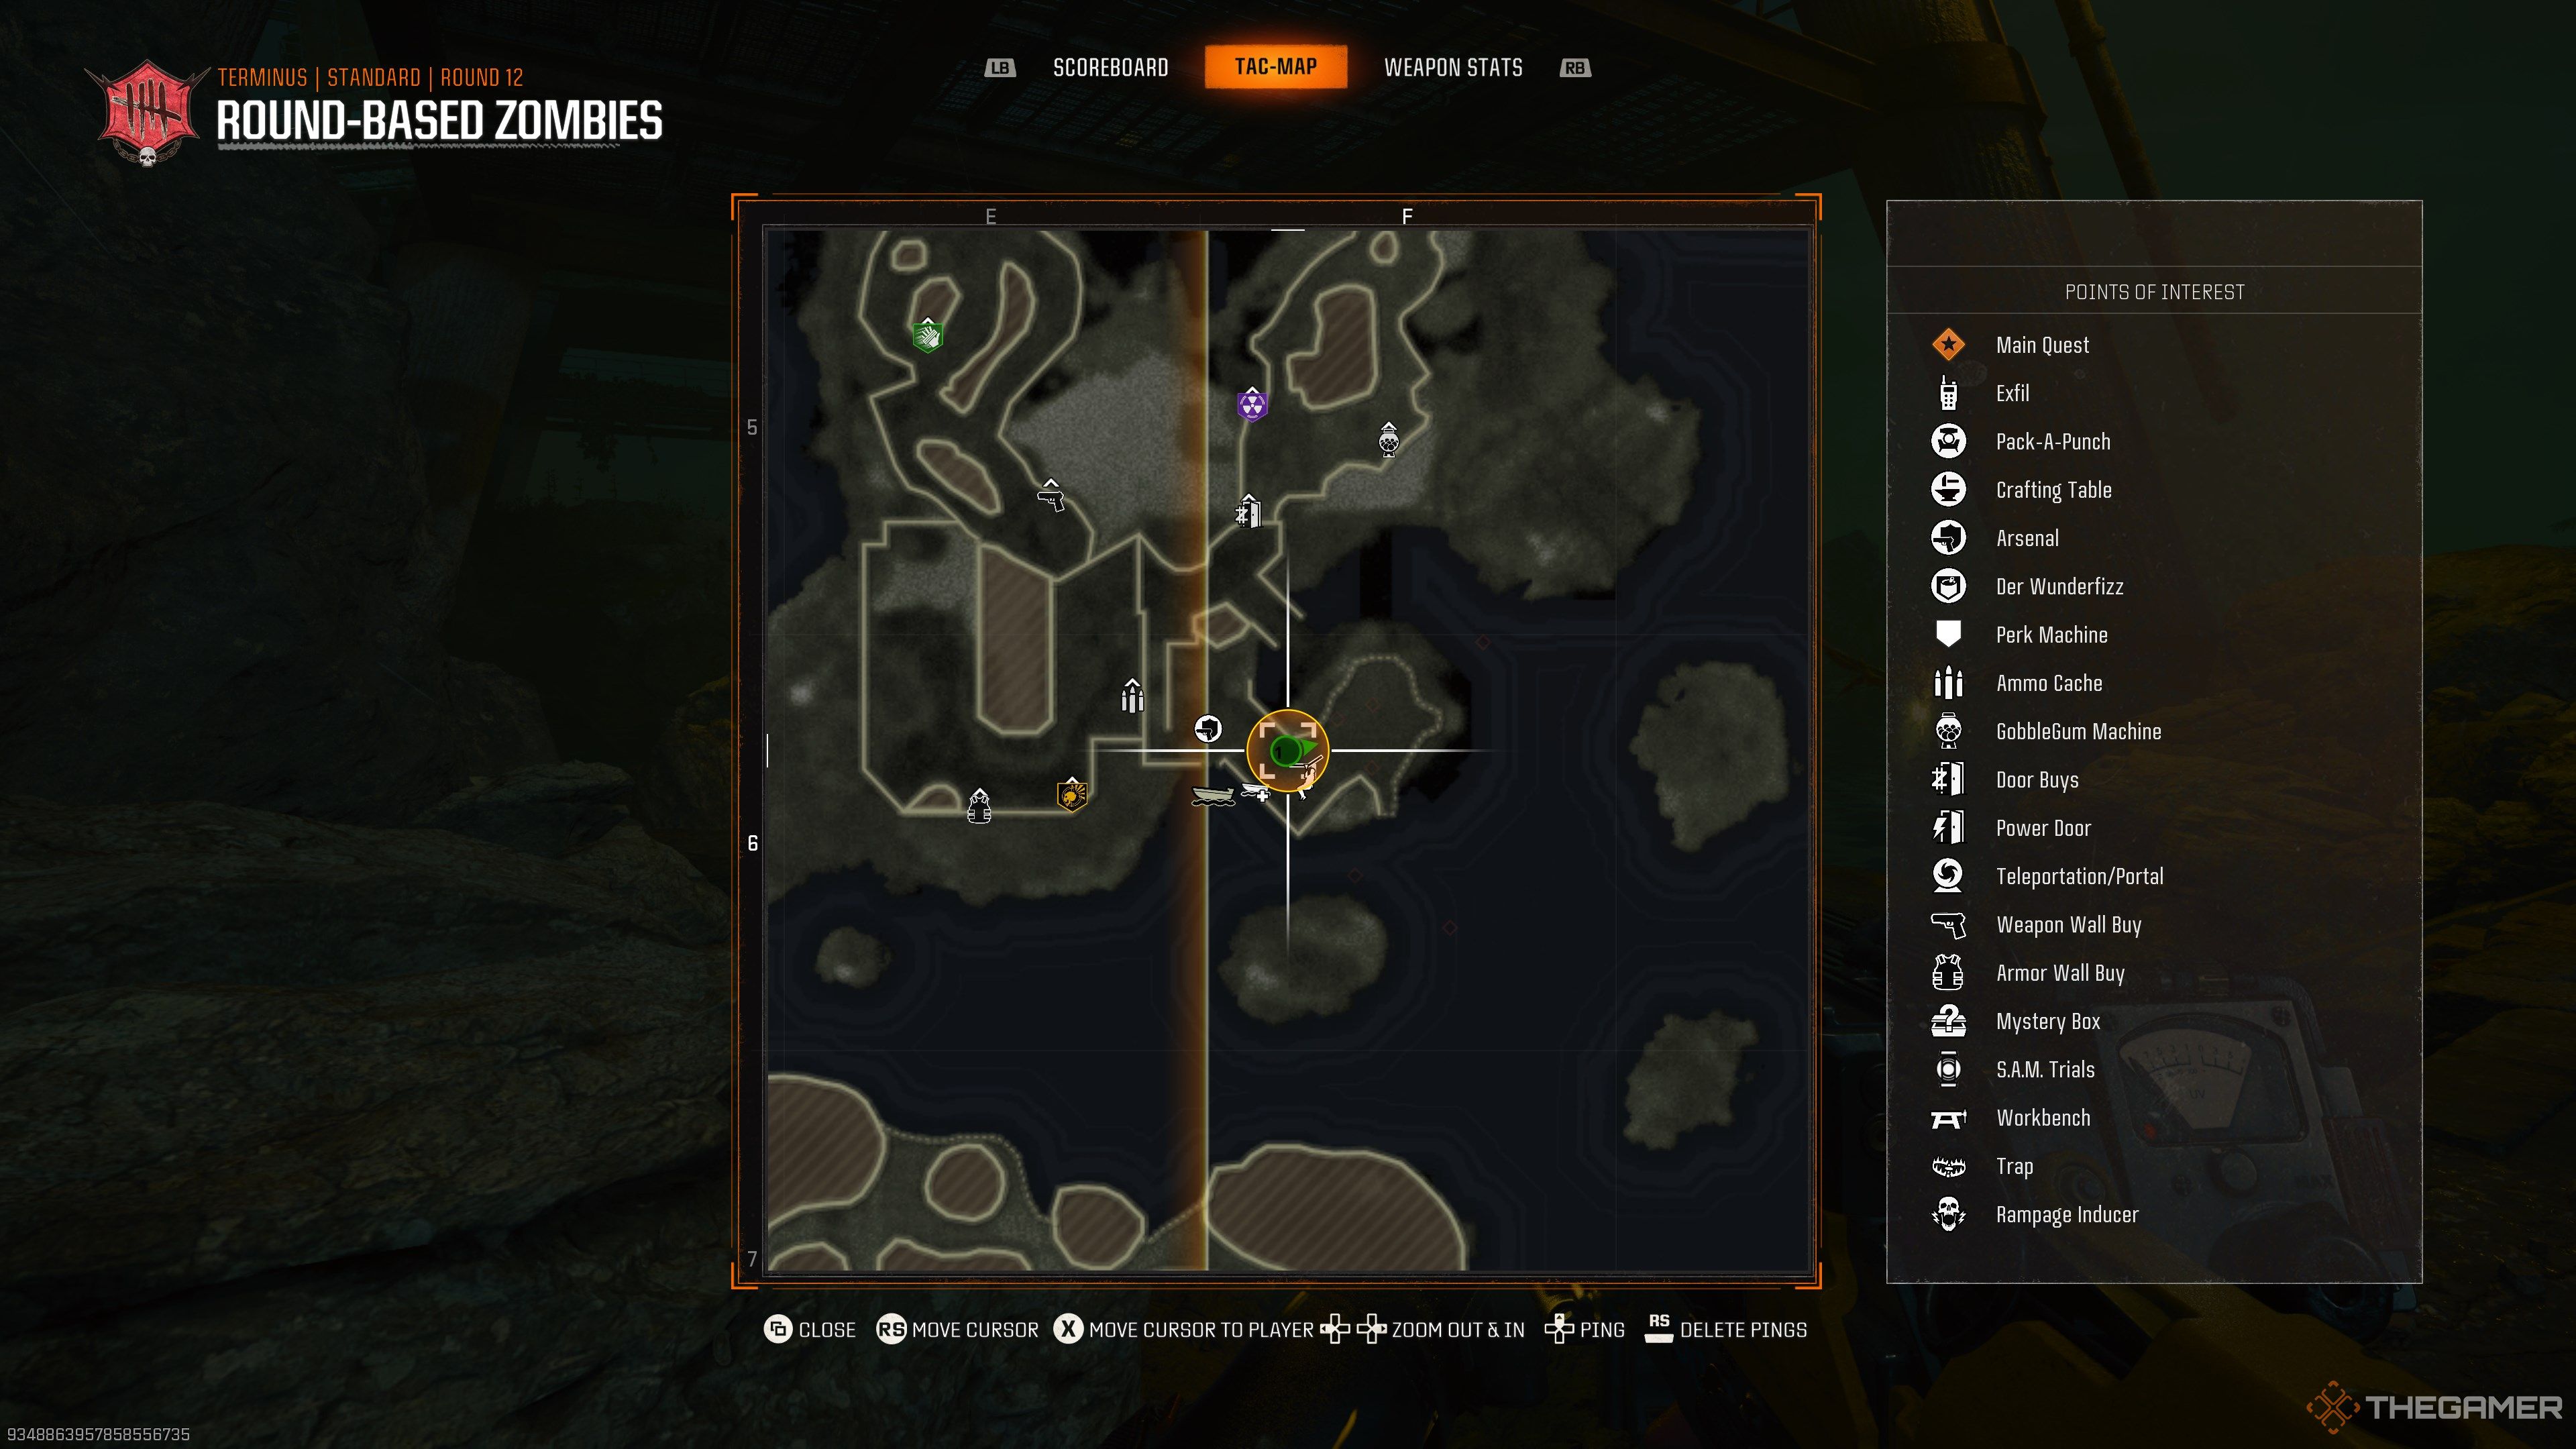
Docks |
Quadrant F6 |
Under the tower where Elemental Pop is located, next to one of the tower’s legs. |
Sea Caves |
Quadrant E5 |
East of the Speed Cola machine, located on the right-most tunnel that leads to the Bio Lab. |
Related
Call Of Duty: Black Ops 6 Zombies – Every Free Power-Up Location In Terminus
Here’s your go-to list for every free power-up available in Terminus.
Hack Three Buoys
Completing this step triggers a timed sequence you cannot skip. Make sure your squad is ready before continuing.
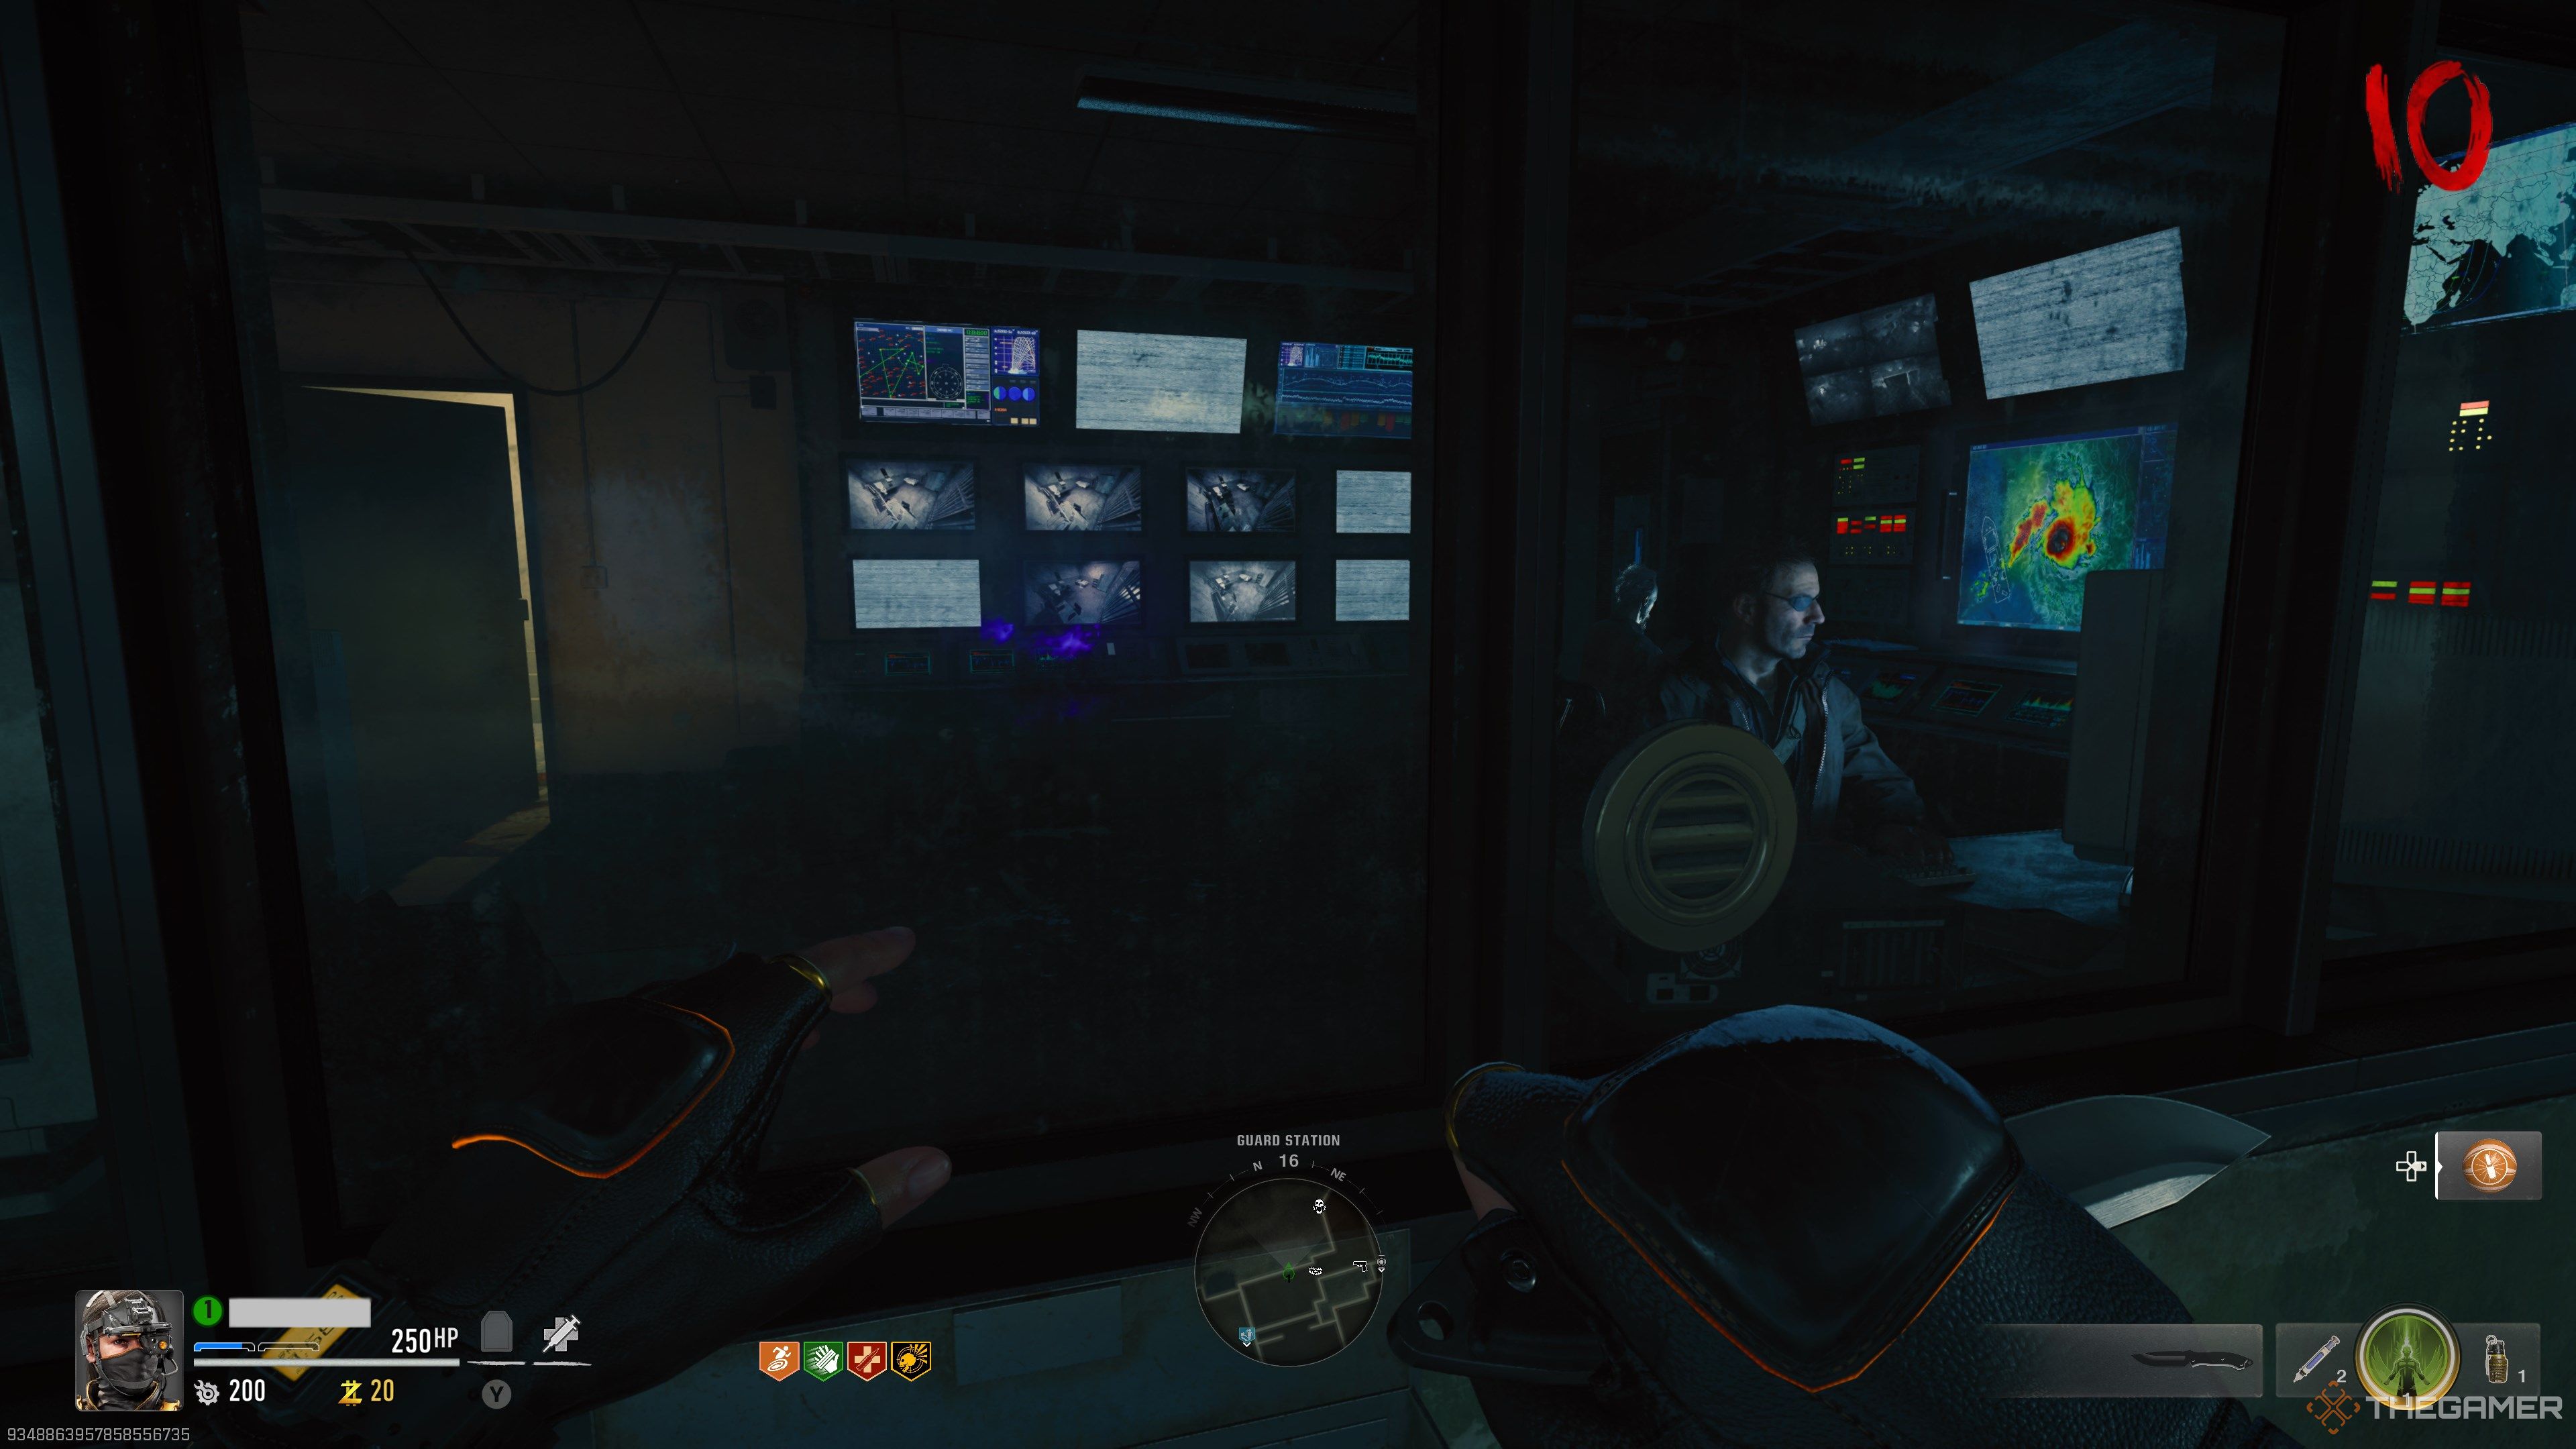
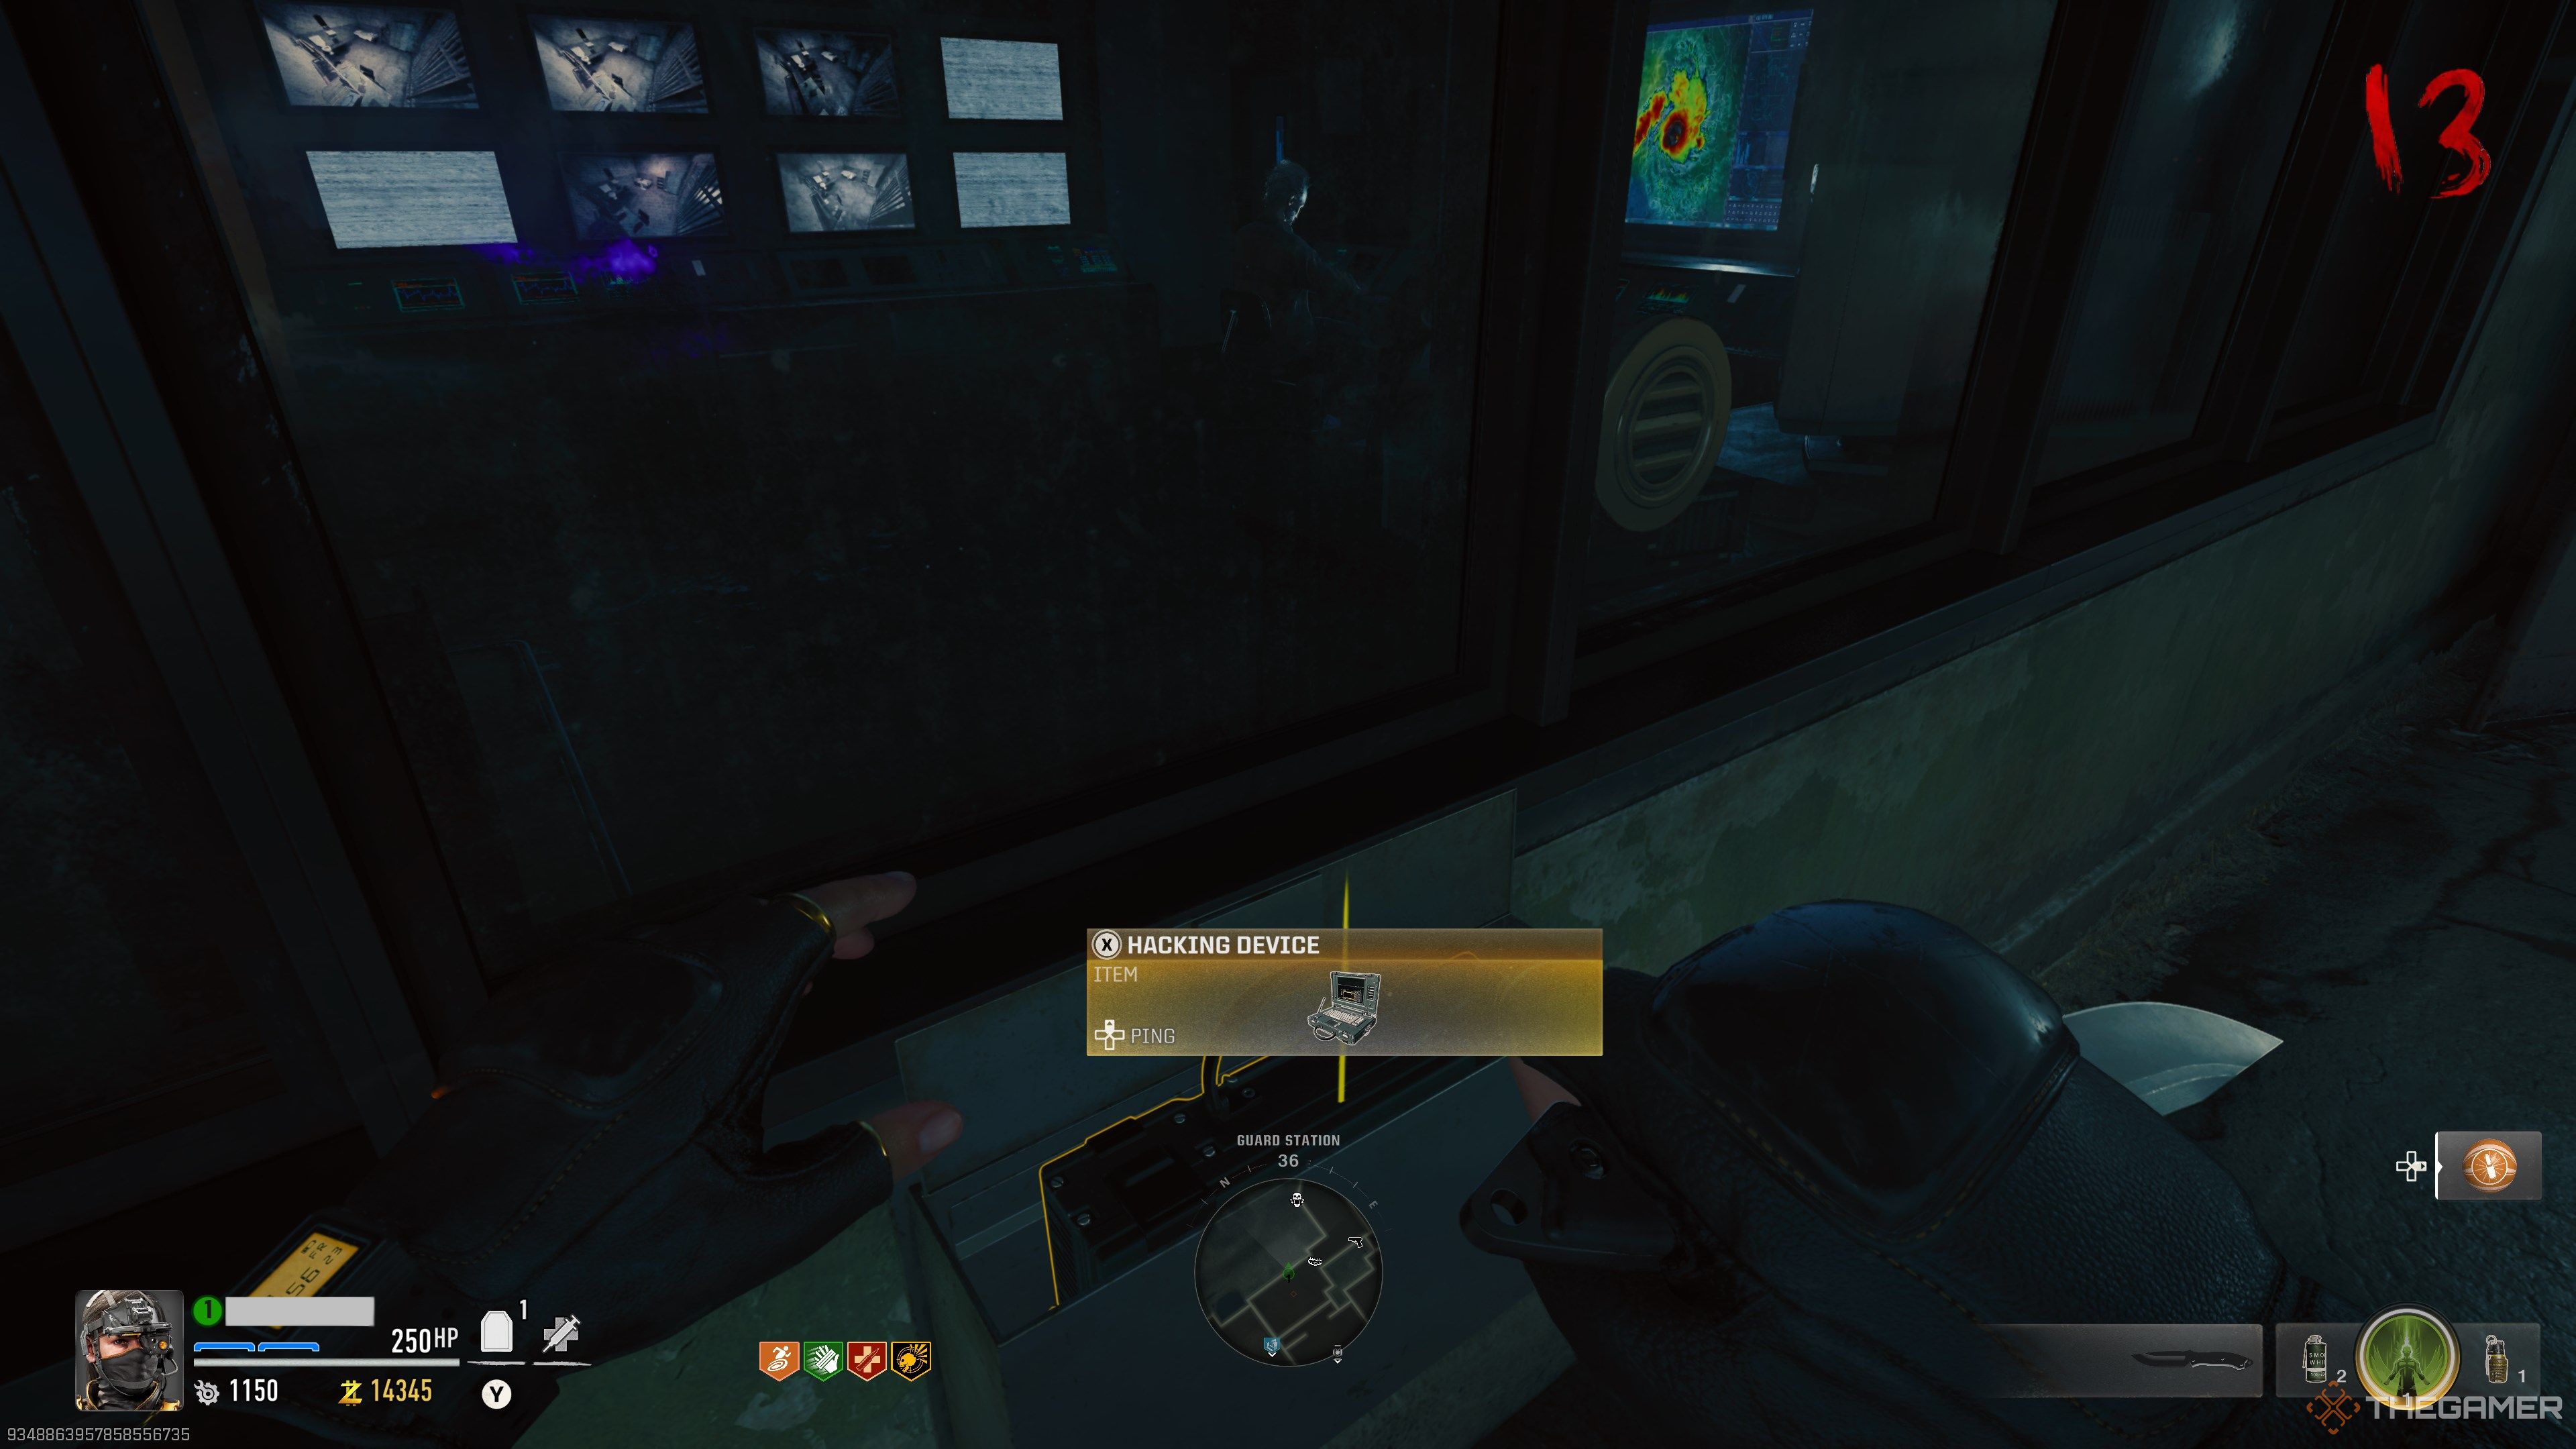
With the connectors installed, head back to Pack’s guard post to pick up a hacking device. SAM requires you to hack three buoys floating near the edge of the map. Hacking them is fairly straightforward: use your boat to get near the buoy, exit the boat, and then hold the interact key to hack the buoy. The hacking animation only takes a few seconds, but each buoy is protected by Parasite flies. Clear them out before you start hacking.
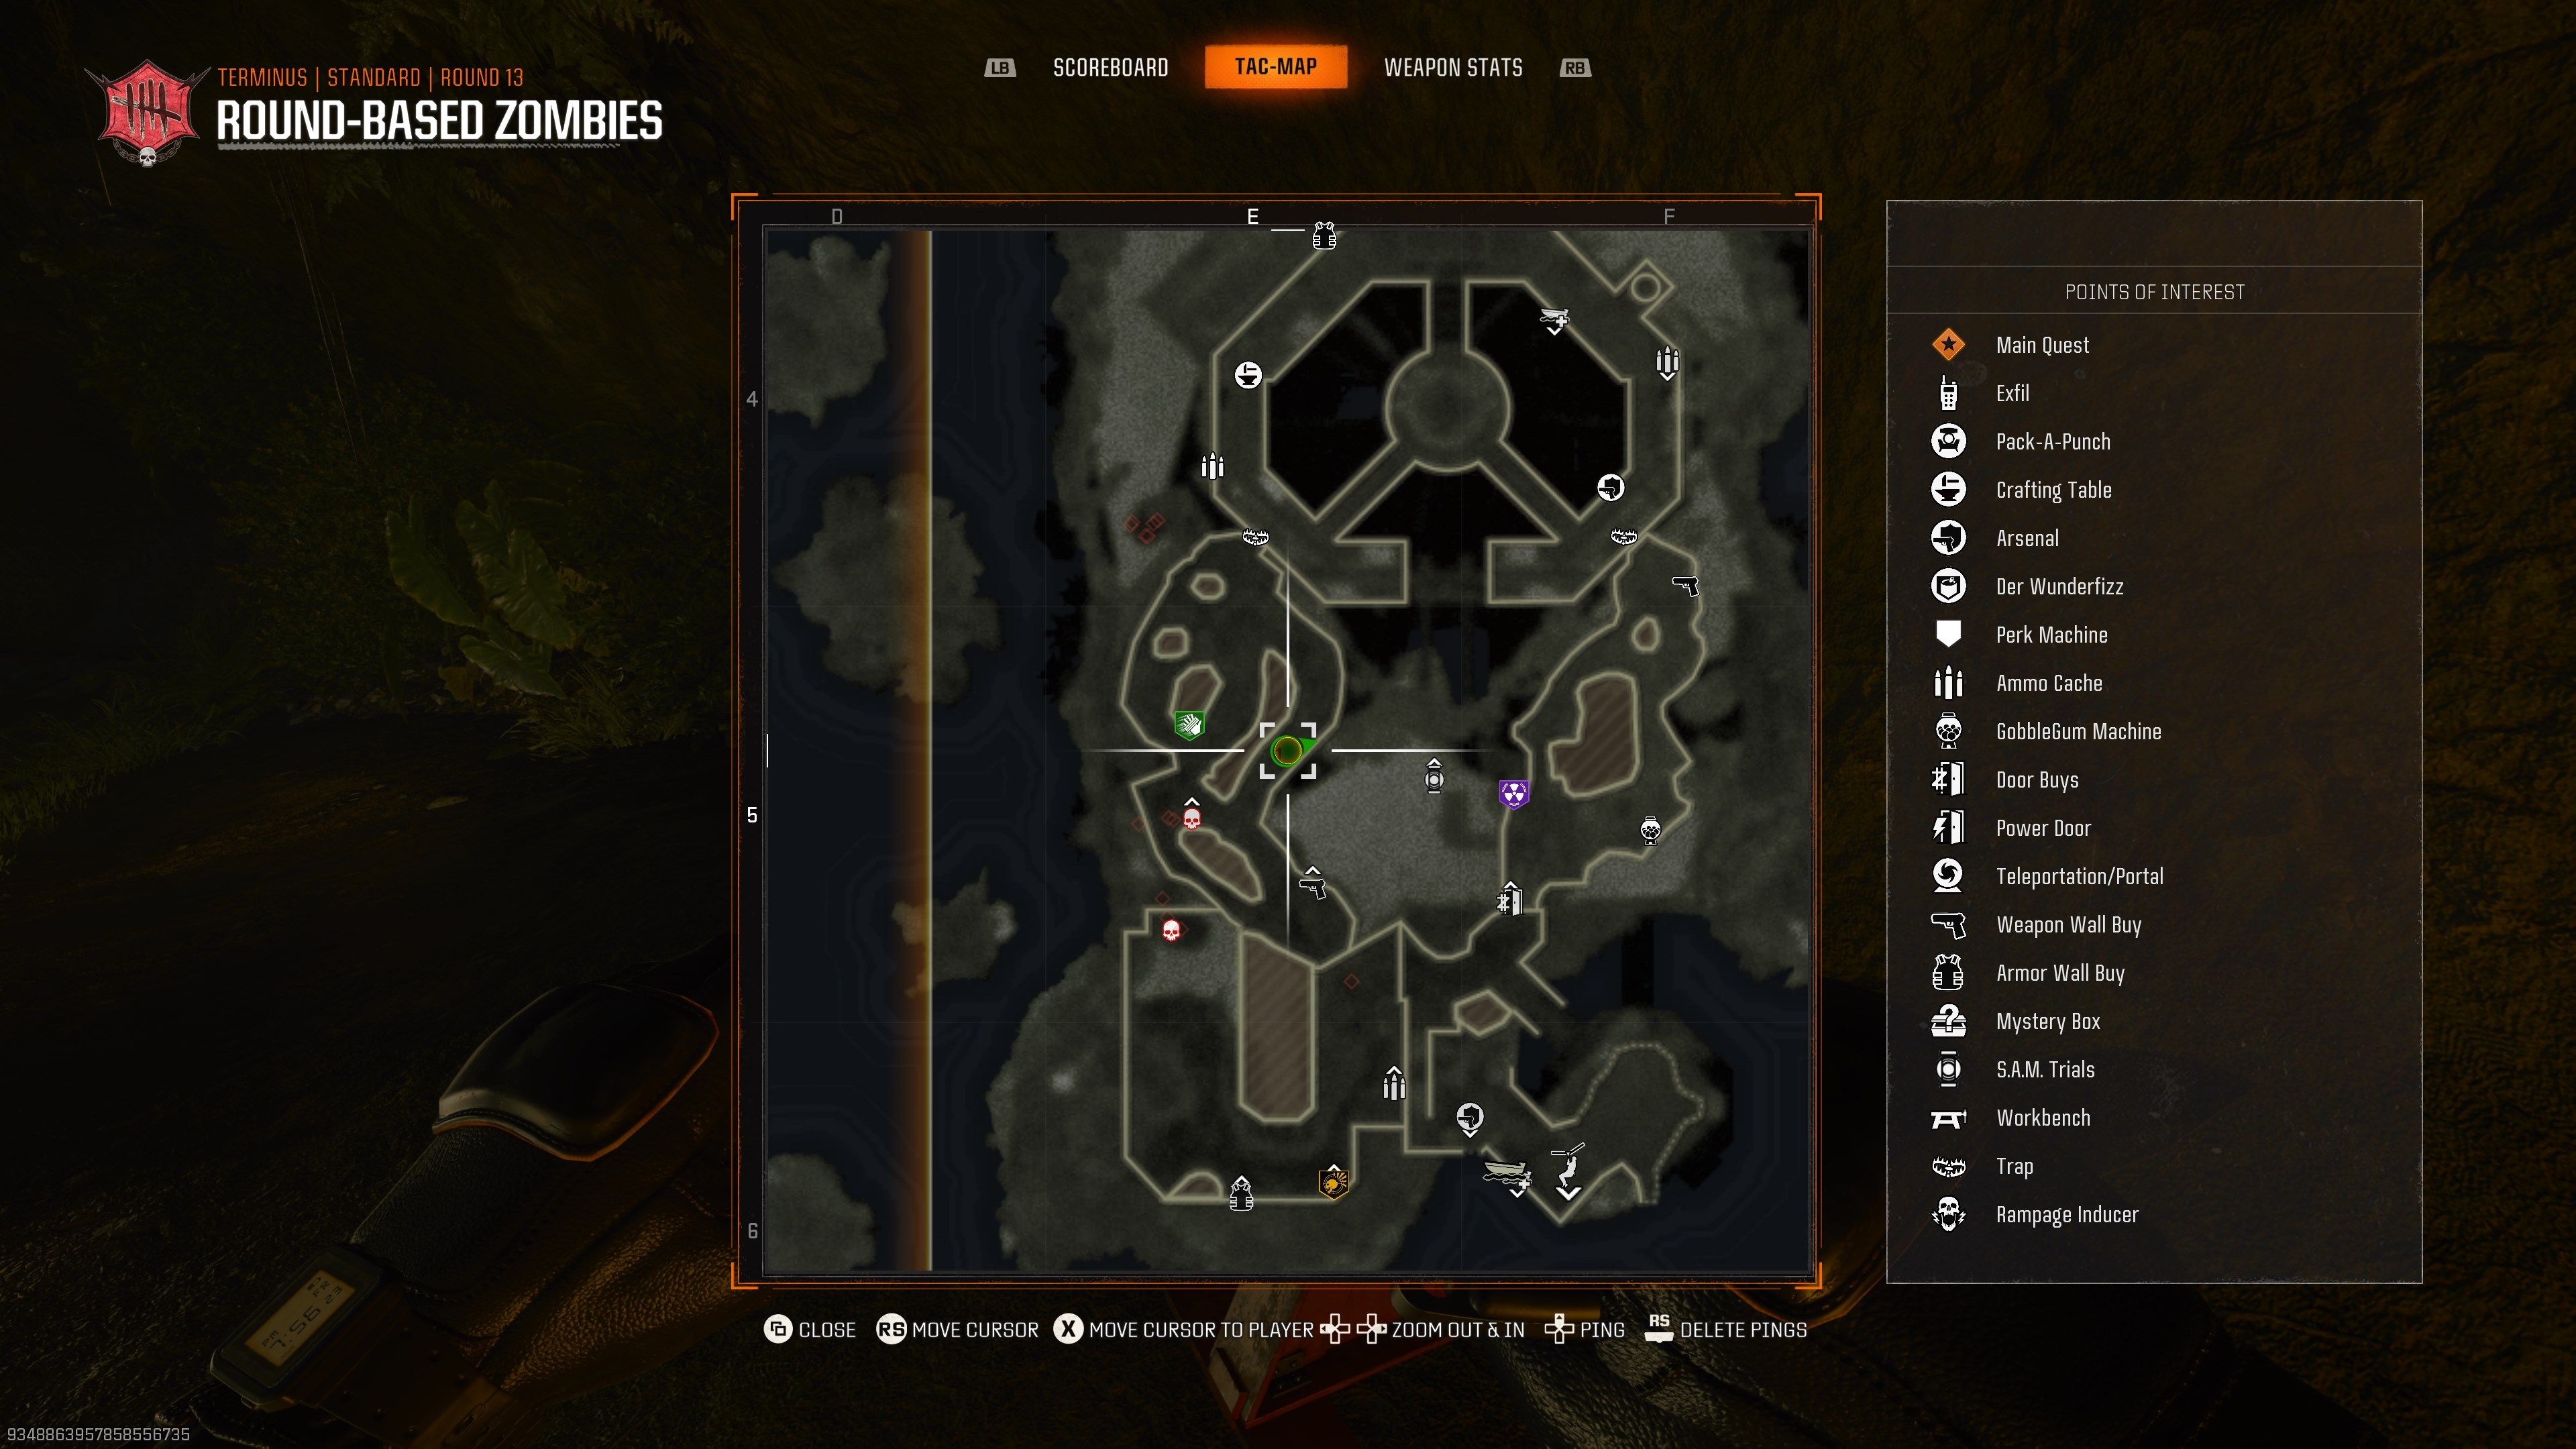
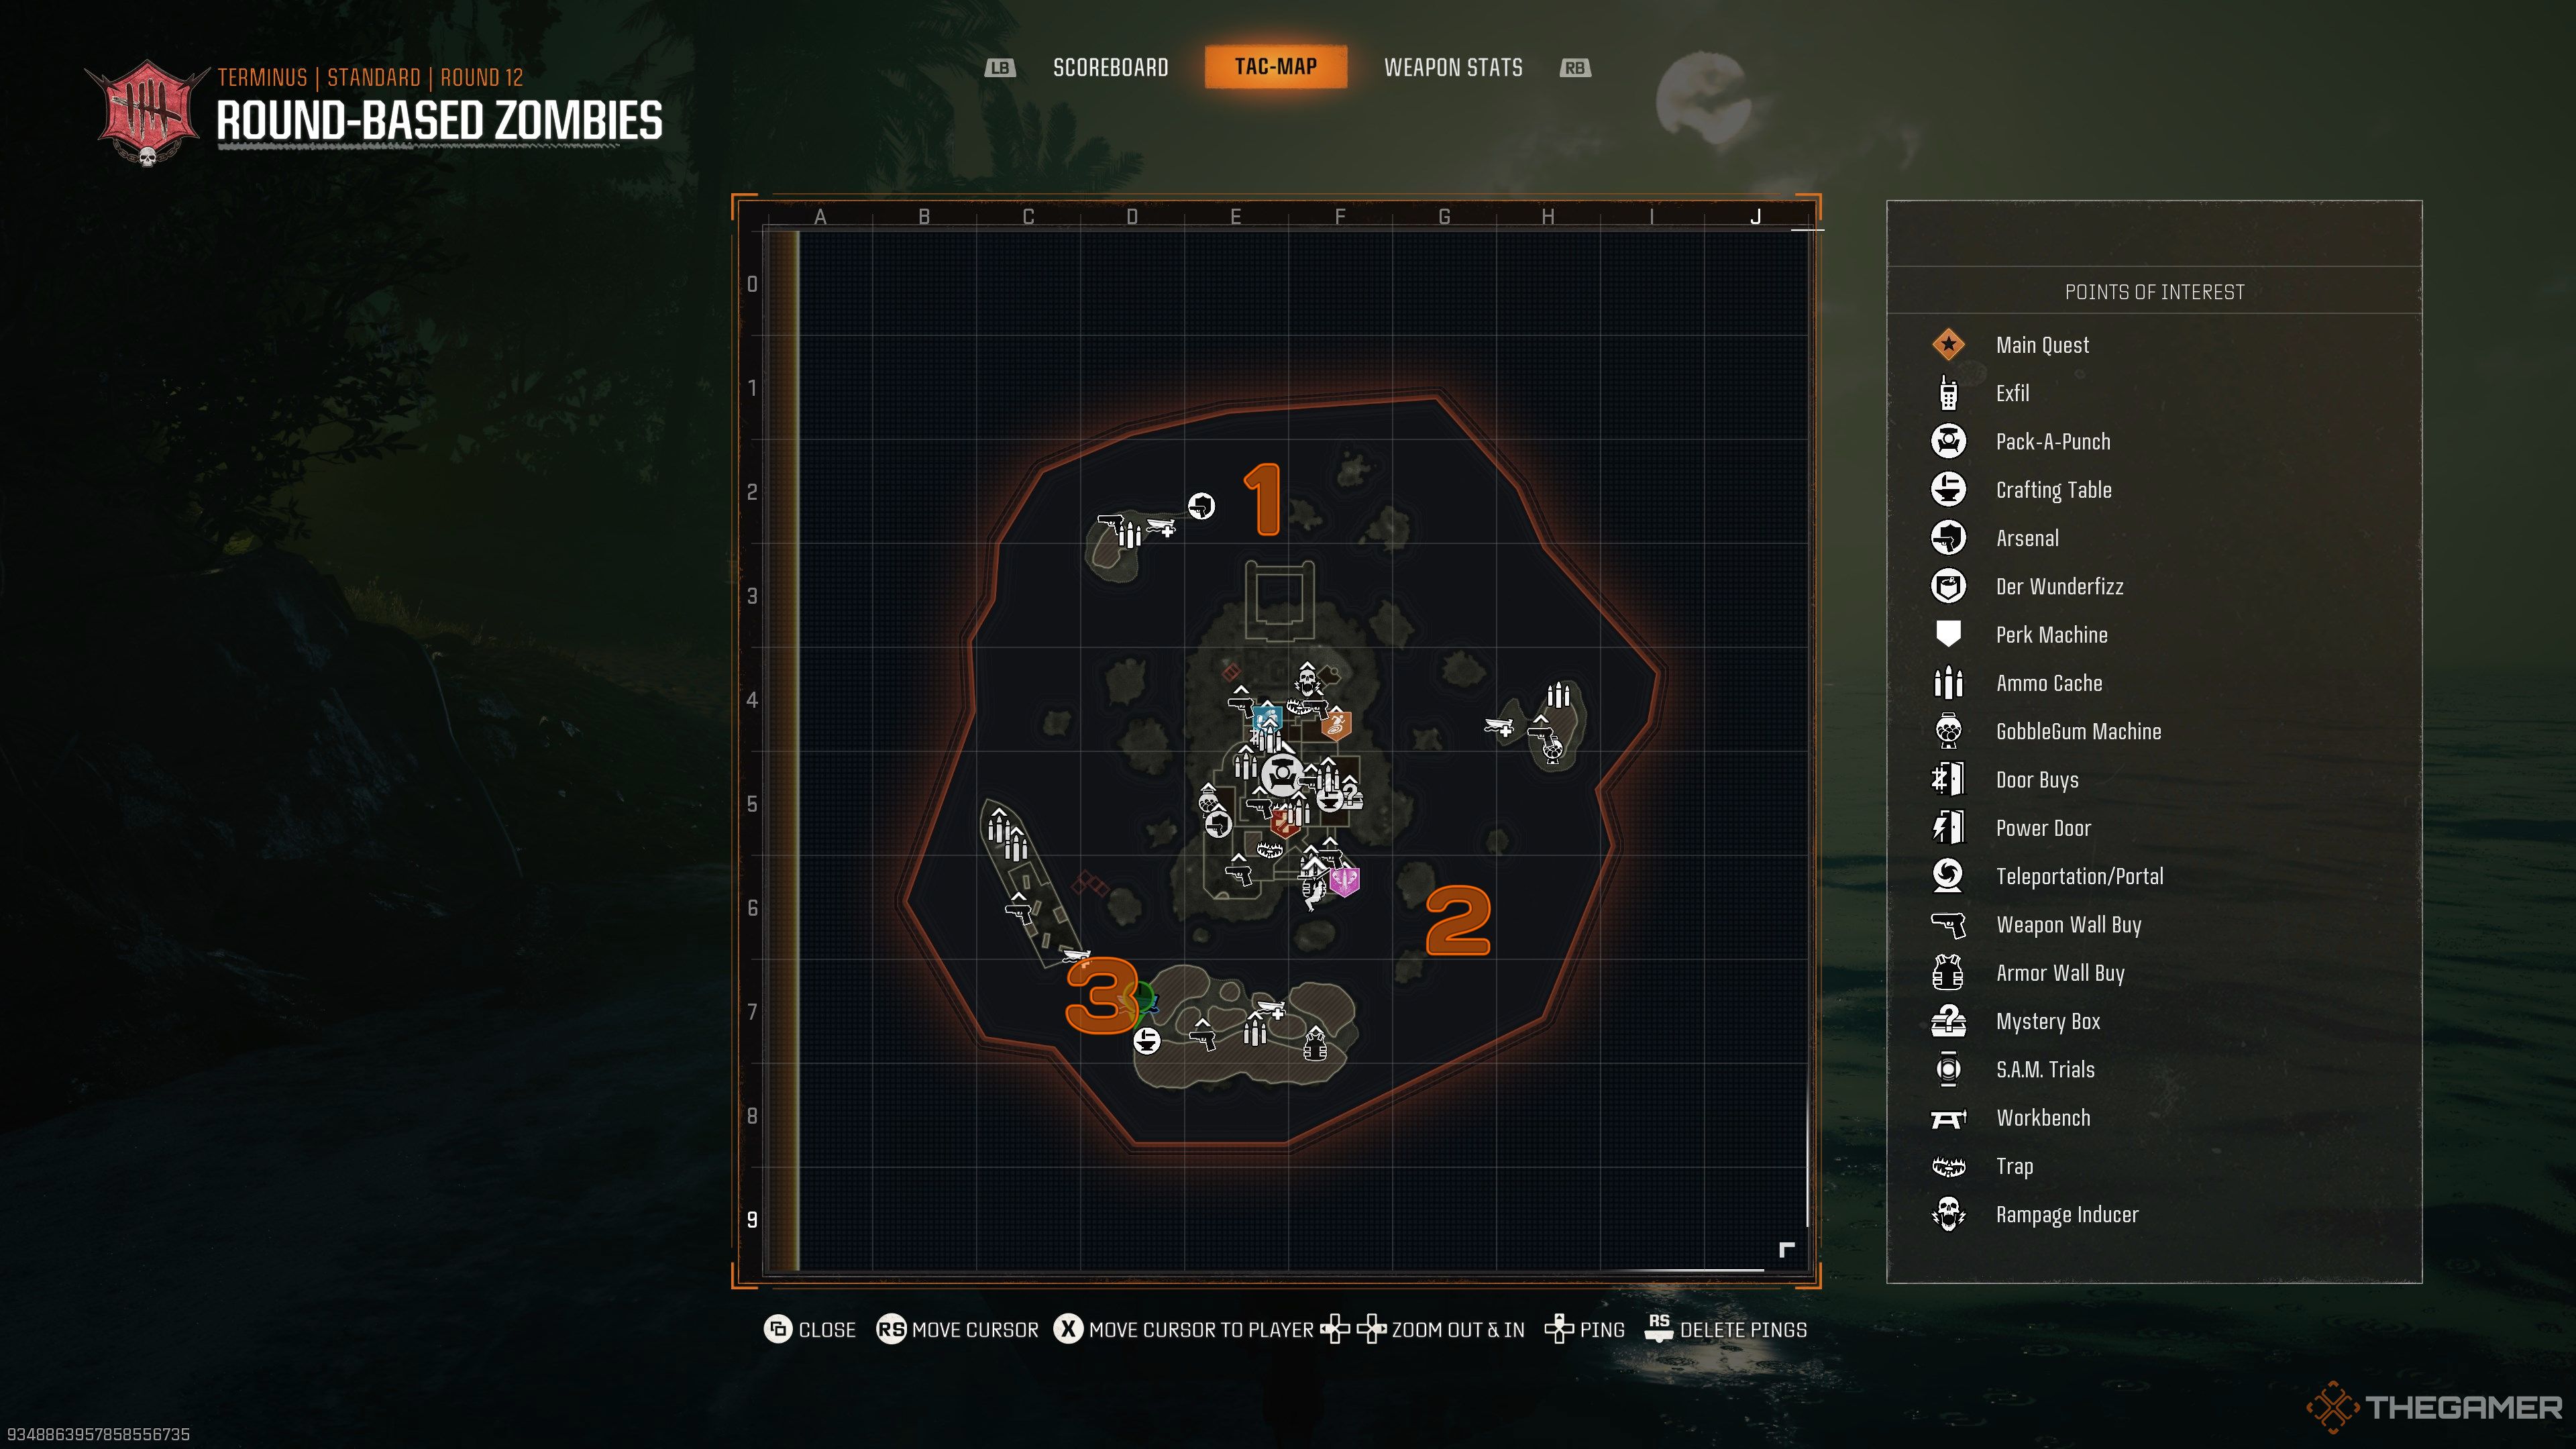
Hacking one buoy will trigger a 120-second timer where you must find and hack the remaining buoys. The good news is they’re fairly easy to find, as shown in the map above. You’ll find them in quadrants G6, E2, and D7. It doesn’t matter which order you hack the buoys; you just need to hack all three before the timer hits zero. Should you fail to hack the buoys, you’ll need to hack all three of them again.
Defuse The Warheads
You have five minutes to complete this step. Should you fail, the game immediately ends.
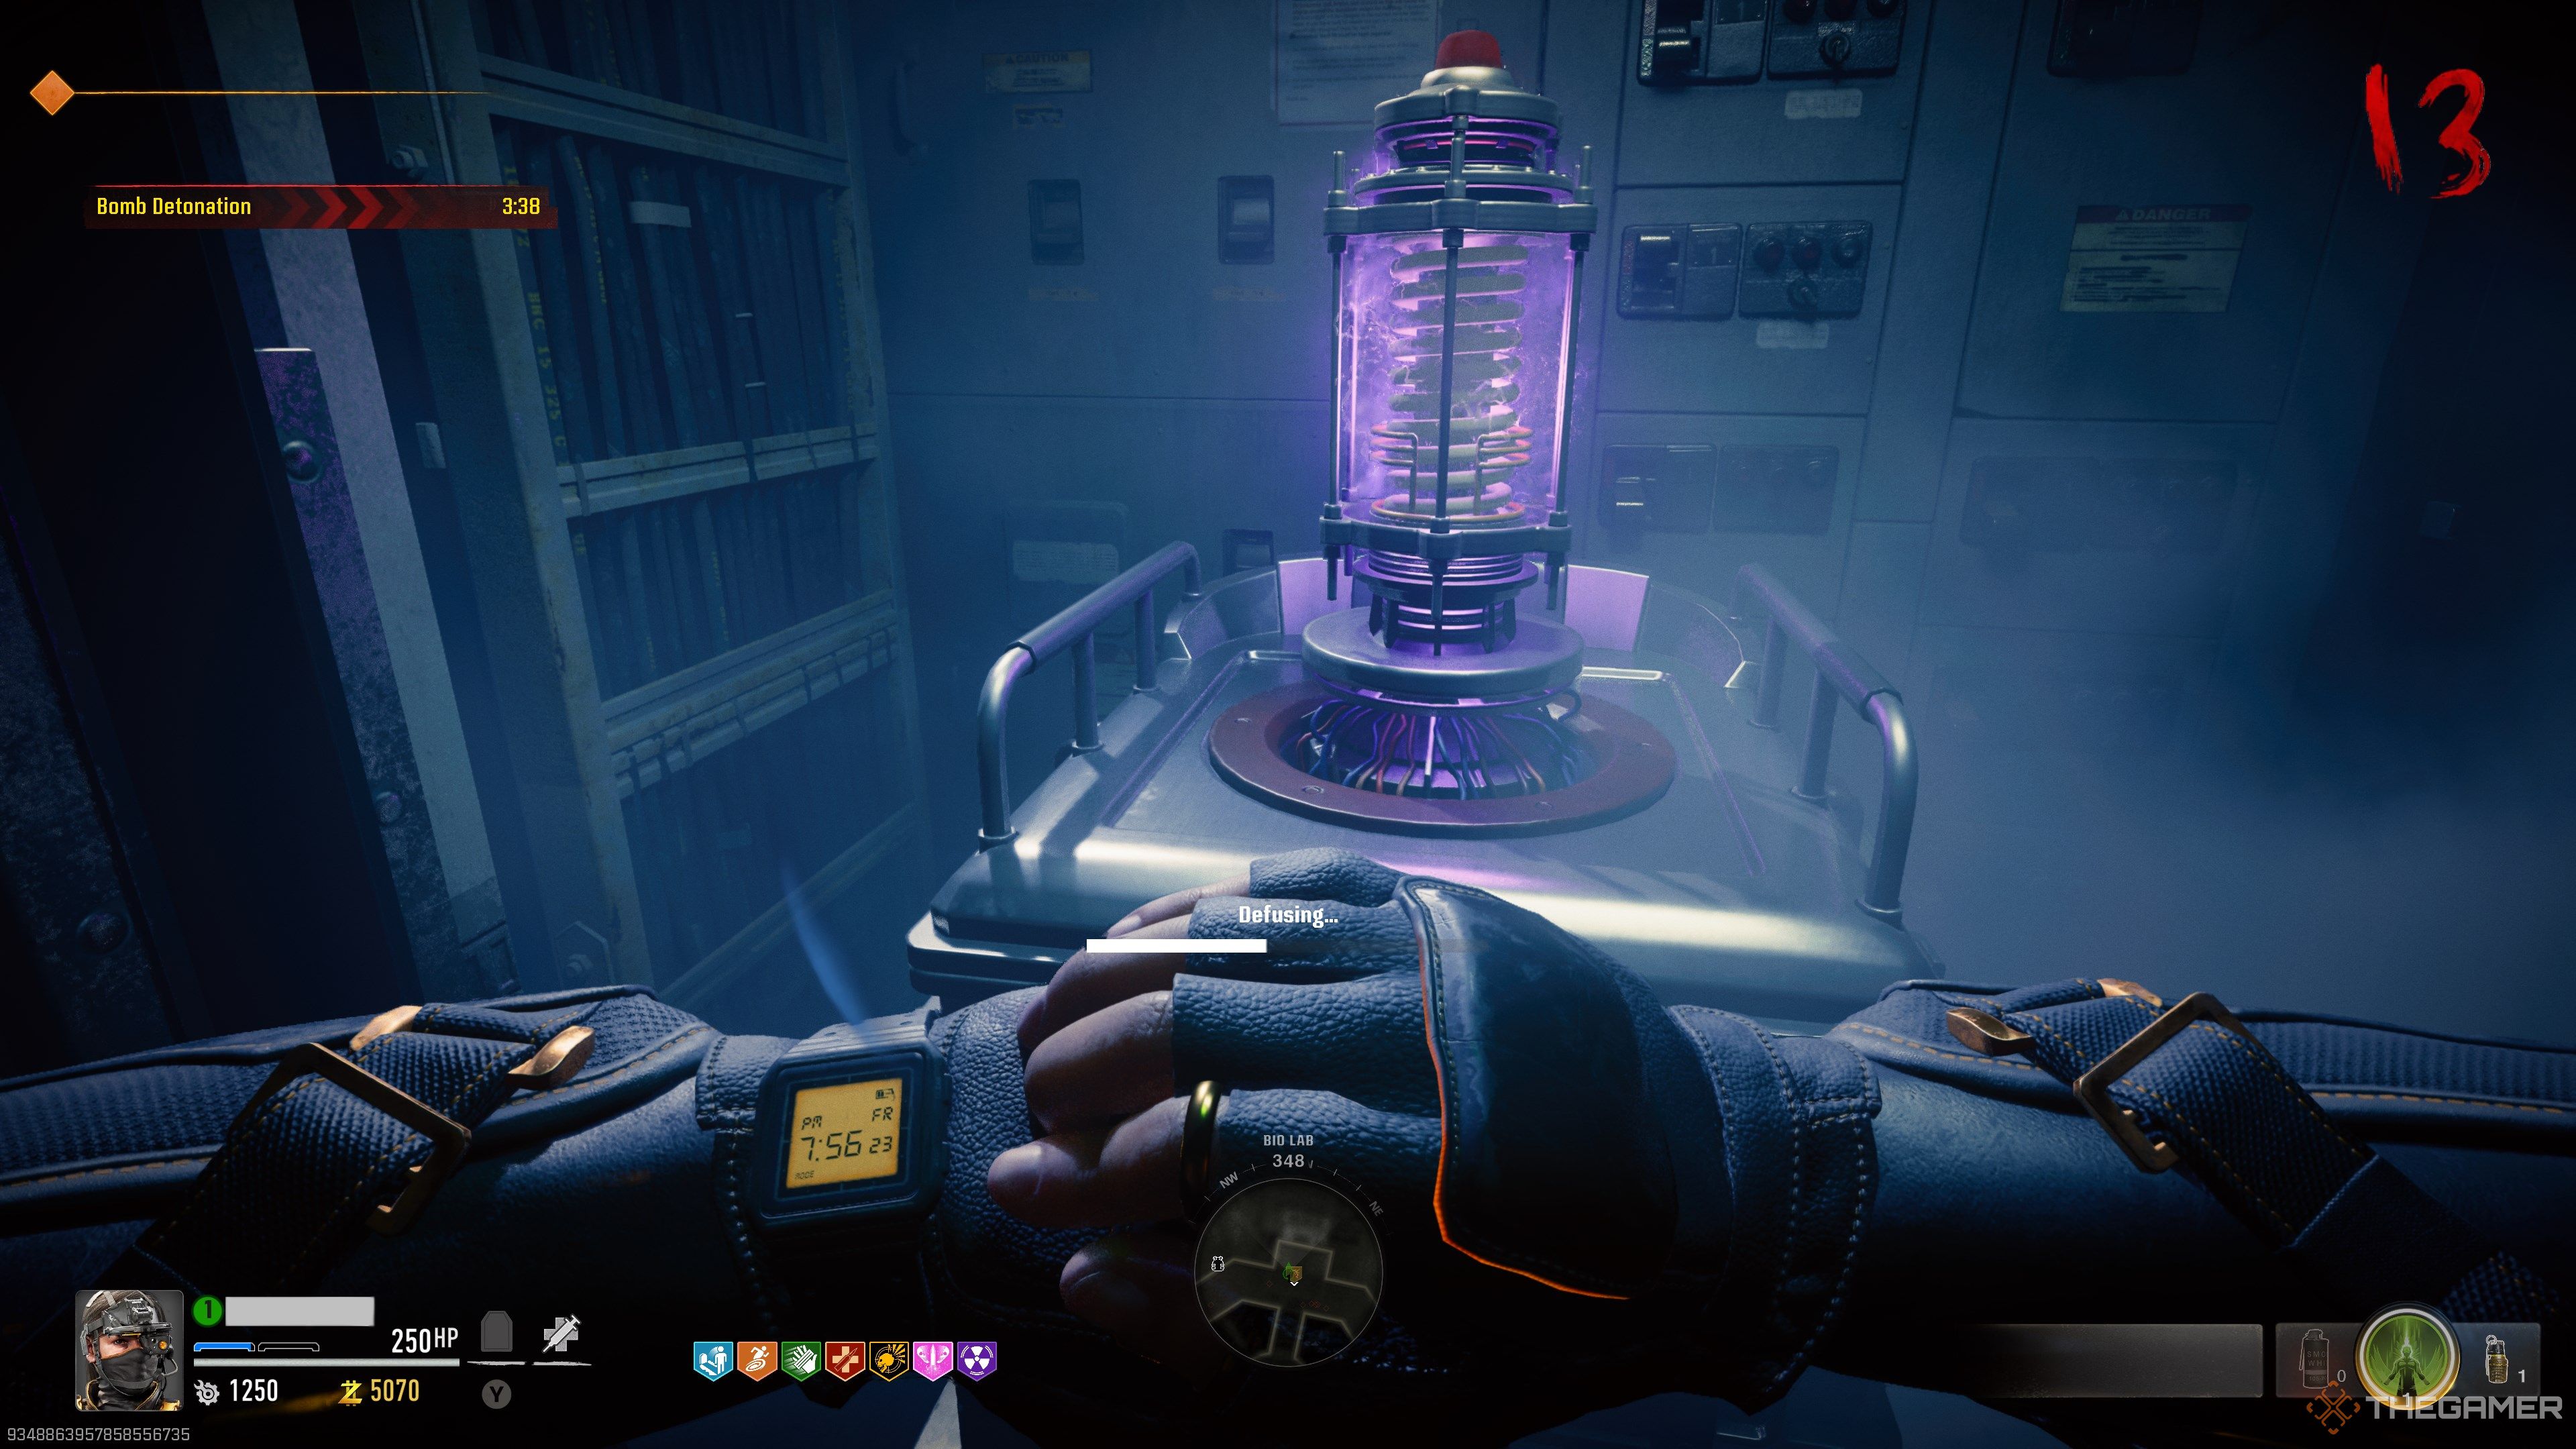
Excluding the final boss, this is arguably the most stressful part of the entire easter egg quest. The second you hack the third buoy, book it to the Bio Lab at the center of the map. Modi has rigged Peck’s warheads to explode, leveling the entire island if they detonate.
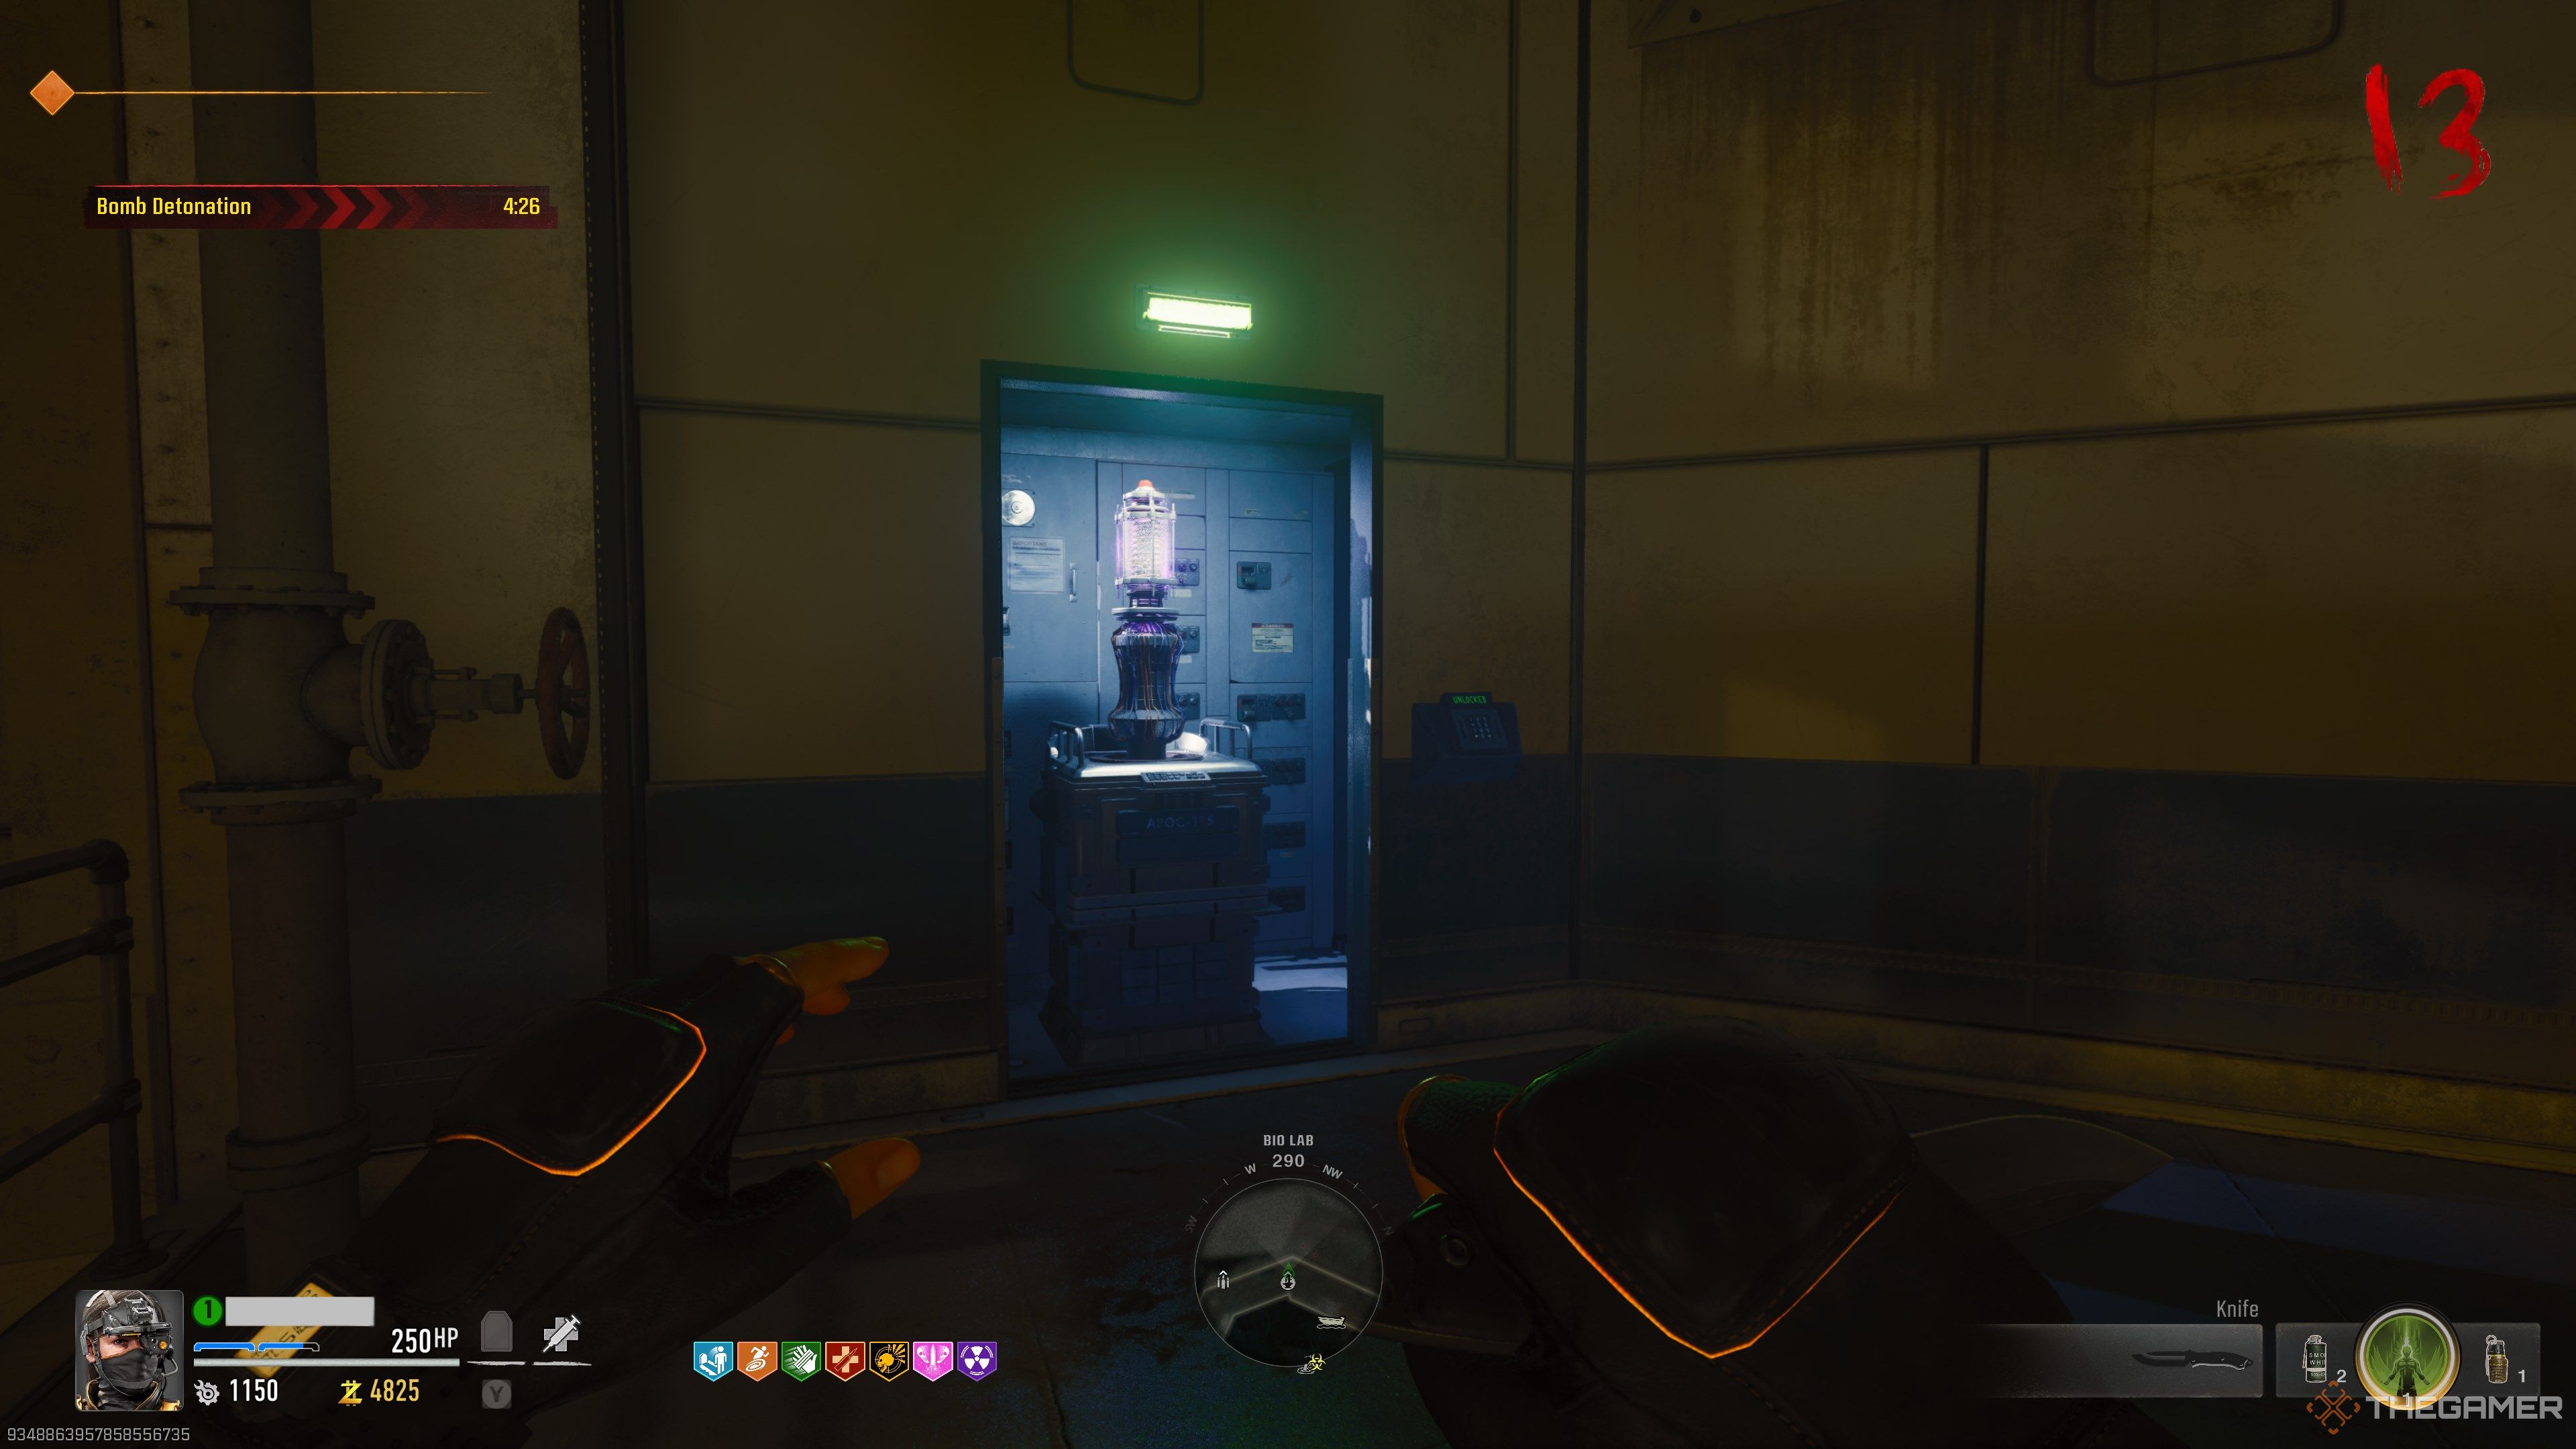
For this step, you need to disarm three explosives inside the Bio Lab before the timer expires. These bombs look like purple coils inside small slits in the outer wall. To deactivate them, simply hold the interact key while near the coil. Doing so takes roughly five seconds, and you cannot be interrupted if you’re playing in co-op. If you are interrupted, all progress is reset for that bomb.
Bomb diffuse progress does not reset if you’re playing solo, making this step a little easier.
The easiest way to complete this step is to deploy Smoke Grenades near the bombs. Standing inside a cloud of smoke will make you hidden to all zombies, denoted by a dull black vignette effect on the edges of your screen. A single Smoke Grenade gives you enough time to disarm one bomb. Since you can only carry two Smoke Grenades, you’ll need to craft a third one at a nearby crafting bench. You can also use Aether Shroud for the last one.
Zombies will continuously spawn throughout this step, so don’t be afraid to kite the zombies around the room to generate space. The further they are from you, the more leeway you have when the Smoke Grenade clears mid-disarm. Players attempting this coop should focus on defending their team as much as possible during this, using Decoy Grenades and Cymbal Monkey devices to distract the horde. Solo players will need to rely on stealth to get the job done.
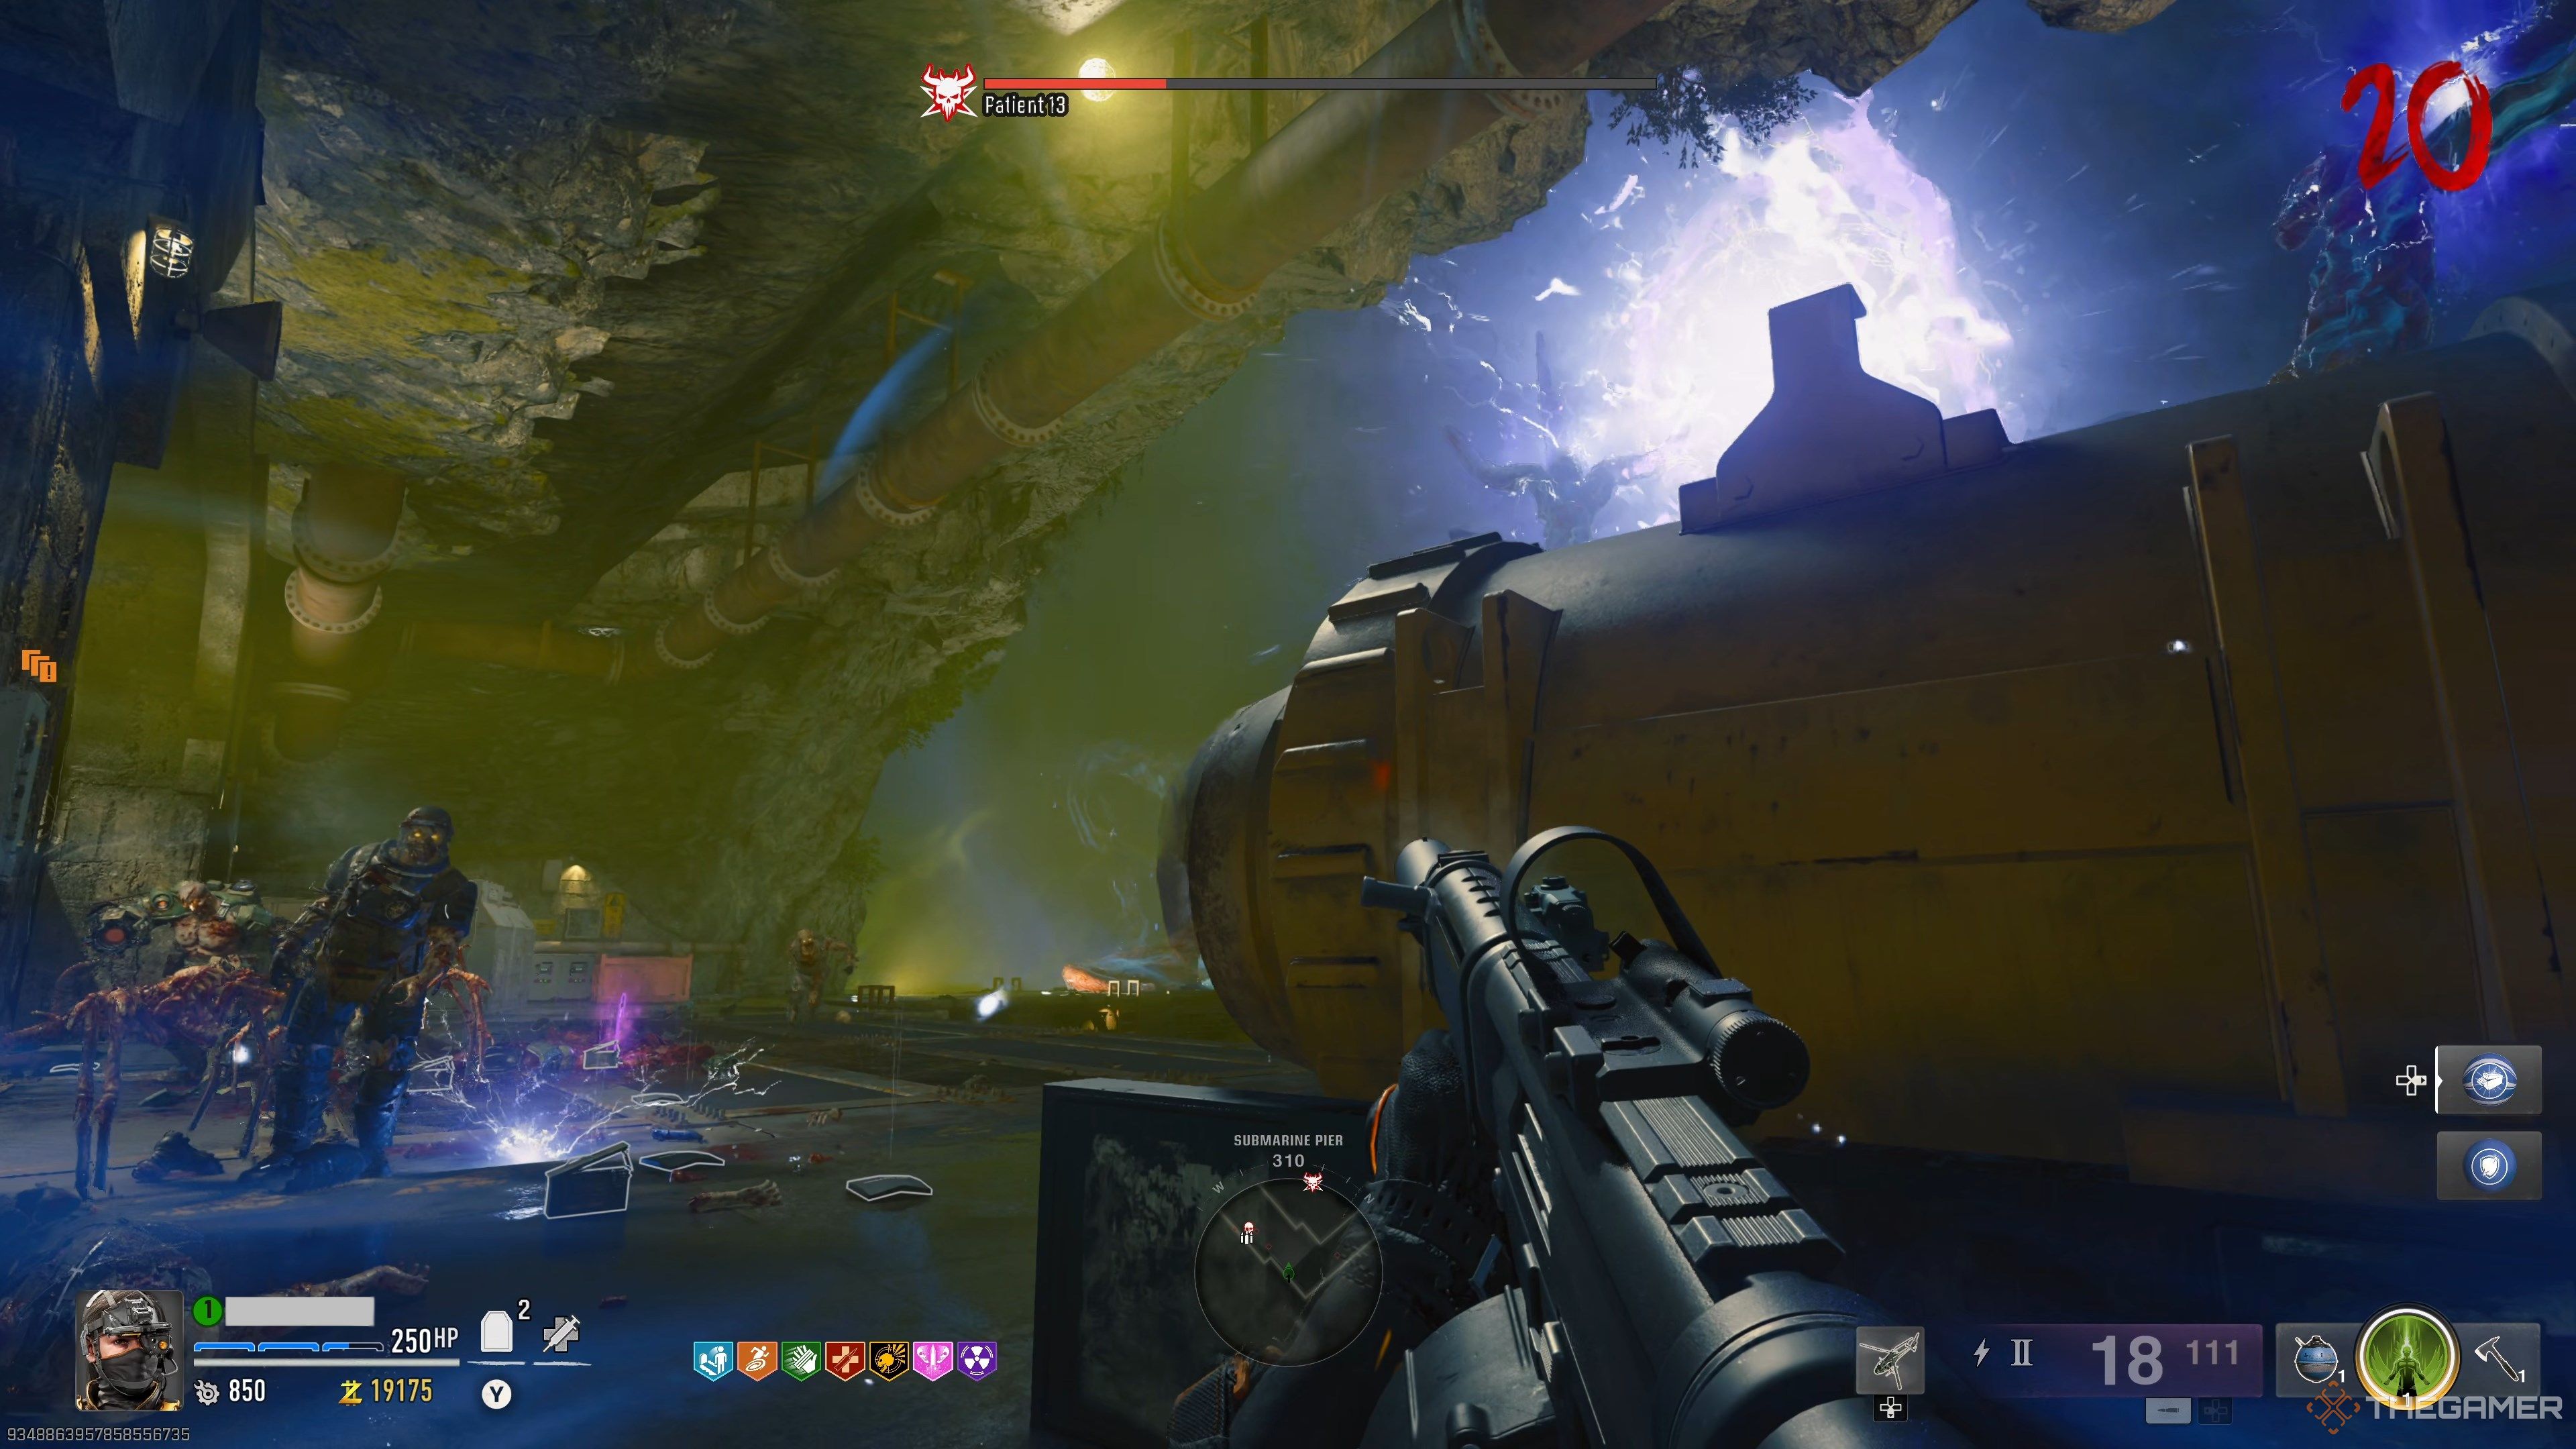
Slay Patient 13
Before we cover the boss fight itself, make sure you’re as geared as possible. At least one member of your squad should have a Chopper Gunner handy. Everyone should have at least T2 armor vests, T2 Pack-A-Punch at purple rarity, and as many perks as possible—essentials being Jugger-Nog, Quick Revive, Speed Cola, Stamin-Up, and PhD Flopper if you have the Tribologist augment.
Ideally, you should be fighting the boss before Round 20 to minimize ammo costs and the boss’ absurd health pool. You can attempt the boss fight past Round 20, but you’ll want T3 PAP and T3 armor at that point to ensure you can output enough damage. This boss is incredibly tanky, but if you brought any of the weapons we recommended at the start of the guide, you should be fine. Interact with the door near Melee Macchiato when you’re ready.
Phase One
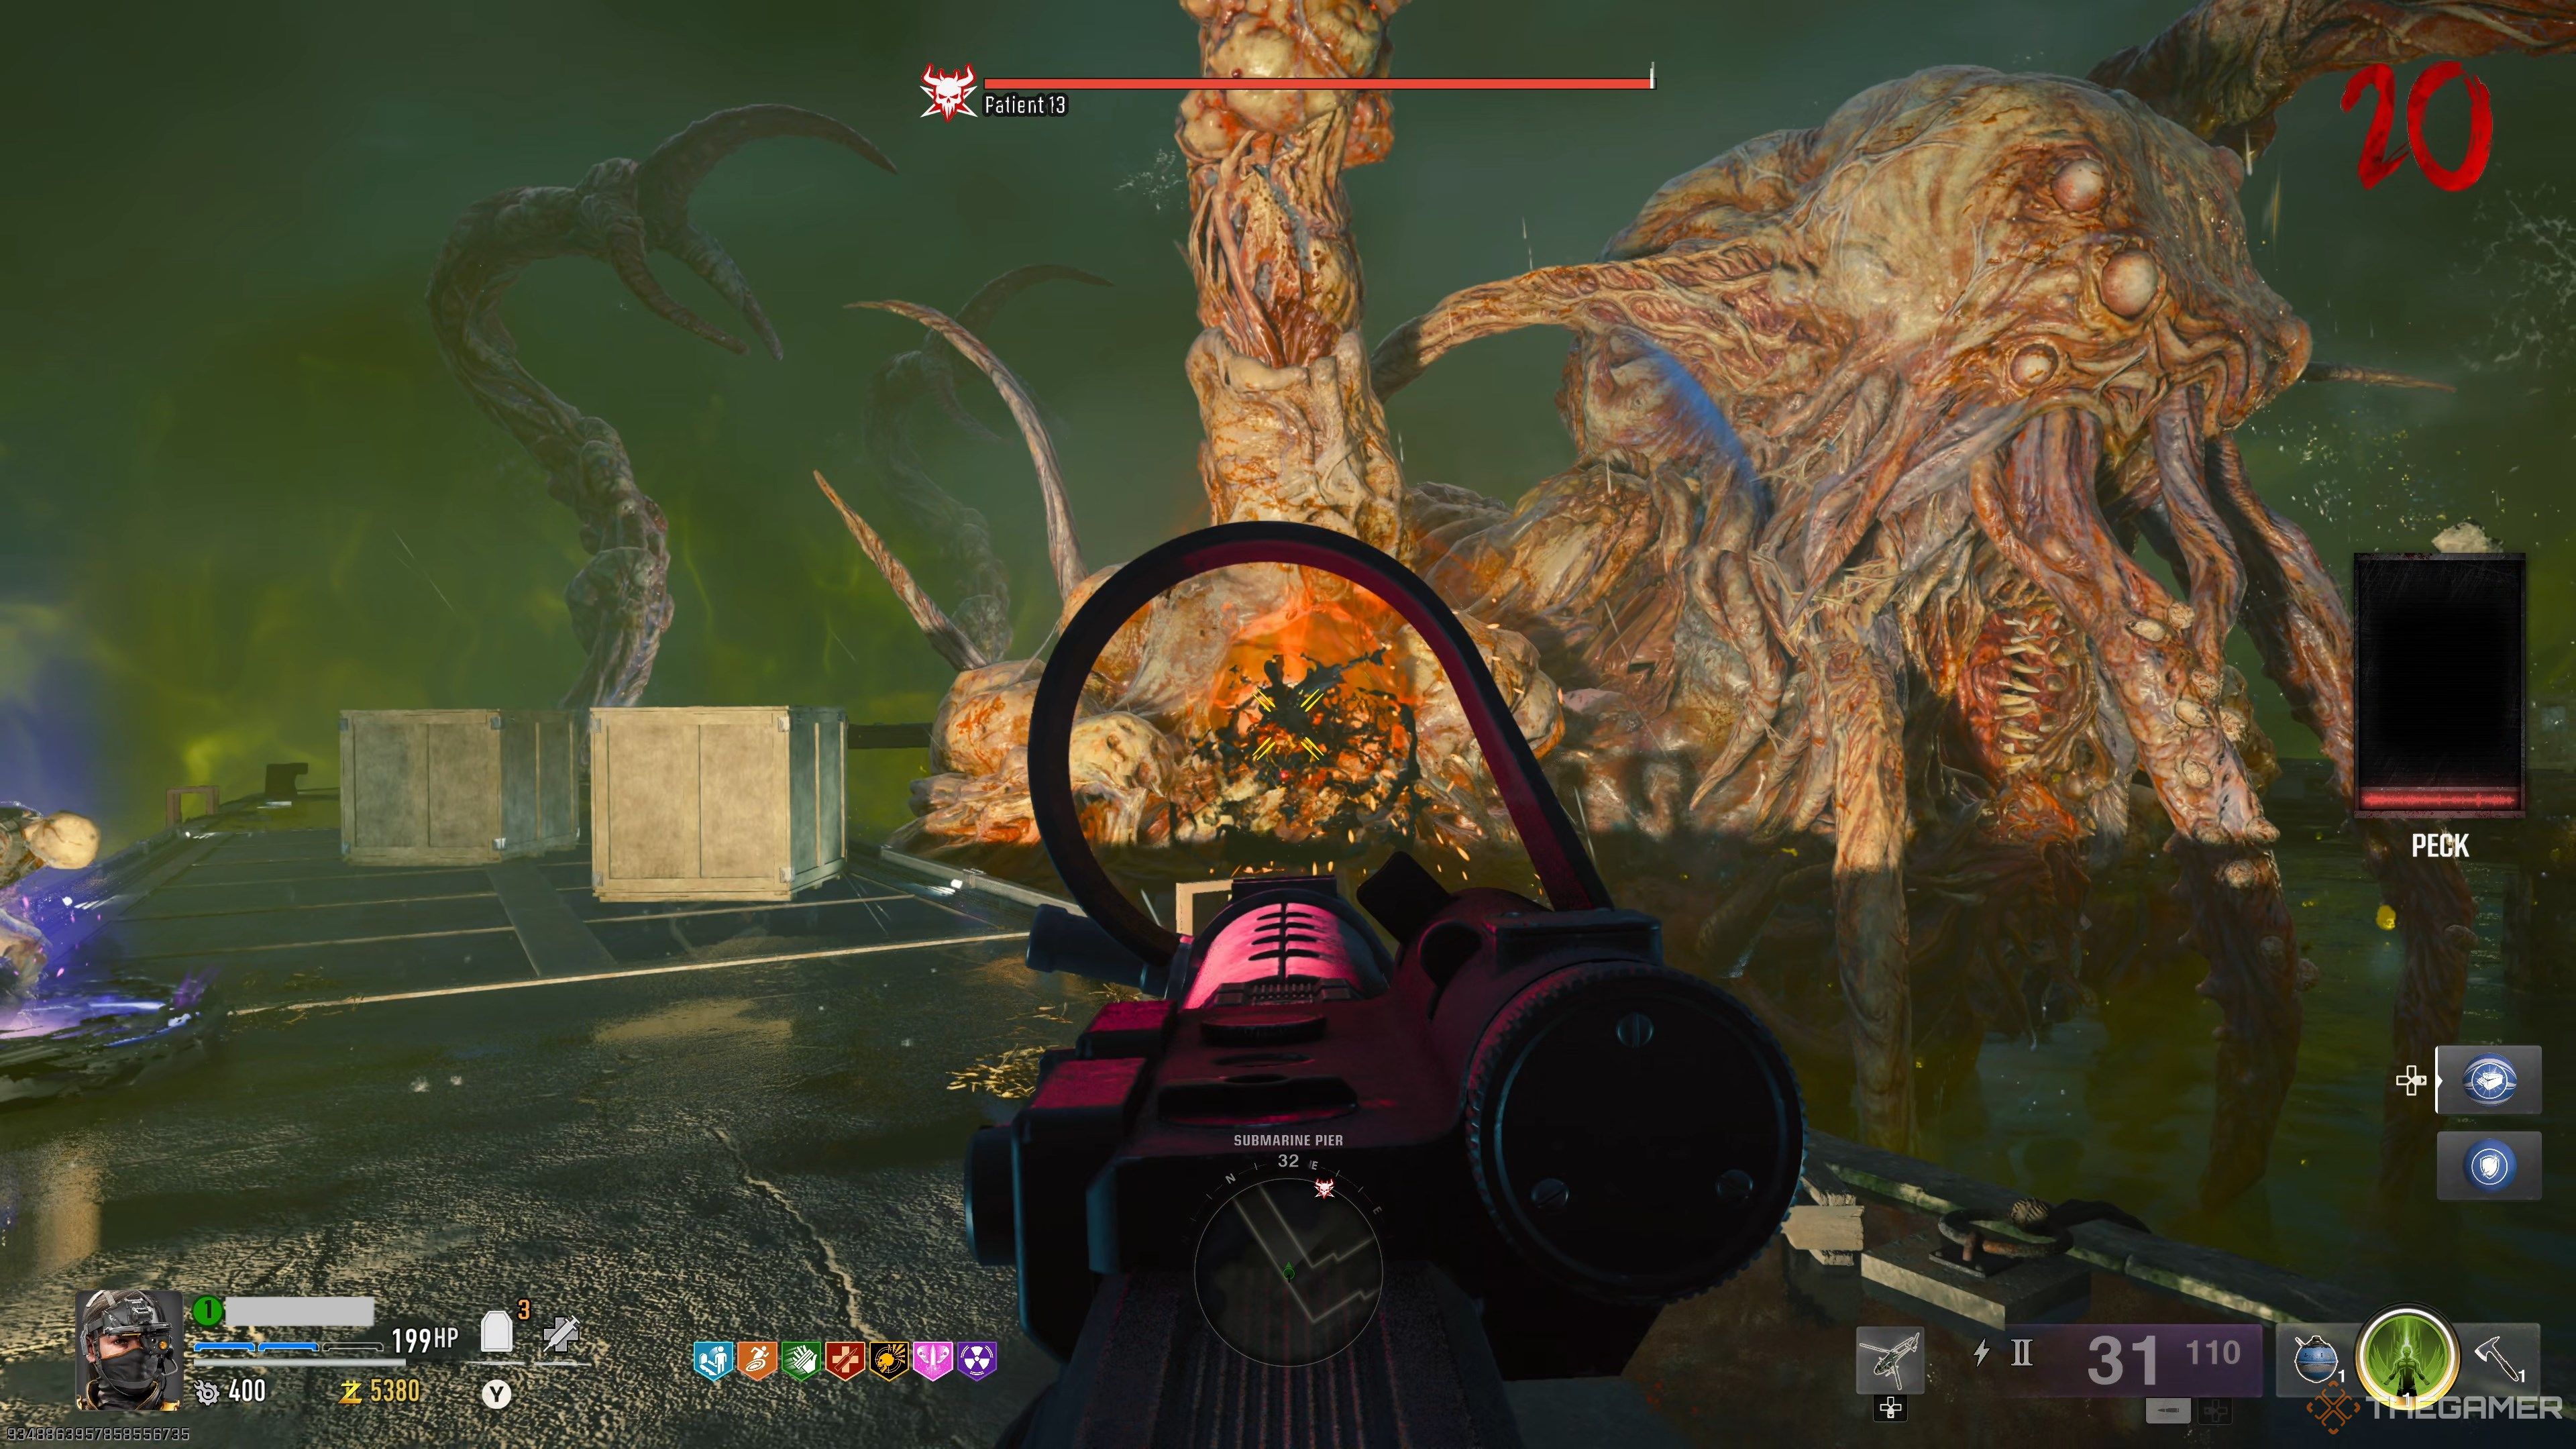
Patient 13 is broken up into three phases. During the first phase, you’re mostly looking out for the boss’ tentacle slam attack. After raising its arms in the air, it’ll slam its tentacles on the platform and slide them sideways for a second. This deals major damage but isn’t a one-hit kill. However, this slam attack does kill zombies. Corral the zombies on a platform and let the boss kill them for you. If you stay near the side of the boss, the slam can’t hurt you.
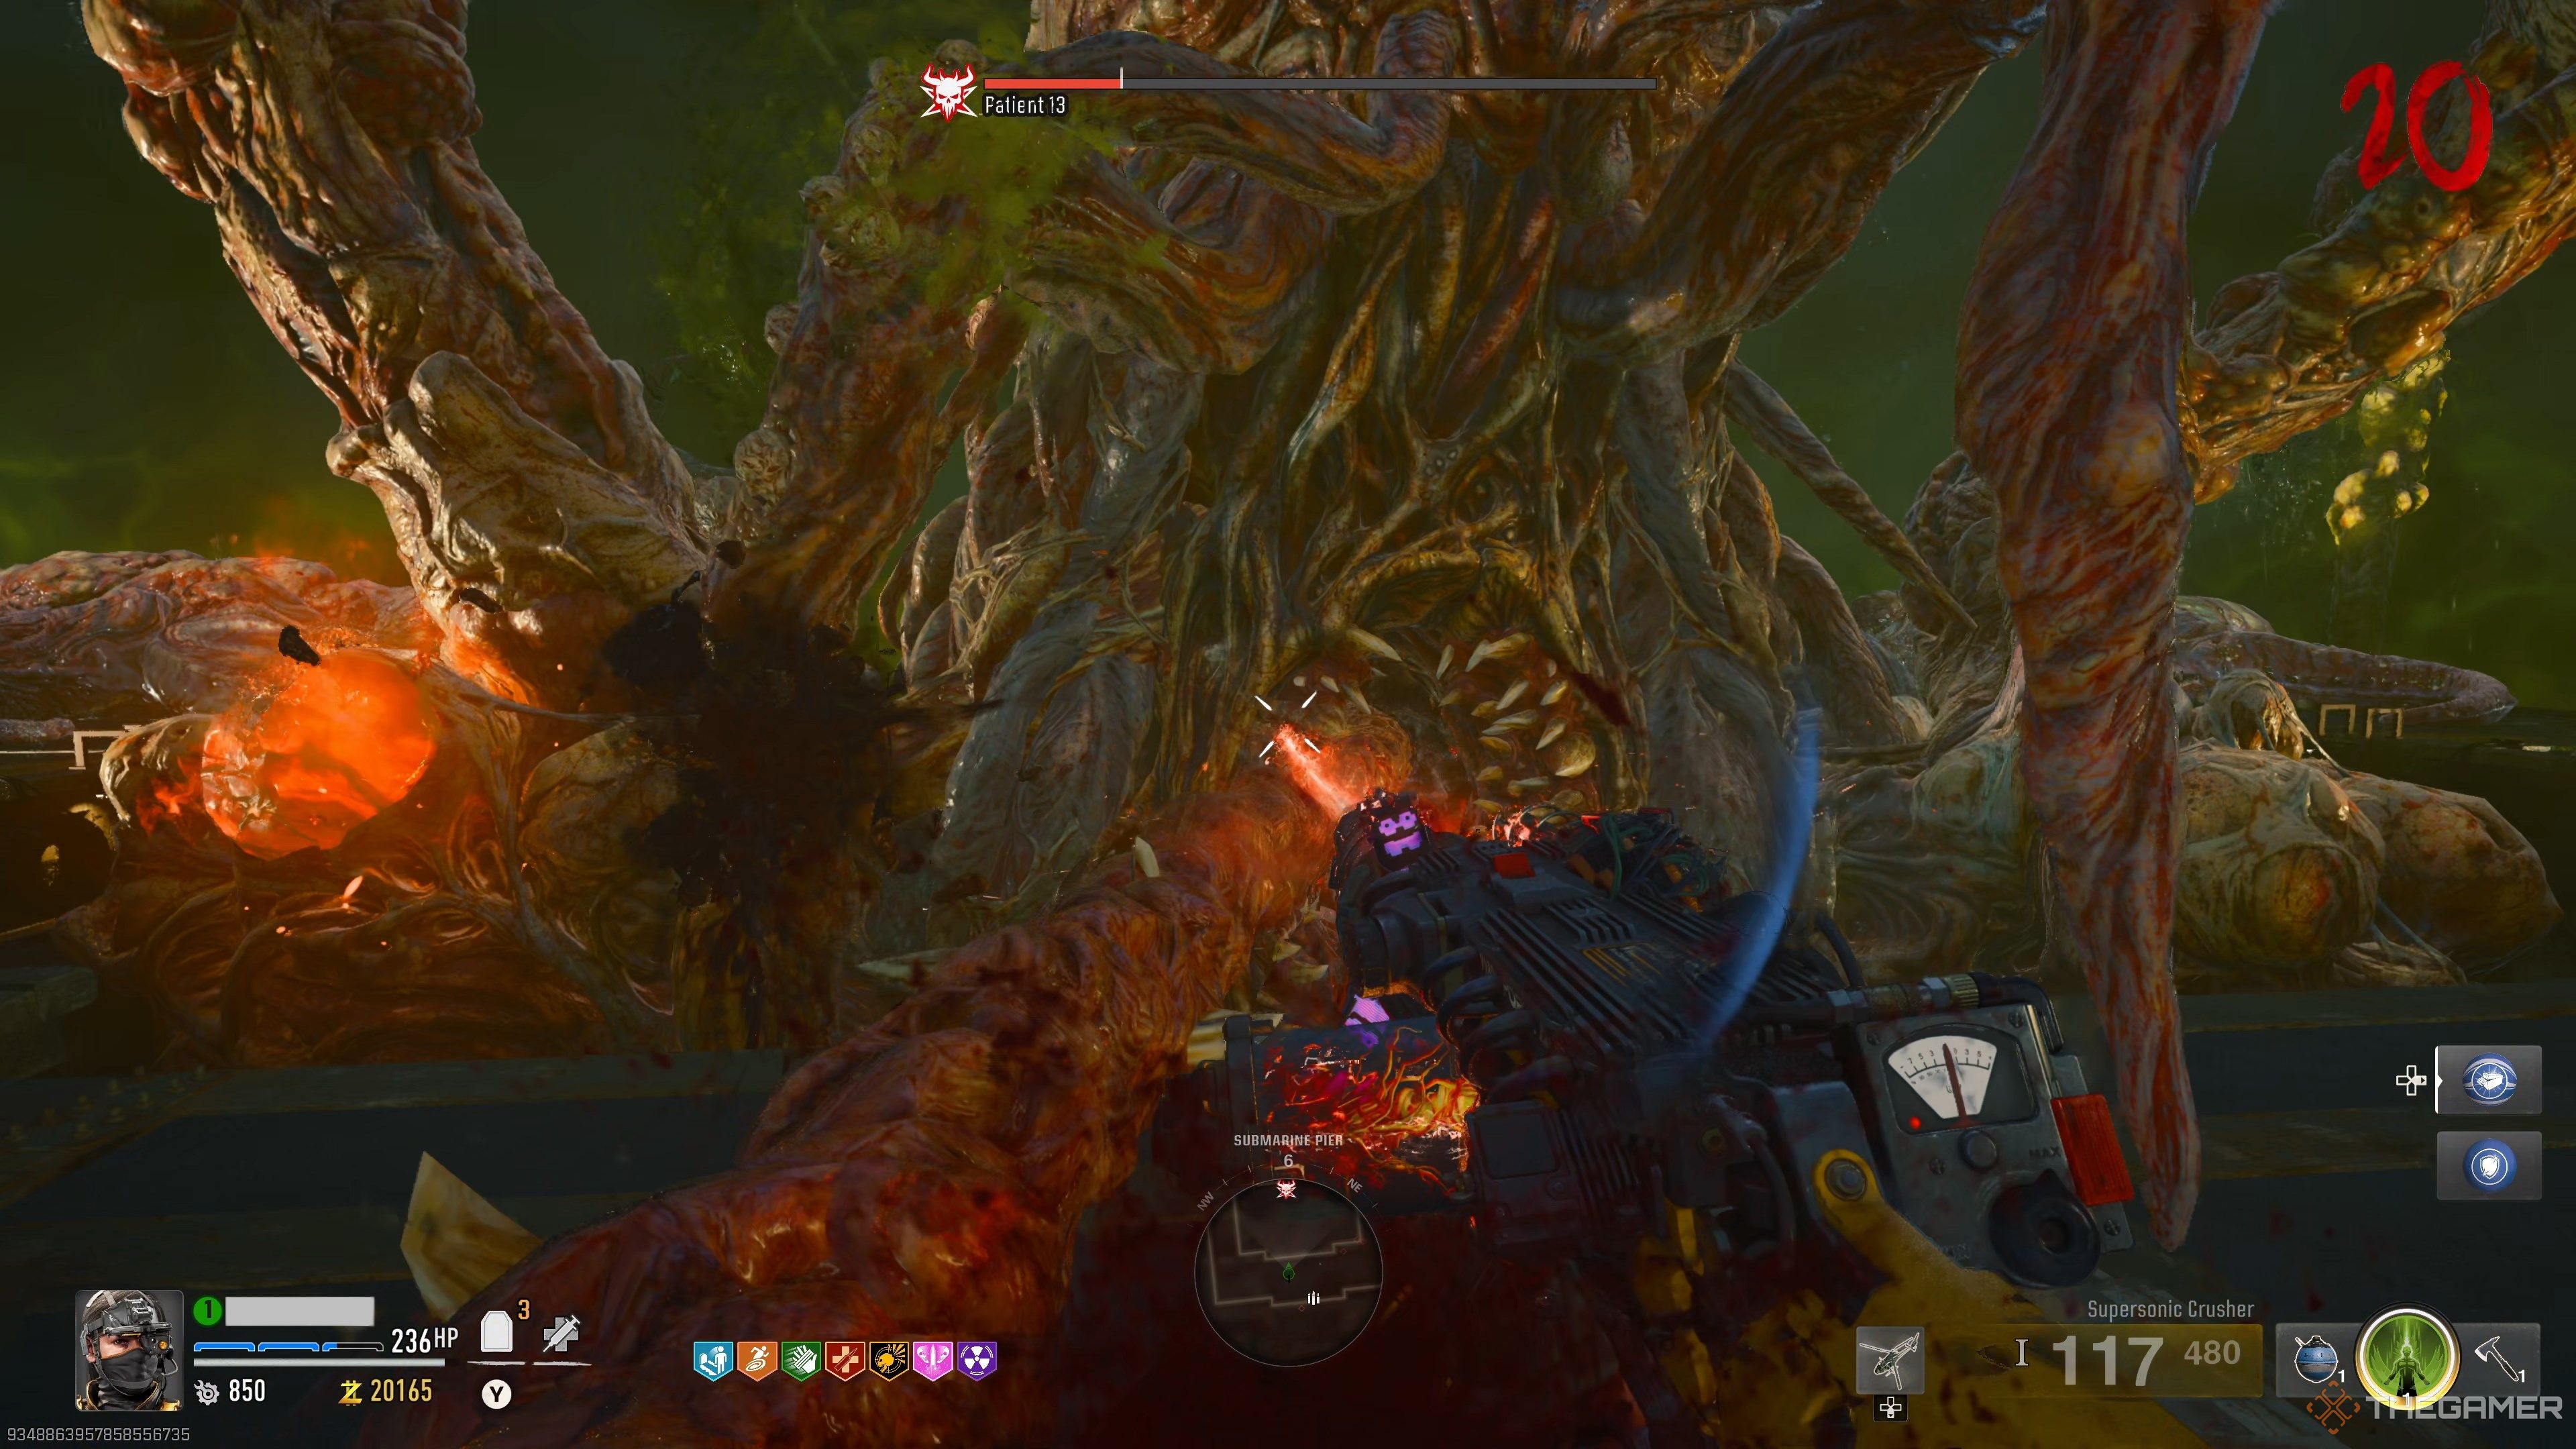
As for dealing damage, look for a red puss sack under one of its appendages. This is its weakspot. Unload your strongest weapon into the weakpoint until the boss retreats underwater. Patient 13’s weakpoint will change every time it resurfaces. If you need to quickly find it, pepper its sides with an ASG or explosive weapon to see which side is glowing. Continue to damage the boss until it loses 30% of its HP.
It’s all about add management at this point. Group the zombies close together before blasting them with your weapons or lethal equipment. Manglers are your only threat during this stage. Killing most of the zombies will spawn a Max Ammo power-up and start the second phase.
Phase Two
Amalgams start spawning at this point. Use a weapon with Shadow Rift ammo and the Big Game augment to instantly kill them.
Phase two is mostly the same as before. Patient 13’s weakpoints are now its mouth and glowing tentacle sacks. Whenever the boss is covered in volcanic armor, you’ll need to shoot its mouth to deal any damage. When the armor drops, you can damage the yellow sacks growing on its tentacles to lower its HP.
Beyond the weakpoint change, you’ll also need to keep a lookout for Patient 13’s slam attacks. Direct contact with a slam attack is an instant down, so try your best to fight near the edges of the arena. Tribologist from PhD Flopper makes this trivial, as does the Hot Foot augment for Stamin-Up. You aren’t on a timer here; take it slow. Remove another 30% of the boss’ HP, then clear out the fodder units.
Phase Three
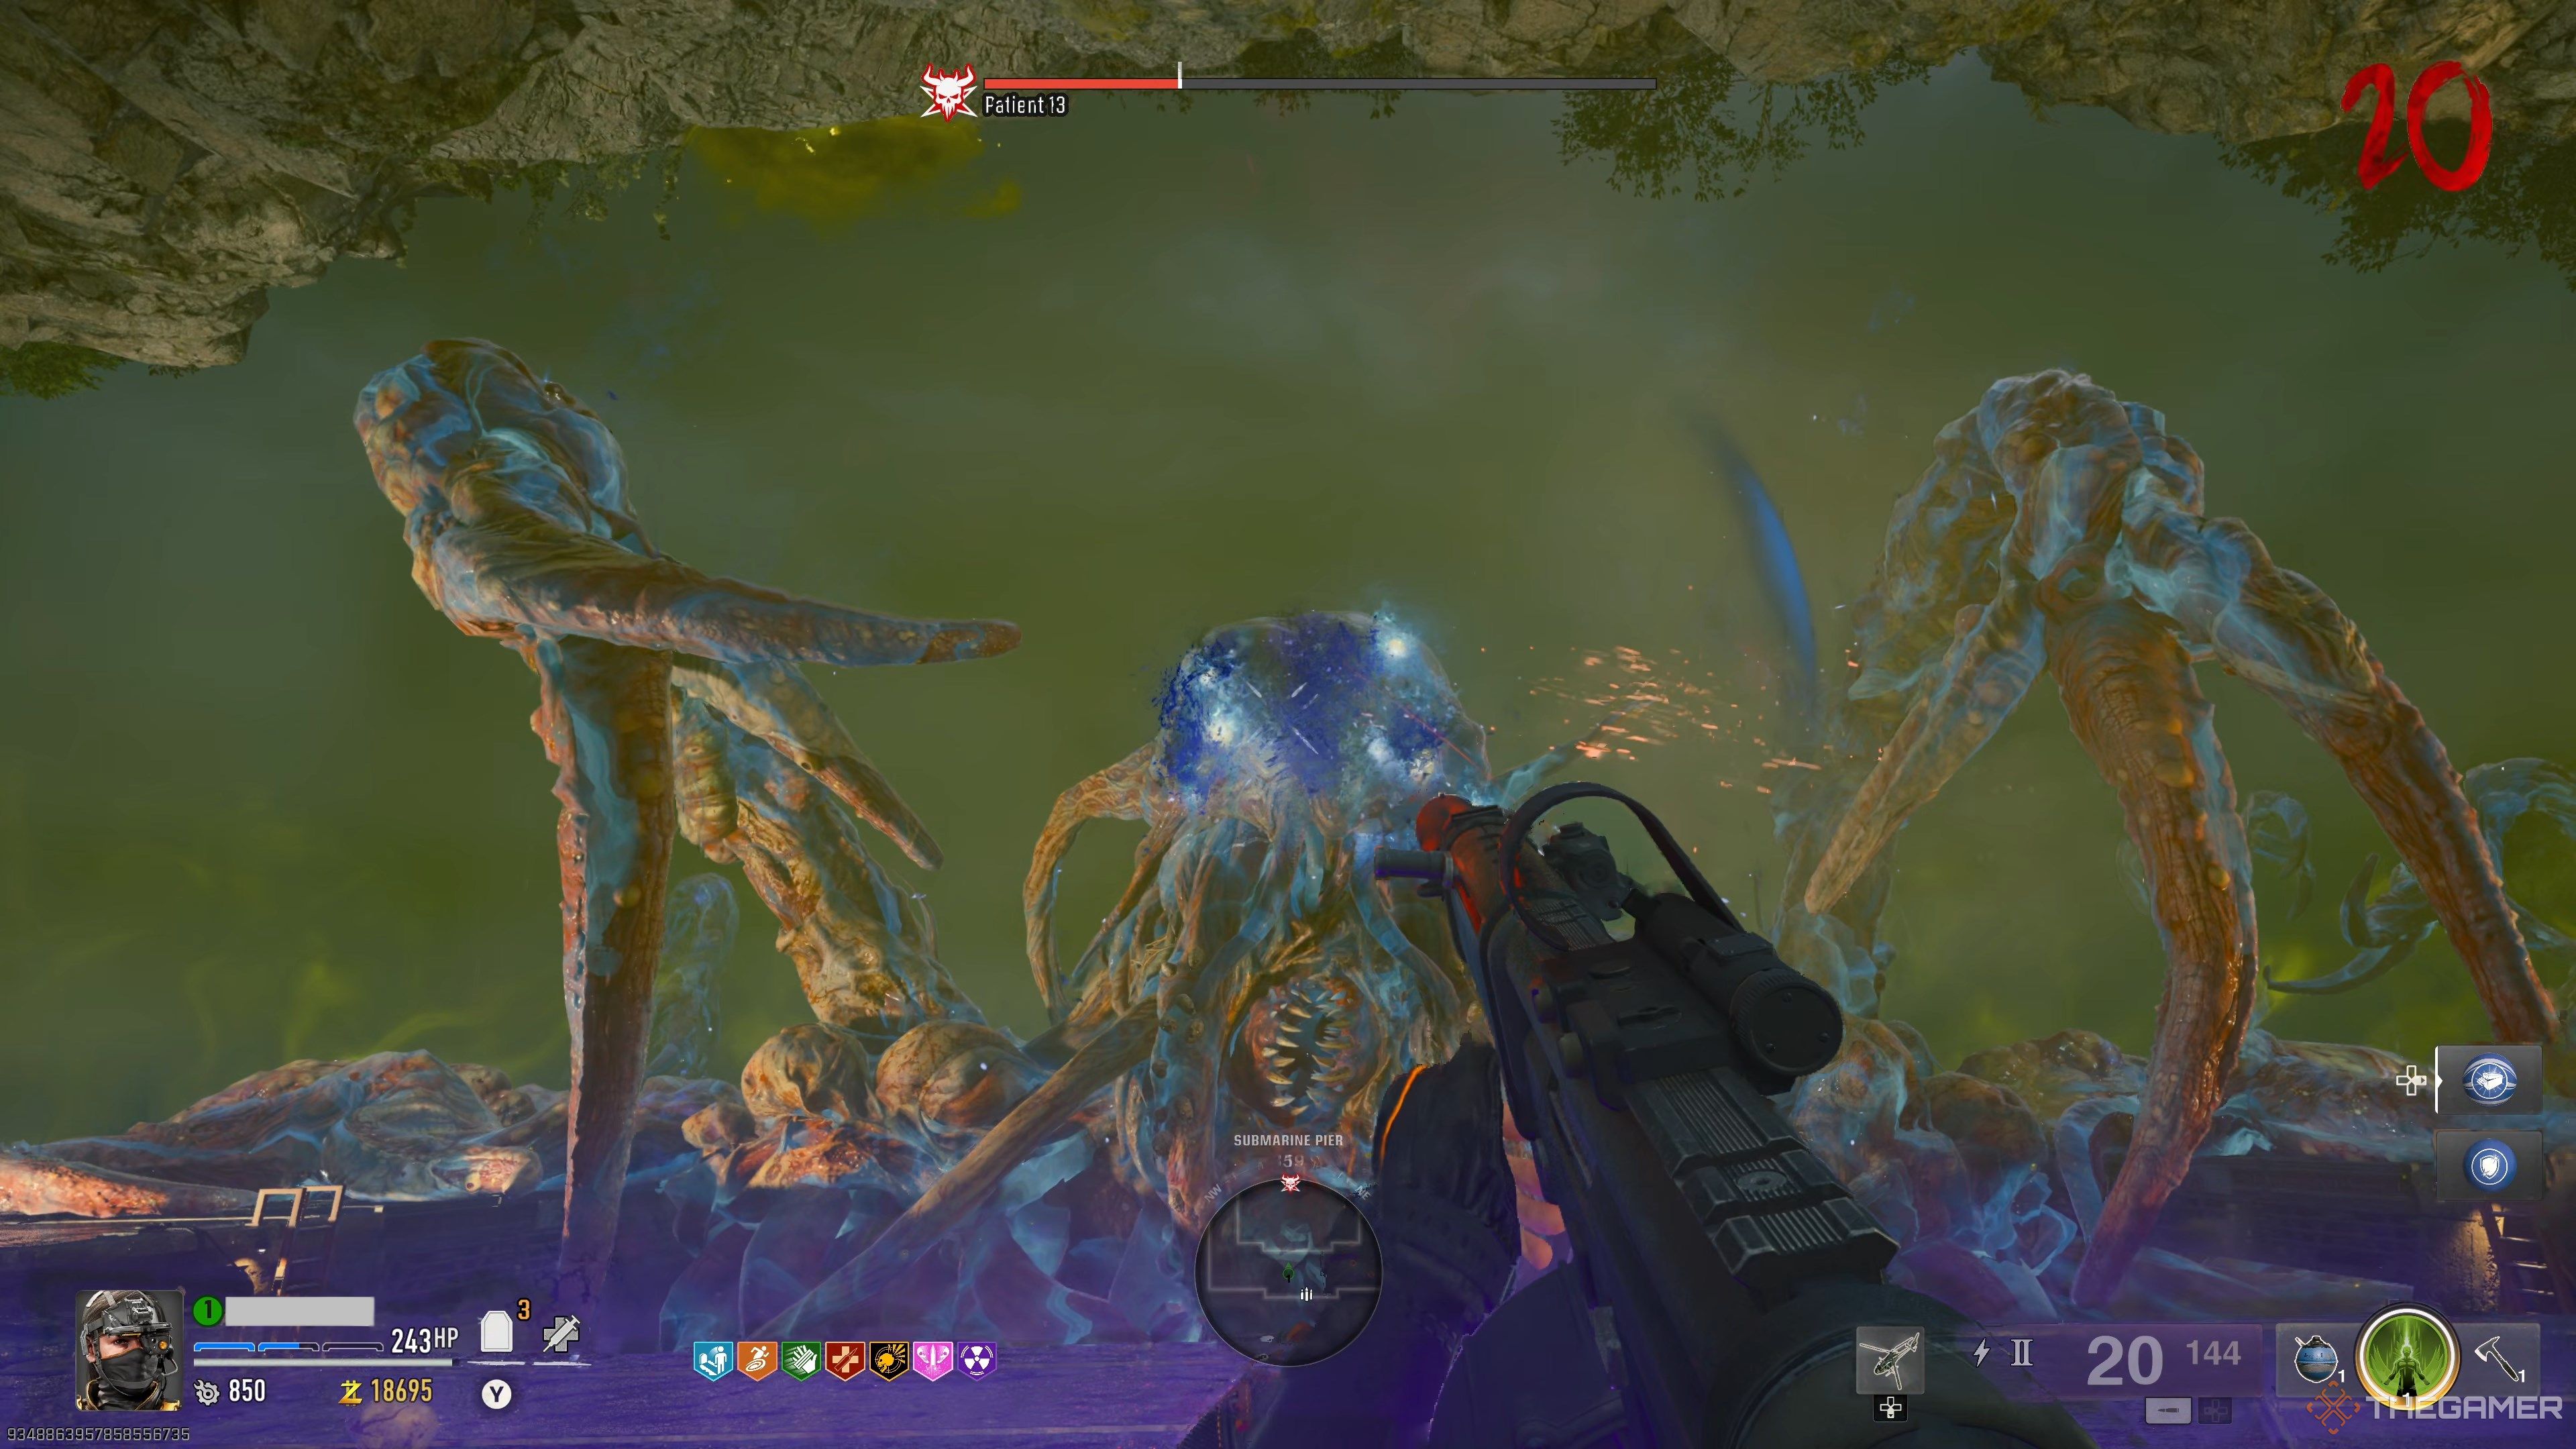
You’re almost done. The last phase will imbue Patient 13 with electricity, enveloping the boss in blue energy. Its weakpoint is now the boss’ eyes. Use your weapons to pop its eyes whenever it’s safe to do so. Slam attacks are still present, but now there’s a wipe mechanic you need to watch for.
Patient 13 will sometimes raise its tentacles in the air and begin channeling a wipe mechanic. You must get behind cover before the channeled orb explodes. This will instantly down you if don’t reach cover in time. We recommend using the generator in the back-right corner of the arena to avoid the attack.
There is also a tongue grab attack you need to watch out for. If the boss grabs you, shoot its tongue with whatever you have to release its grip. This attack is lethal if you can’t interrupt it. We highly recommend using a Chopper Gunner or Mutant Injector if you have one. Either killstreak should make the last portion of this fight trivial. Avoid its wipe attacks, kill the Amalgams whenever they spawn, and you’ll finish the Terminus easter egg.
Terminus Main Easter Egg Rewards
Upon completing the main easter egg, you have a choice of either leaving the game or continuing the match with bonus rewards. You’ll get every cosmetic reward regardless of which choice you make.
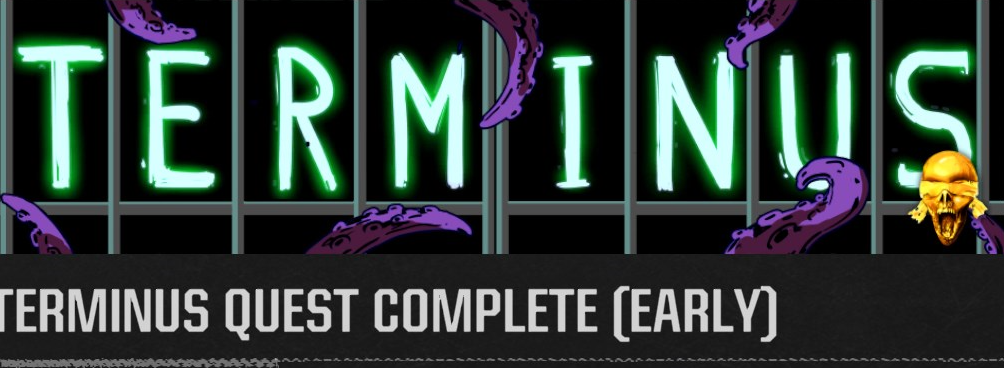
Completing the easter egg unlocks the Terminus Quest Complete calling card, the Trophy Collector skin for the Maya operator, and 5,000 XP. These unlocks apply to your account and are permanent.
Completing the Terminus main easter egg before Season One unlocks an exclusive variant of the Terminus Quest Complete calling card.
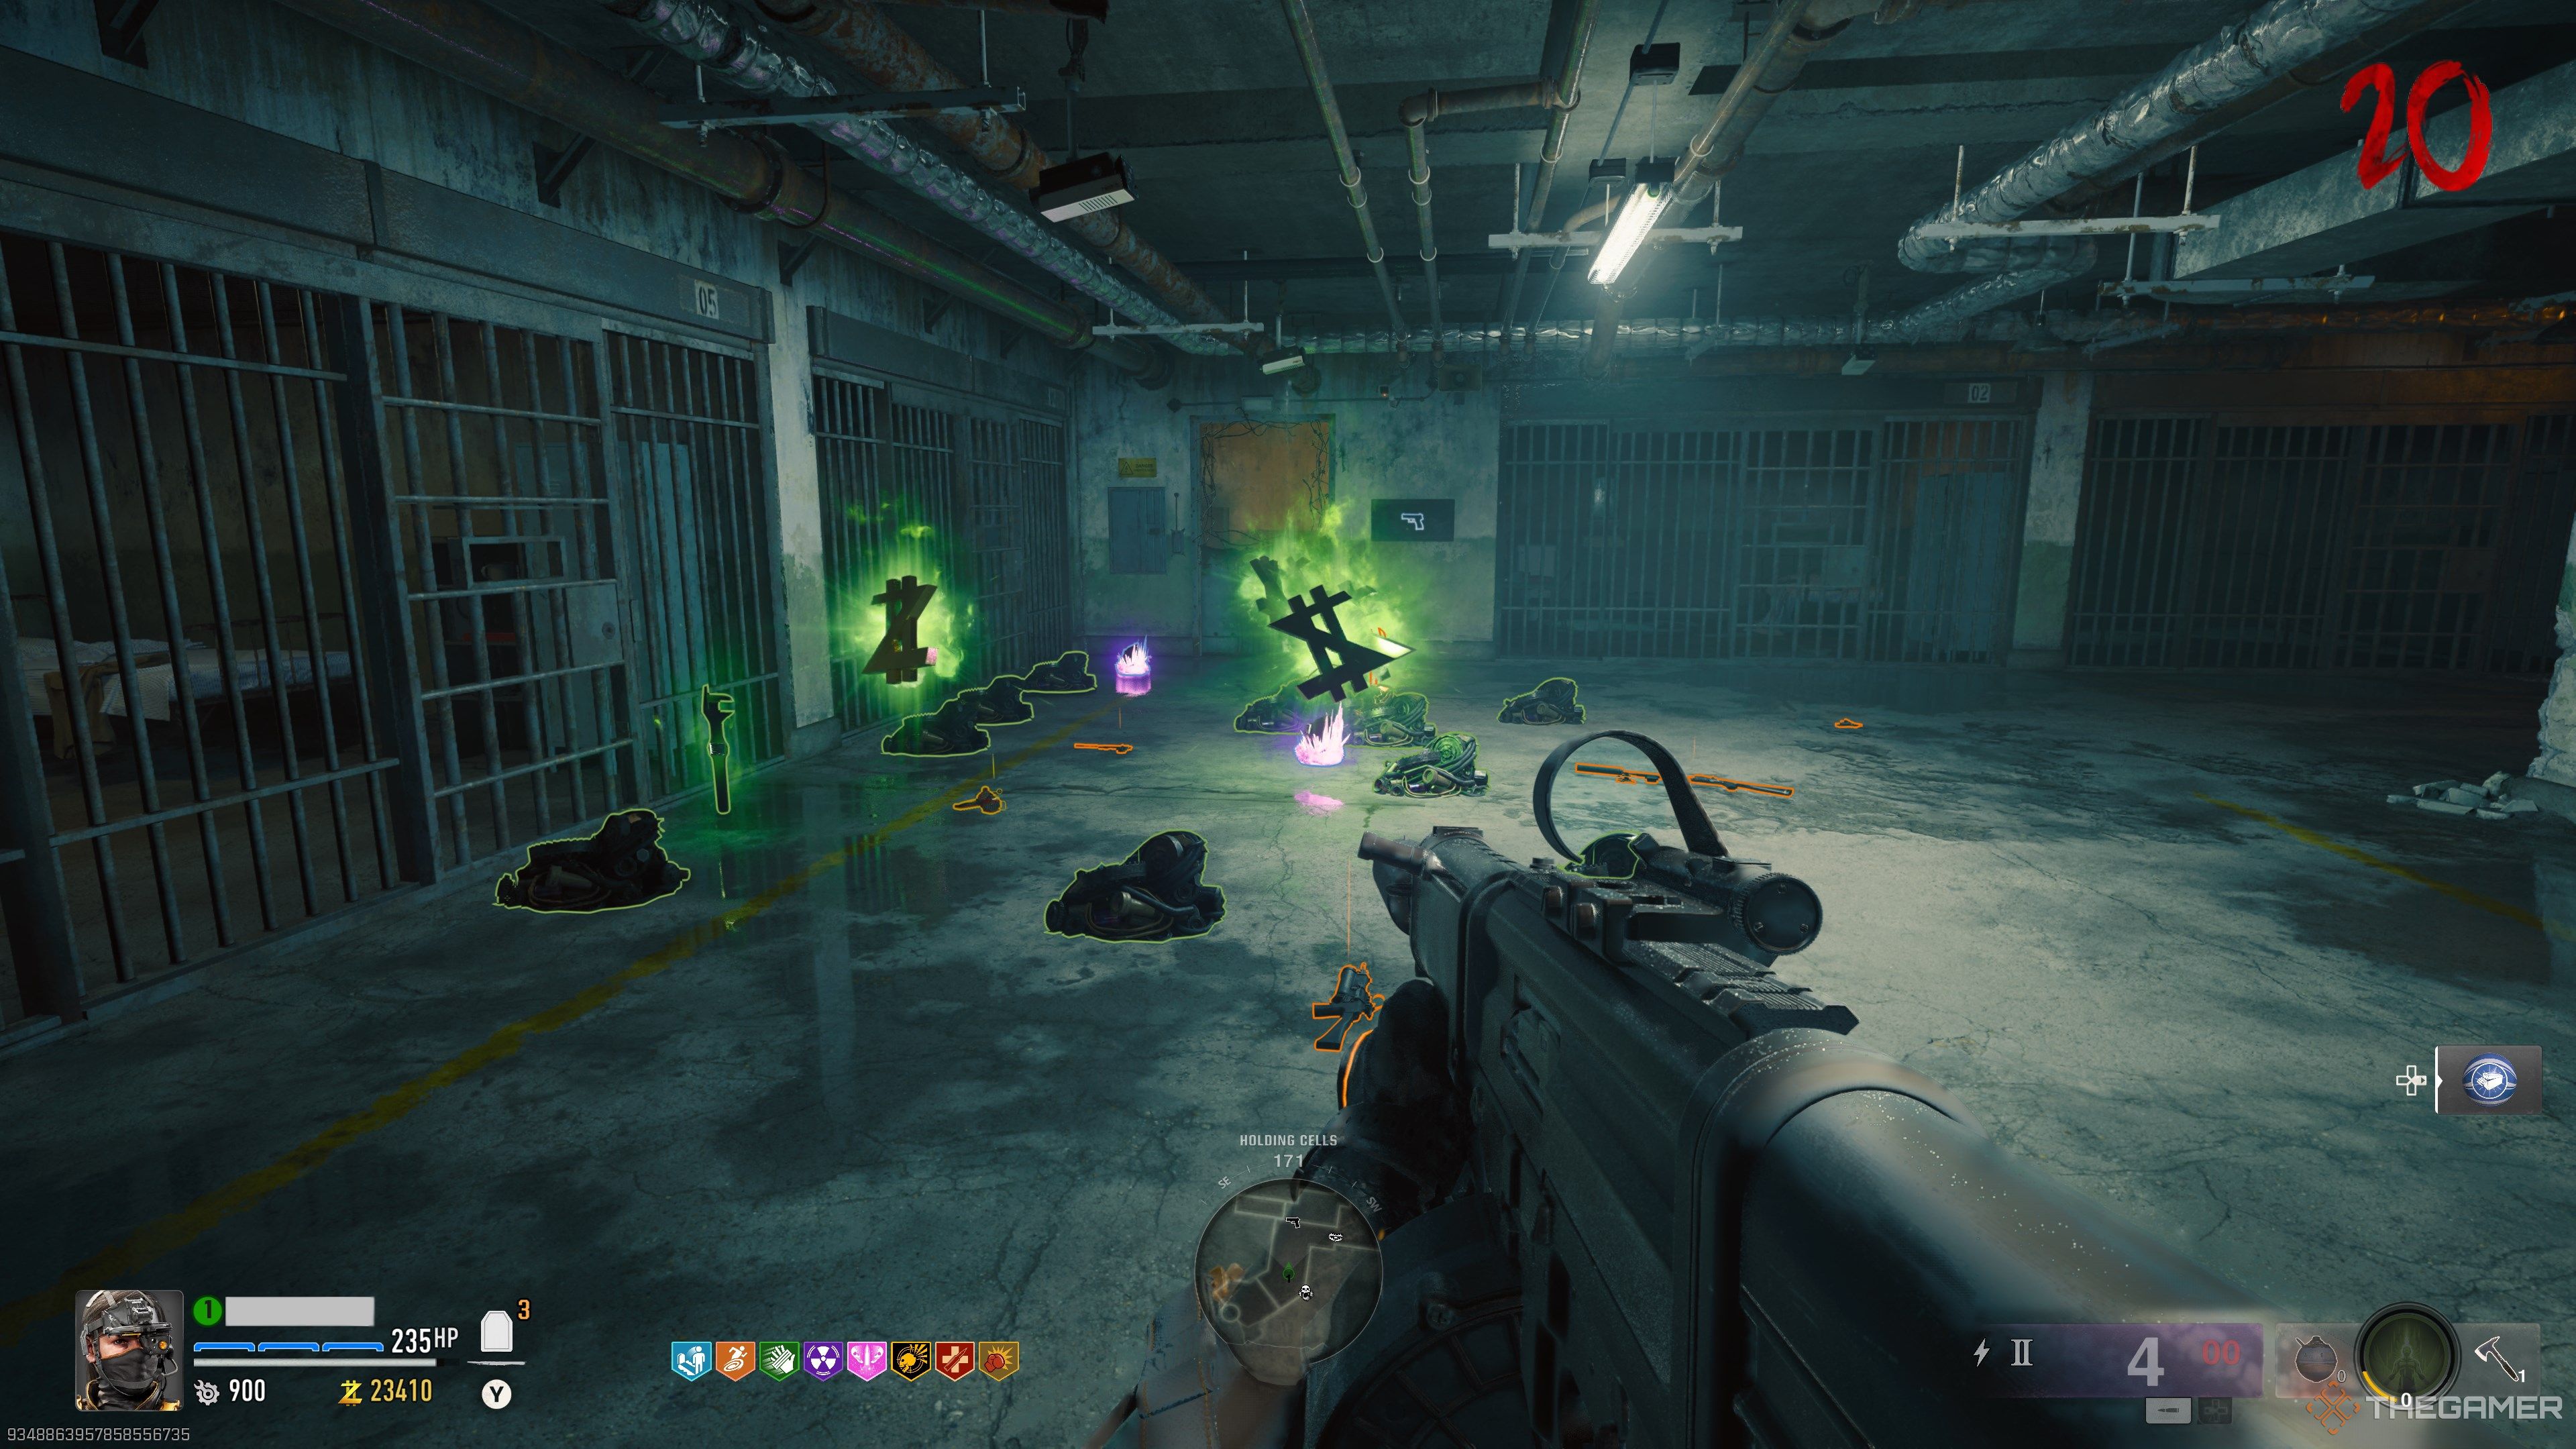
If you choose to stay in the game, you’ll receive a cache of Legendary weapons, Bonus Point power-ups, and every perk on the map. This is in addition to the cosmetic rewards mentioned earlier. You may choose to continue the Terminus match as long as you wish. These bonuses only apply to your current zombies match. Once you leave, you’ll need to complete the easter egg again to get these rewards.

Next
Call Of Duty: Black Ops 6 Zombies – Every Hidden Easter Egg On Liberty Falls
Here’s your go-to list for every hidden easter egg available on Liberty Falls.









Leave a Reply