There are several missions you will get the chance to revisit in Slitterhead, allowing you to change the result of specific events, recruit new Rarities, and much more. These missions are referred to as RE (2nd Loop) missions and will be a crucial way to move the story forward and unlock new things.

Related
Silent Hill 2: Eddie Boss Guide
After just witnessing the events of the Labyrinth, James has one more hurdle to overcome – Eddie.
And Sleepless Zone RE (2nd Loop) is no exception, allowing Anita to revisit a crucial time period to catch Michelle and put an end to her rampage of controlling Slitterheads from a Brothel. Even if she doesn’t want to kill her boss, she must do it to save many people who were victims of her scheme.
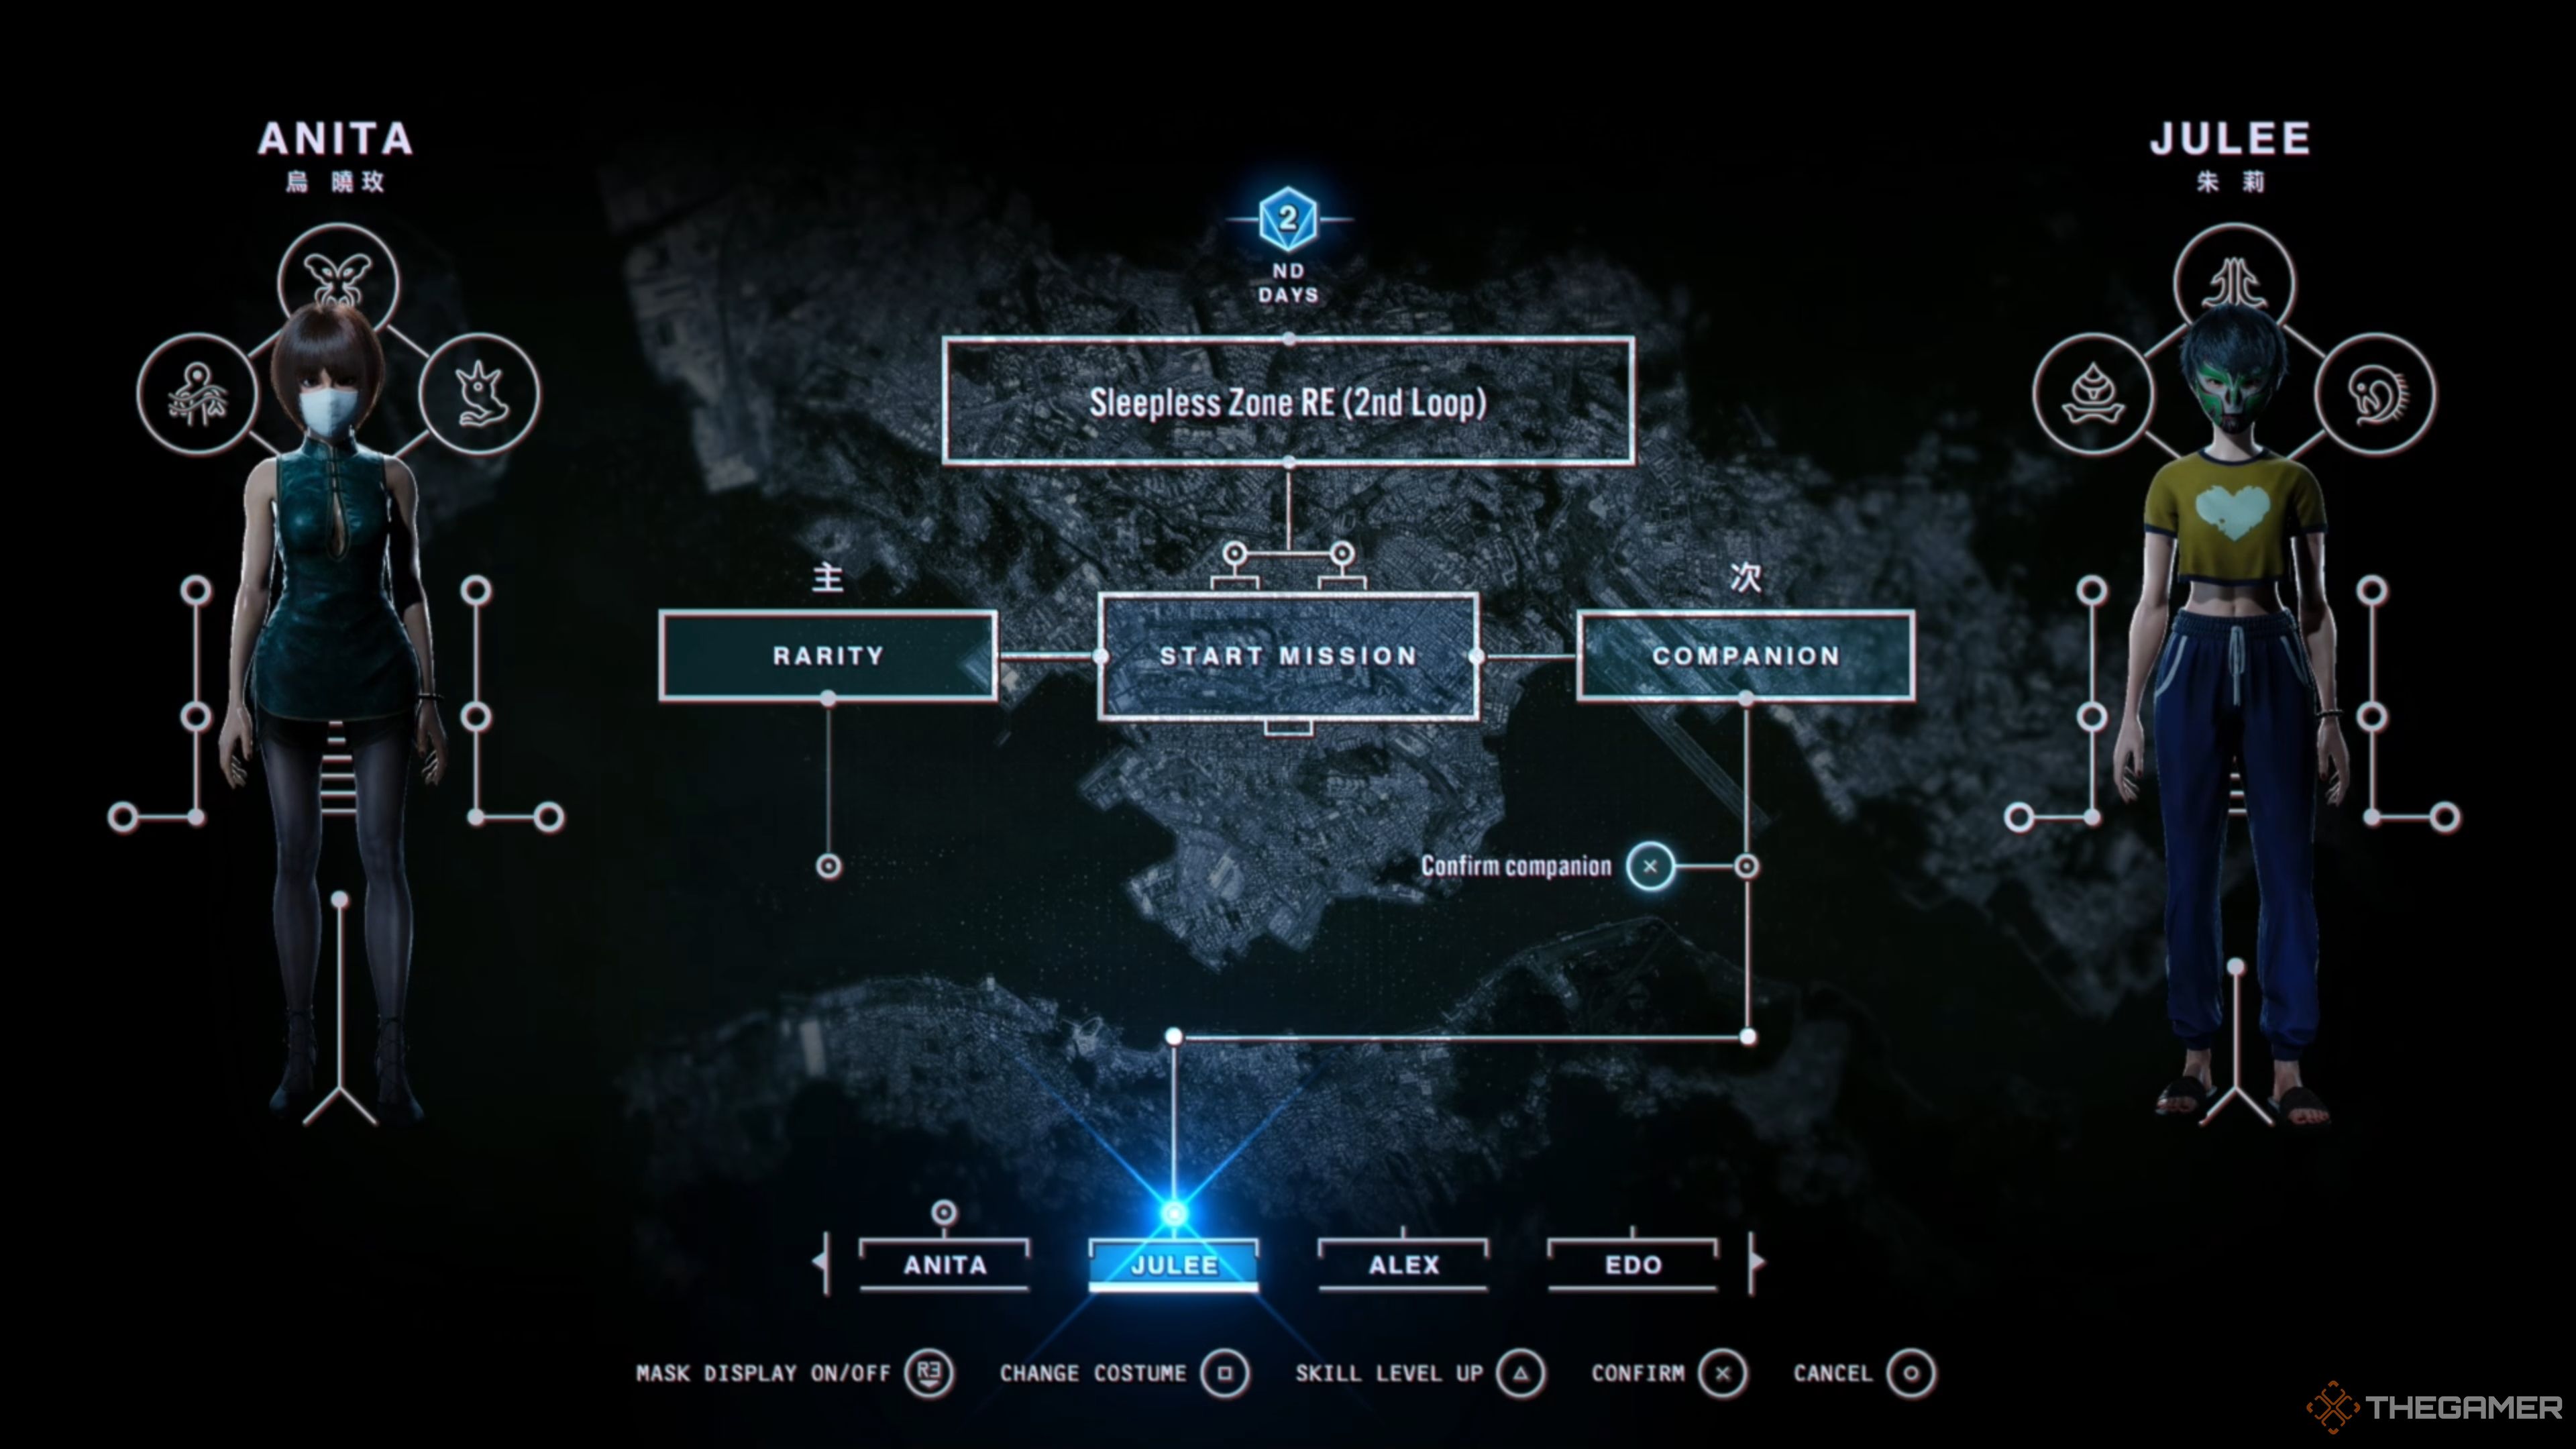
Starting Sleepless Zone RE (2nd Loop)
Since this is Anita’s mission, she is a permanent character, meaning she must be your Primary Rarity. However, you are allowed to pick whoever you like as the Companion. For us, we chose Julee, as her ability to heal everyone in the area with Revive All pairs well with Anita’s playstyle.
Edo would also work here, as Burning Edge will greatly increase her Blood Weapon damage, making her nearly unstoppable in most situations. Both are fantastic choices and are our recommendations for clearing this mission the first time.
Head Into The Mafia’s Hideout
As you approach the entrance of the Mafia’s Hideout, you will notice the scenery is quite different, tipping you off that something drastic has changed, as bodies are all cut up and thrown around. After observing the carnage, make your way upstairs and into the dimly lit room to find a lone lesser Slitterhead inside.
Quickly eliminate this Slitterhead with your Blood Weapon, as it won’t pose too much of a threat, considering it is a lesser version. You can use her Skills here, but it shouldn’t be necessary. Using Anita’s heavy attacks should stagger it enough that you can essentially bully it until it dies.
Continue Upstairs
Continue moving up the stairs and head to the next floor, where there will be even more corpses strewn about. Head down the left hallway and begin walking over the pile of bodies to see a silhouette of another lesser Slitterhead on the wall. As you round the corner, the Slitterhead will attack, so be prepared.
Dispatch this Slitterhead quickly and continue pushing forward until you reach the rooftop, where another lesser Slitterhead will be, along with a few tiny ones. Quickly eliminate them as you did the others, then proceed to the next area.
Infiltrate Neighboring Building
From here, look to the apartment complex across the street to see a shirtless man on his balcony; use your possession to take control of him and begin navigating through the apartment. The moment you exit the room, a lesser Slitterhead will be there, so be prepared to fight it.
Even though you aren’t one of your Rarities here, using your heavy attack will dispatch this lone Slitterhead quite convincingly. Quickly defeat it and continue pushing through the apartment complex.
Back Into The Hideout
Here’s where things start to get sketchy. After you defeat the previous Slitterhead, navigate through the apartment until you reach another balcony, then look across the way to find another survivor. Take control of them with your possession, and fight off the small Slitterheads and push forward.
There will be a large room with a single lesser Slitterhead in it and several more survivors. Eliminate this Slitterhead as you did the others to have three more drop from the ceiling. Yup. This is where things get real. While this normally wouldn’t be an issue, your Rarities will not spawn here, so it is more challenging than normal.
Nonetheless, with several other survivors in the room, you can use them to use their War Cry Skill, luring the Slitterheads to them, allowing you to switch to someone else and perform heavy attacks while mixing your Skills in. This may take a while, but repeating this strategy is a surefire way to come out of this encounter alive.
Continue Into The Hideout
With the three lesser Slitterheads defeated, push onward and take the elevator up, then follow the hallway to the right to reach the lounge room. There will be two lesser Slitterheads in this room, but the good news is your Rarities will eventually spawn in. However, you should be able to defeat them swiftly with the same method you’ve been using.
Switch to a different survivor, use War Cry, switch back to the previous Survivor, and spam heavy attacks and Skills to deal tons of free damage. Rinse and repeat until they’re dead. While not fast, it’s simple, easy to execute, and gets the job done.
Almost There
Before moving any further, switch to either Anita or your Companion Rarity, then head out to where the scaffolding is and run up it and into the upper room of the hideout. As you push further inside, you will be ambushed by two Slitterheads. Since you’re a Rarity, you should be able to take them out with no issue.
Continue pushing forward to run into a lesser Slitterhead and a few small ones, which you can cut through like butter with your Rarity. From here, move down the hallway to summon yet another Slitterhead, except this one has some hands and will put up a fight, so be prepared.
Try moving to a more open area if you can, as the cramped hallway can prove challenging in specific situations. Try parrying and guarding its attacks and using Julee’s Sonic Claws or Anita’s Poison Needles to keep it in check, then keep using heavy attacks to keep it stunlocked. Utilize Revive All if your health is critical, then open the door to trigger a cutscene.
Defeat Giant Leaf Insect Slitterhead
After the cutscene ends, you will be fighting the Giant Leaf Insect Slitterhead, which is where Julee truly shines. Her heavy attack does tremendous amounts of damage to it, and her Sonic Claws can stagger it, allowing her to get several uncontested hits on it. Furthermore, you can guard and parry its attacks, as they are well-telegraphed.
Whittling its health down beyond the first node of its health bar will cause it to flee by jumping through the window and running across the rooftops, having you chase after it.
Chase The Giant Leaf Insect Slitterhead
Begin running after the Slitterhead until you reach a steep drop-off with a clothesline far in the distance. Use Blood Jump to reach it, then possess the resident on their balcony, and do the same to the next resident. Use Blood Jump to get to the large scaffolding in the distance, then use possession again to reach a rooftop in the distance.
Now, you can start chain-possessing residents, jumping from one balcony to the next until you reach the rooftop across from the Slitterhead. Once here, climb onto the top of the building, then leap down onto where the Slitterhead is to finish the encounter.
Defeat The Giant Leaf Insect Slitterhead, Part Two
Finally, you can fight the Giant Leaf Insect Slitterhead for the last time and put it down once and for all. Like earlier, Julee will be the best option for this Slitterhead, so wait for her to appear and switch to her. However, before she spawns in, you must survive with the residents.
We recommend switching to a random resident, using War Cry, and then jumping to someone else to attack the distracted Slitterhead and repeating this process until Julee appears. Once she does, immediately control her and begin attacking with her Sonic Claws and Anita’s Poison Needles.
If you notice the group of people thinning out, use Anita’s Devil’s Scent to spawn in more residents, giving you more people to switch to if things get out of control. Use Revive All if you need health immediately, and unleash your Skills whenever you have them. Rinse and repeat this strategy until the Slitterhead is defeated, and you’re golden!
Sleepless Zone RE (2nd Loop) Rewards
Clearing Sleepless Zone RE (2nd Loop) for the first time will put a snazzy 20 Skill Tokens in your pocket, allowing you to make your Rarities even stronger. But, again, these are shared, so if you spend them all on one Rarity, the others cannot be upgraded. Use them smartly.
Did you think we’d forget to remind you about the ‘Talk’ dialogues? After finishing this mission, exhaust all the conversations to unlock more missions and hints that can move the story forward or provide you with new Rarities!
Next
Silent Hill 2: All Weapon Locations
Silent Hill 2 doesn’t have the widest selection of weapons, but you don’t want to risk missing any of them. Here’s where to every weapon in the game.
Source link









Leave a Reply