Slitterhead is finally here, giving us a brand-new experience from Keiichiro Toyama. It is his first project since Gravity Rush 2 in 2017, and it captures everything you’d expect from the father of the Silent Hill and Siren games, with the exhilarating gameplay from the Gravity Rush titles on top of that dreary and foreboding atmosphere.
Related
Ys X: Nordics – 8 Beginner Tips
These tips and tricks will help you have a smooth and immersive experience without too many problems while playing Ys X: Nordics.
There’s lots to unpack in this game, ranging from obtaining new Rarities to upgrade paths to mission structure and everything in between and beyond. It keeps you busy and locked in throughout, which also means it’s easy to get lost from time to time and not know what to do next.
Exhaust All ‘Talk’ Options
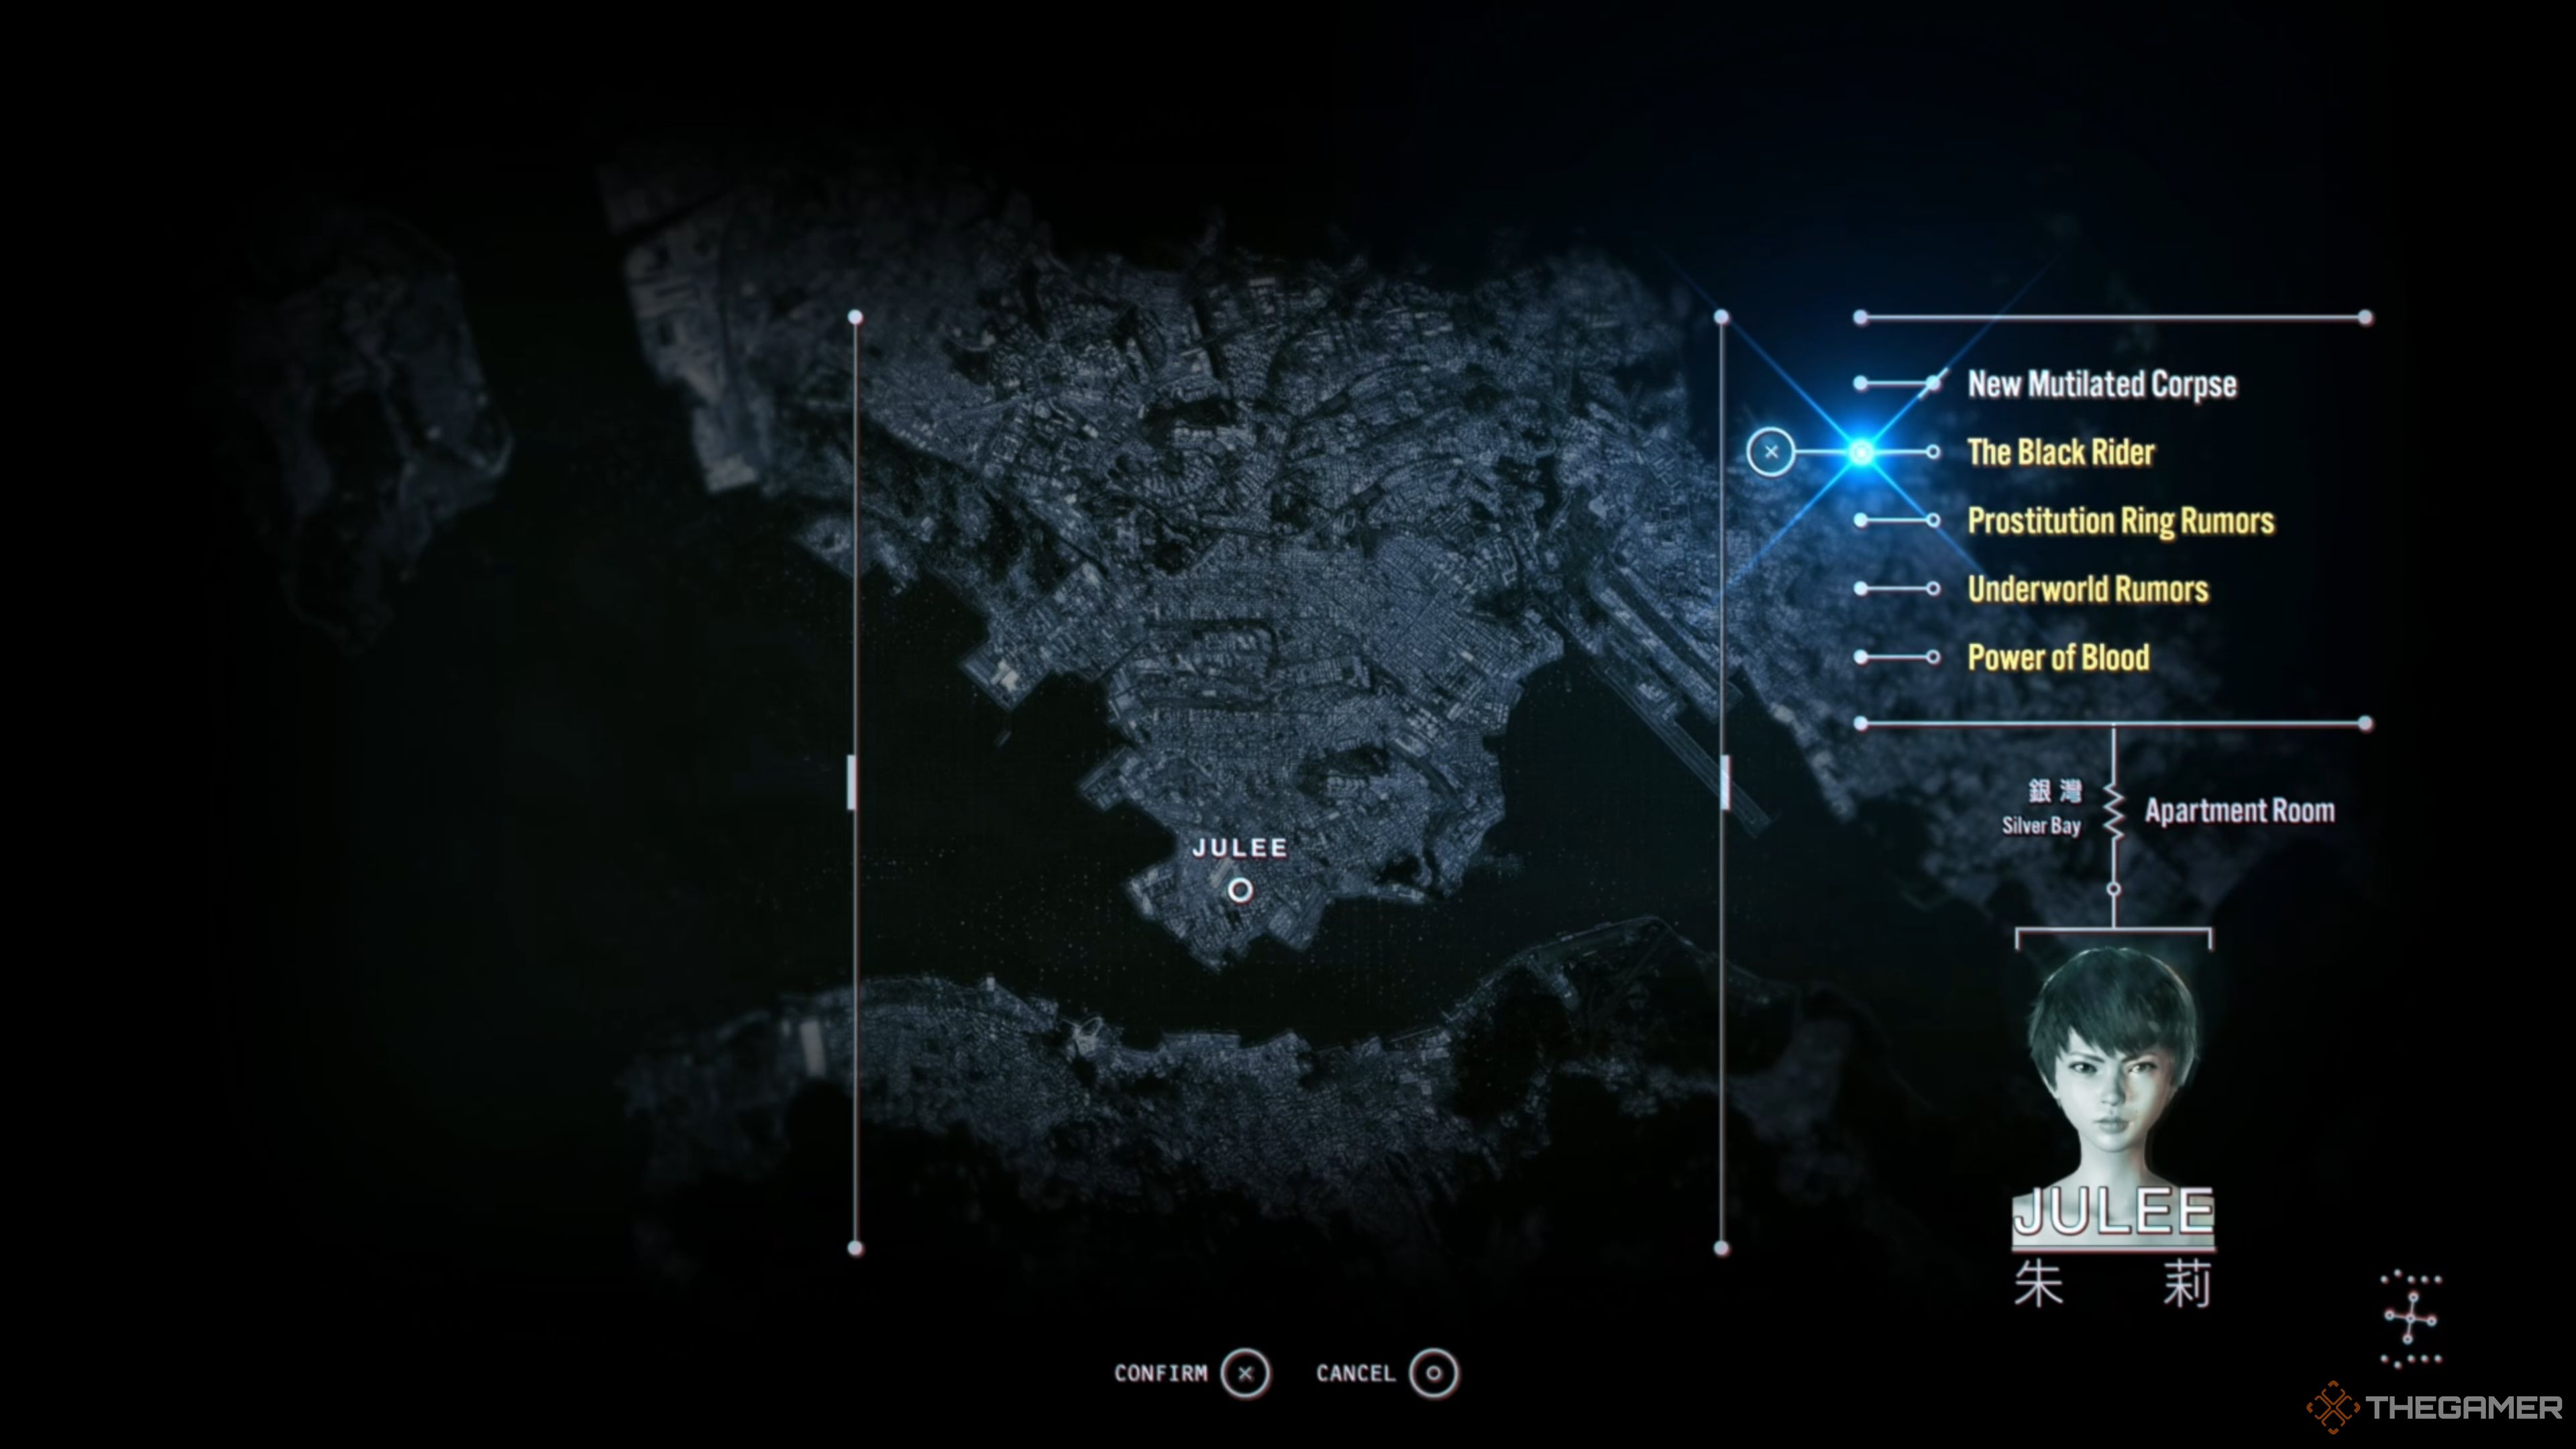
After completing Missions in Slitterhead, you will be brought to the ‘Talk’ tab of the game’s main menu, allowing you to speak with the Rarities you’ve accumulated throughout your playthrough. Doing this will not only lead to new Missions and progress in the story, but they will also drop hints about acquiring even more Rarities.
Rarities serve as the game’s playable characters, which leads to more missions over time, giving you access to more things to do and more unique combat styles. Always exhaust all dialogue options in this tab before doing anything else, as it is one of the more crucial aspects of the game.
If you ever want to relisten to a specific conversation from previous days, navigate over to the ‘Memory’ tab in the menu, select the Rarity you want, and choose the conversation from the list of options. This is super important as you may need to hear a hint again to acquire a new Rarity!
Choose Your Upgrades Wisely
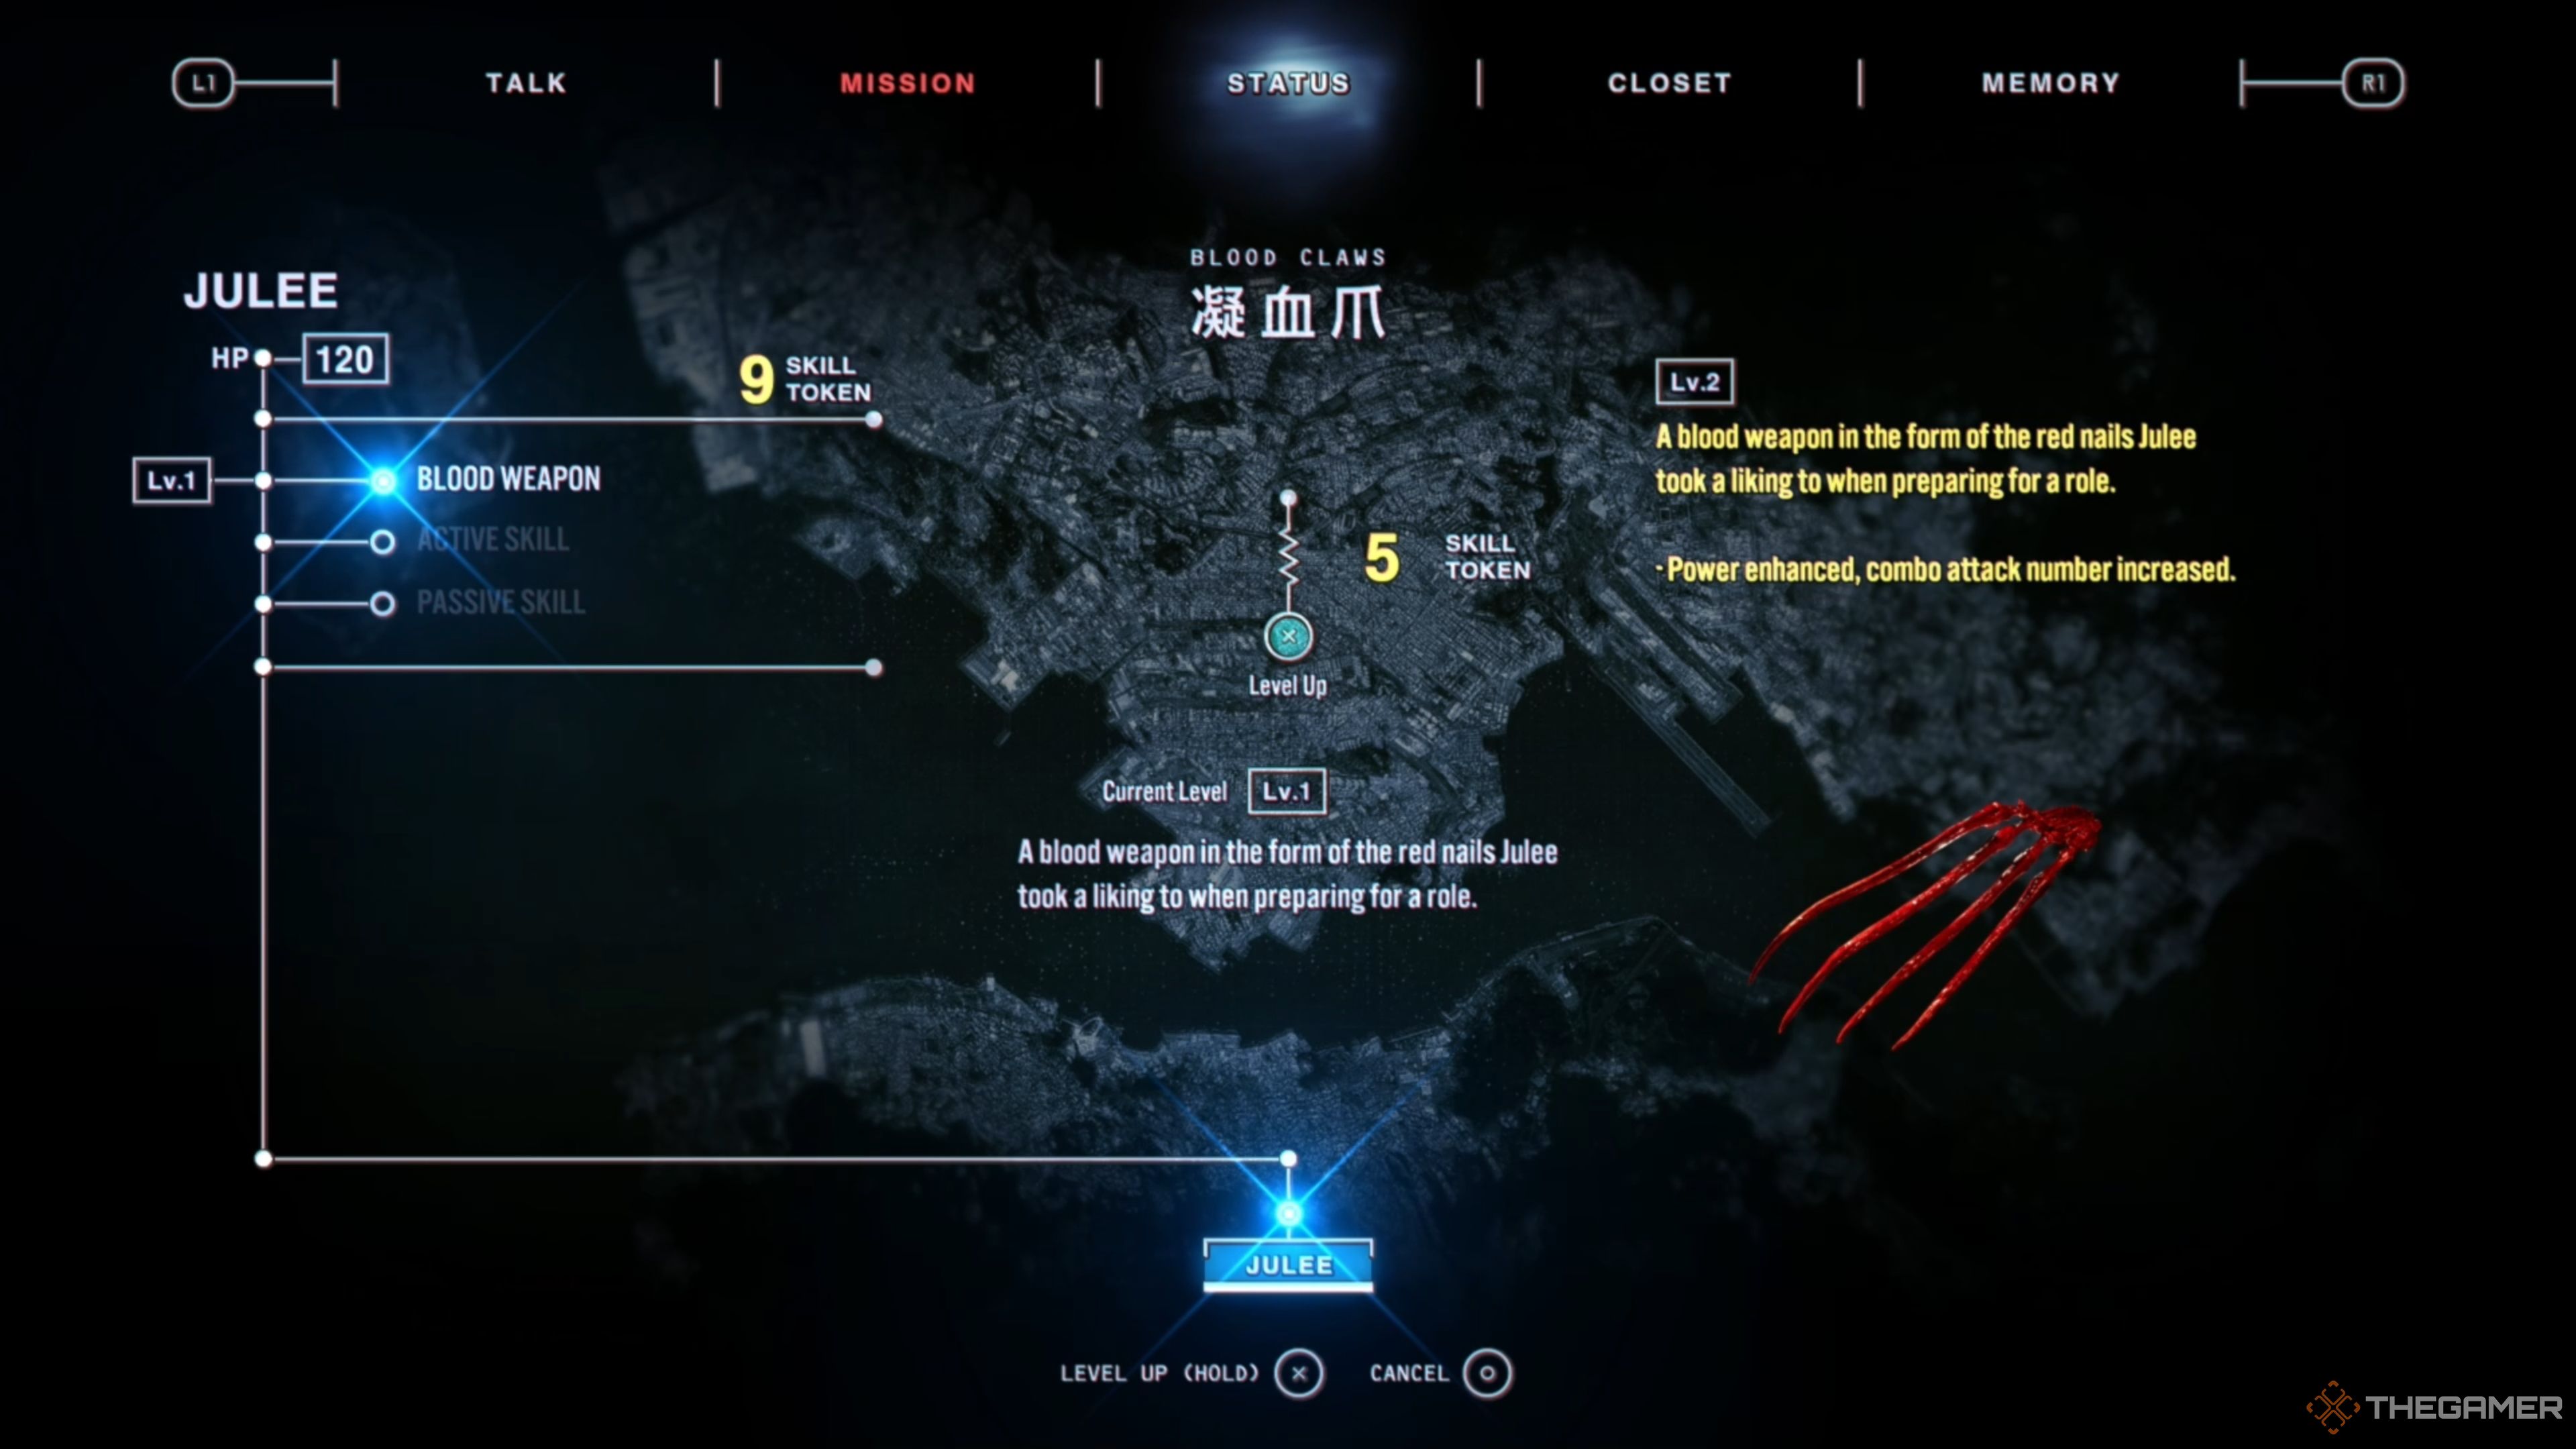
Completing a Mission and gathering Memory Fragments will grant you Skill Tokens, allowing you to head to the ‘Status’ tab in the main menu to attribute them to your Rarities. However, please note that these Skill Tokens are shared, so be sure you want to spend them on a specific character before going through with it.
The good news is you will be showered with lots of Skill Tokens as you naturally progress through the game, allowing you to be relatively loose with where you put them, but we still recommend thoroughly weighing your options, especially if you’re struggling on some of the Shrine Challenges or other boss encounters in the game.
Every character has access to Blood Weapon, Active Skills, and Passive Skills upgrades, allowing you to substantially increase their performance in combat, making them unbelievably strong when fully upgraded. If you find a character you click with, we strongly recommend checking out all their Passive Skills and unlocking a few early on!
Collectibles Are Only Available In 2nd Loop Missions
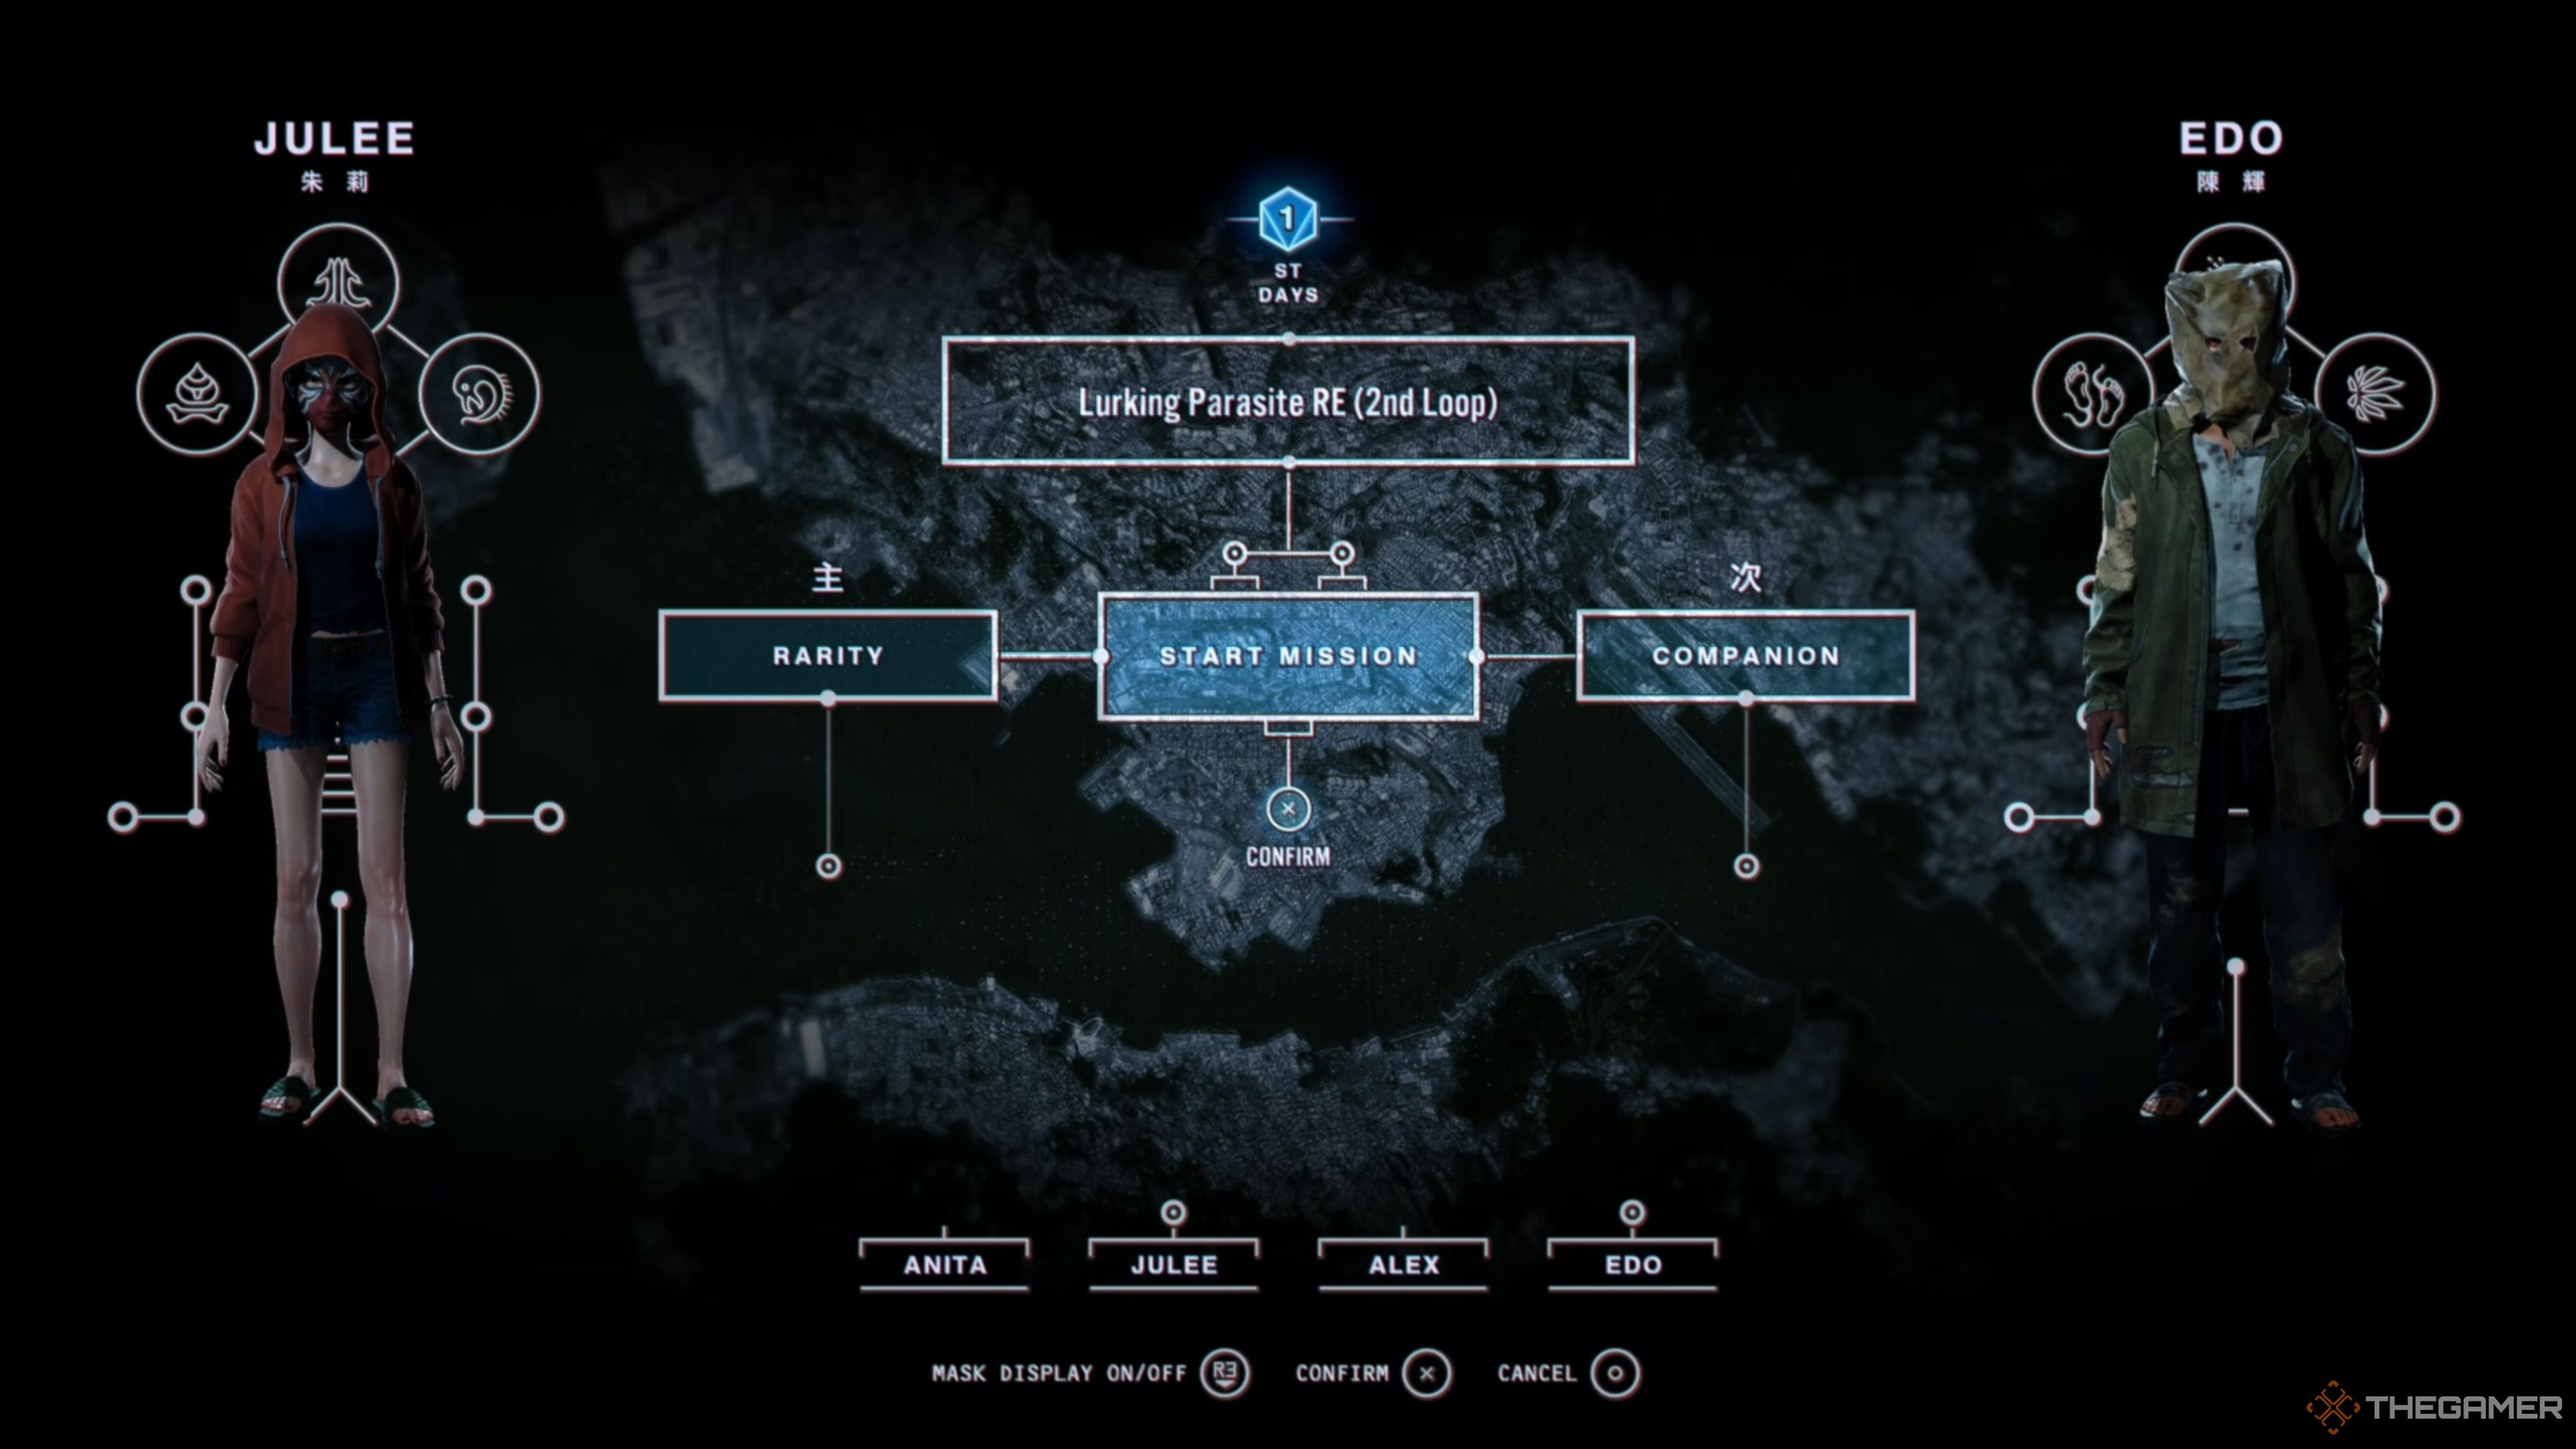
Speaking of Memory Fragments, they are only available when playing RE (2nd Loop) Missions, where you will essentially go back in time and tackle a previously played Mission from a different angle and with a new perspective. This is also where you will get the opportunity to obtain new Rarities, tackle Shrine Challenges, and seek out the Mysterious Old Lady.
Memory Fragments, as covered above, give you Skill Tokens and more information on Night Owl via the ‘Talk’ menu. Shrine Challenges will reward you with unique Costumes and Masks for the Rarities, making them worth seeking out if you want to change their fit.
You can see if a RE (2nd Loop) Mission has collectibles by hovering over the Mission, where you can see how many of each it has available and how many you currently acquired. If a Mission has ‘Signs of Rarities‘ marked on it, that means you can obtain a new Rarity in that Mission, which was likely hinted at in a conversation!
Some Rarities Lead To Unique Opportunities
As covered exhaustively above, Rarities is the bread and butter of Slitterhead, allowing you to not only expand your arsenal and find your perfect combat style but also obtain more Rarities. And, again, the ‘Talk’ feature is just as equally crucial to the game as obtaining Rarities is, so don’t sleep on either of them.
For example, some Rarities can provide unique hints or can even access otherwise off-limit areas, allowing you to then acquire more Rarities that can potentially do the same thing down the line. But don’t stress too much if you missed one here or there, as you can revisit RE (2nd Loop) Missions whenever you like!
While you will almost always be able to select your favorite Rarity for any given Mission, you may have to tag them out occasionally with someone else if you want to expand your roster further. The good news is every character has such a drastically different fighting style that it’s almost always worth the effort!
Select The Rarity With Your Favorite Fighting Style
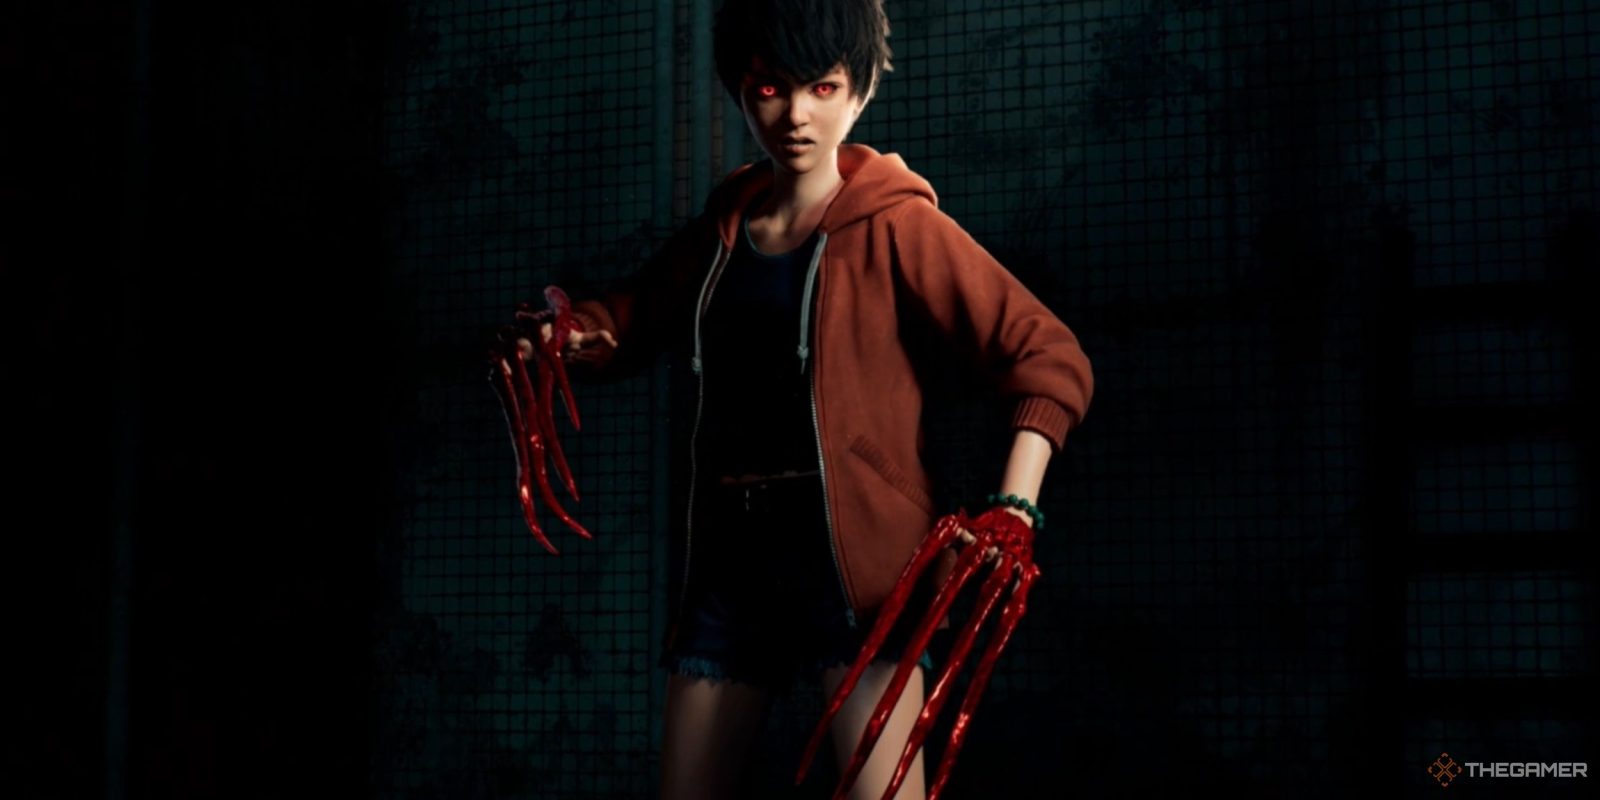
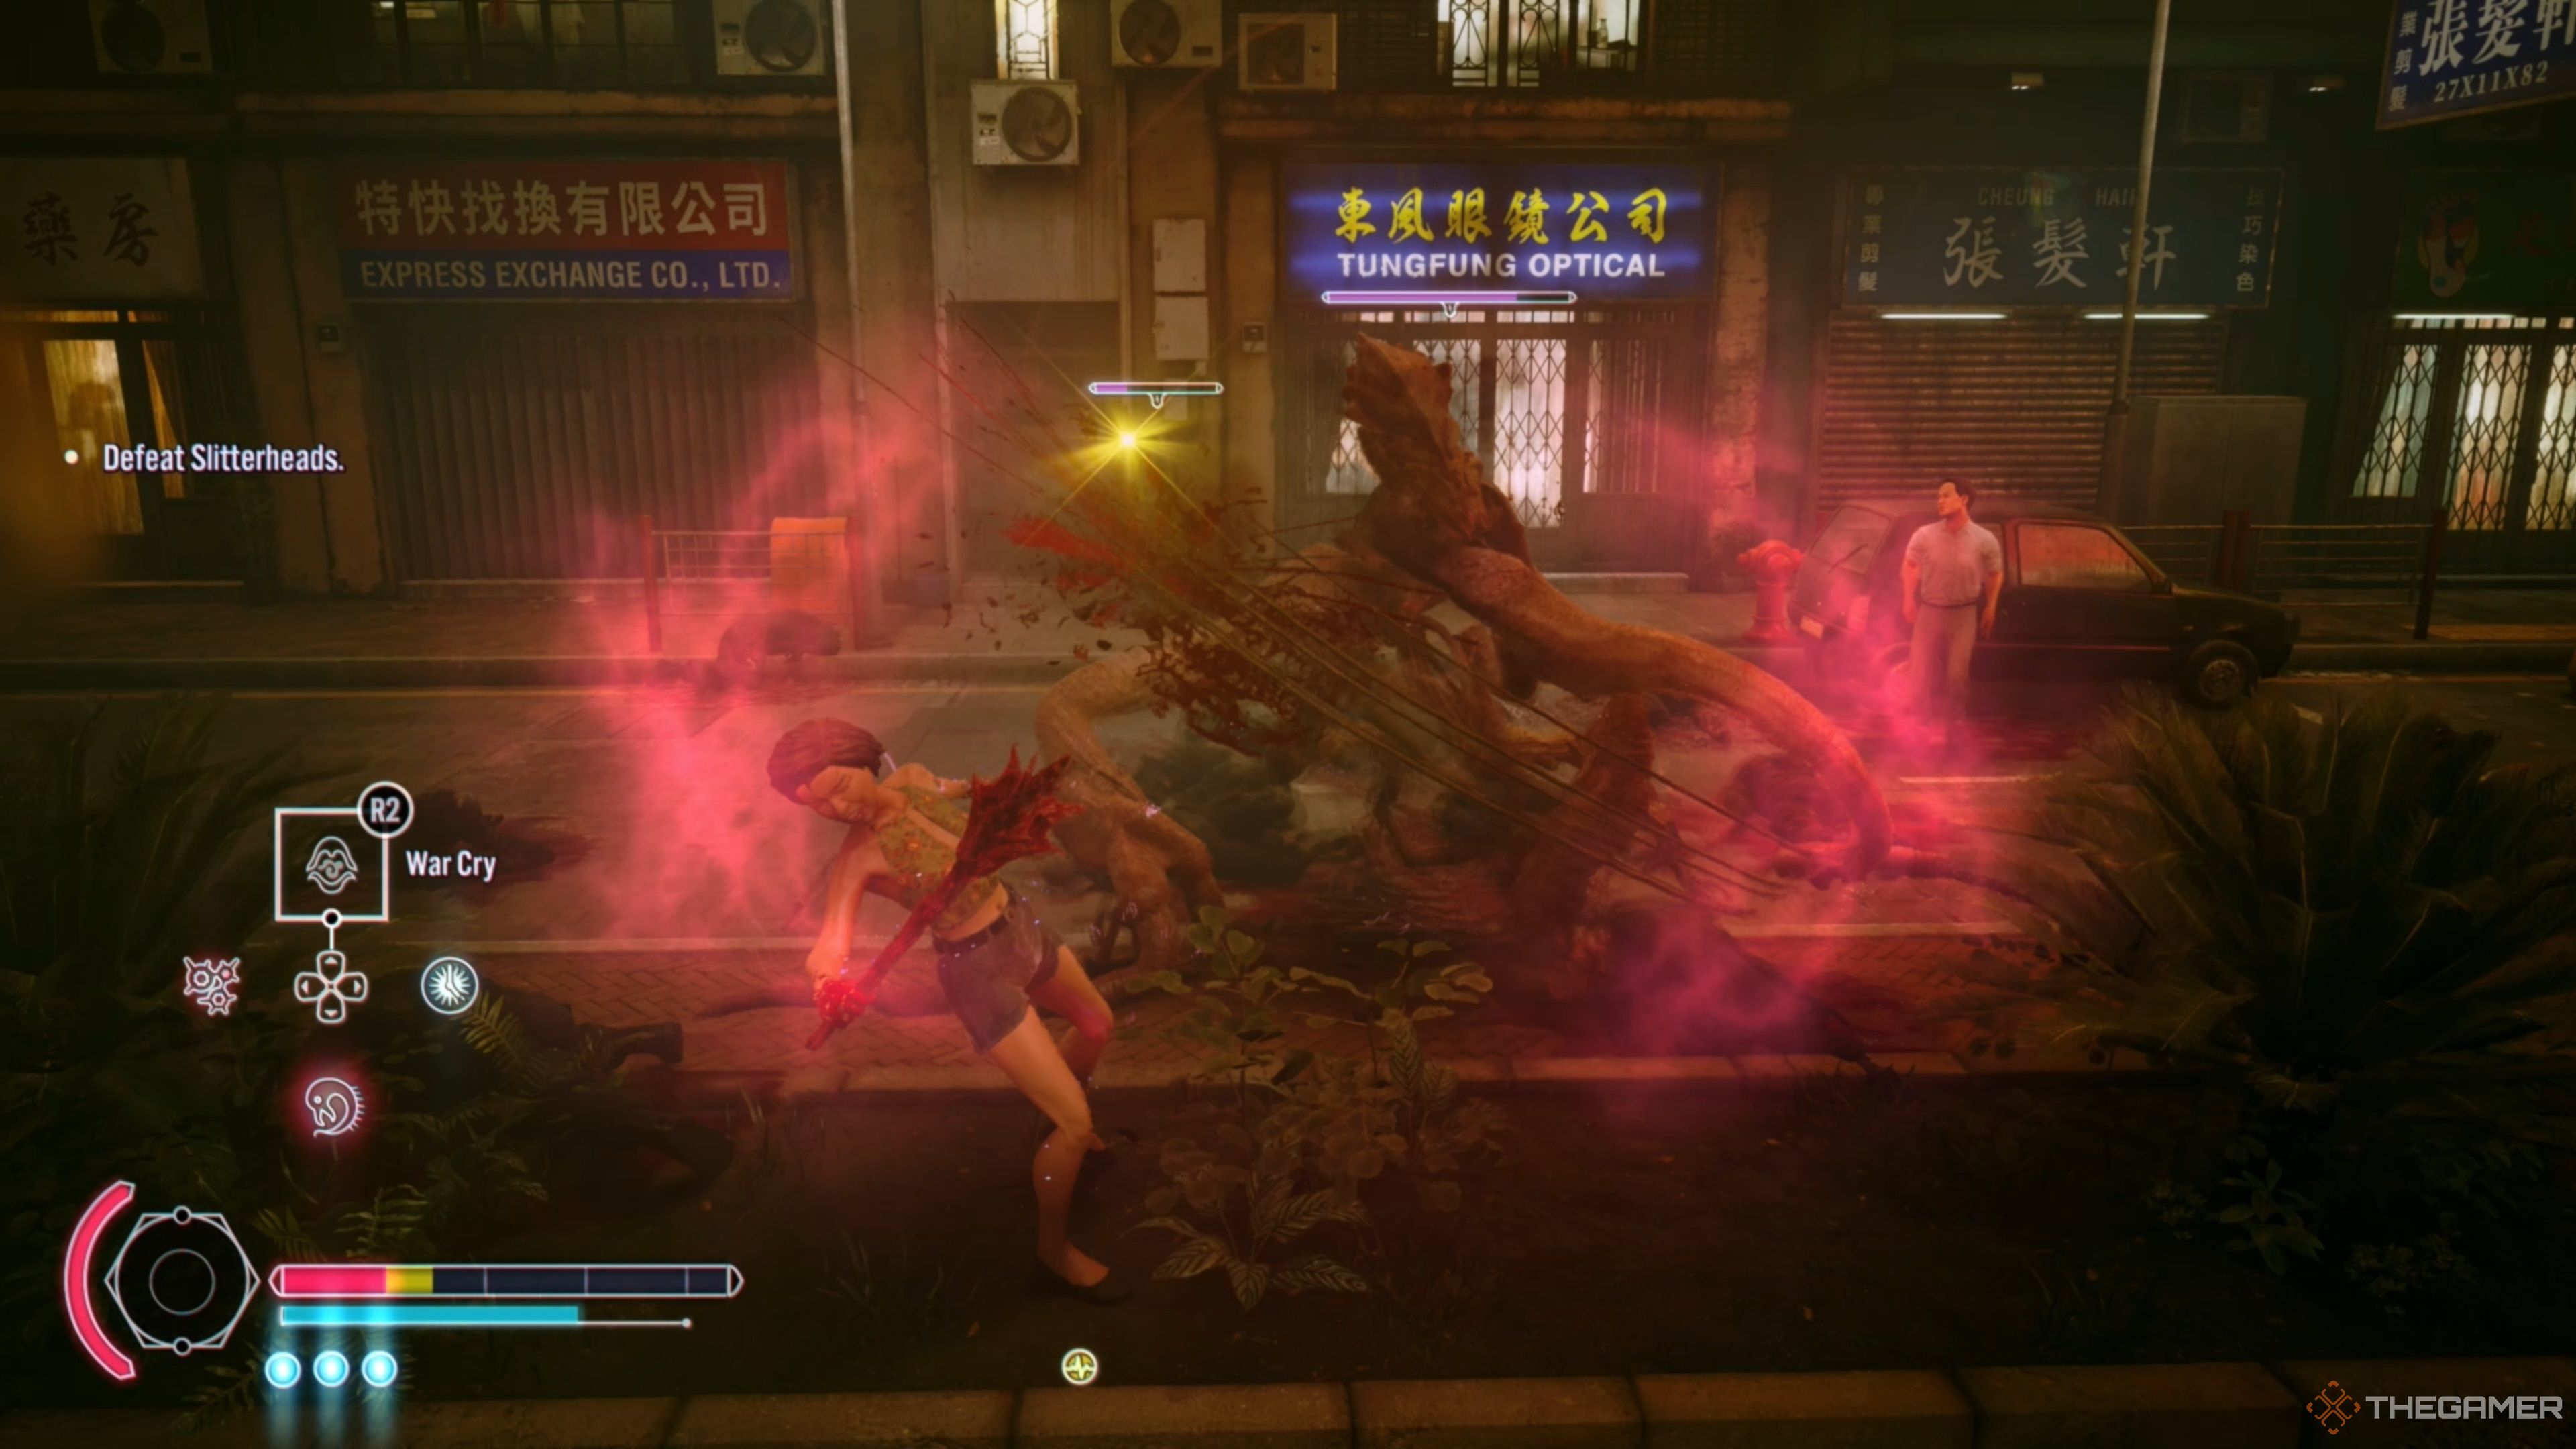
When the game first begins, you take over some no-named civilian and start fumbling around with the combat, and it doesn’t feel all that great. It’s rather clunky and not all that exhilarating, but then you finally take over Julee, and the gloves come off, giving you that fast-paced and potent gameplay you were initially promised.
And while Julee’s moves and general gameplay are solid, it can get so much better, which is why it’s crucial to seek out every Rarity in the game, as you never know which one will click with you and gel with your play style. Edo is our go-to guy, as he is just a powerhouse and can deal tons of damage while evading incoming attacks without breaking a sweat.
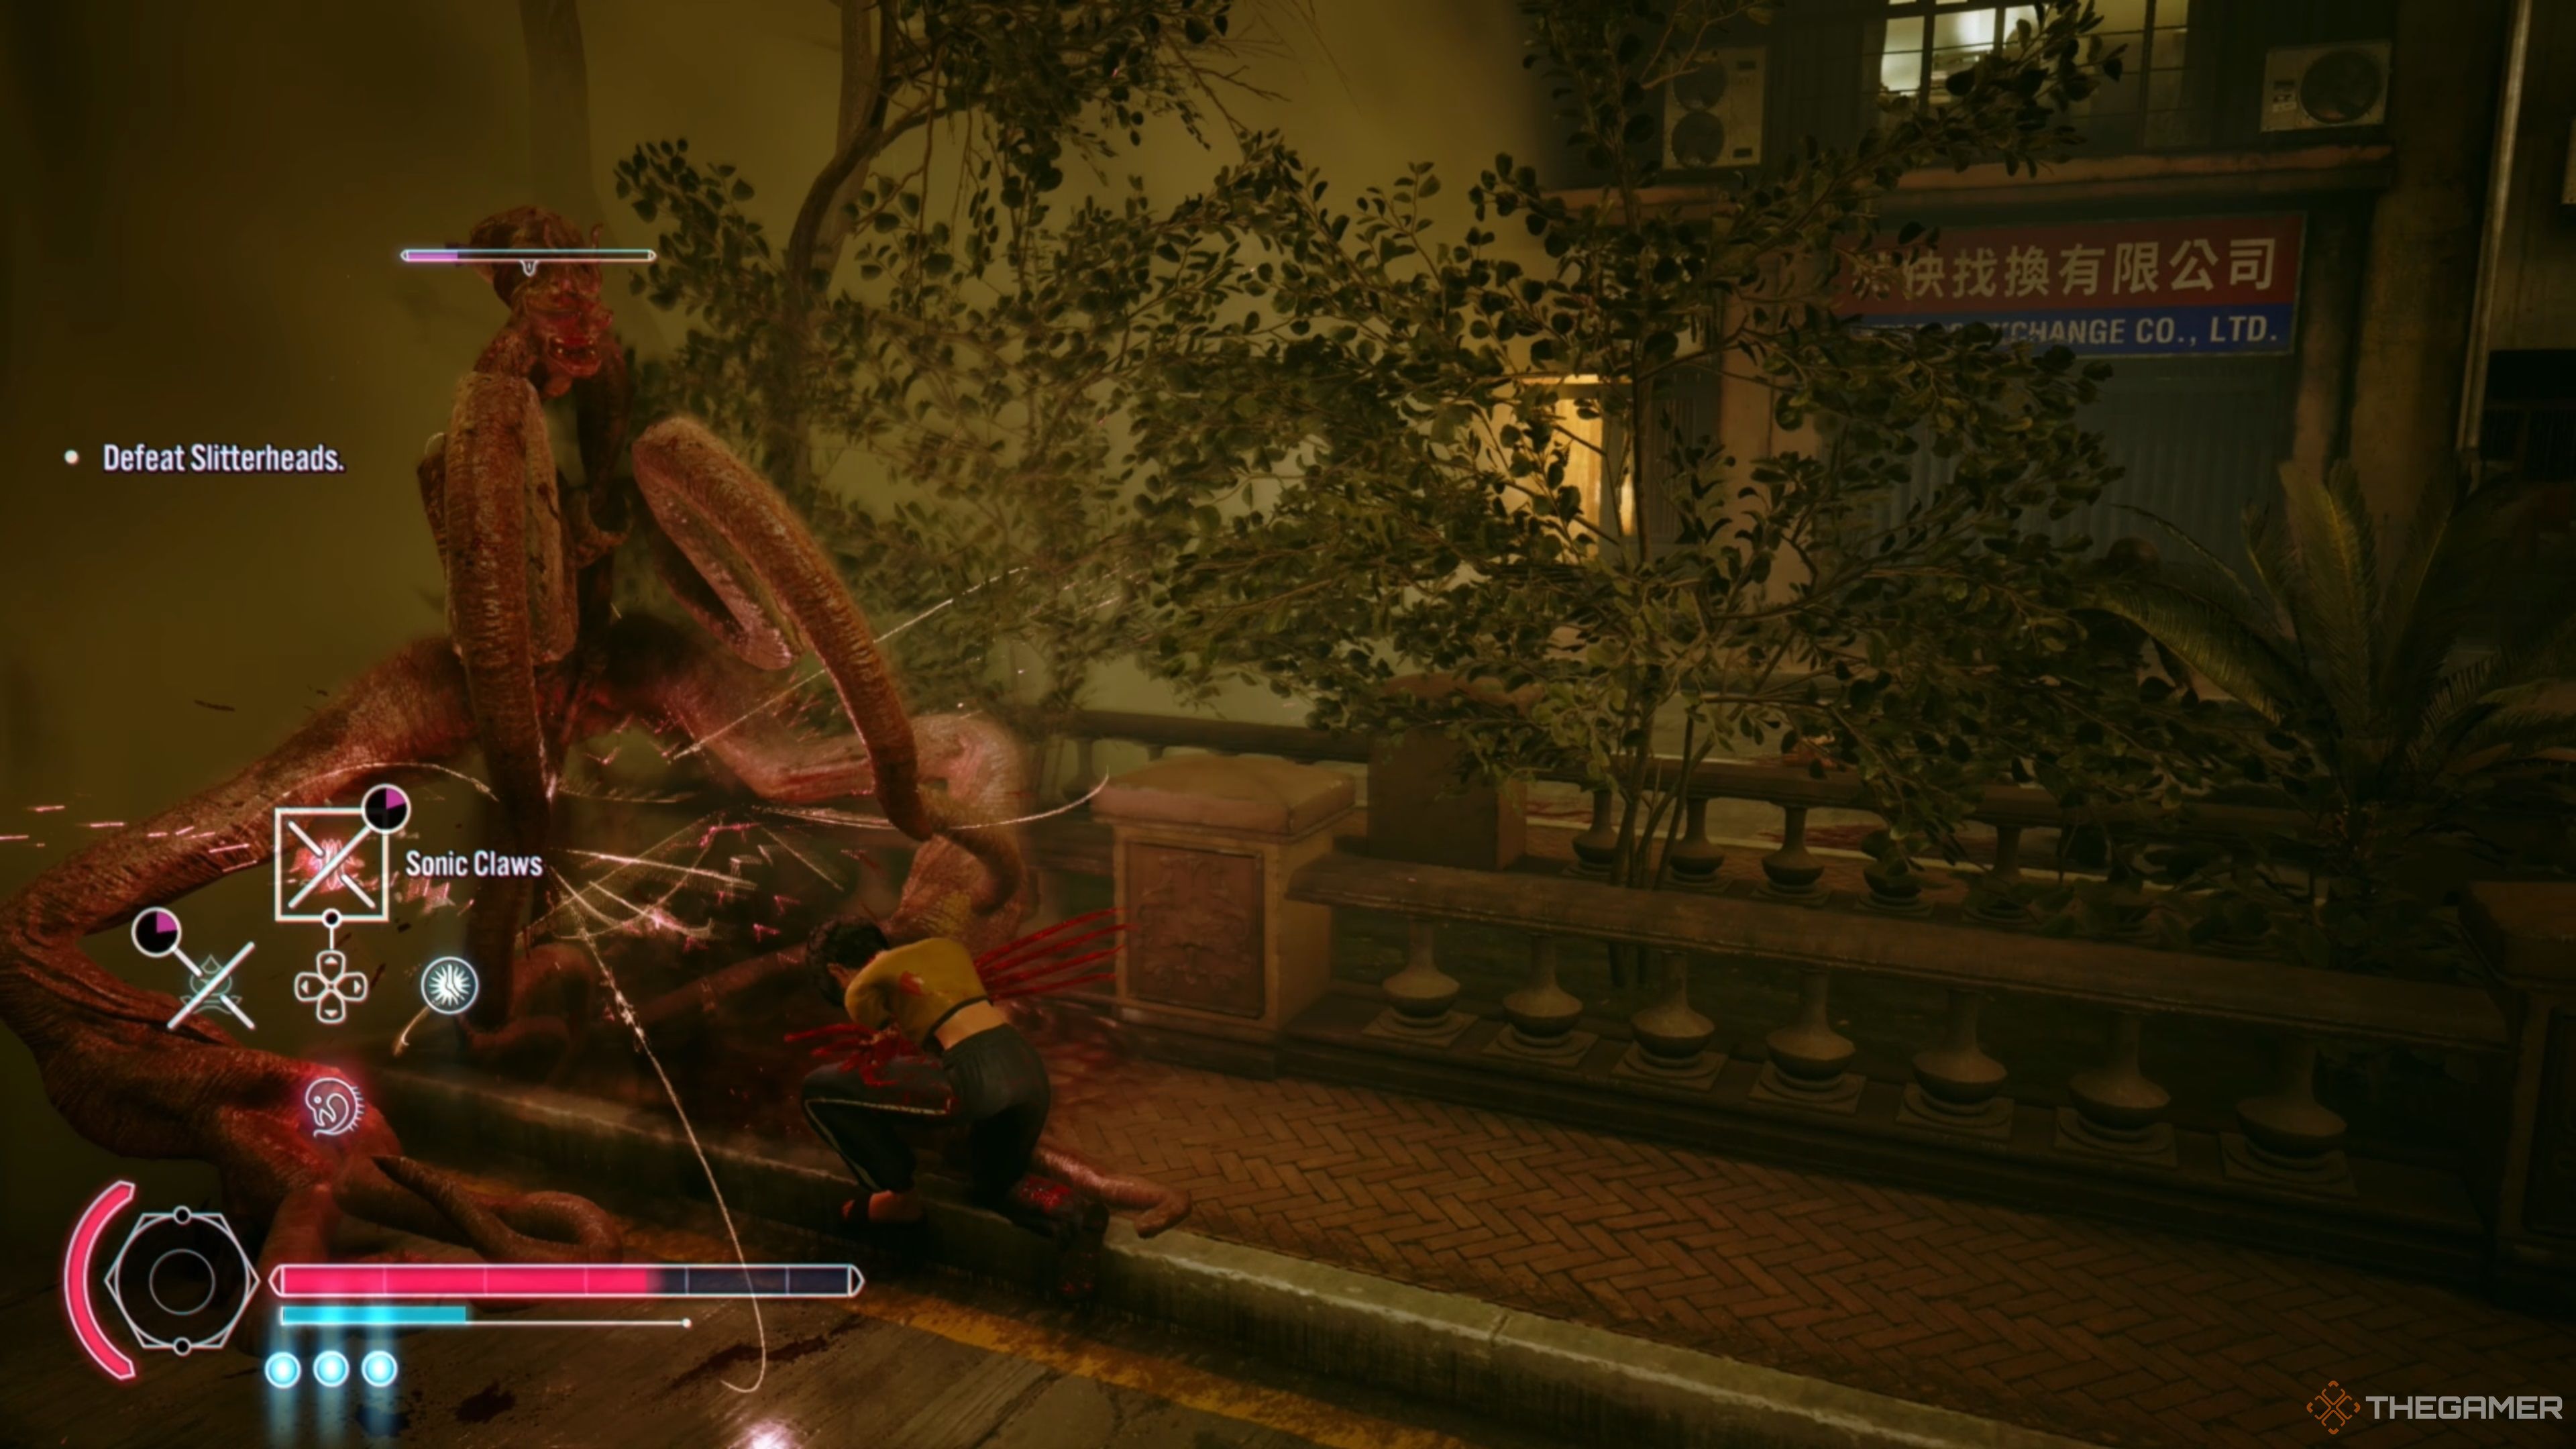
However, that may not be your focus when it comes to taking down Slitterheads, and someone like Anita may be more your speed, allowing you to summon in and control hordes of civilians as you perpetually Poison your target. There are so many options and unique fighting styles to uncover, and we strongly urge you to give everyone a fair shake!
Change Frequently In Combat
One of the more crucial aspects of Slitterhead is your ability to Possess your Companion Rarities and even random civilians during the heat of combat, allowing you to avoid dying. You can die a total of three times before having to reload, but you can easily avoid this altogether by swapping to someone else when things start going south.
Not only will this mentality force you to constantly be looking for where each civilian is, but it will also allow you to get better at utilizing Possession as a way to draw the focus of the enemy to a random civilian, allowing you to jump back to your Rarity for massive damage or an opportunity to heal.
Guarding Is Crucial
Guarding (Hold L2/LT) is one of the more crucial aspects of Slitterhead, as it not only allows you to take reduced damage but also enables you to Parry incoming attacks and perform heavy attacks (R2/RT), which can lead to substantial damage and rewards.
Parrying alone is essential to get down if you want to make quick work of most enemies and bosses in the game, but guarding can also help mitigate a lot of incoming damage that can otherwise be lethal. But, while guarding can be immensely beneficial, it can also lead to your demise if you aren’t careful.
In short, guarding too much and turtling when an enemy is attacking you will ultimately break your Blood Weapon, forcing you to recover it via Parrying or letting it slowly regenerate. Rarities can take more damage, while civilians will lose theirs much faster. Once you notice your Blood Weapon gauge gets low, begin Parrying or jump to someone else!
Use The Training Missions To Learn New Rarities
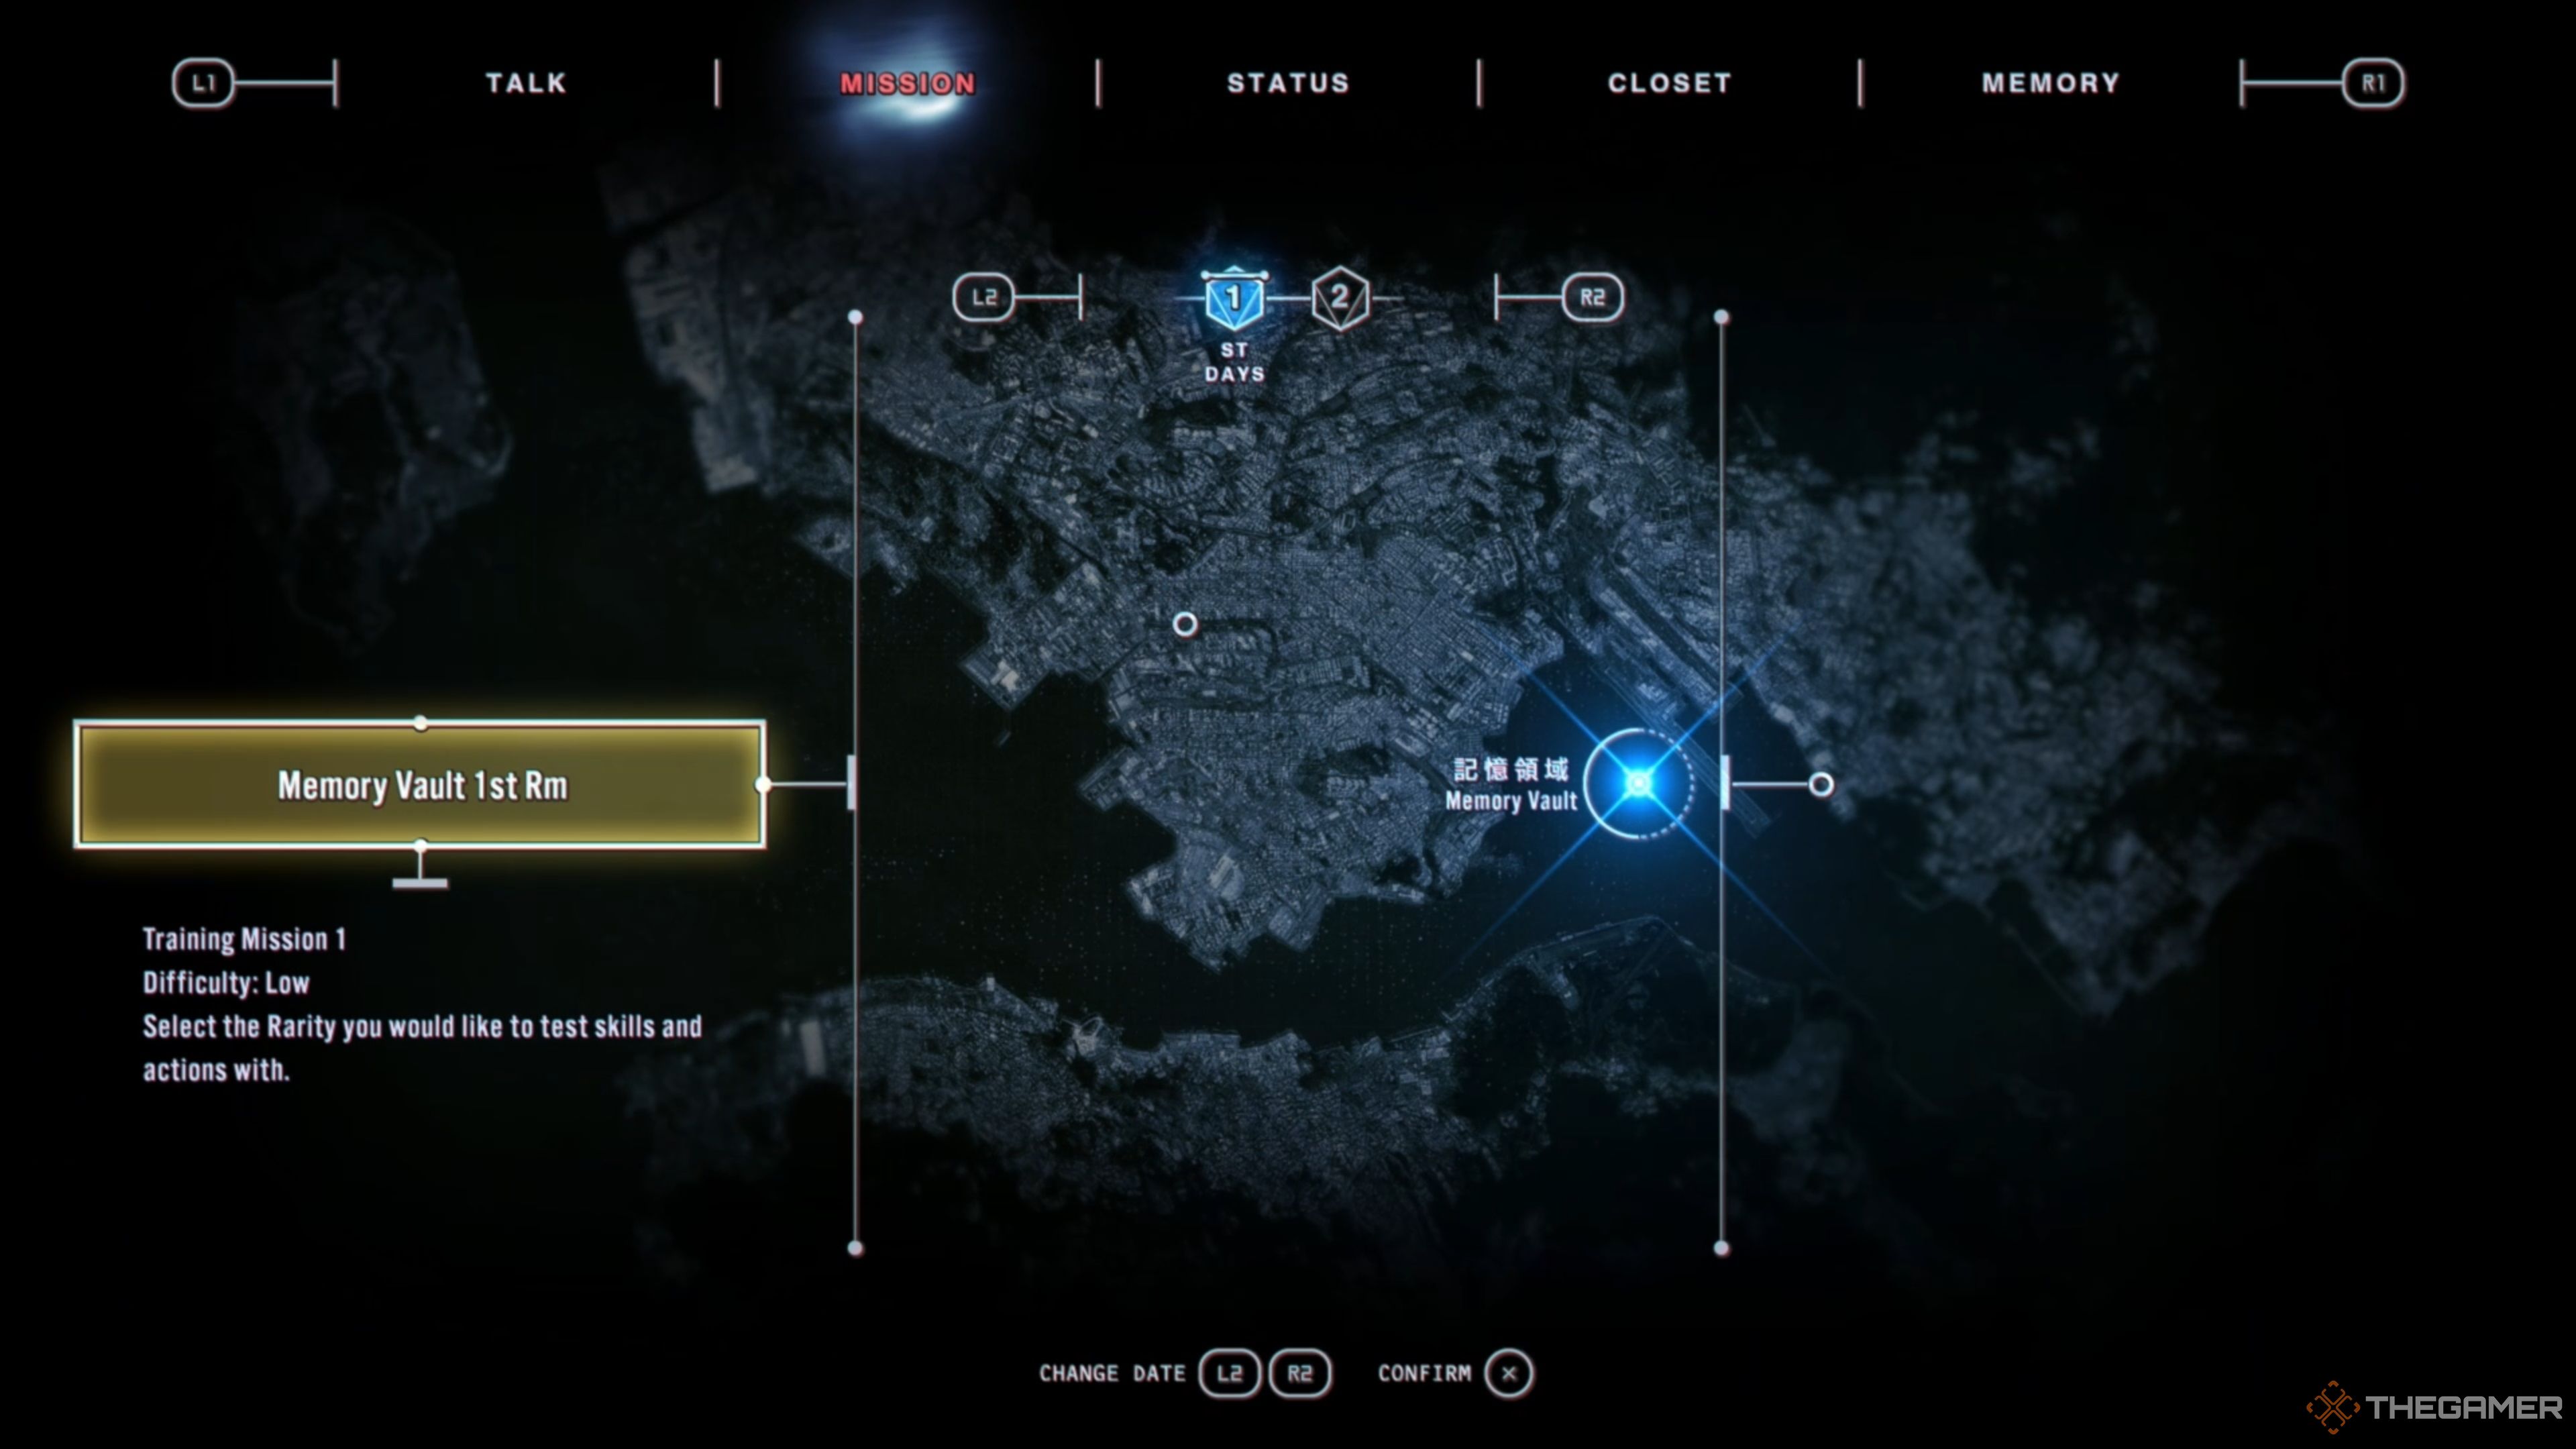
Lastly, we want to point you toward the Training Missions that you can access on the ‘Mission’ tab in the bottom right corner of the screen. There are three versions of them, with Day 1 being the easiest option, Day 2 providing a more medium difficulty, and Day 3 being the most challenging of the bunch.
Anytime you acquire a new Rarity, we cannot recommend jumping into these Training Missions with them enough, as you can practice all their Abilities risk-free, allowing you to really familiarize yourself with their toolkit to see what they’re capable of.
Not only that, but you can also select your Companion for Training Missions as well, allowing you to see who best pairs with them, further improving your performance with them as you tackle actual Missions with them. Again, some of these Rarity are rather complex and can be challenging to use to their full capabilities; this will help mitigate that tenfold!

Next
Romancing Saga 2: Revenge Of The Seven – Beginner’s Tips
Romancing Saga 2: Revenge Of The Seven will crush you if you let it, we’ll help you understand this obtuse title and give you a strong start.



Leave a Reply