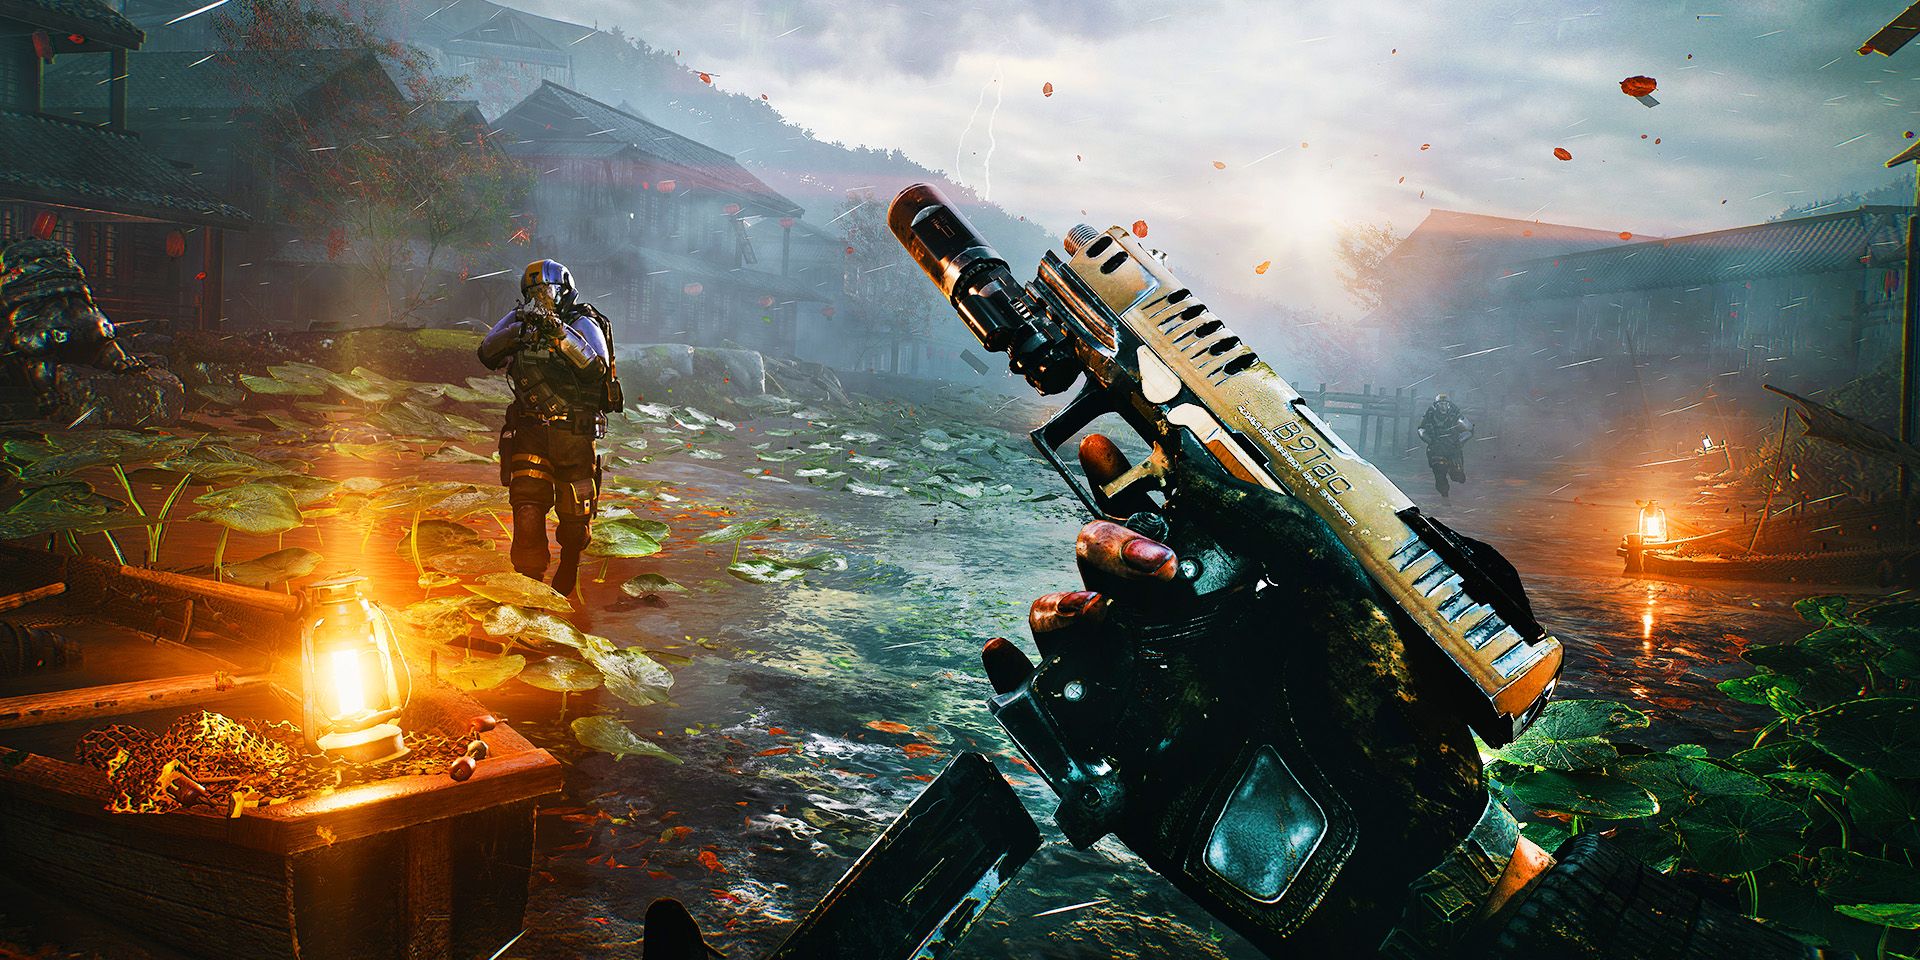
Valve has finally fully unveiled Steam Game Recording, bringing the ability to easily record and capture your gaming sessions for all to see. The recording can be set to just run in the background throughout your gaming sessions, or you can invoke it manually. It’s essentially the same core feature you’ll find in AMD Relive and Nvidia ShadowPlay but built right into Steam.
With Steam continuing to be the dominant platform on the best gaming PCs, this easy access to such a powerful recording feature means that many gamers are likely to use it. However, there is one feature missing from Steam Game Recording that could make some users stick with alternative game-recording apps for now.
What is Steam Game Recording?
Steam Game Recording is a new option in the latest release of Steam. which lets you configure automatic or manual recording of any game on Steam that supports the Steam overlay feature.
Choose the manual recording option, and you can use a keyboard shortcut (Crtl+F11 is the default) to start and stop recording. Meanwhile, background recording will just set Steam to start recording whenever you open a game, continuously recording a window of gameplay of a set length (120 minutes or two hours by default).
Whichever option you choose, you can also add timeline markers by hitting Ctrl+F12 and take screenshots by hitting F12. Timeline markers are indicators that appear in Steam’s in-built video navigation system, which make it easier to find key moments in your recordings after you’ve finished playing.
The new feature will also automatically add its own timeline markers based on events in the game, showing boss battles, deaths, eliminations, and more. Game developers can tap into the Game Recording API to have their games trigger these timeline events.
Recordings are stored in a folder of your choosing but aren’t initially stored as accessible video clips. Instead, you can navigate your videos in Steam. Videos for each game are shown next to the game, and onceyou click on one you can scrub through the timeline, pulling out clips, adding more markers, or you can just choose to delete the clip.
Click the Share Clip button from the video navigator, and you can export a video file of the clip, copy it to the clipboard, send it to a phone or other device, or create a share link.
It’s an incredibly powerful and easy-to-use set of tools that makes it super easy to record and do a basic edit of a clip to share.
Steam Game Recording settings
Whether you choose manual or automatic recording, most of the core settings of Game Recording are the same. For video recording options, you can change the frame rate (30 or 60fps), and the video height (effectively the resolution), enable H.265 video encoding, and choose whether to use GPU video encoding. The latter option is available if you have a compatible GPU, but the software will fall back on using CPU encoding if you don’t have a compatible GPU.
For audio, you can choose to have your microphone added to the recording too, and whether to record just the game audio, your whole system’s audio, or just the output from the game and certain apps.
Choose the automatic recording option, and you can also set up game-specific profiles for the recording length and quality. The video length limit is 9,999 minutes, which is 166 hours or just under a week, so there’s enough time to record even the longest single-play sessions.
What can’t Steam Game Recording do?
While Game Recording is a very powerful tool, it can’t currently mimic the Highlights feature of Nvidia’s popular ShadowPlay/Overlay tool. This can provide a continuous video recording feature, but that only records clips when something interesting happens in your game. So, if you get an elimination or a win in Fortnite, it will record the five-minute window around that moment. It can also grab screenshots of your moment of victory.
Game Recording can do similar with its timeline marker feature, but it doesn’t go as far as making the clips ready to share for you. Similarly, because Game Recording doesn’t immediately create a usable video file, you always have to go into Steam to play your video clip, and then export a video clip, so it’s not quite such an instant process for sharing clips, although the export doesn’t take long.
Does Steam Game Recording affect frame rate?
Yes, Game Recording can reduce your frame rate, as the video recording uses some CPU and GPU resources to power its video encoding. In Apex Legends, we recorded a drop from 160fps with recording turned off to 146fps with automatic background recording. That amounts to a 9% drop in frame rate when recording a 4K game at 60fps. The impact is smaller at lower resolutions, but there will be a small hit to your performance.
If you want game capture without any performance hit at all, you’ll need to use an external capture device, such as one of the models in our best capture cards guide.
How to enable Steam Game Recording
Steam Game Recording is part of the latest public release of Steam, so you just need to update Steam to get hold of it. Once updated, you can navigate to the new Game Recording option in the Settings section. Here you’ll find the main three recording options available: no recording, record in background, and record manually. Just select which version you’d like to use and you’re all set.
Have you tried Steam Game Recording yet? If so, how have you found its performance and what features would you like to see added? Let us know your thoughts on the PCGamesN Facebook and PCGamesN X pages.
Meanwhile, for more on how to make the most of Valve’s wares, check out the latest Steam Deck games Humble Bundle to grab over $180 worth of games for just $11.
Source link


Leave a Reply