Slitterhead picks up drastically toward the middle of its story, with Hidden Cave being an excellent example of that, continuing the perfect pace and atmosphere set by Ghost Family. While this mission is a step up in terms of challenge from the others, it’s not all bad once you know where to go.

Related
Silent Hill 2: Eddie Boss Guide
After just witnessing the events of the Labyrinth, James has one more hurdle to overcome – Eddie.
Overall, these several stretches of missions are where the game shines most and will make any fan of Keiichiro Toyama’s thrilled to experience another one of his games; whether it’s from the combat or the horrors that await you, it’s some classic Toyama stuff, and we’re here for it.
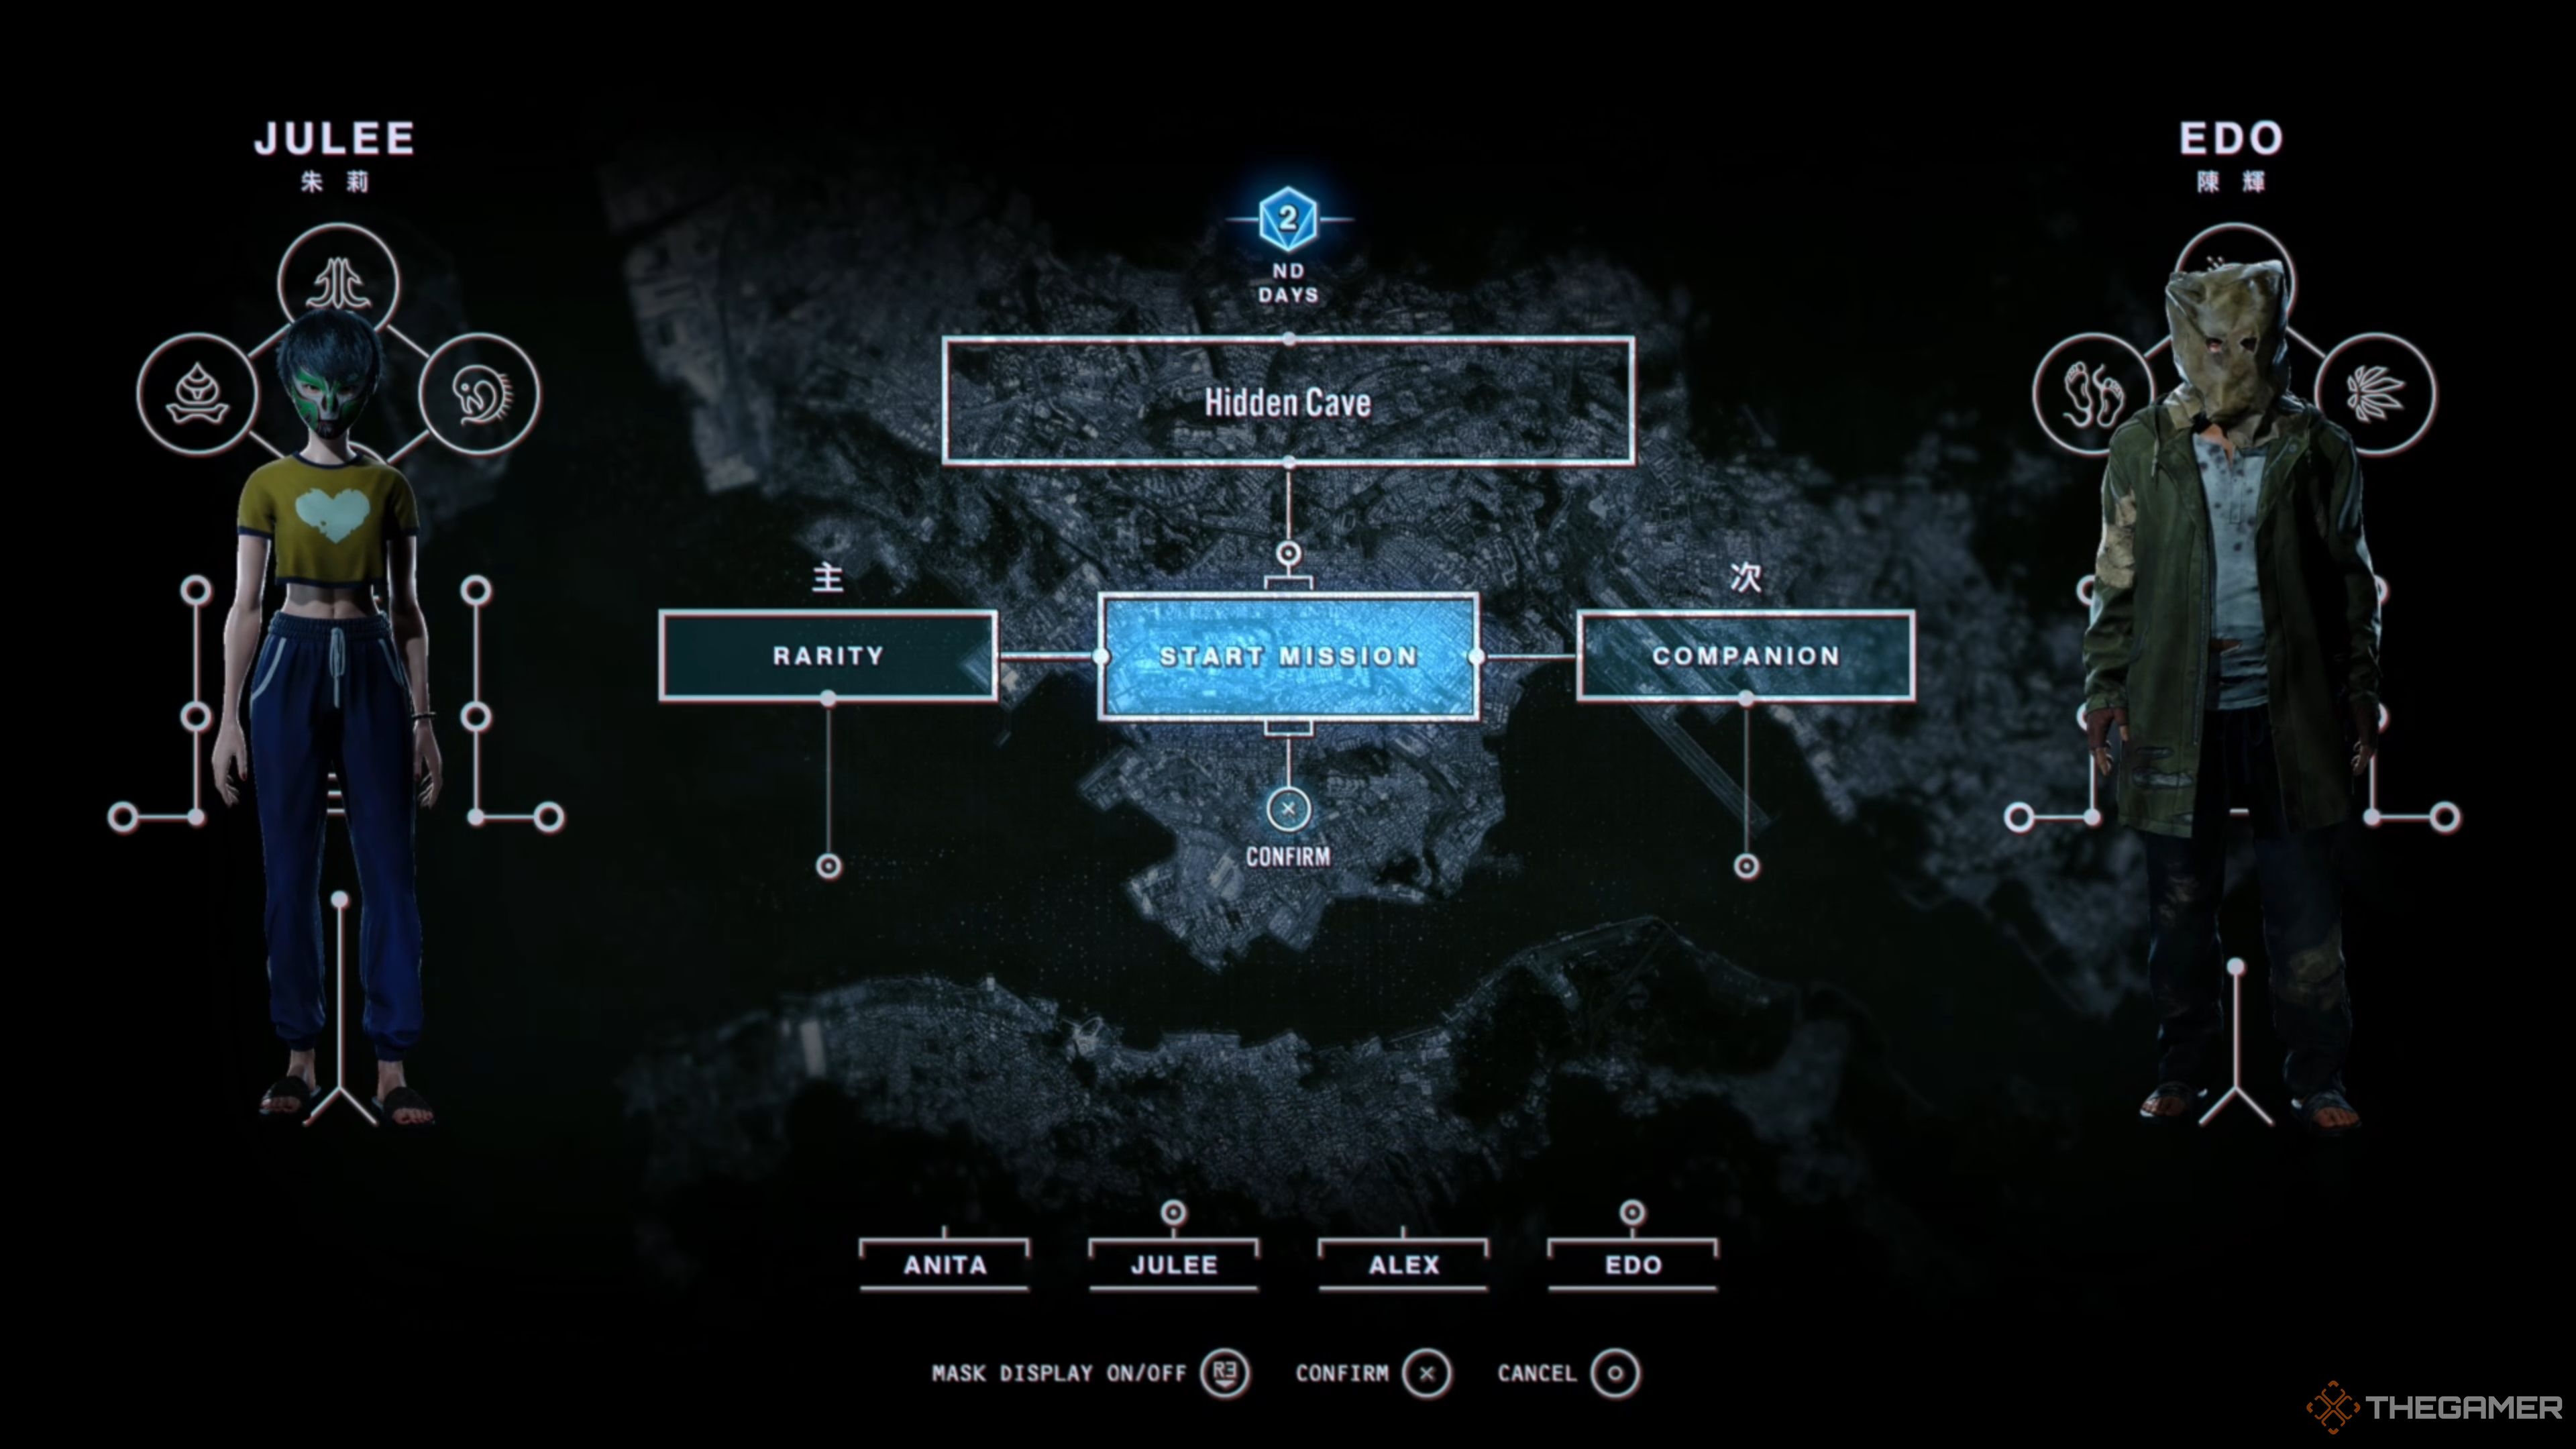
Starting Hidden Cave In Slitterhead
Hidden Cave is a very unique mission in Slitterhead, as it technically doesn’t allow you to use any of your selected Rarities. This is due to them being imprisoned underneath the chapel, having you break out by possessing various guards. While this does make for a slightly more challenging experience, it isn’t too bad in the grand scheme of things!
Escape The Cell
When this mission starts, your selected Rarity will be trapped behind bars in the basement of the cult’s hideout, with no apparent way out. However, thanks to your possession skills, you can chain possess other inmates until you reach a guard outside of the cells, allowing you to roam the prison.
So, use your possession to take over your Companion Rarity in the cell on the left, then keep moving left while possessing more and more prisoners until you reach the fourth prisoner, which isn’t any of your Rarities. Once here, use your possession again and head right around a wall to find a guard.
Take over the guard to gain access to his keys, allowing you to sneak back over to the cells where your Rarities are, enabling you to free them from their imprisonment.
Return To The Cell
Now that you’re a guard, you can free your Rarities. However, since Night Owl has a powerful aura, you must sneak over to them. Surprisingly, this is substantially easier than you might think.
Move forward from your starting position and follow the pathway out until you see a group of pillars on the left. Use them as cover and move behind the final one. From here, use your possession to check around the wall to the left. If the guard is walking away, quickly move down the hallway and take the first left.
Once you’re there, another guard will be in this hallway. Wait for them to turn away from you, then move up the hallway and take another left. The cells will be in this stretch, and there will be no guards in sight. Unlock their doors, have them stay behind for now, and have Night Owl escape to the area above.
Escape The Prison
After freeing your Rarities, you must head back to where you initially started out as the guard. Simply retrace your steps here, heading right from your Rarities, then taking a left down the hallway. Wait for the guard on the left to turn around, then head right and take another left.
Another guard will be on the left here. Wait for them to turn around, head right, and then take the next left. The pillars from earlier will be on your right; use them as cover, follow the hallway to the staircase, and head through the doorway there. After a small cutscene, possess another guard and walk out of the underground prison with him.
Explore Facility
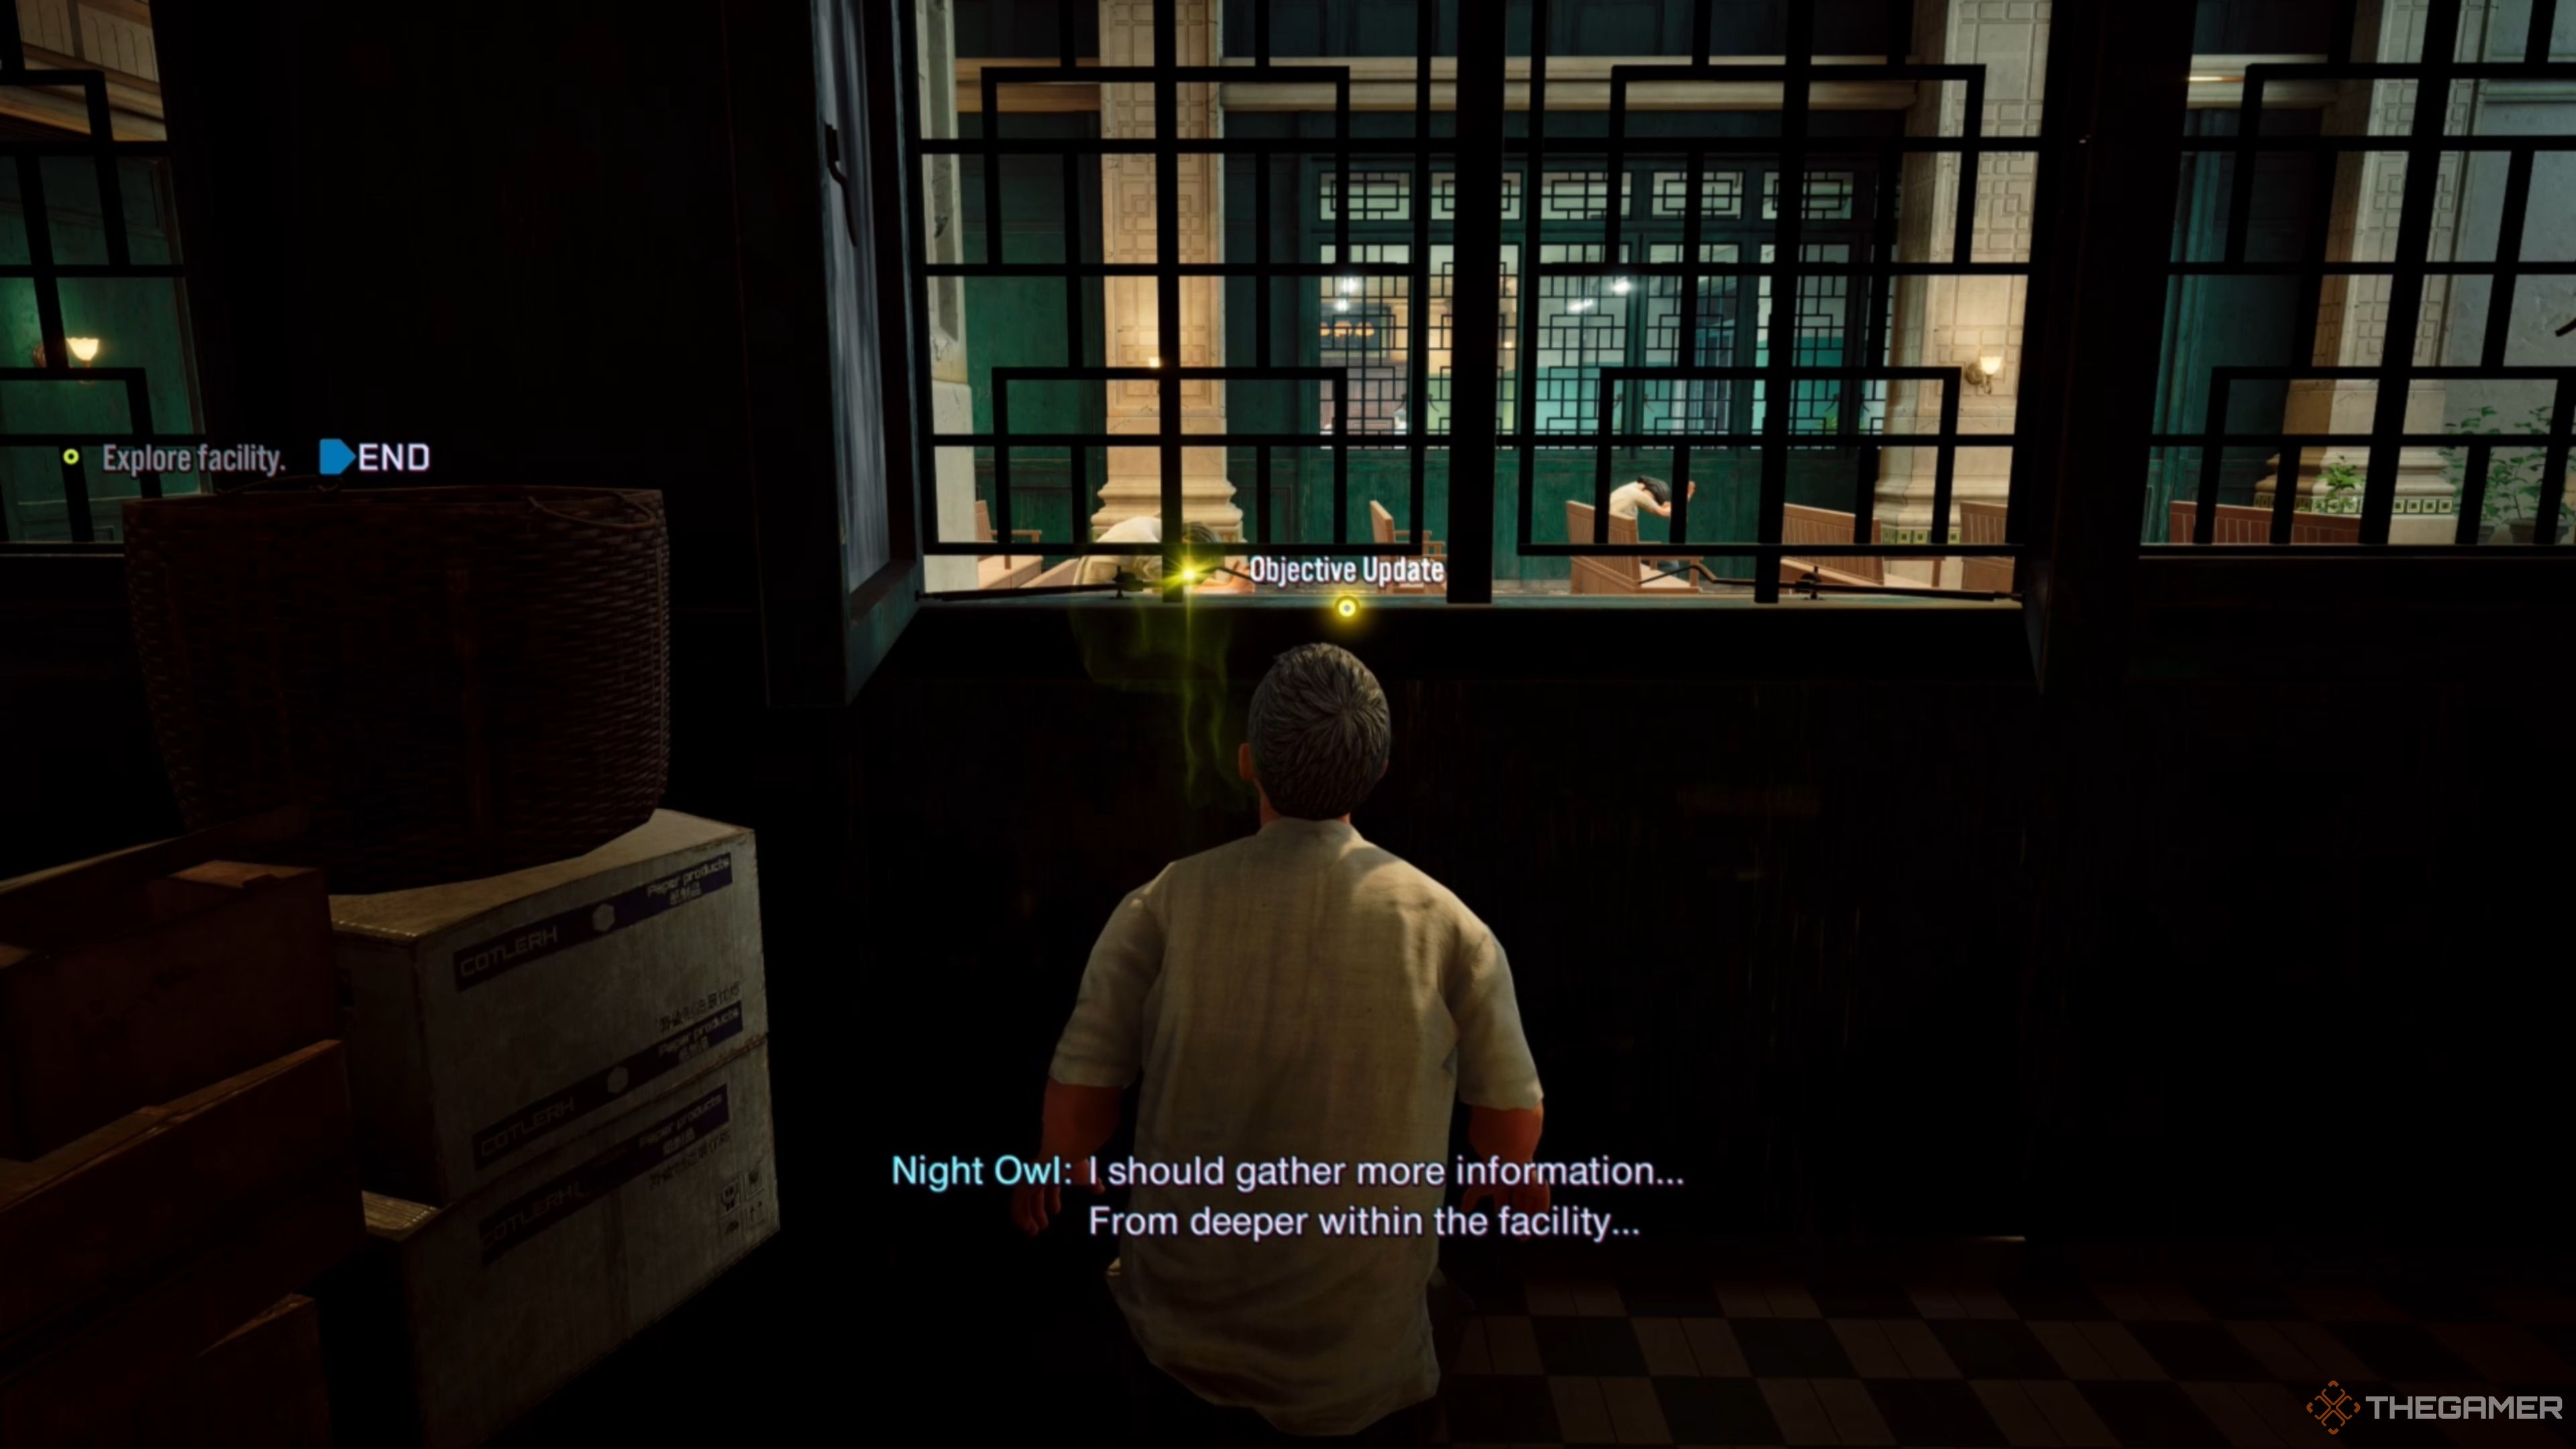
Pushing your way out of the underground prison will reveal a chapel on your right, which you can see through the windows. Several people here seem to be praying, allowing you to possess one of them to begin exploring the facility. After you do this, you will start sneaking again.
Eavesdrop On Follower Conversations
Exit the chapel and head down the hallway directly in front of you, walking toward the window on the right-hand side. Once here, eavesdrop on the conversation in the dining room, then make your way down another hallway on the left. There will be two rooms here, one on the left and another on the right.
Enter the room on the left first, walk up to the first bunk bed in the room, and listen in on the conversation happening in this room. From here, go into the room on the right and repeat the same process, exiting the room and going back into the hallway afterward. Continue following the hallway until you reach a staircase. Take it up to the second floor.
Defeat The Slitterhead
Arriving on the second floor will trigger a short cutscene, having one of the members transform into a Slitterhead. Once this encounter begins, activate Burning Edge and begin hacking away at it, whittling its health down to about halfway. The Slitterhead will flee the area, having you chase after it.
Chase the Slitterhead out on the balcony, which will leap up onto the third floor of the facility. Possess one of the members standing out on the balcony and continue pursuing the Slitterhead.
Defeat Warty Frogfish Slitterhead
The Slitterhead will transform into a Warty Frogfish Slitterhead, which is something you’ve already faced before in a previous mission. This encounter isn’t too bad; there are lots of followers nearby you can possess if things get sketchy, and they allow you to stay alive constantly.
Hopefully, you chose Edo as one of your Rarities, as gaining access to his Burning Edge will come in clutch, allowing you to deal substantially more damage to the Slitterhead. Keep using your Skills and whittle its health down, almost depleting it, having it run away once more.
Continue Chasing The Slitterhead
Fleeing once again, the Slitterhead will be in the courtyard, forcing you to leap off the balcony and chase it back inside. The Slitterhead will run into the chapel, triggering a cutscene where a Slitterhead will break in from the outside and begin attacking you.
Yin Yue will chase off the other Slitterheads, leaving you to take on the remaining one. Use Burning Edge and your other Skills to whittle its health down to about halfway, triggering it to transform into the Common Octopus Slitterhead.
Defeat The Standard Octopus Slitterhead
Finally, the final encounter of the mission will have our freed Rarities join the action, allowing you to take control of whoever you brought along. We hope it was Julee and Edo, as they get work done and can pack this thing away in no time.
Have Julee activate Burning Edge and begin whaling on the Common Octopus Slitterhead, causing it to become staggered, allowing her to use her Sonic Claws to deliver substantial damage. Its health should be depleting at a rapid pace, as Julee, paired with Burning Edge, is absolutely filthy.
If you find your health getting low, don’t forget to use her Revive All Skill to top her health back off, enabling her to stay in the fight and keep dishing out her suffocating and high-damaging offense!
Hidden Cave Rewards
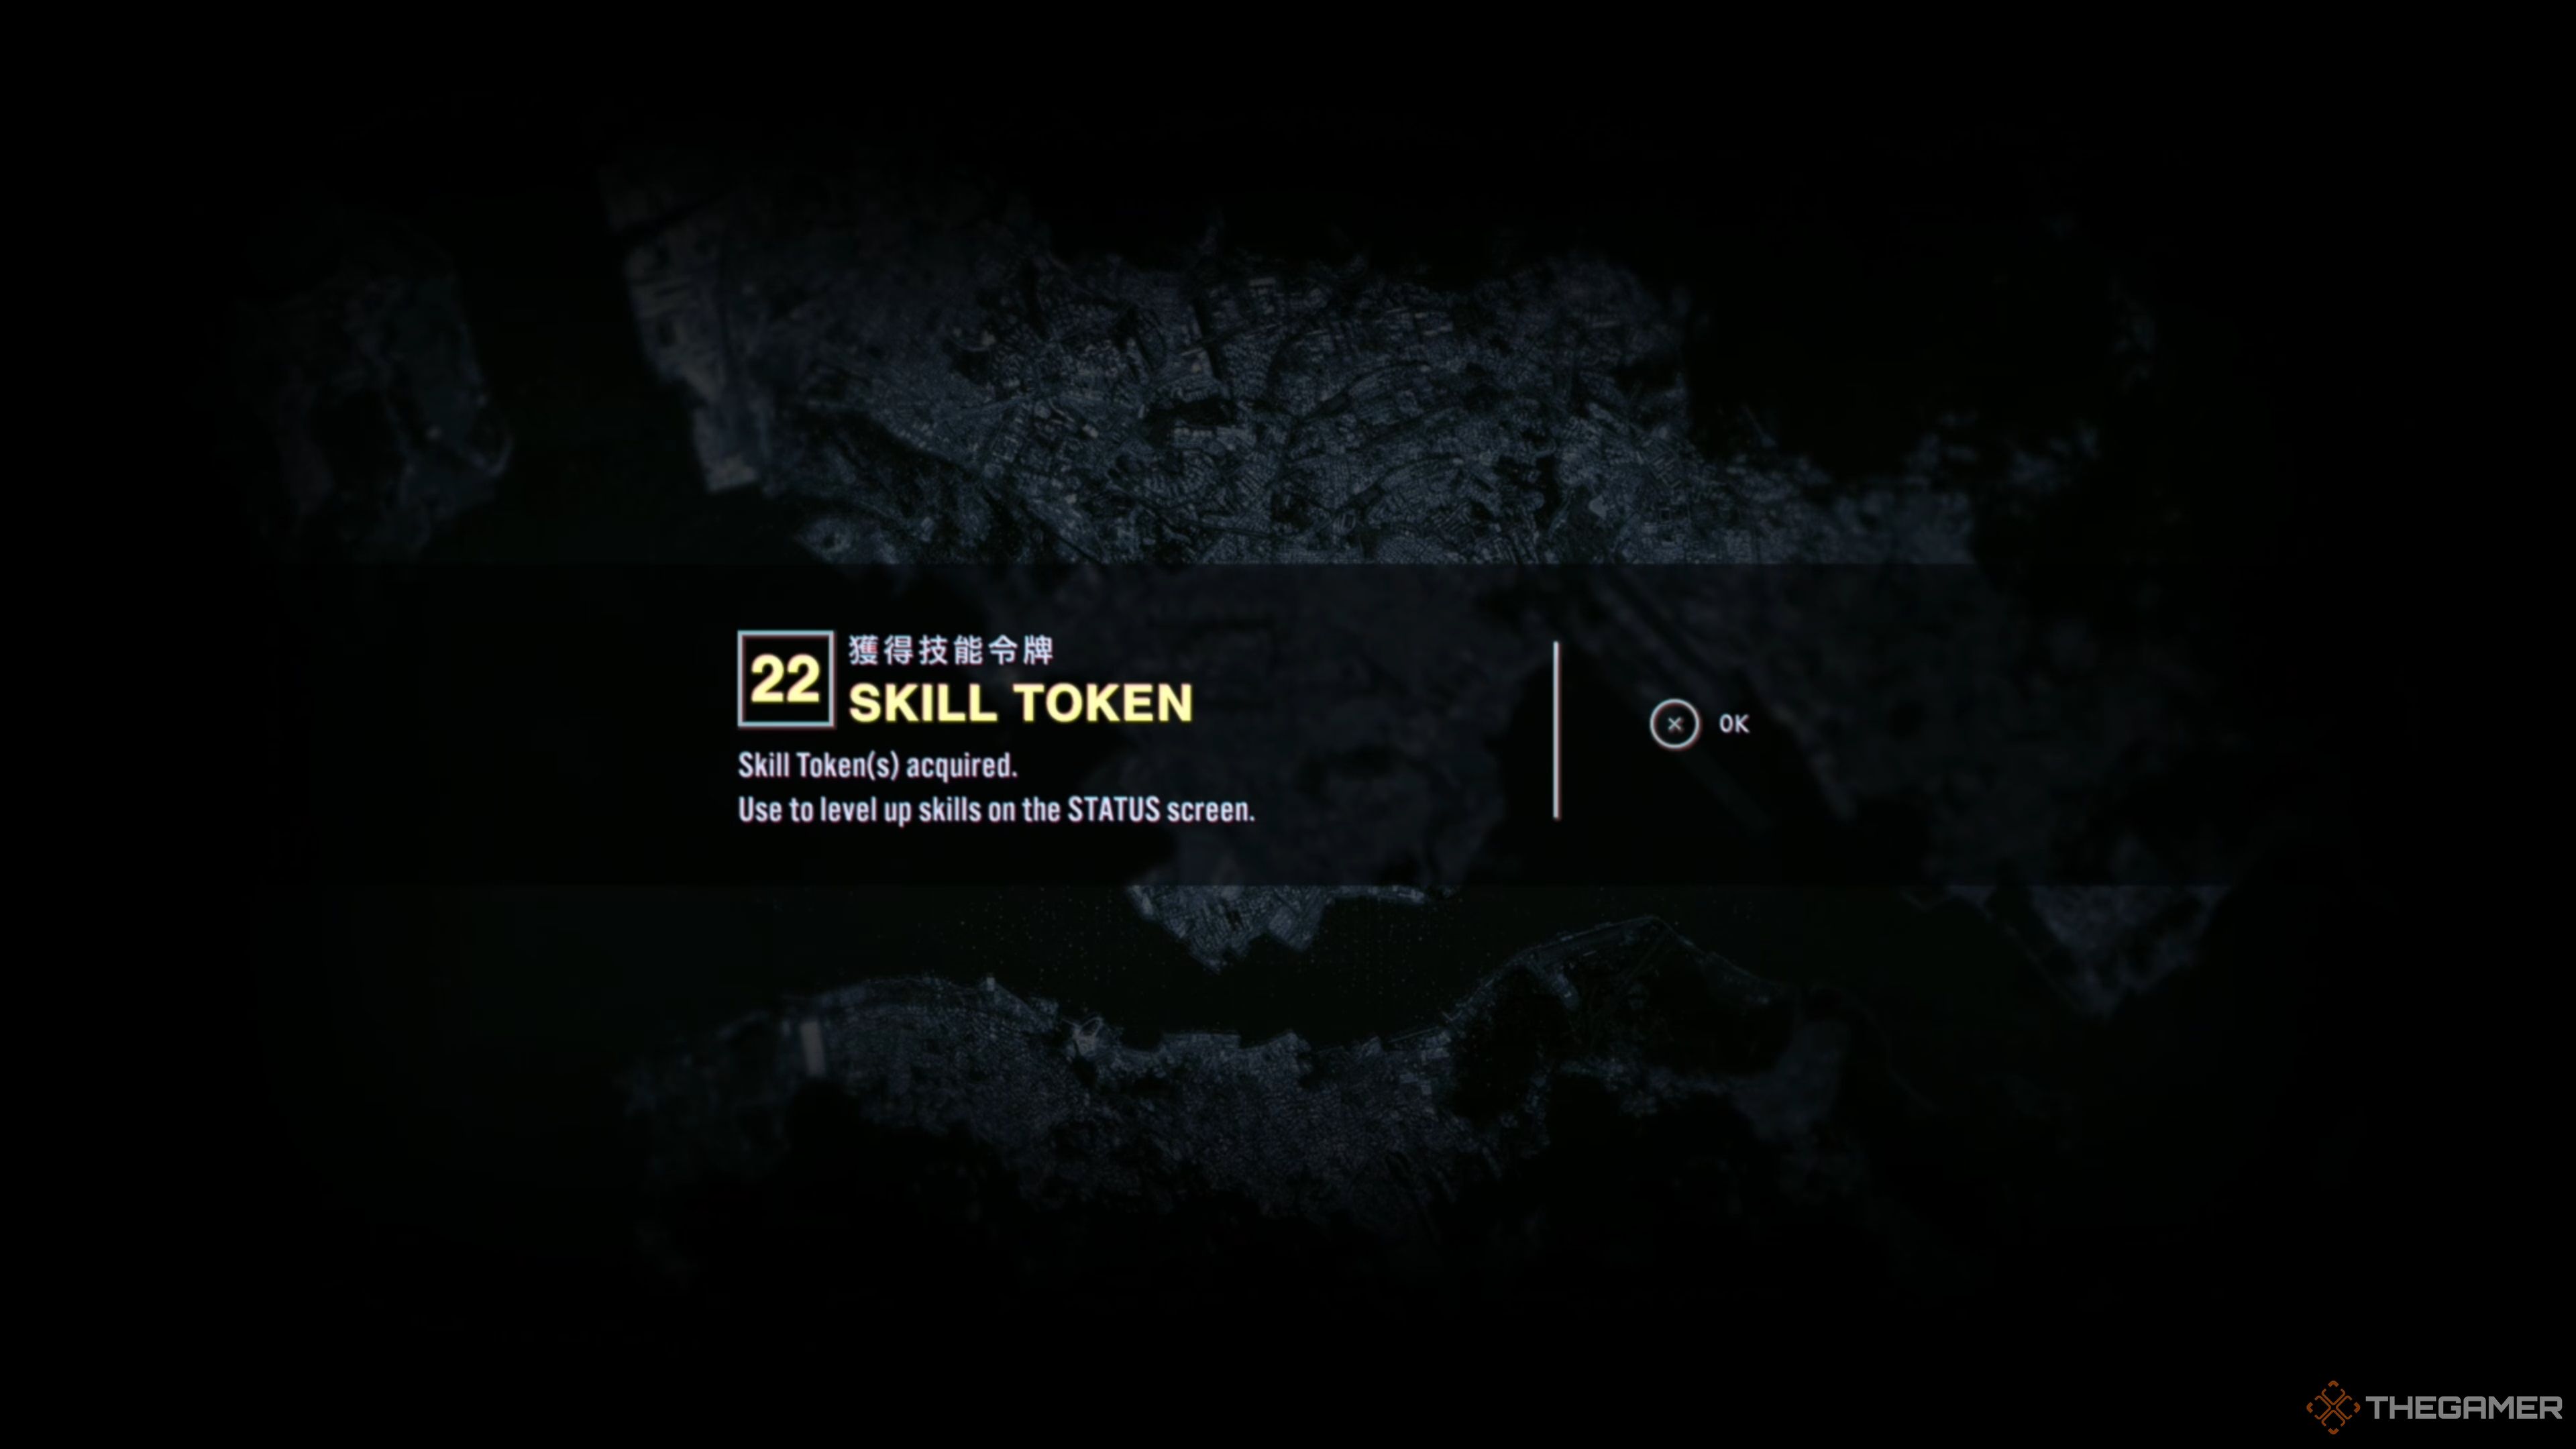
Clearing Hidden Cave for the first time will provide you with a massive 22 Skill Tokens. Please note that Skill Tokens are shared, meaning spending them on one Rarity will make them unavailable for the others. Use them strategically.
Lastly, listen to all the new ‘Talk’ options that become available after this mission, as it will unlock new missions and give you hints for potentially new Rarities!
Next
Silent Hill 2: All Weapon Locations
Silent Hill 2 doesn’t have the widest selection of weapons, but you don’t want to risk missing any of them. Here’s where to every weapon in the game.










Leave a Reply