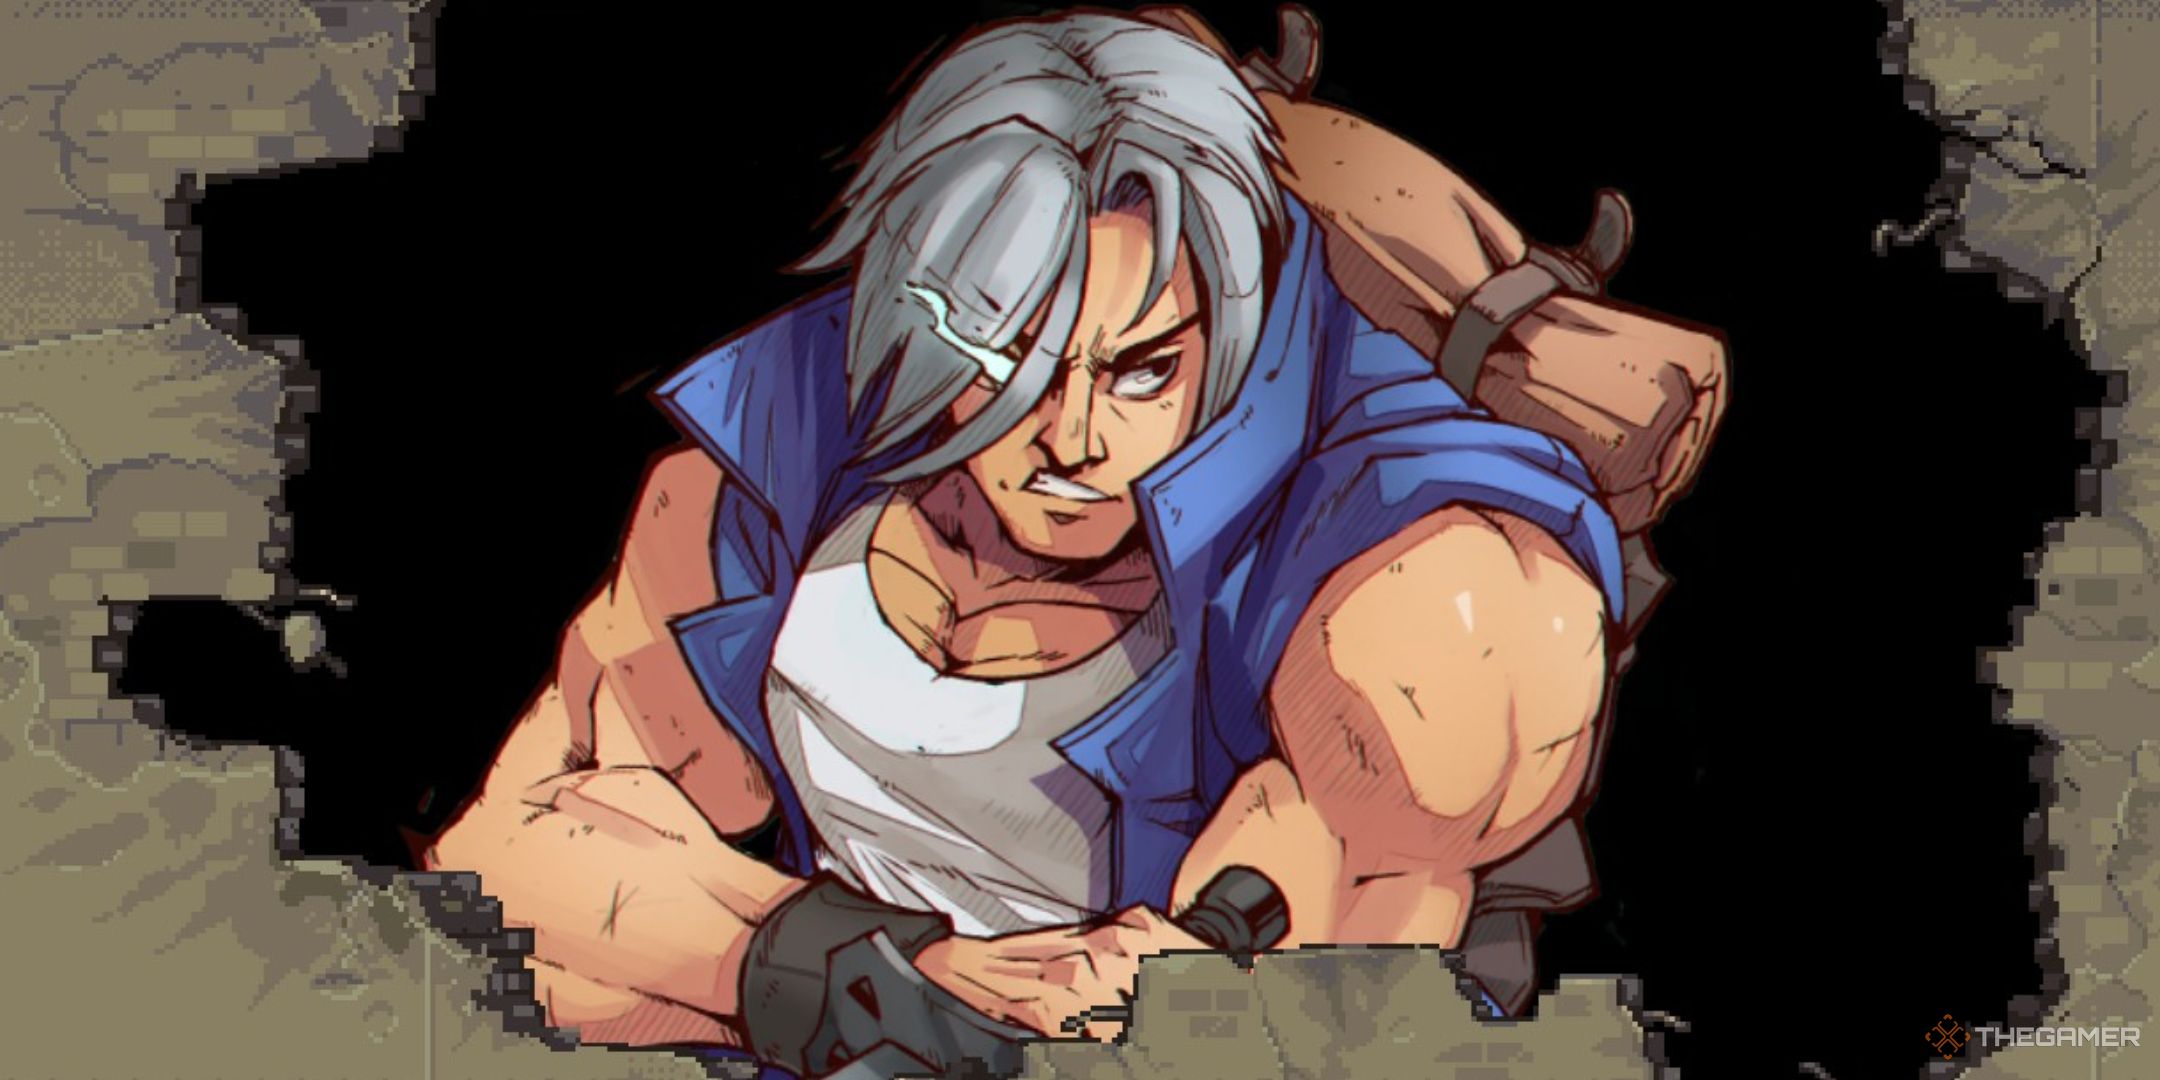
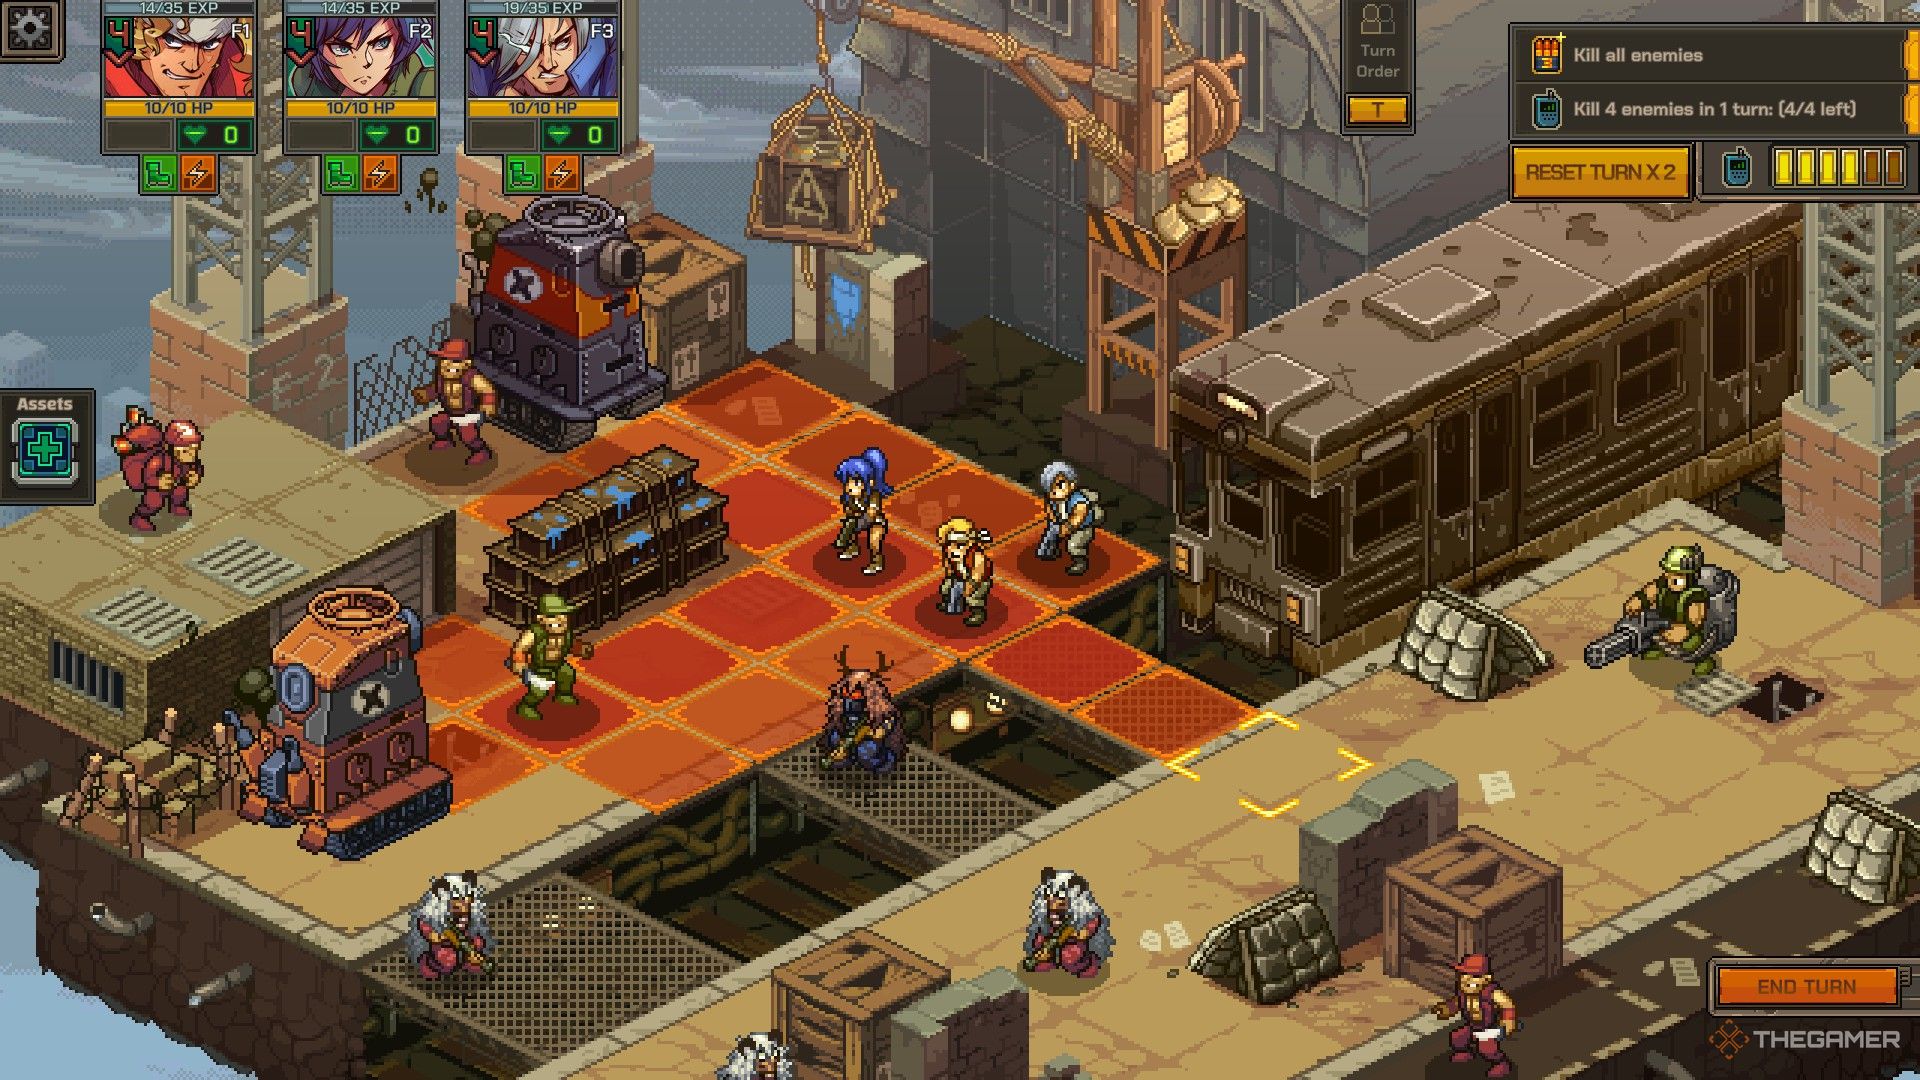
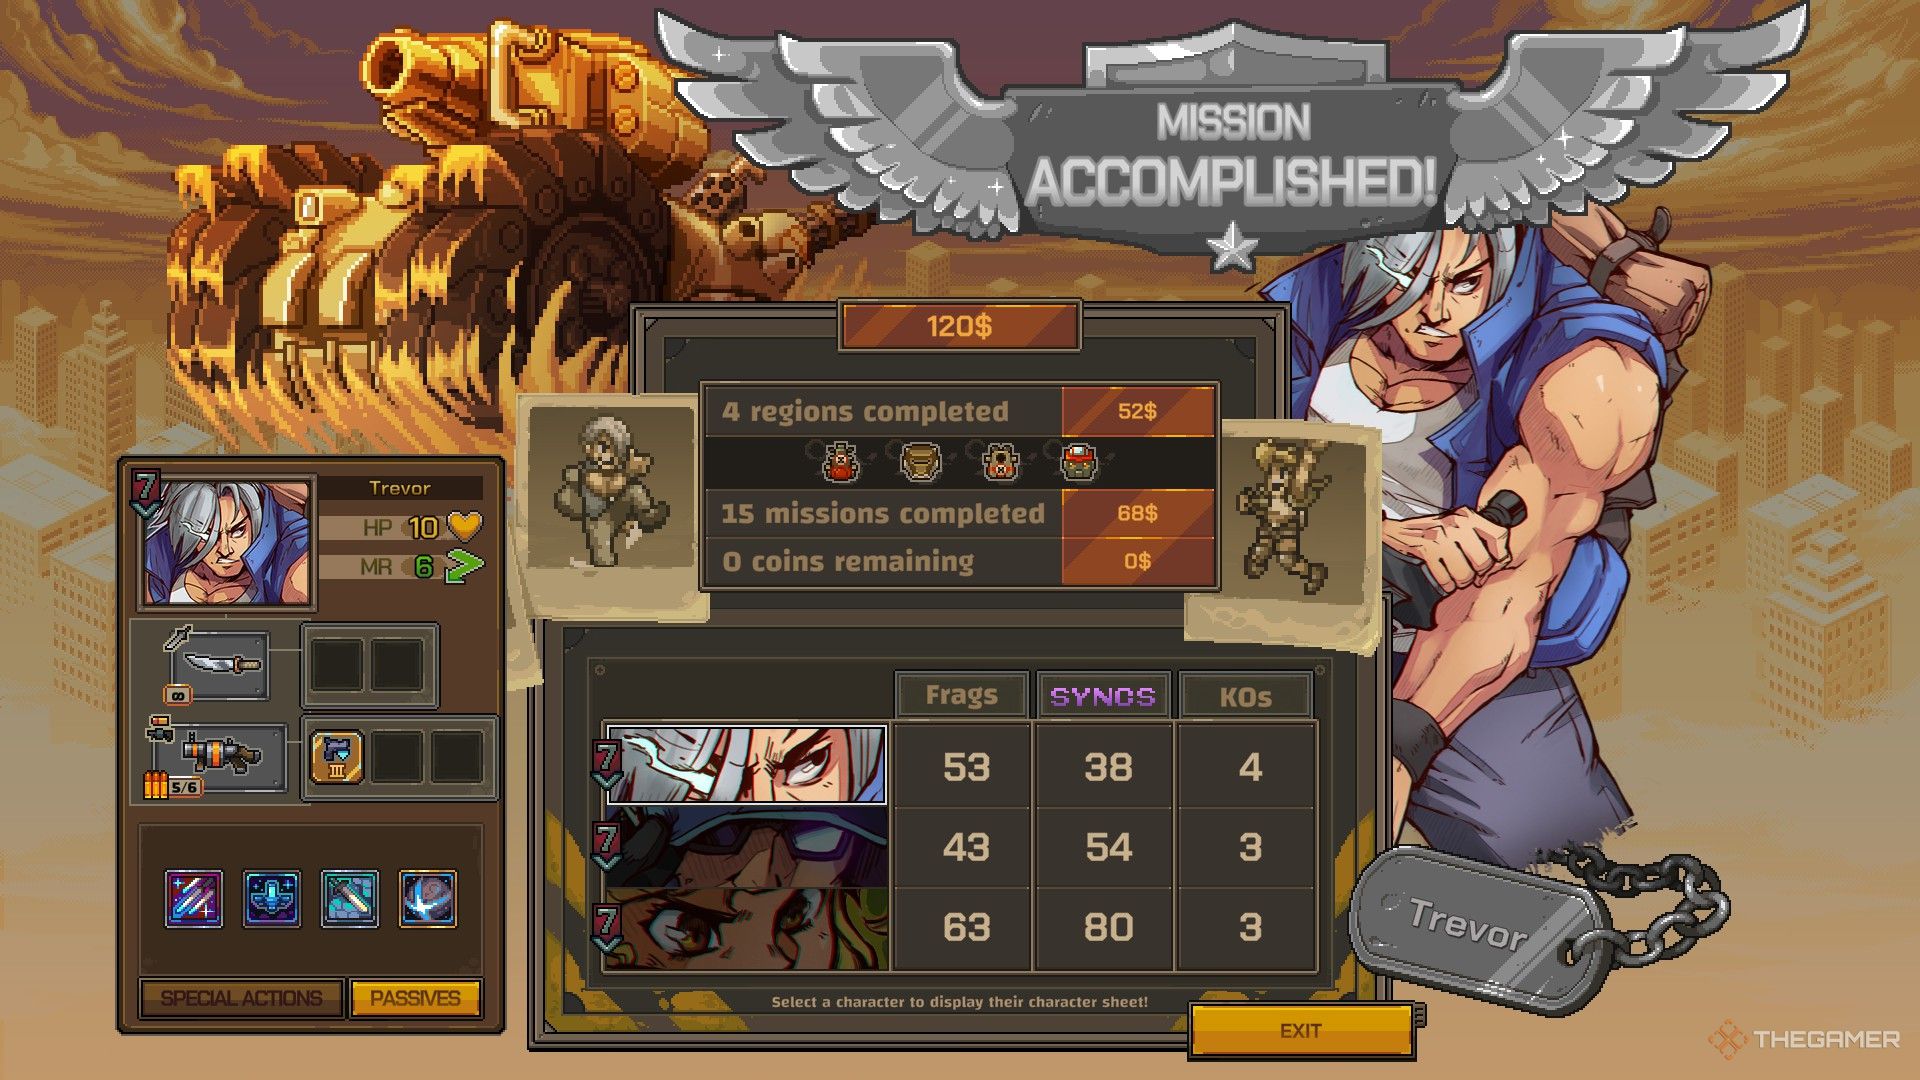
There are few characters more aggressively offense-oriented than Trevor in the Metal Slug Tactics roster. Between his heavy use of Bonus Actions, powerful weapons and attacks, and his ability to make enemies fight among themselves, he’s practically a one-man army. Throw two more squadmates into the mix, and you’ll see why the Peregrine Falcons are an elite force in the world of Metal Slug.
Related
Final Fantasy 14: Complete Guide To Playing Ninja
Here’s everything you need to know to become a splendid Ninja in Final Fantasy 14!
When used effectively, Trevor will teleport around the battlefield at lightning speed, leaving a trail of devastation in his wake. Read on to find everything you need to know about putting his ninja skills to good use.
Trevor’s Core Abilities
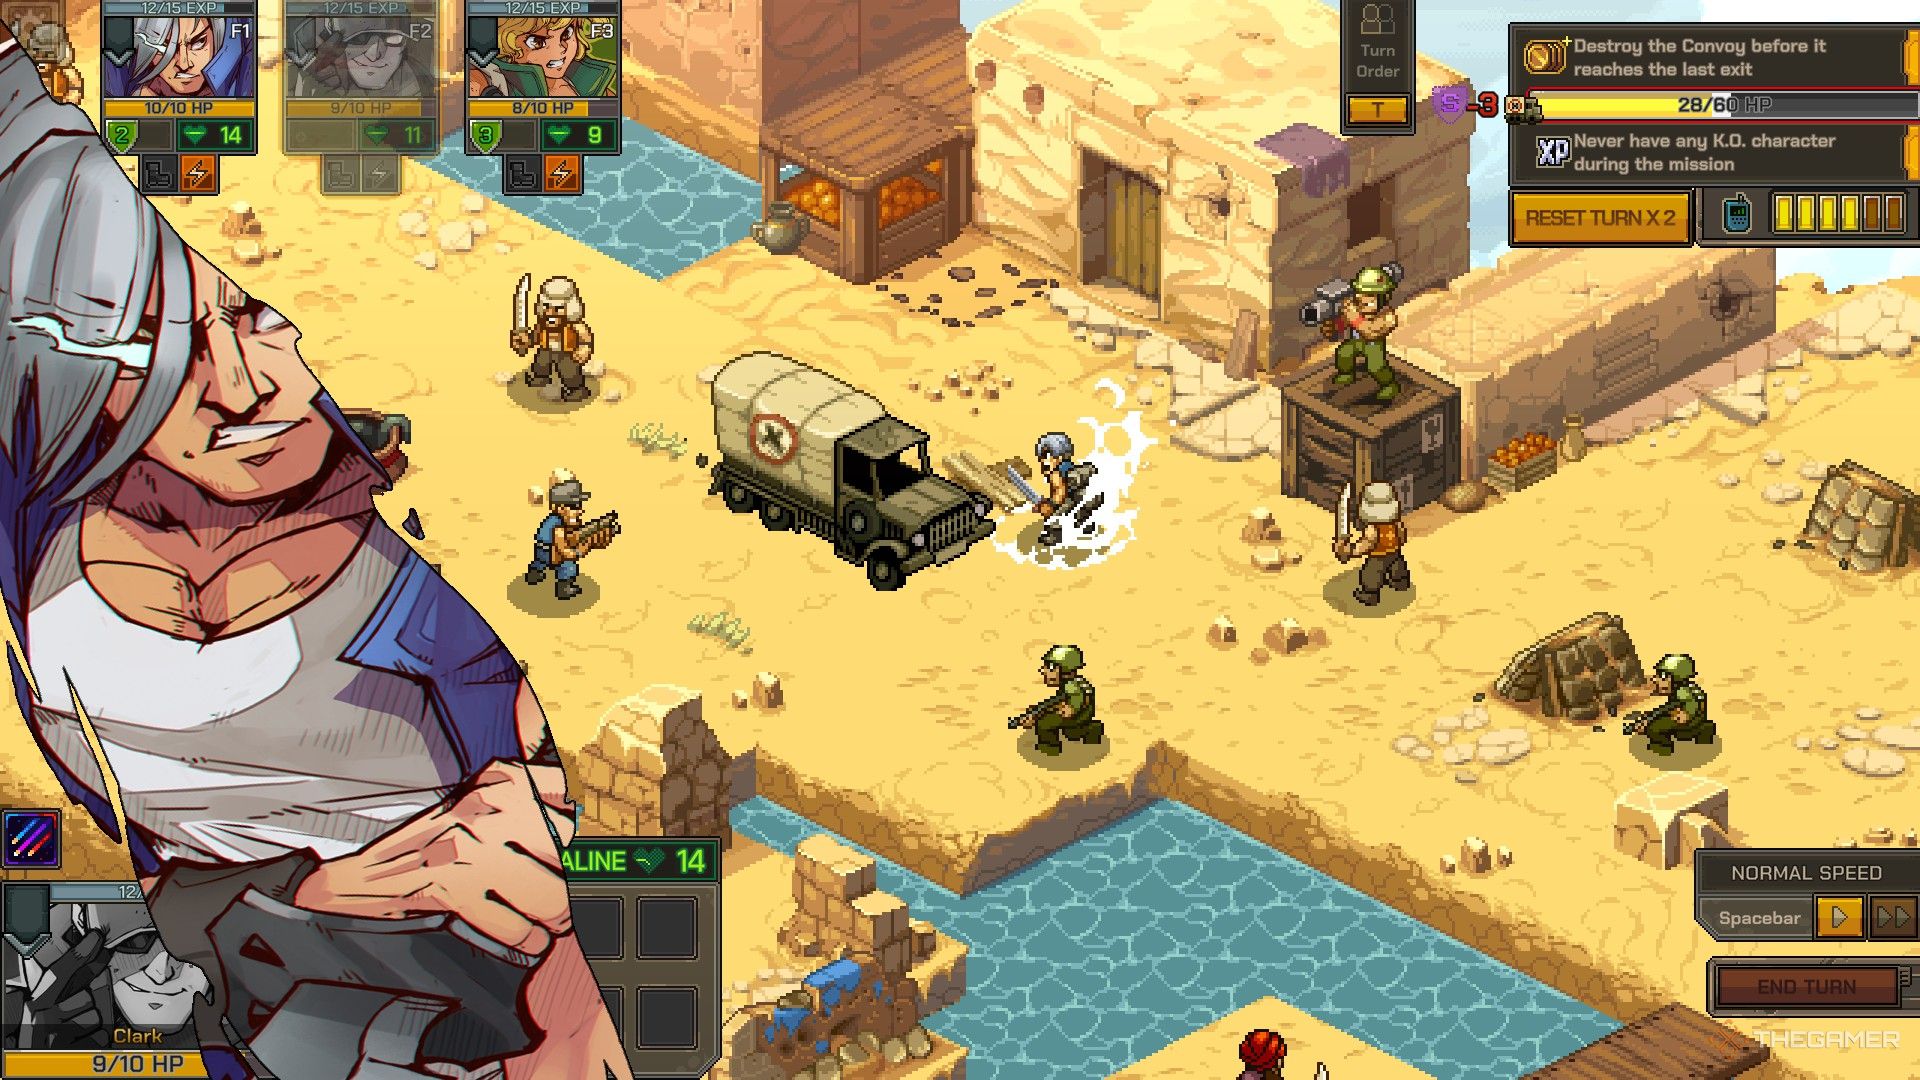
Trevor specializes in taking several Bonus Moves and Actions in a single turn, hitting multiple enemies or striking the same foe several times. He also has access to a unique status effect, Mind Control, that he can inflict on enemies.
Tactical Retreat
Trevor gets a Bonus Move every time he hits more than one enemy with a single attack. This applies to area weapons like Shotguns or the Tatsumaki, as well as Special Actions like Crescent Kick. Regardless of his loadout, Trevor will almost always have a way to trigger Tactical Retreat if you need it.
Despite its name, Tactical Retreat is best used for setting up Sync Attacks. Bonus Moves don’t usually provide enough extra mobility to really pull a character out of danger, so the best way to use them defensively is to get Trevor into cover before his turn ends.
Mind Control
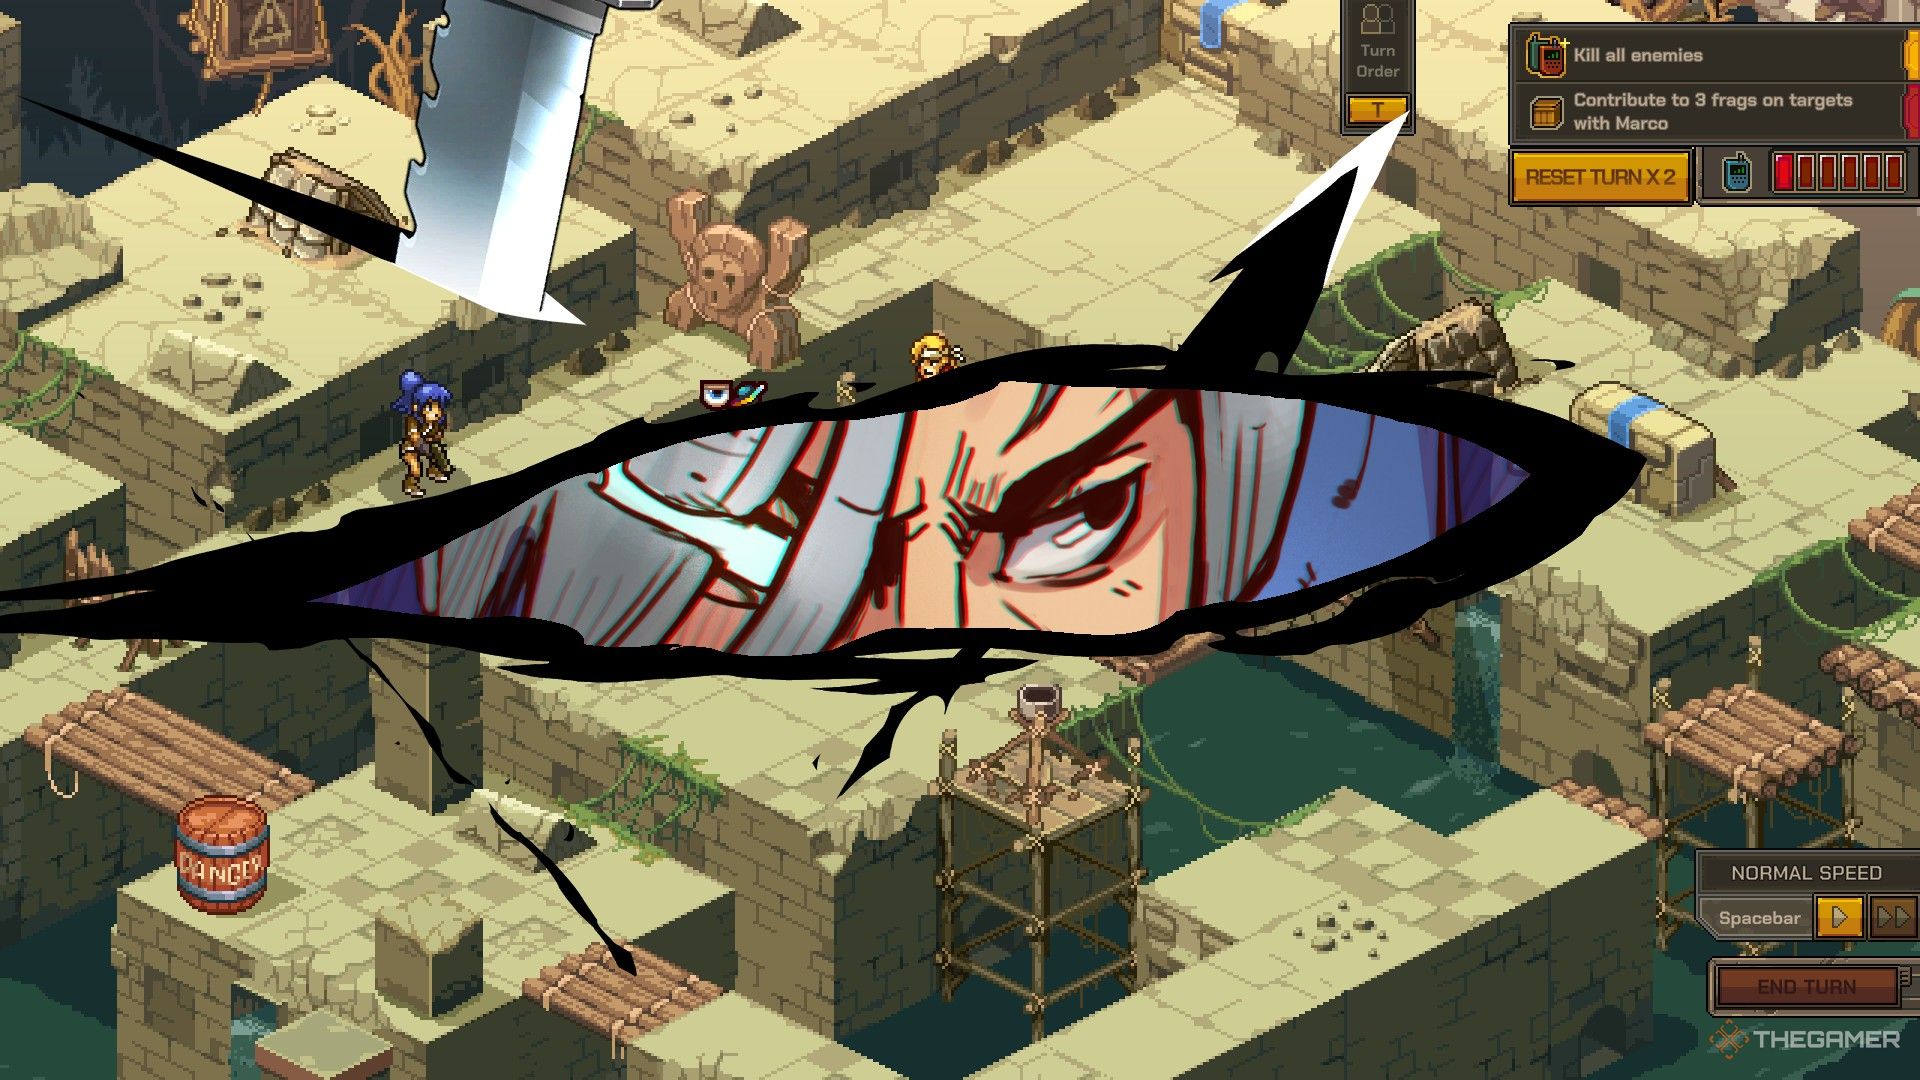
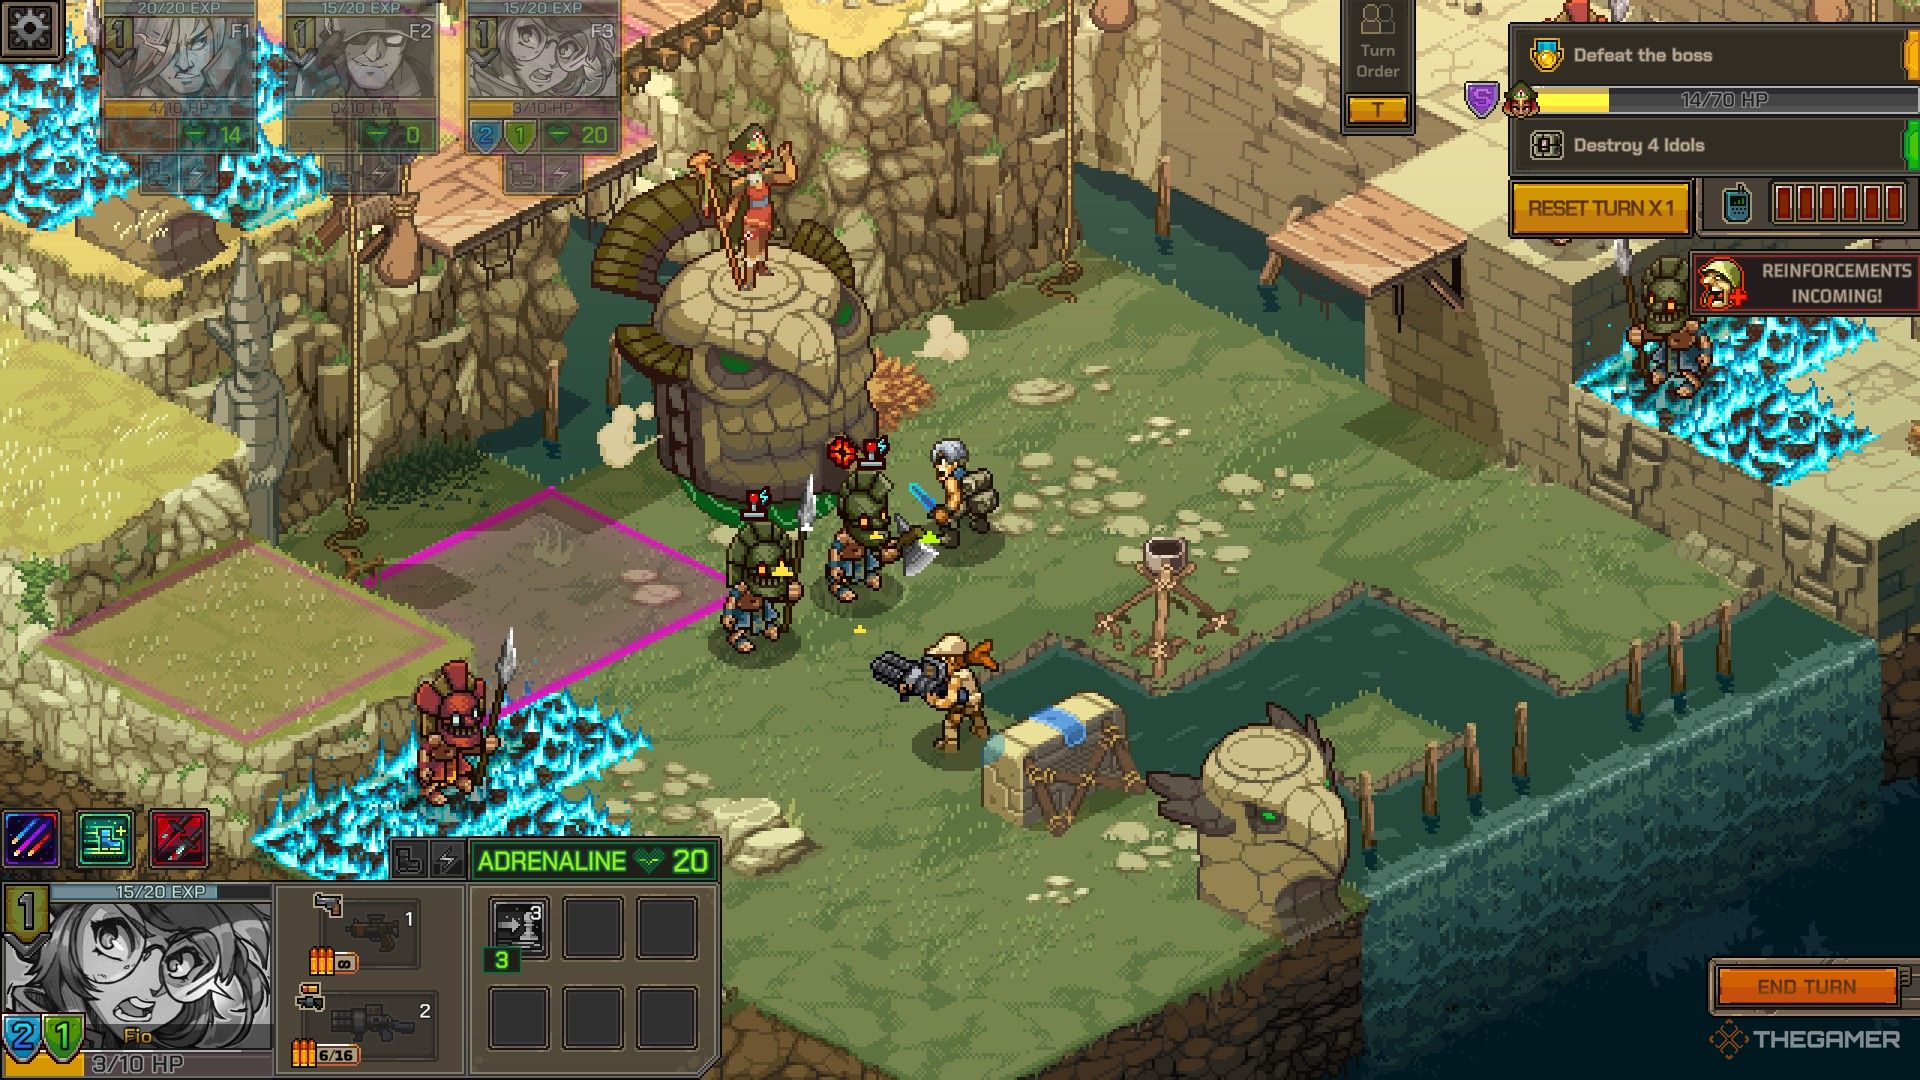
Several of Trevor’s abilities inflict Mind Control on enemies, represented by a joystick icon over their heads. An enemy with this status will attack other enemies on their next turn, rather than targeting your squad, after which the effect expires. It’s a great way to keep the heat off your team and deal a bit of extra damage at the same time.
If you control multiple enemies at once, they’ll usually be grouped together and attack one another as a result. It can be beneficial to have characters like Fio move controlled enemies around to get them to attack more threatening foes, as well as prevent them from killing each other before they all have a chance to attack on your behalf.
Trevor’s Special Actions
Trevor’s techniques include a variety of deadly martial-arts maneuvers and high-tech disruption.
|
Name |
Cost |
Range |
Effect(s) |
|---|---|---|---|
|
Crescent Moon Kick |
5 |
4 |
Trevor moves to a tile within range, then deals 5 damage to all adjacent targets. This attack ignores Cover. |
|
Eclipse |
5 |
Self |
Until the start of the next turn, Trevor gains 1 Dodge each time he is attacked. He also deals 5 damage to all adjacent units (friend or foe) each time he is attacked. |
|
Flying Blade |
2 |
1-5 |
Deals 2 damage to a unit within range and moves them up to three spaces from their current position, in a straight line. Trevor gets a Bonus Action. |
|
Nanite Cloud |
6 |
Self |
Creates a 3×3 cloud centered on Trevor. Enemies that start their turn or end their movement in the cloud suffer Mind Control. |
|
Nano Knives |
5 |
1-2 |
Deals 1 damage each up to three units within range. Those units suffer Mind Control. |
|
Nanoshroud |
4 |
1-4 |
Grants an ally Nanoshroud, causing their next weapon attack to inflict Mind Control on the target. |
|
Shinobi |
3 |
1-5 |
Deals 3 damage to an enemy within range and moves Trevor to an empty space adjacent to them. If the enemy is still alive after the attack and any Syncs that it triggers resolves, Trevor gets a Bonus Action. |
|
Spacey Kunai |
5 |
1-5 |
Trevor charges a tile within range, dealing 5 HP to any unit he passes. This attack ignores Cover. |
Flying Blade’s low Adrenaline cost and Bonus Action trigger mean you can use it to repeatedly hit the same unit over and over!
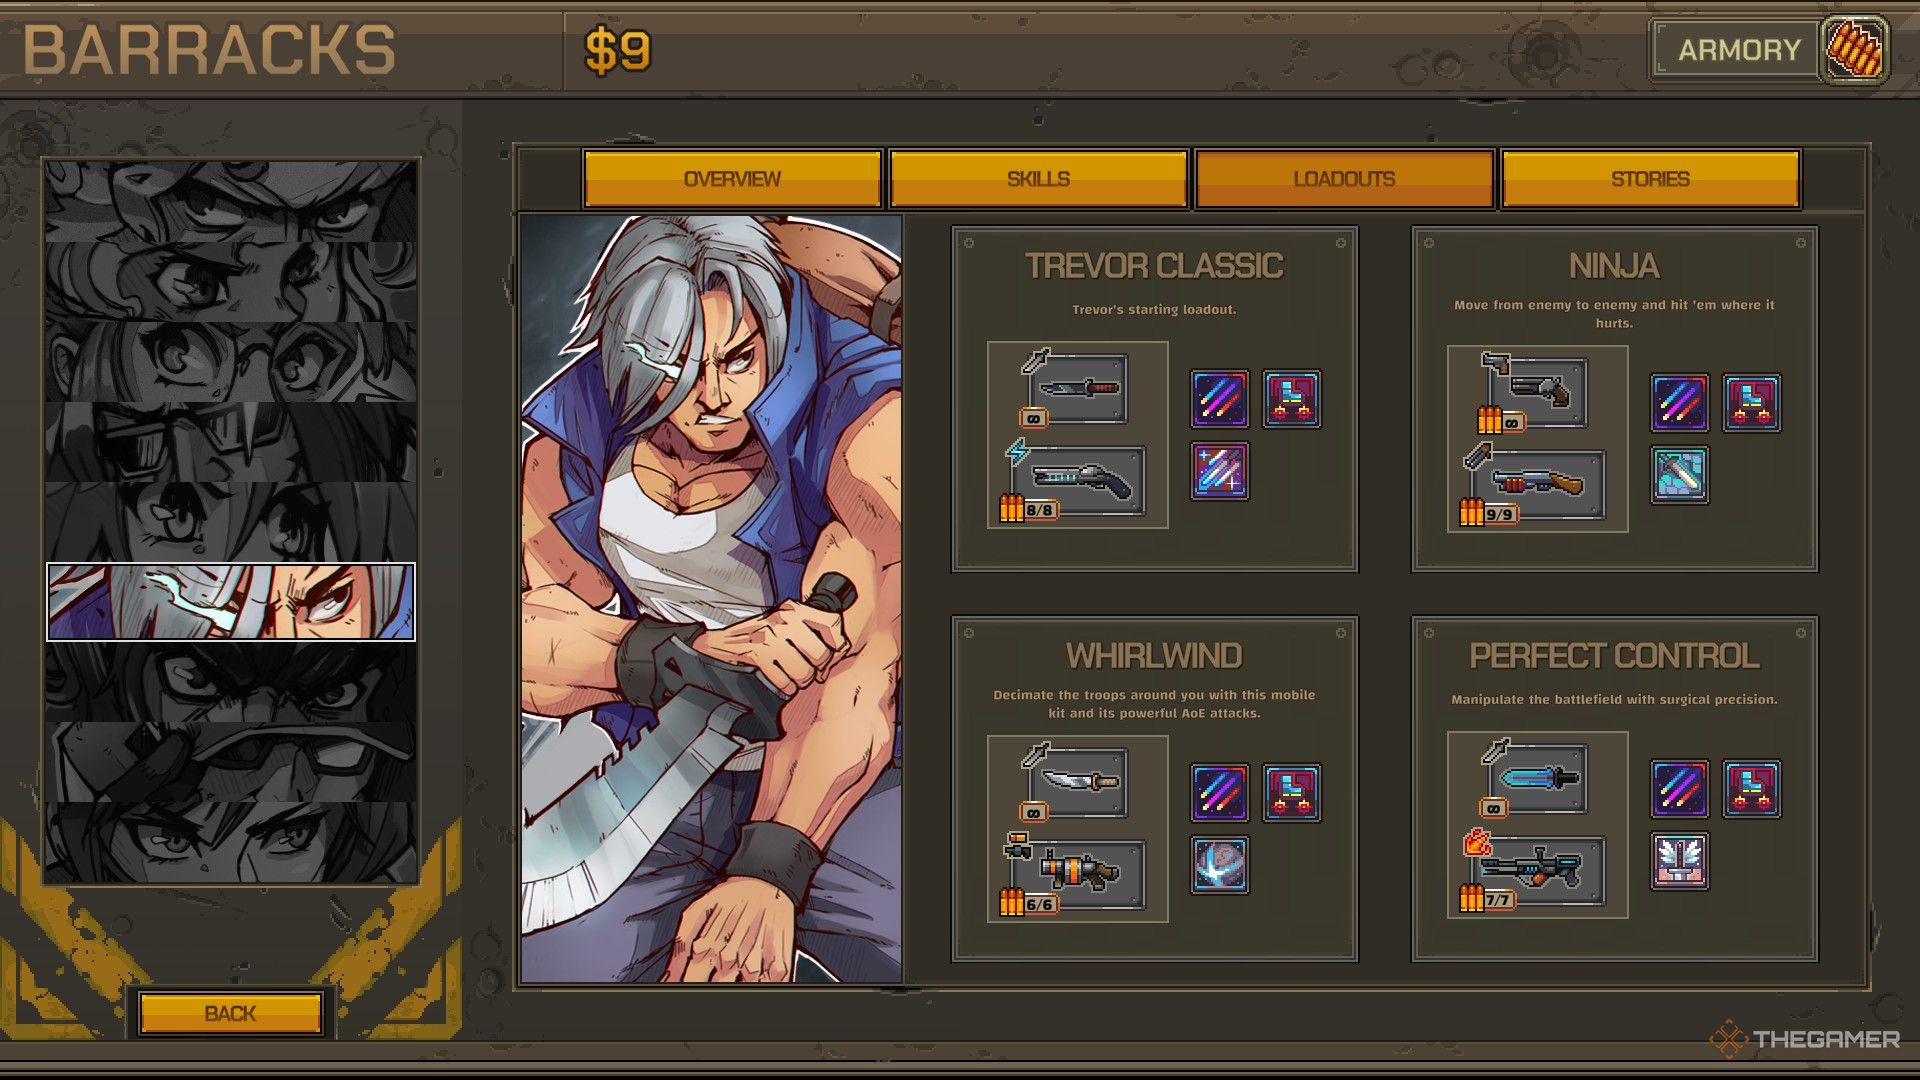
Trevor Classic Loadout
Trevor’s basic loadout boasts some impressive weapons, including a five-damage Knife that can one-shot basic enemies, even in cover. His Laser deals only four damage, but hits everything along a six-tile line, making it perfect for triggering Tactical Retreat and Sync Attacks.
Nano Knives is very situational in this loadout, but it comes in handy when Trevor is overextended and surrounded. You’ll probably want to take a more high-damage attack like Crescent Kick or a mobility technique like Shinobi at your first opportunity to really make use of Trevor’s strengths.
Recommended Passives
- Parkour greatly increases Trevor’s movement range, letting him get into the perfect position for a deadly melee attack or to deploy Nano Knives.
- Enthusiasm lets Trevor take a page out of Fio’s playbook, getting a Bonus Move every time he uses a Special Action of any kind.
- Hive Mind makes Nano Knives much more impressive, causing Mind Controlled units to deal more damage and apply Slow to their targets.
Related
You can try to deny it if you want, but ninja are damn cool. These ninja are some of the coolest of the bunch!
Ninja Loadout
Despite its name, this is the only one of Trevor’s loadouts that doesn’t include any kind of sword. Instead, Trevor is packing the Double Flick Handgun, which fires a second shot in the opposite direction of the main bullet, letting him hit foes in front and in back of him. He also carries the Spill Shotgun, which has a similar effect, hitting any enemy unlucky enough to be directly behind Trevor when it fires.
Both weapons make it much easier to trigger Tactical Retreat with this loadout.
The Ninja loadout gets its name because it starts with Shinobi. As long as Trevor has Adrenaline to spend and enemies to strike, he can teleport around the battlefield dealing damage and triggering Synchronizations. It’s also great against large bosses, since you can target multiple different squares on them to keep hitting them until Trevor runs out of Adrenaline – then finish the turn with a shotgun blast.
Recommended Passives
- Having lots of Adrenaline is key for this build, so Team Player is a great choice. It lets Trevor and his allies gain 2 Adrenaline each time they participate in a Sync Attack.
- Deputy Commander gives Shinobi the ability to buff the damage of allies Synchronizing with it. Be warned that this increases the likelihood that the target will die, robbing Trevor of his Bonus Action unless Shinobi is at max level.
- Thrill Seeker and Parkour also help build up Adrenaline, and feed into each other; Parkour makes it easier to have a high Dodge, which makes it safer to get attacked and trigger Thrill Seeker.
- Enthusiasm grants a Bonus Move every time Trevor uses Shinobi, helping ensure that he’s never without targets.
Whirlwind Loadout
Whirlwind is all about area attacks, which makes it great for triggering Tactical Retreat and carving a path across the battlefield. Just be careful not to catch your allies in your tornado of destruction!
This loadout starts with Crescent Kick, a powerful maneuver that lets Trevor move and attack several targets at once. It gets much more powerful as it levels up, so if you get an opportunity to upgrade it – perhaps by spending coins at Margaret’s desk between regions – be sure to take it.
Recommended Passives
- Oversized was practically made for Whirlwind. Whenever Trevor hits three or more units with a single attack, he gets a Bonus Action.
- Parkour makes it easier to set up attacks that will hit as many targets as possible.
- Team Player helps build up Adrenaline for more Crescent Kicks and other Special Actions, especially considering how easy it is for Trevor to participate in Sync Attacks with the Tatsumaki.
- Deputy Commander lets Crescent Kick trigger Instigator, using Sync Attacks to ensure that enemies don’t survive your coordinated ninja strike.
Perfect Control Loadout
Perfect Control can be a tricky loadout to get right, but when it works you can practically have the Rebel Army do your fighting for you. It uses the Nanosword and Nanoburner, a specialized melee weapon and flamethrower that inflict Mind Control on all targets, provided they hit the maximum possible number of enemies.
For the Nanosword, that means Trevor needs to hit an adjacent foe and a second target directly next to the main target. For the Nanoburn, he needs to hit three enemies standing in a row, provided you don’t mod the weapon’s AoE.
Perfect Control doesn’t come with any Nanobot Special Actions, though you’ll probably want to learn some as soon as you can. Instead, you get Flying Blade to start with, which is perfect for moving enemies into position before taking them over with one of your weapons.
Recommended Passives
- Toxic Influence is an important part of Perfect Control. If an enemy survives being Mind Controlled, they’ll take more damage the next time they’re attacked, letting you finish them off before they can rejoin the fight.
- Killer Bots is likewise very powerful in this loadout, as it grants Trevor a Bonus Action if he participates in an attack that kills a Mind Controlled unit… including an attack that inflicts the status effect at the same time it kills the enemy!
- Hive Mind makes your Nanobot-influenced army more powerful, dealing more damage and debuffing enemies with Slow when they attack.
Related
Ninja Gaiden games have gone from the arcade into the 3D home console space, but which are the best games in the series?






Leave a Reply