How To Complete The Lives Spared Quest In Dragon Age: The Veilguard
Quick Links
With the numerous available quests in Dragon Age: The Veilguard, you will often find yourself distracted from the main story, spending time helping your companions and deepening your bonds with them. Alternatively, you may choose to explore the regions and meet new characters, stumbling across their quests along the way.
Related
Dragon Age: The Veilguard – Spinning Gold From Grey Walkthrough
Here is how you can complete the Spinning Gold From Grey quest in Dragon Age: The Veilguard.
After completing The Siege of Weisshaupt, new quests will become available for you to tackle in the Hossberg Wetlands, including the Lives Spared quest. This quest requires you to collect evidence around the settlement to uncover clues and information about the missing Grey Wardens who attempted to confront the darkspawn and prove their worth.
First Evidence Location
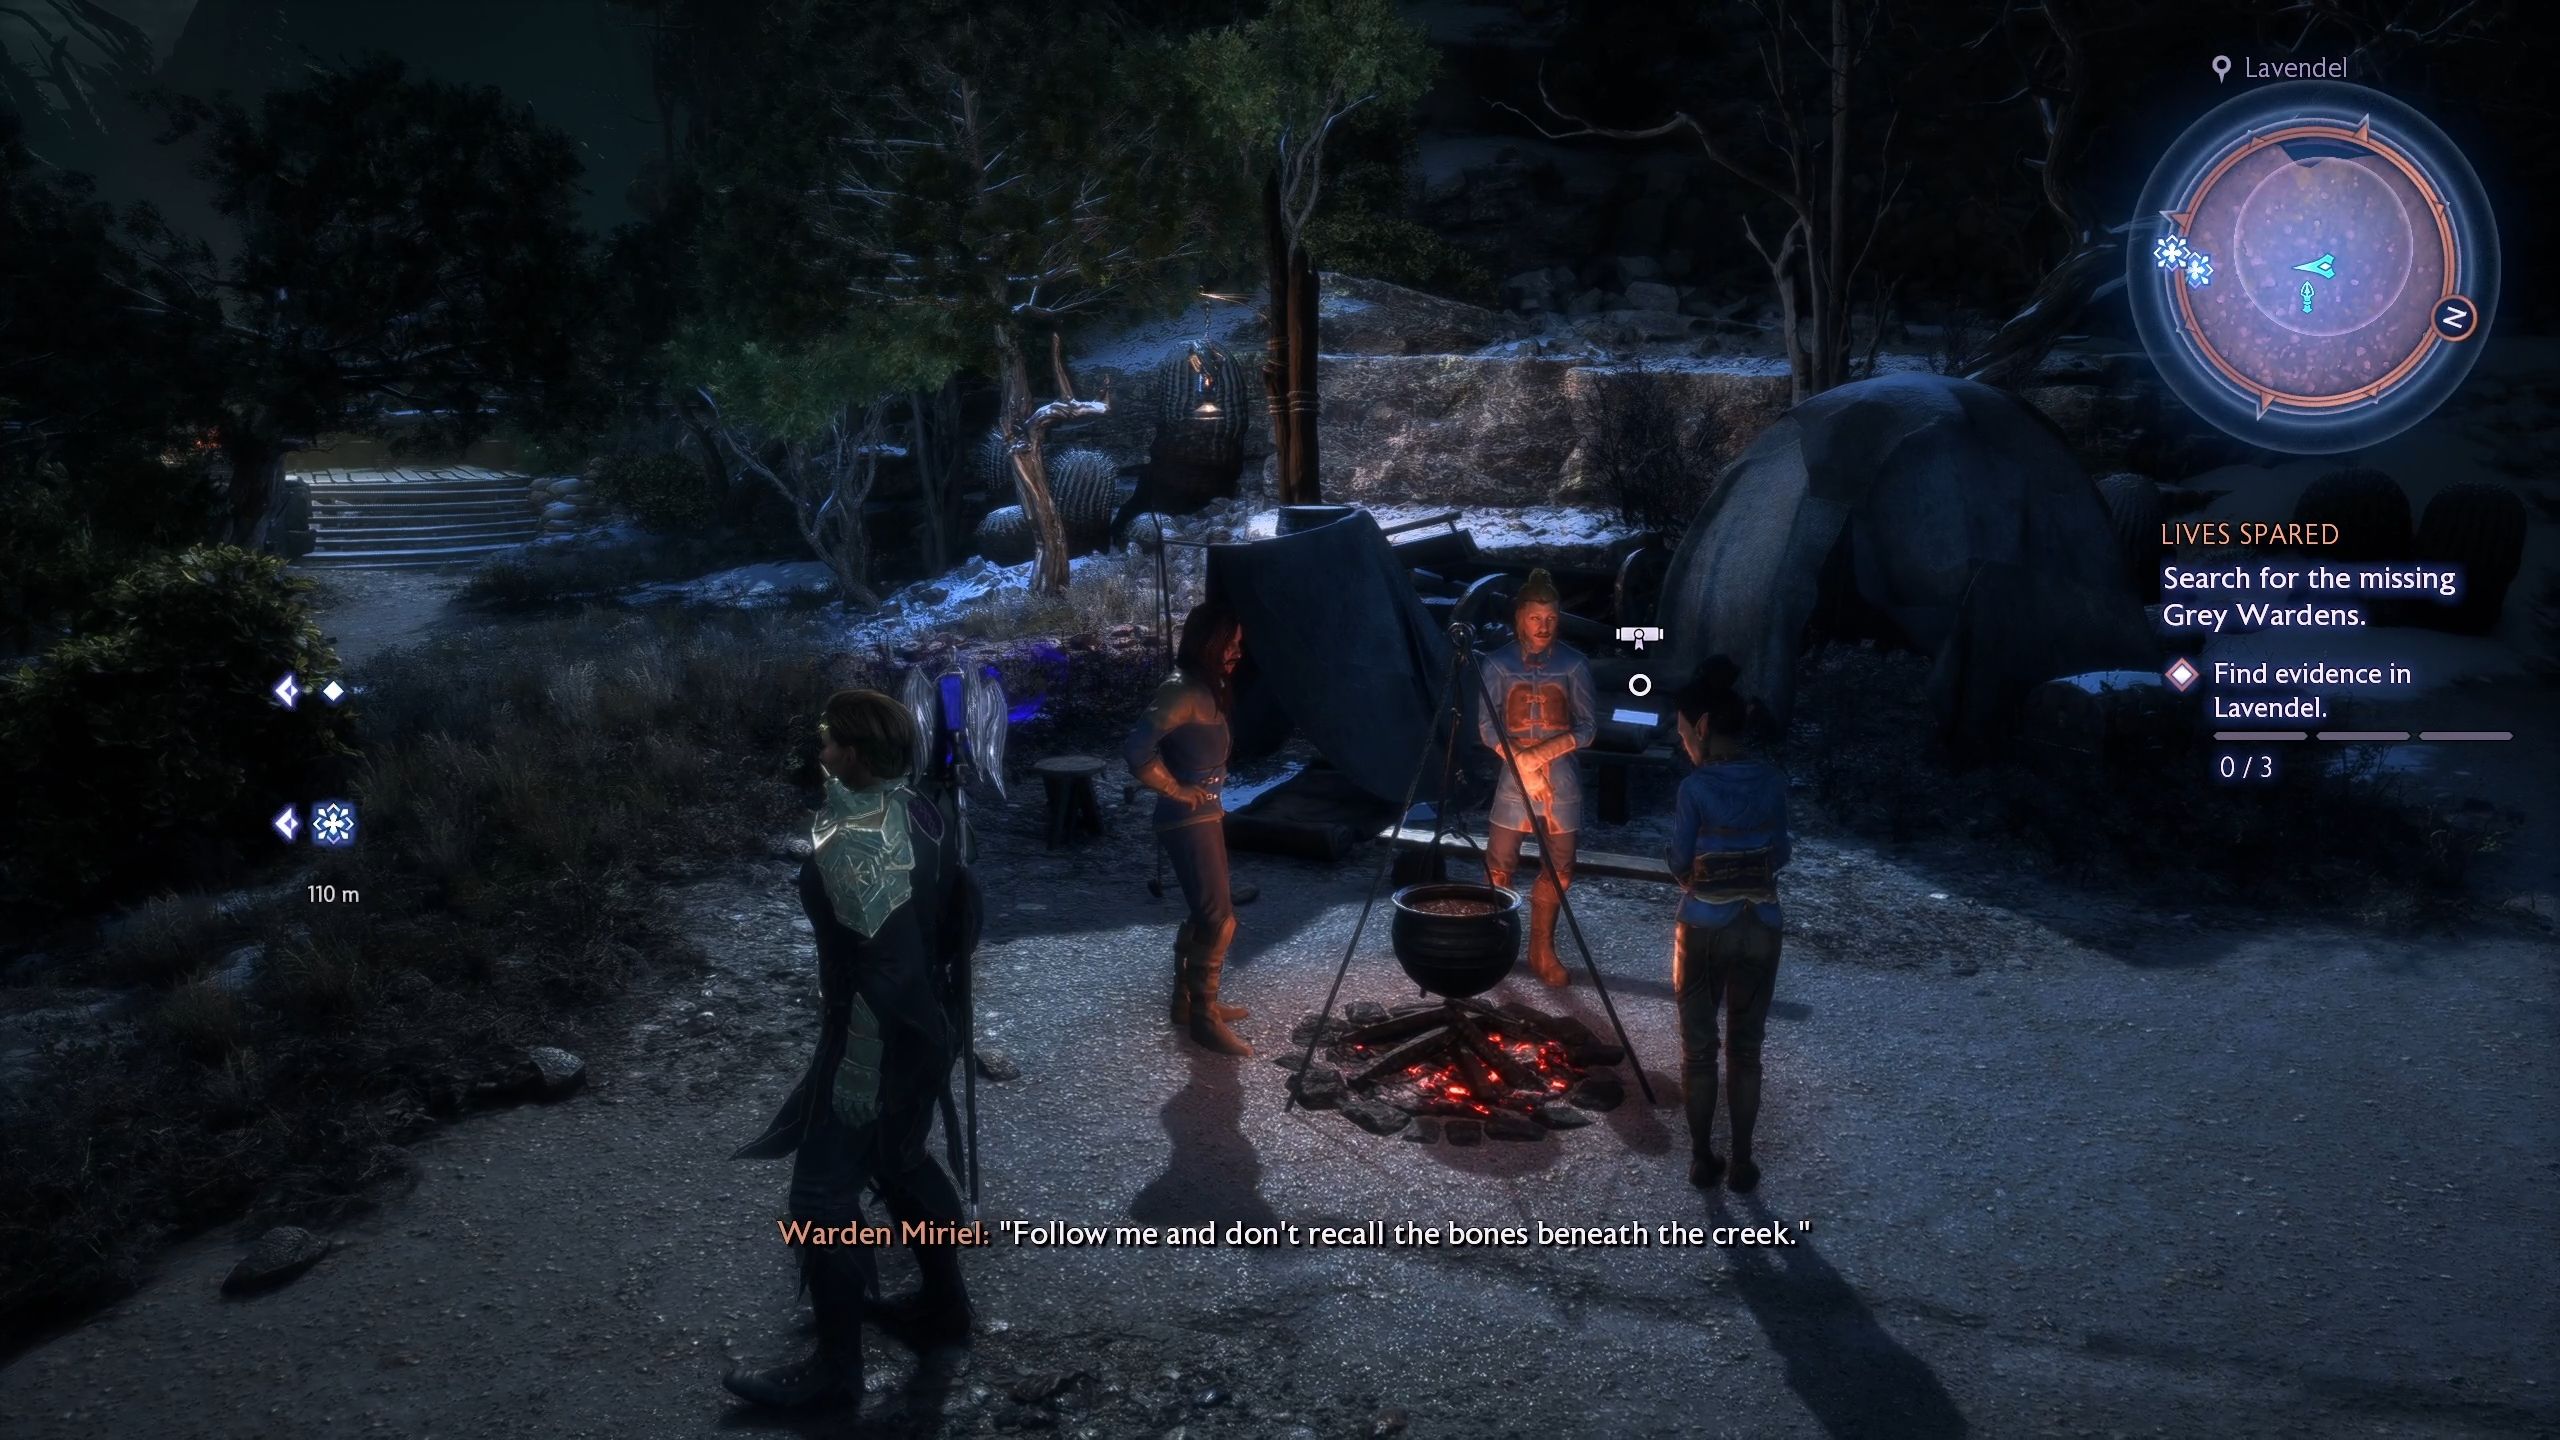
Head toward the objective marker near the north beacon, where you’ll spot three people gathered around a pot on fire.
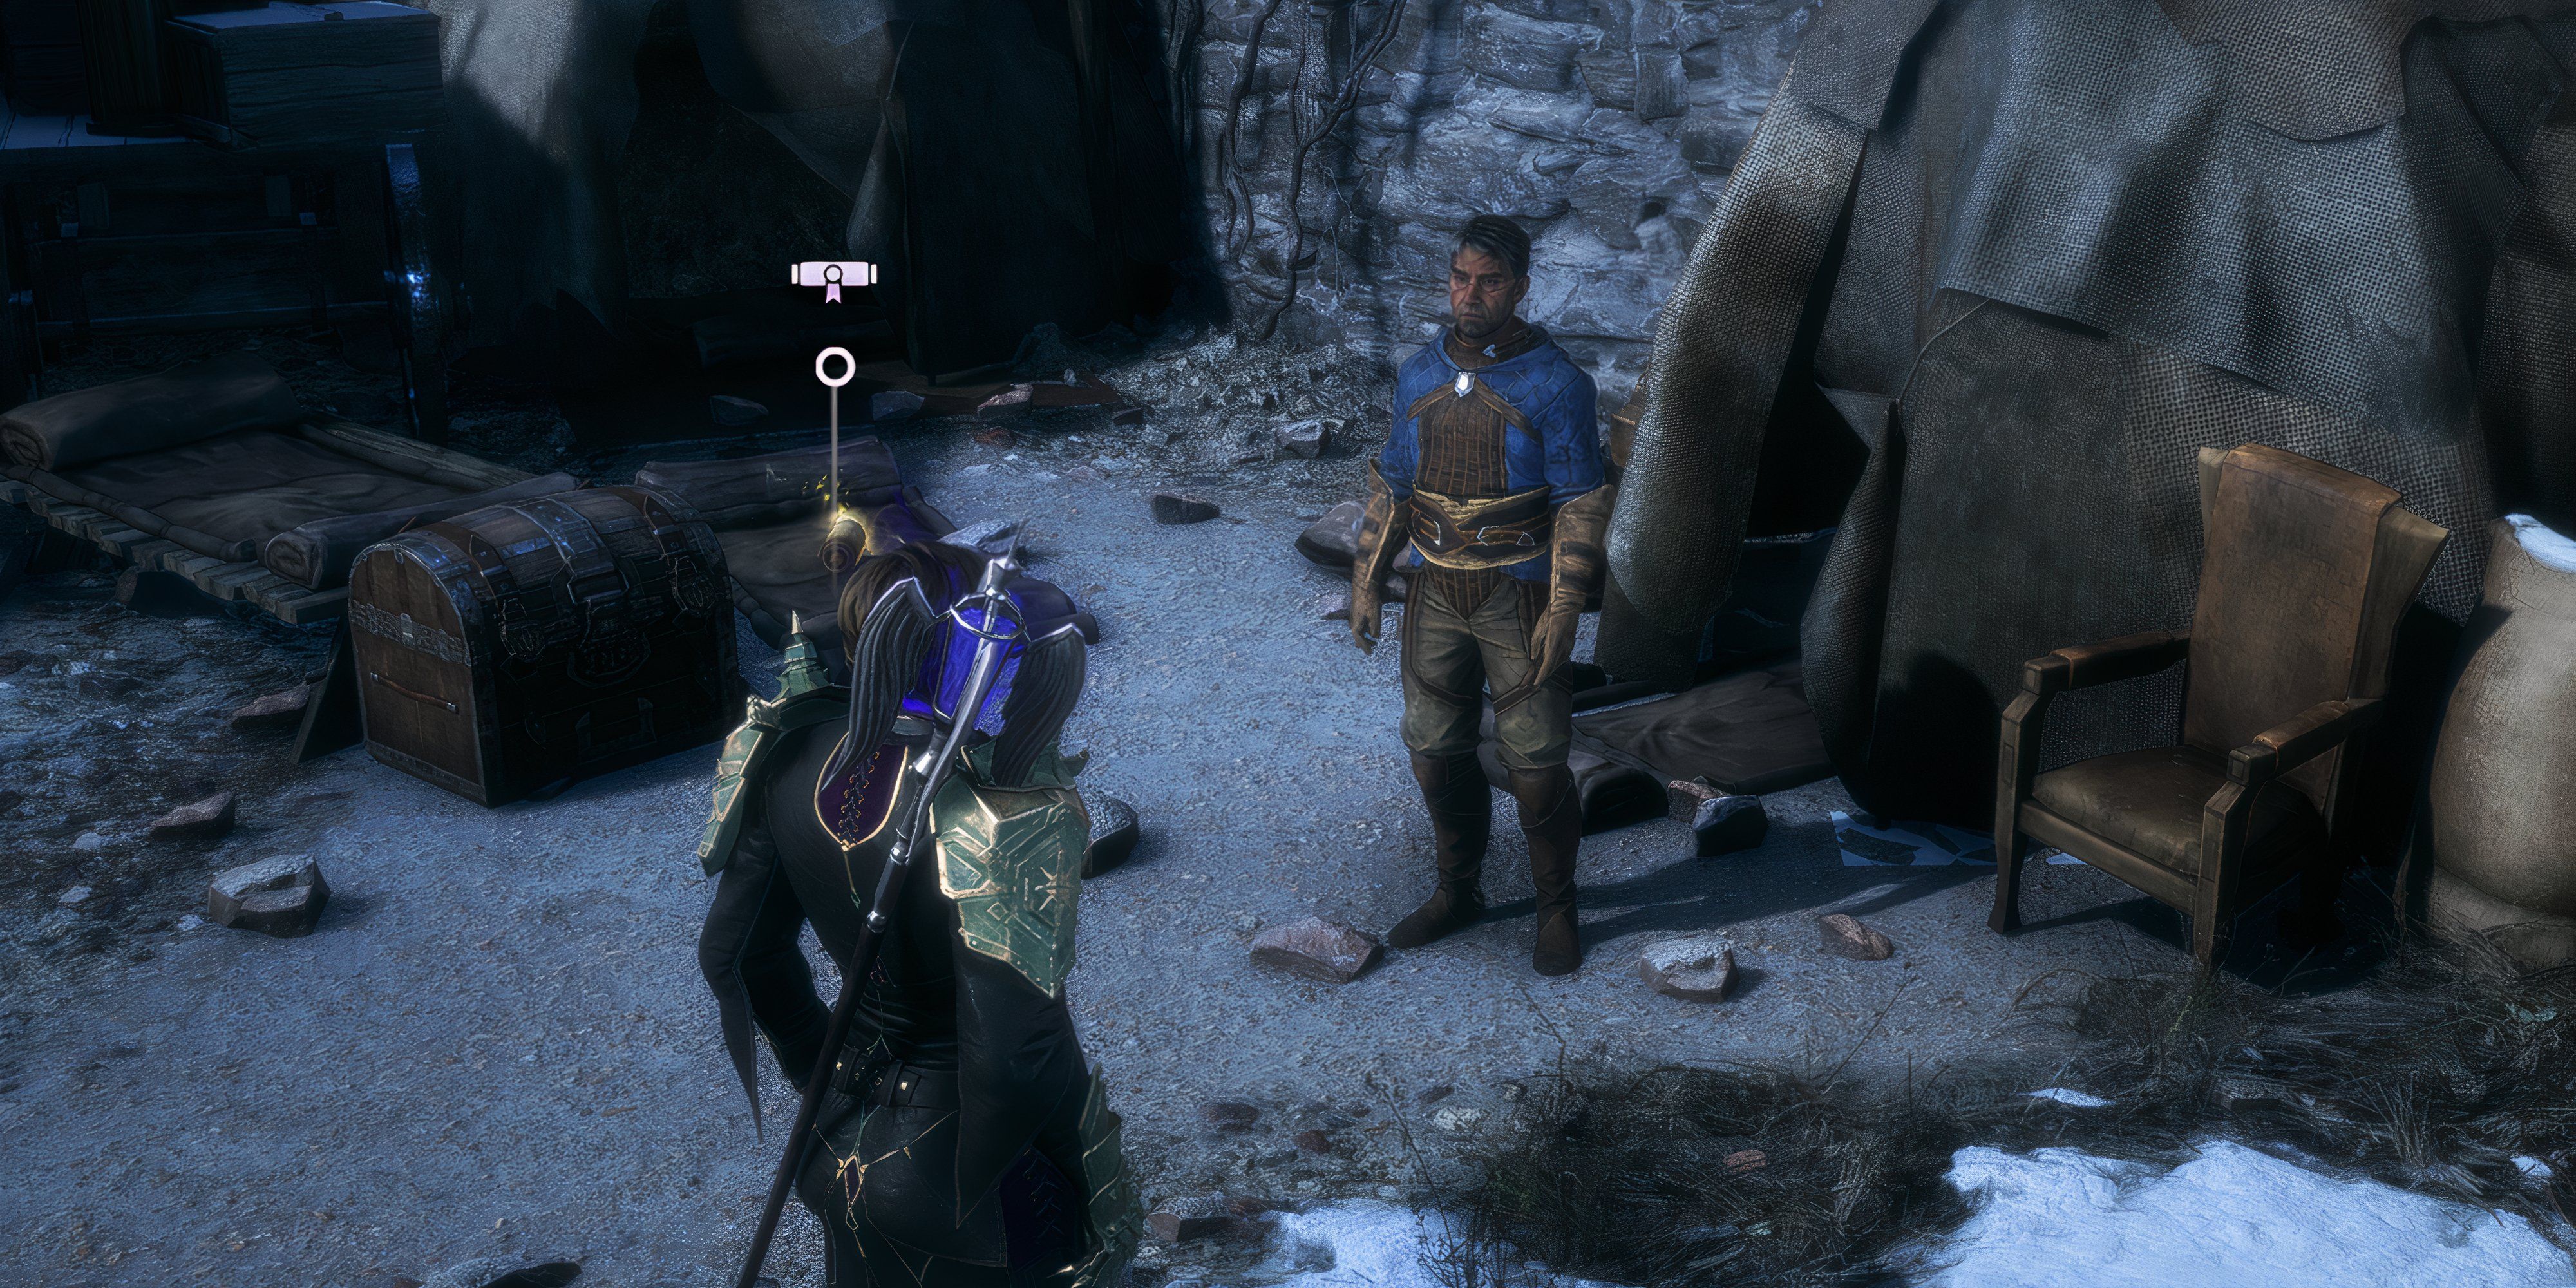
Just behind them, there’s a table with a piece of paper that you can interact with. Doing so will collect the first piece of evidence for the missing Grey Wardens.
Second Evidence Location
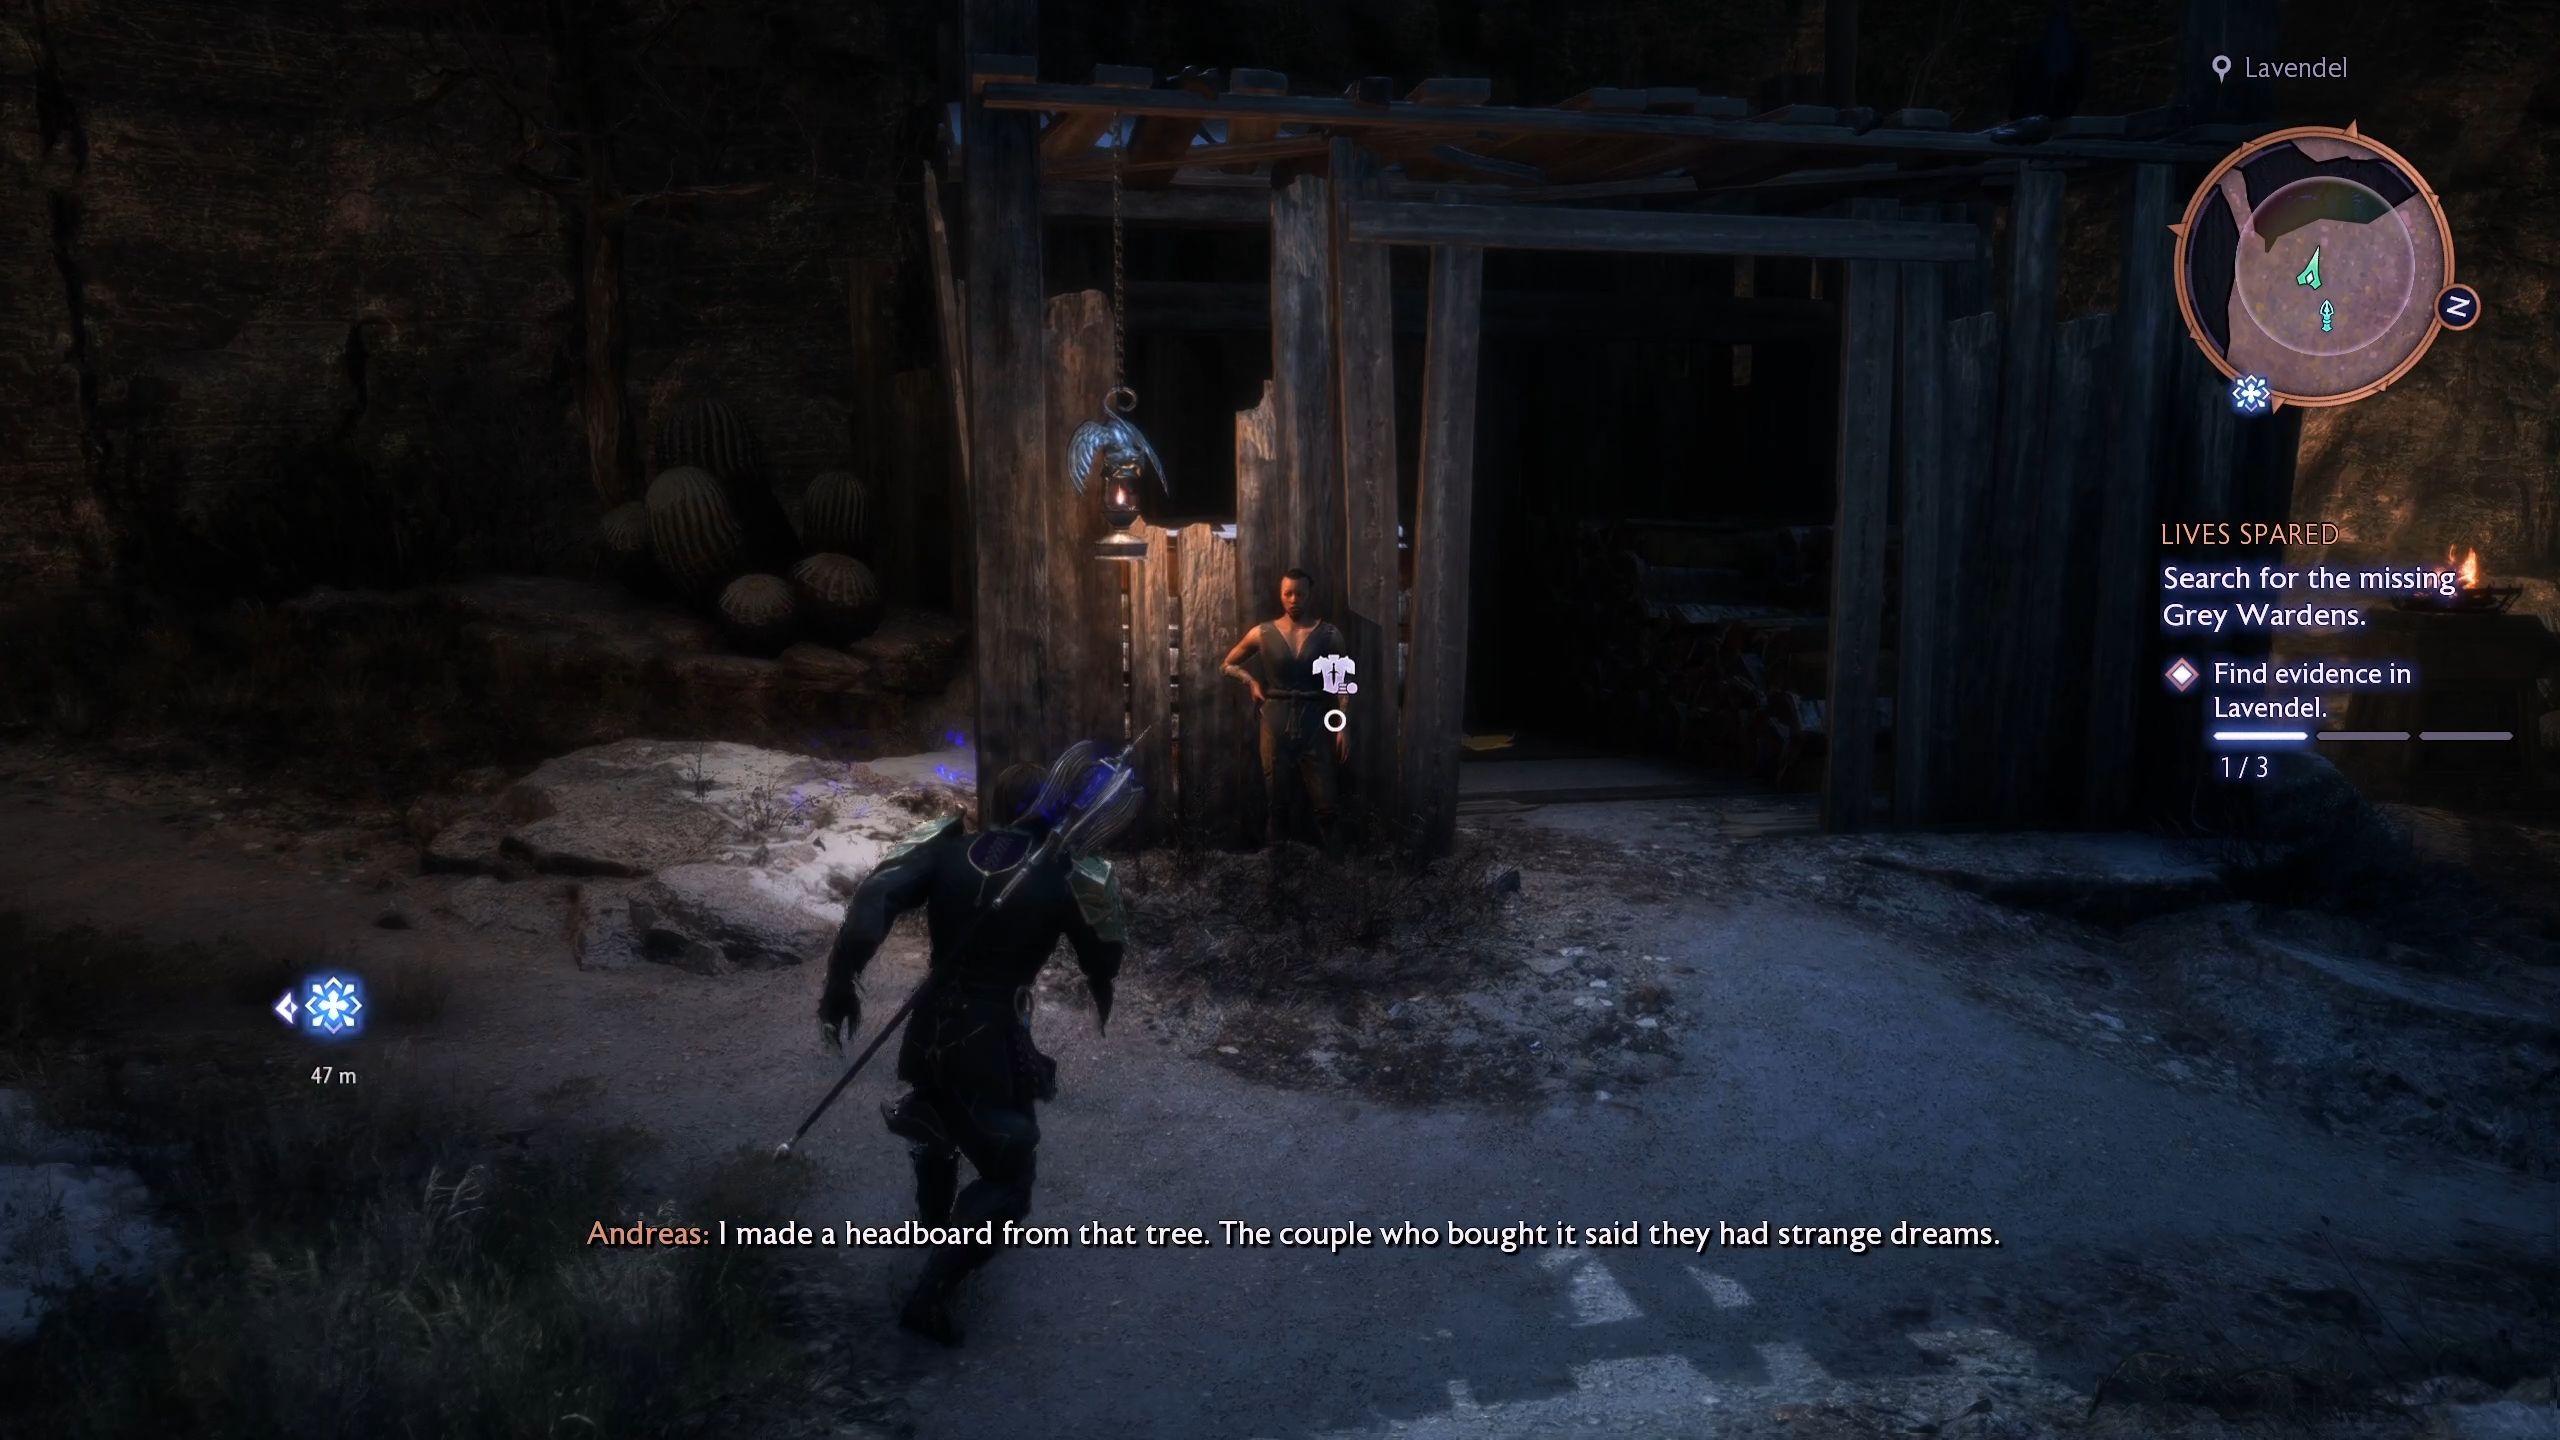
Make your way to the second objective marker located further south, which will lead you to a small settlement.
On the hill, inside the building where the merchant is standing outside, you’ll find another piece of paper. This will serve as the second piece of evidence you need.
Third Evidence Location
For the final piece, head to the last objective marker.
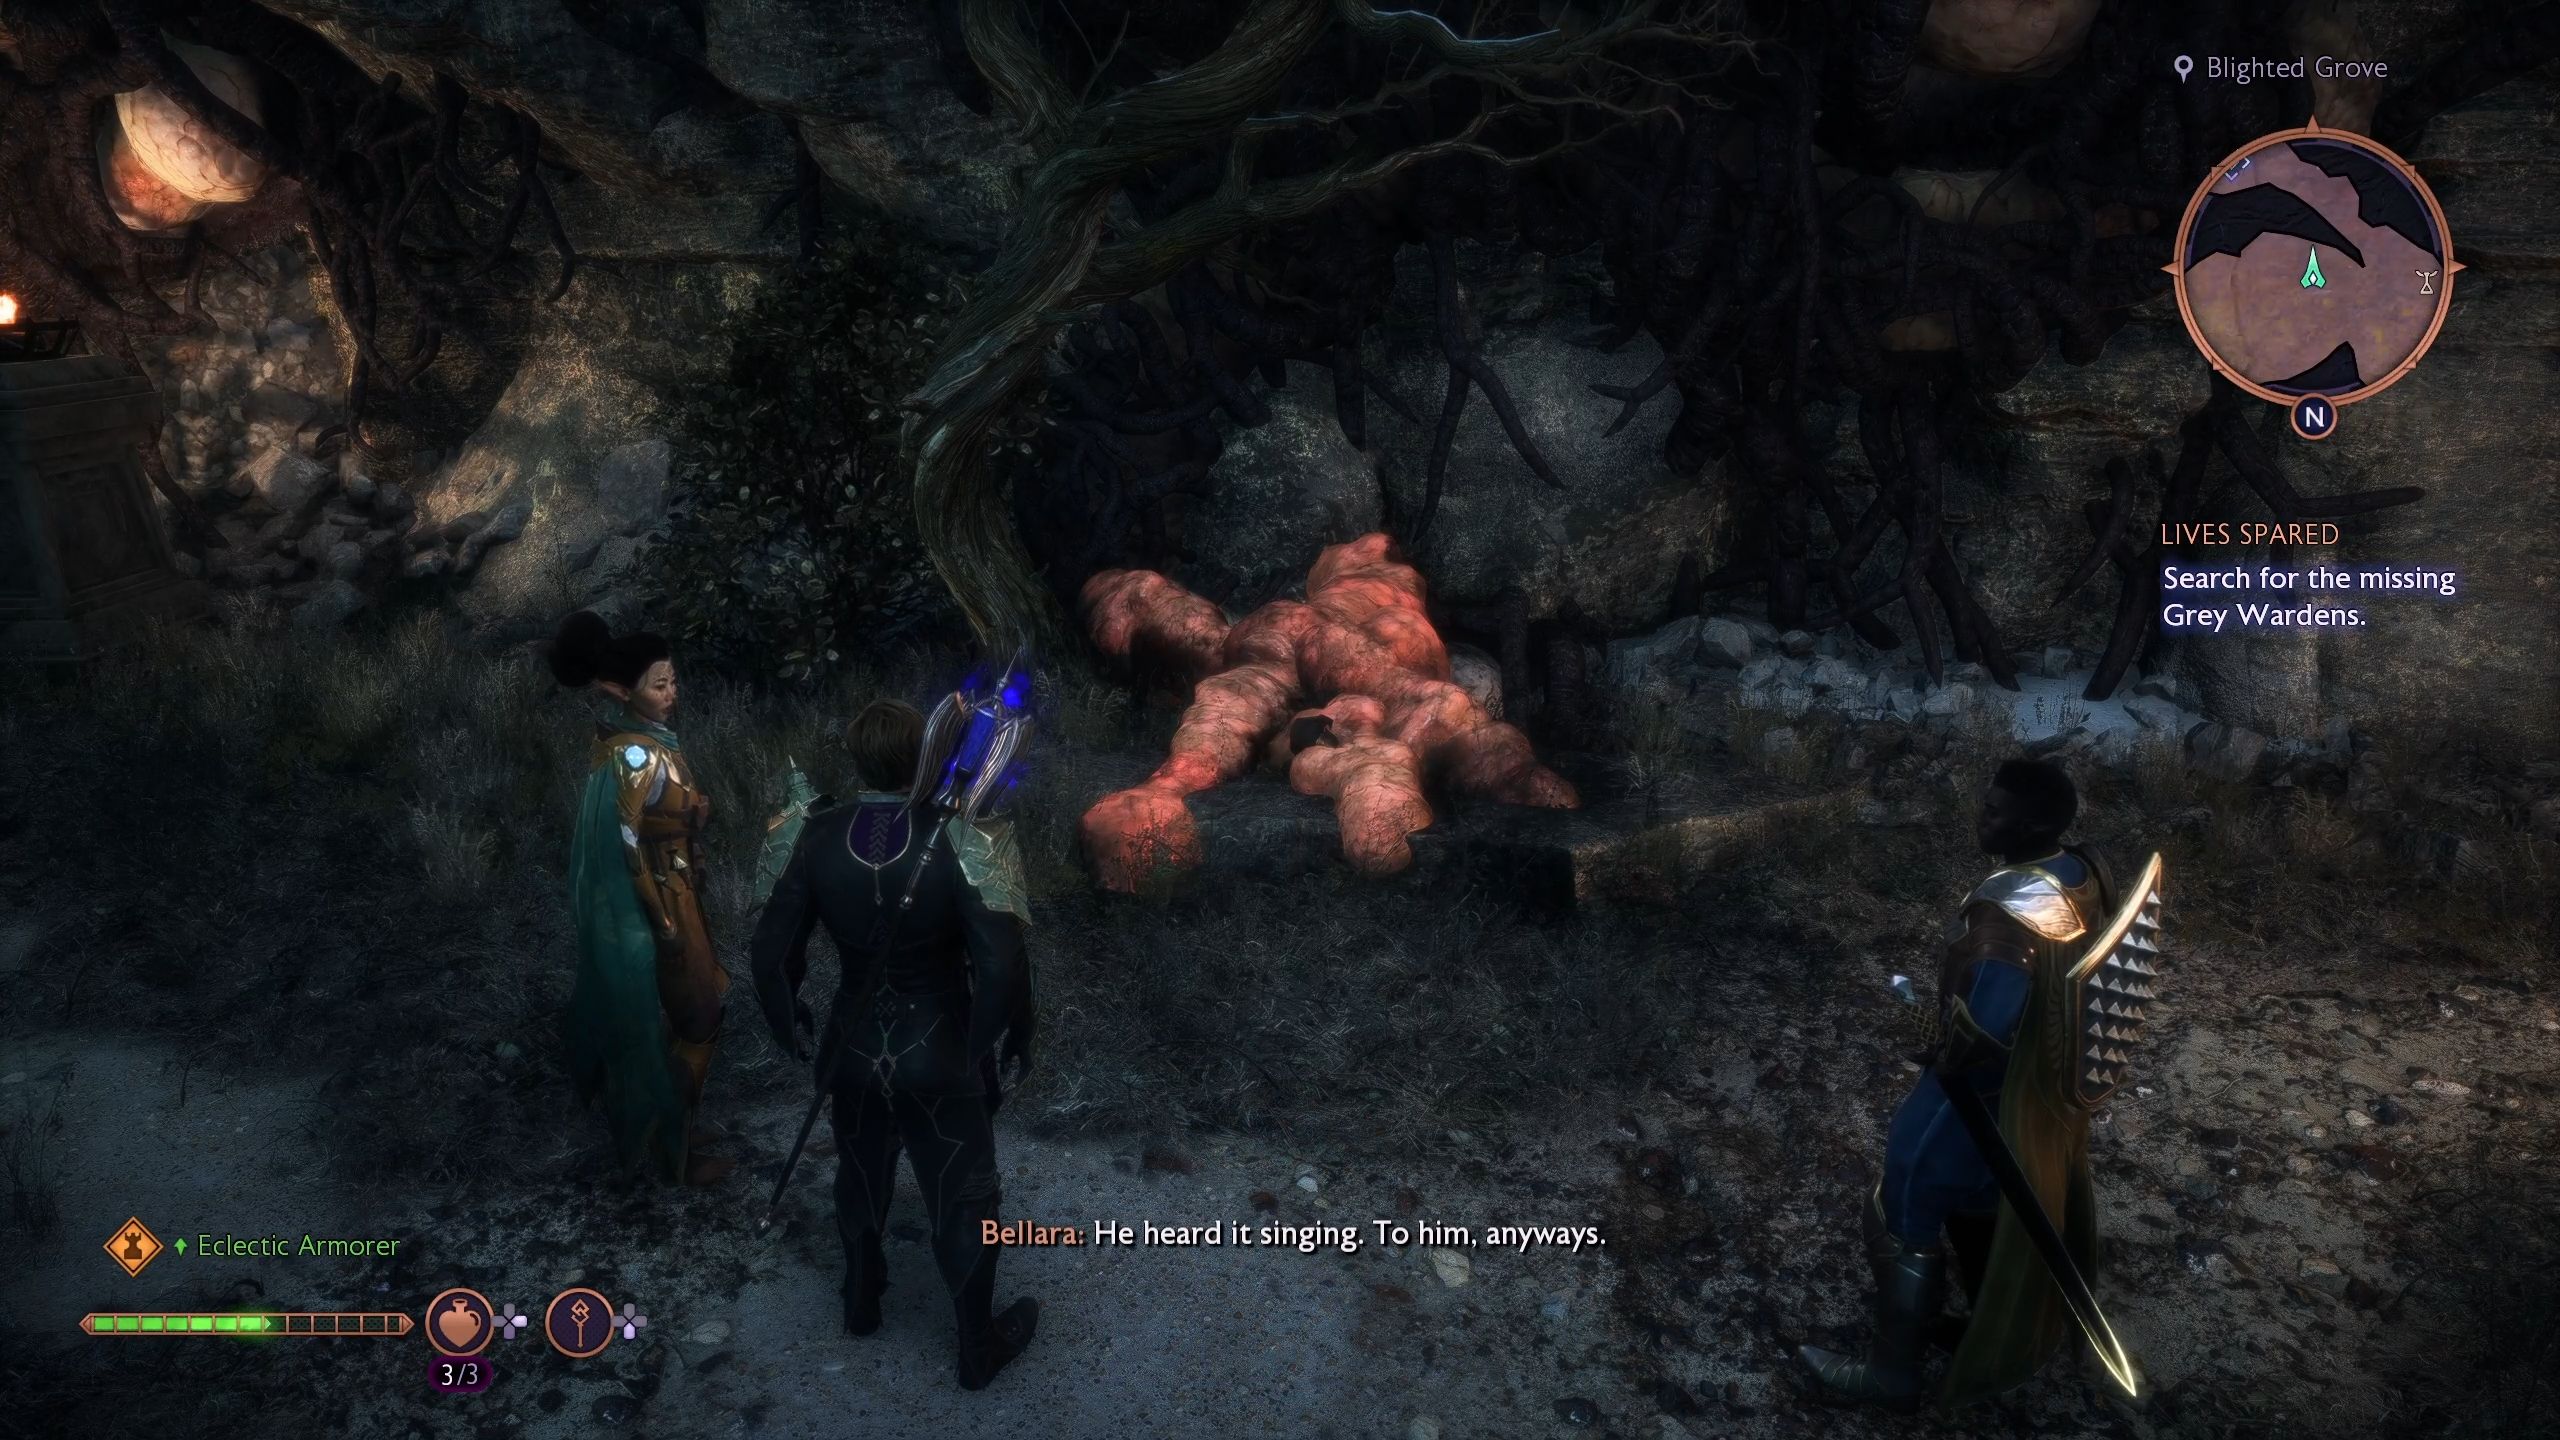
Once you reach the area, look for a corpse near a torch and interact with it.
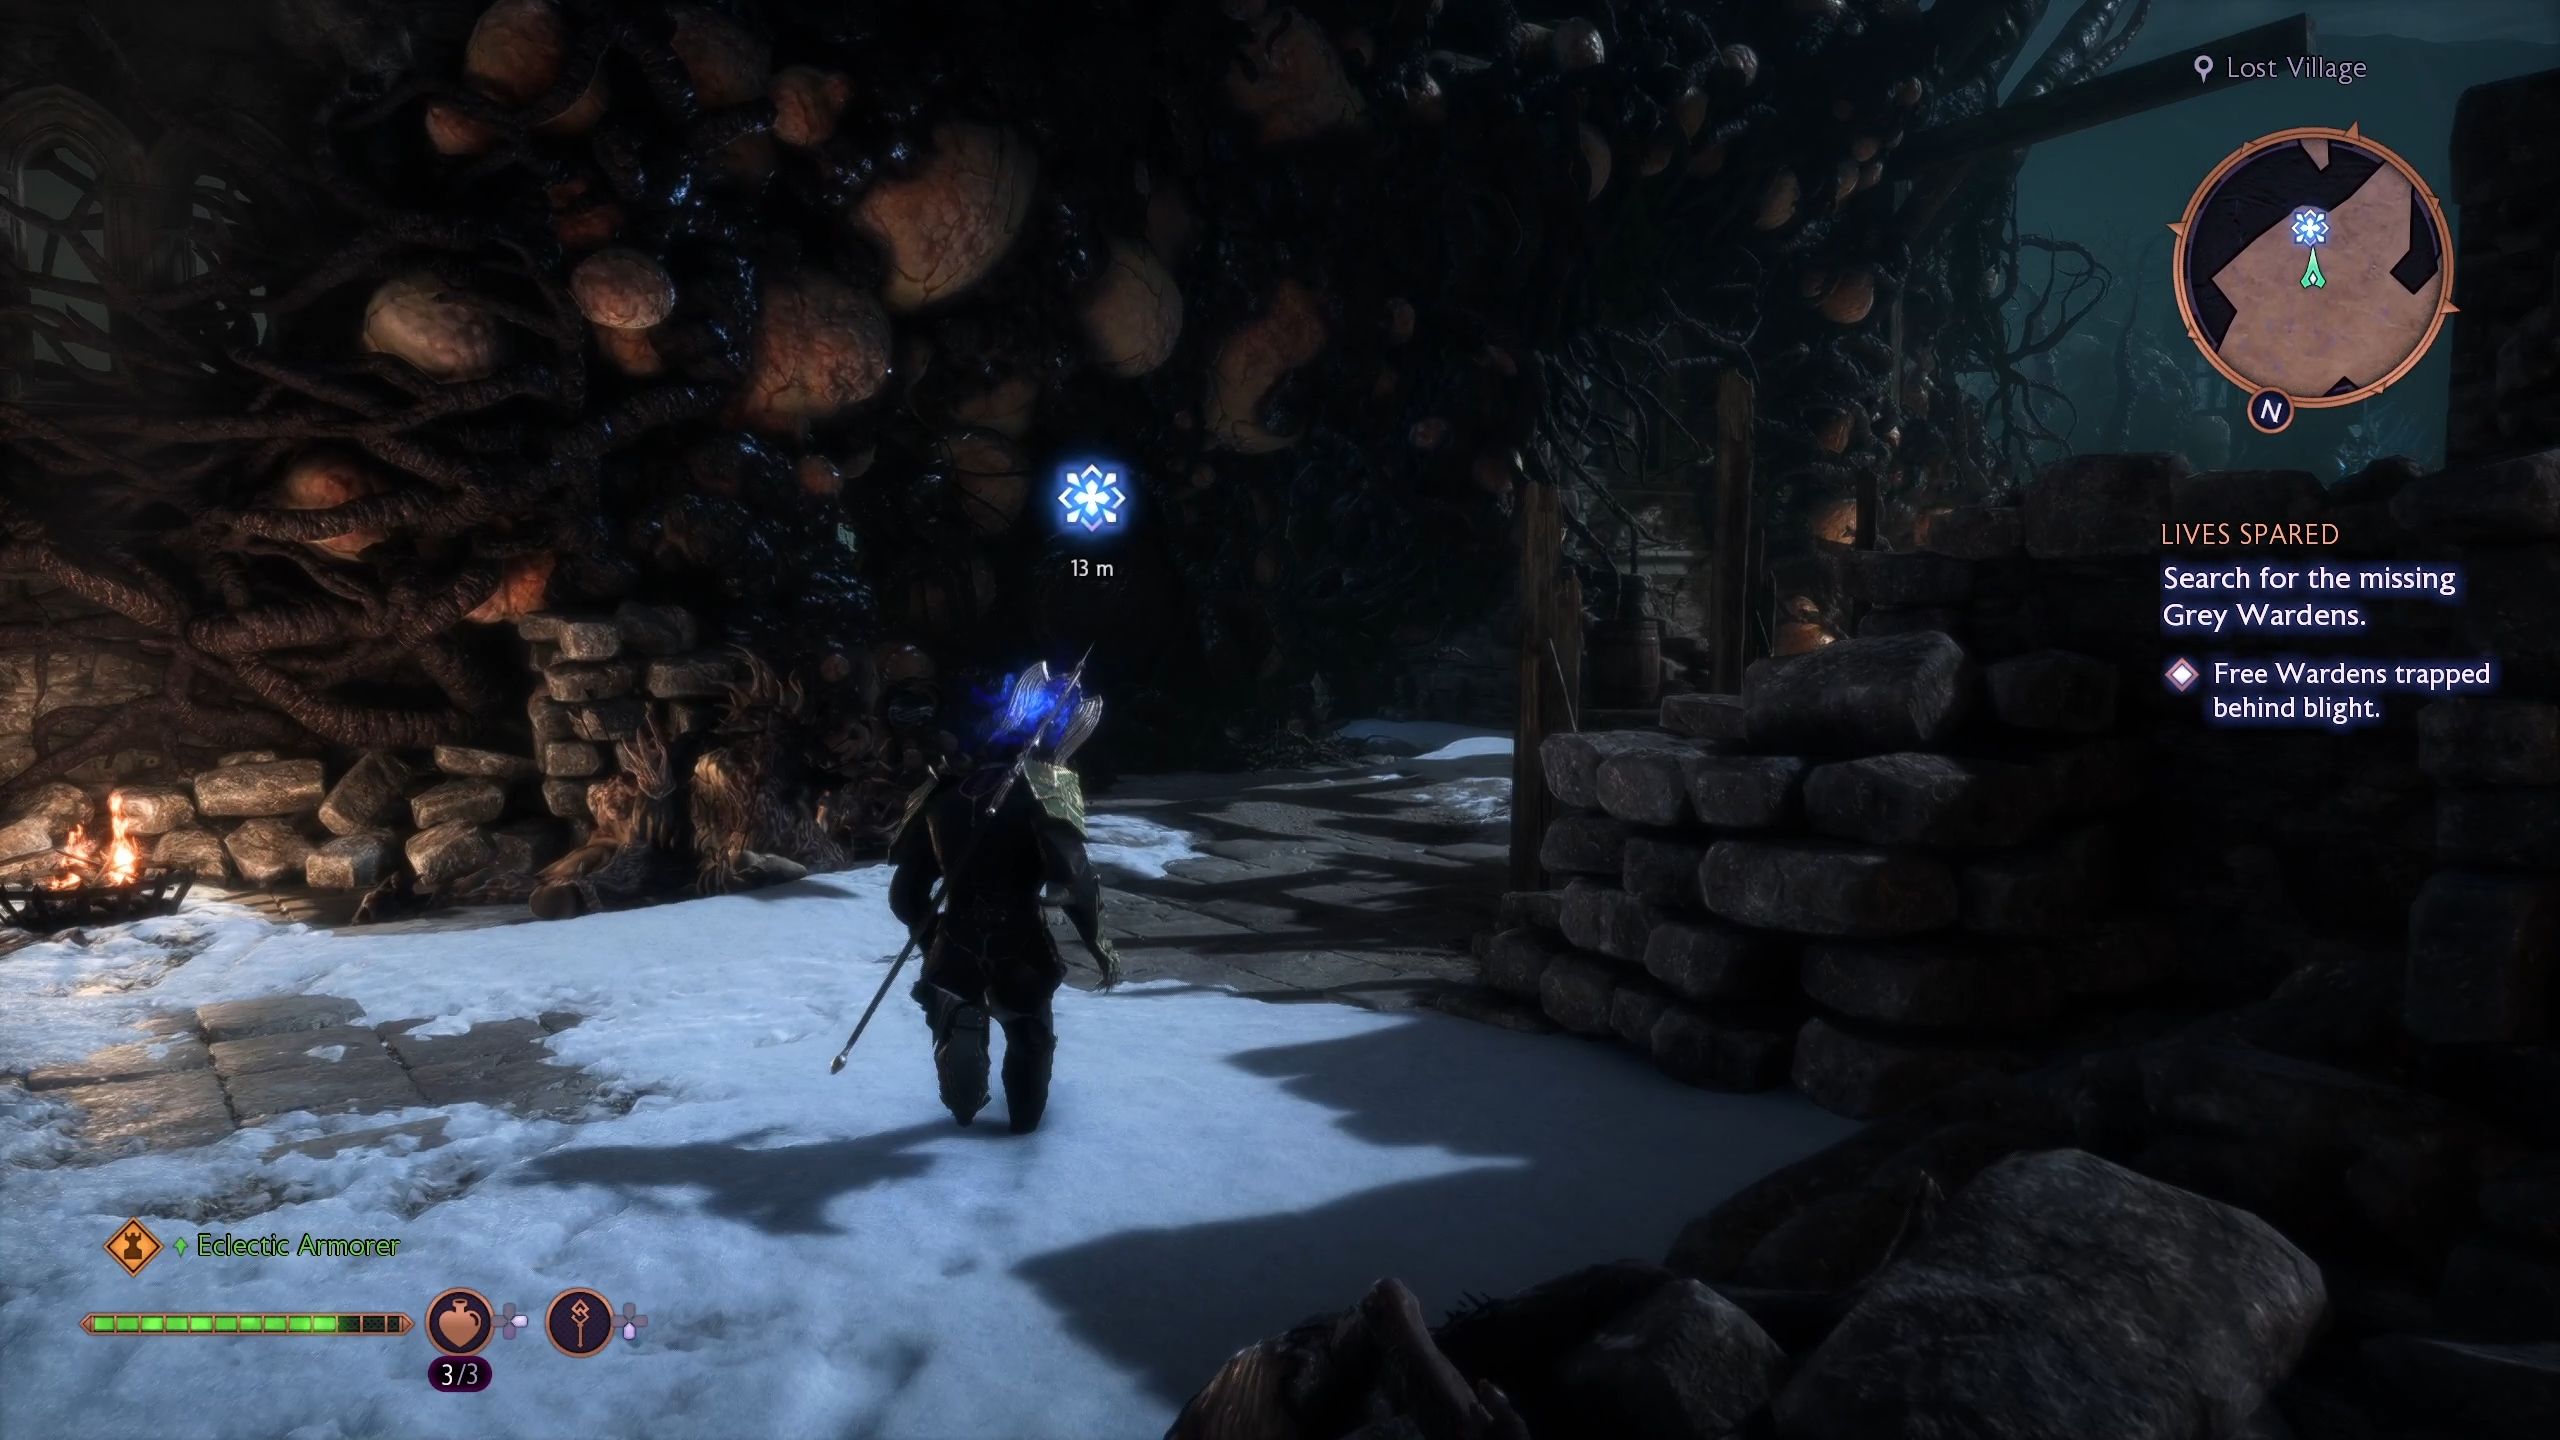
Free Wardens Trapped Behind Blight
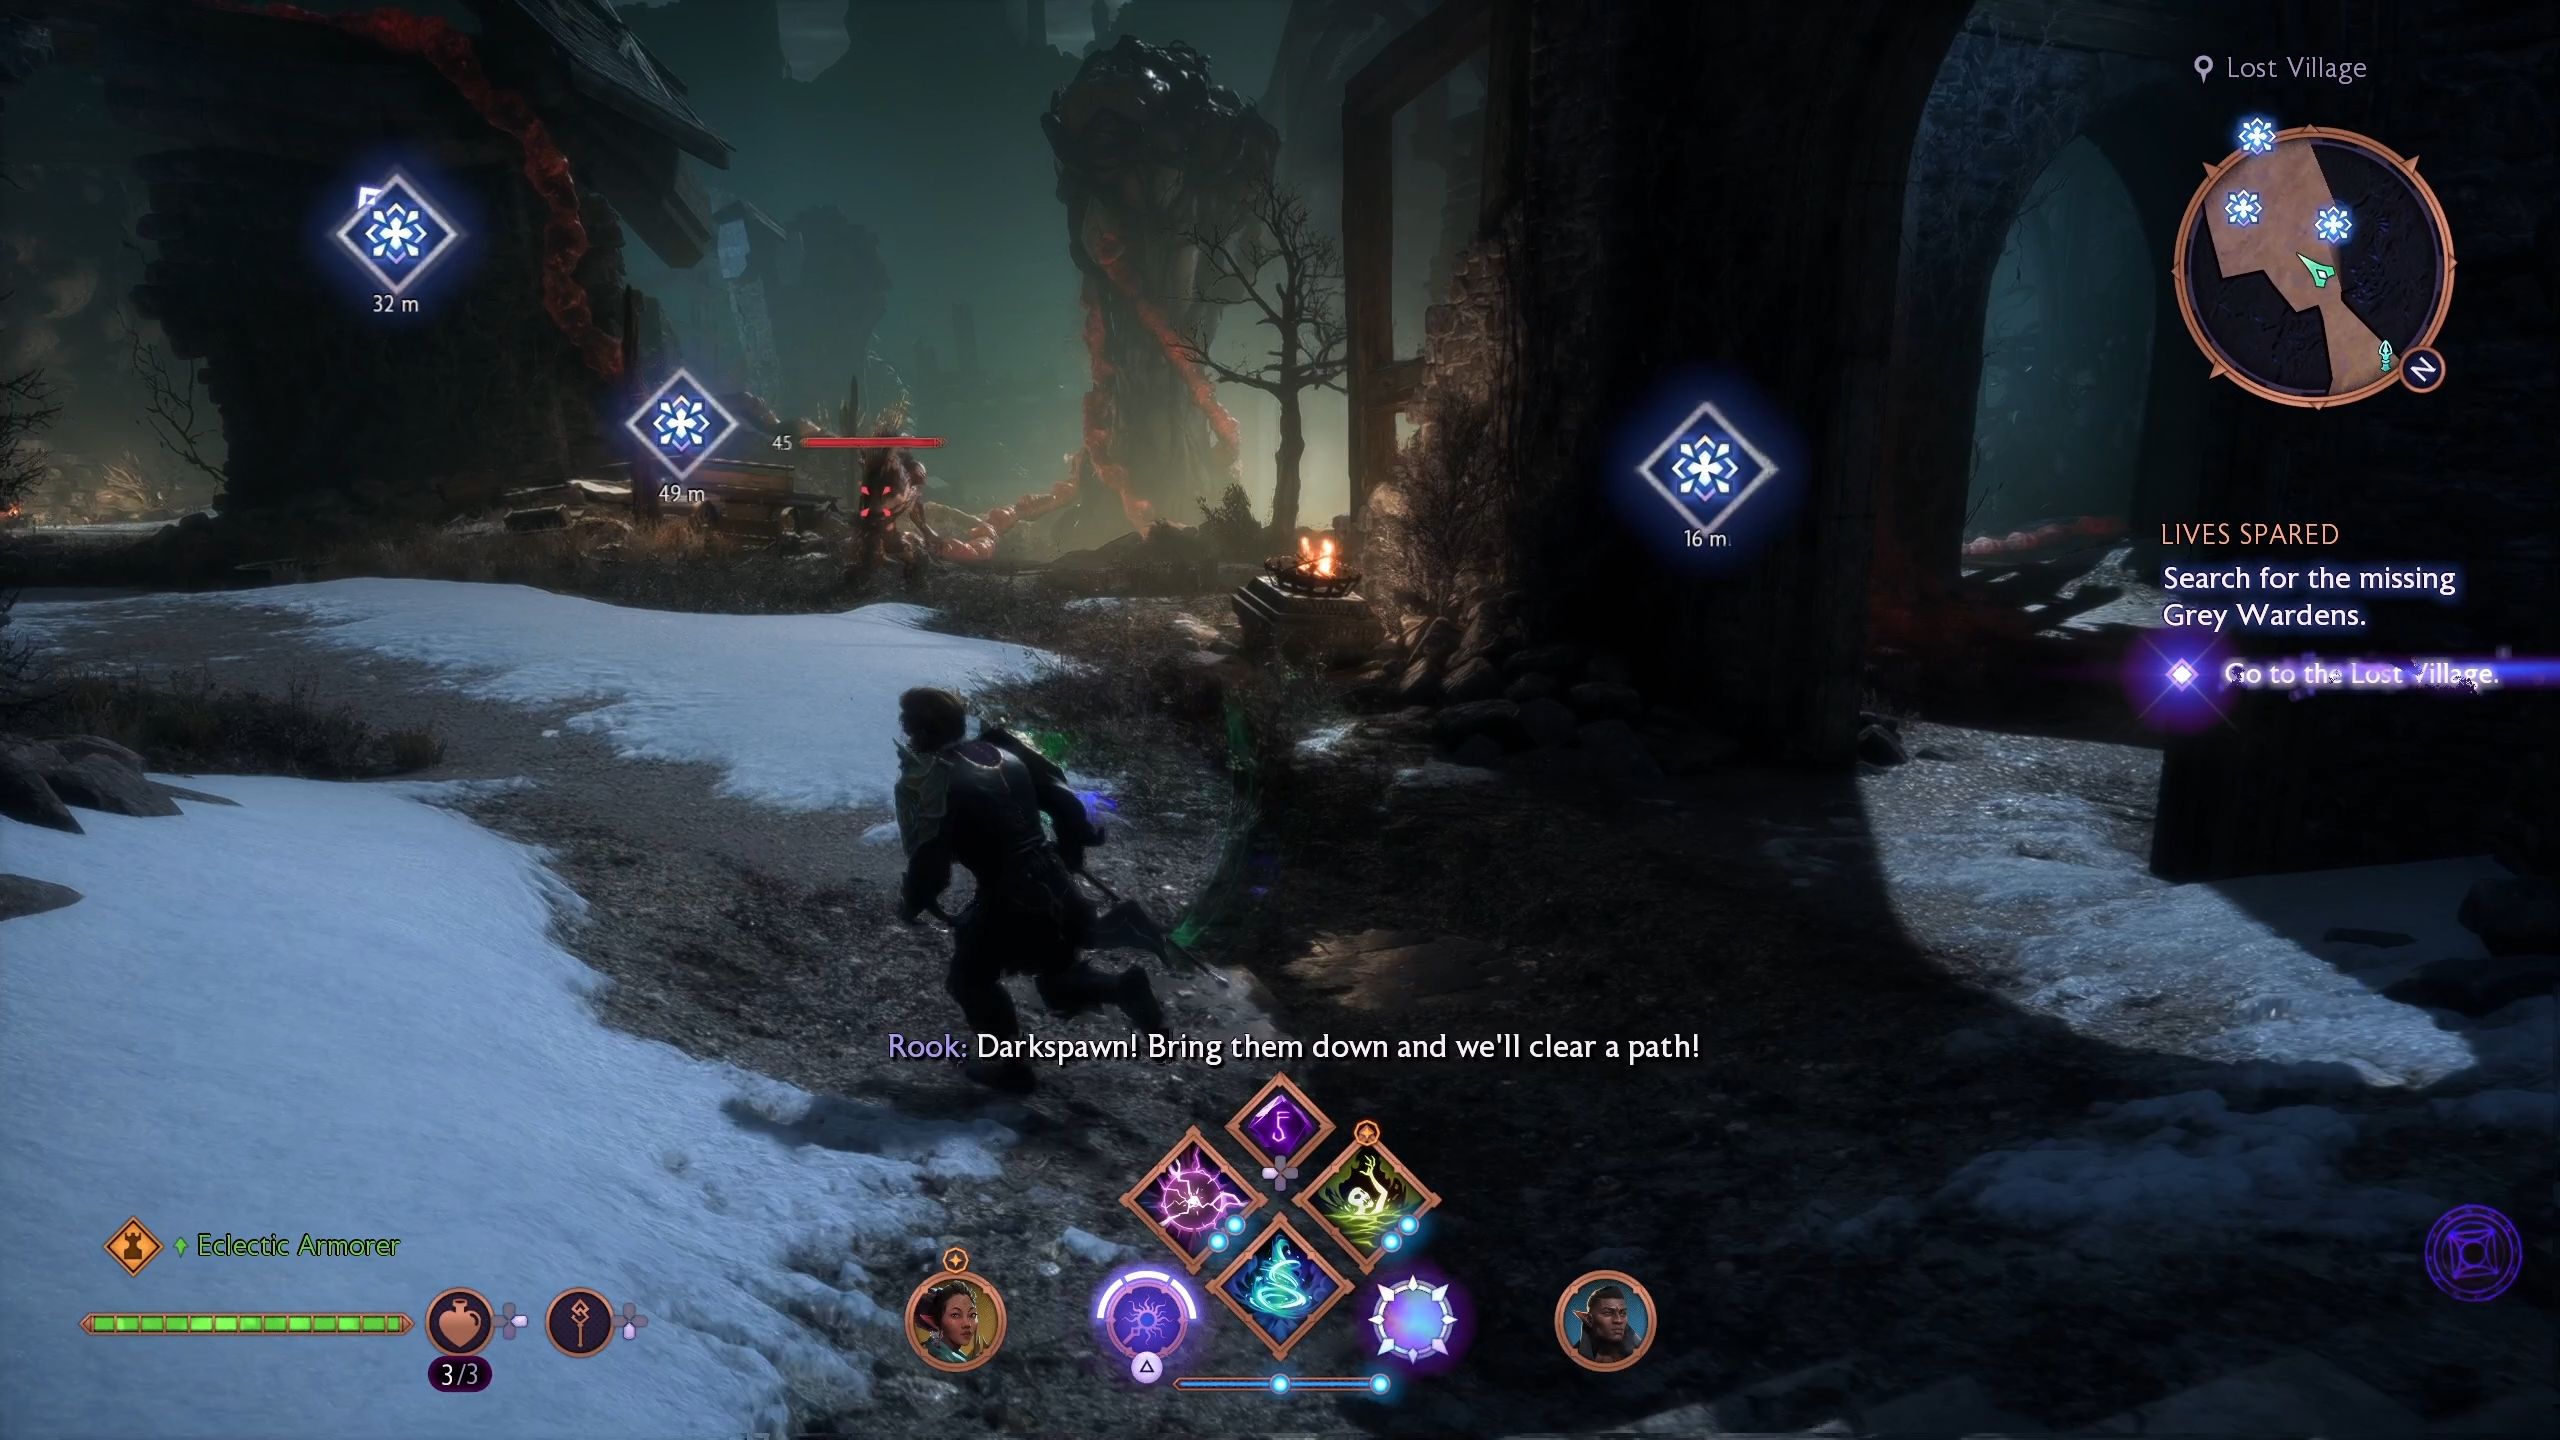
Now that you’ve figured out the location of the missing Grey Wardens, it’s time to track them down. Follow the objective to an area filled with enemies and three blighted boils that you need to eliminate.
It’s advisable to deal with the enemies first before tackling the blighted boils.
The first one is just to the right as soon as you enter the area, the second is to your left on top of the structure, and the third is further behind.
Once you’ve taken down all three, you’ll be able to take out the source connecting them. Destroy it to activate the blighted boils on the main door path.
Use your ranged attack to eliminate it, and then follow the path ahead.
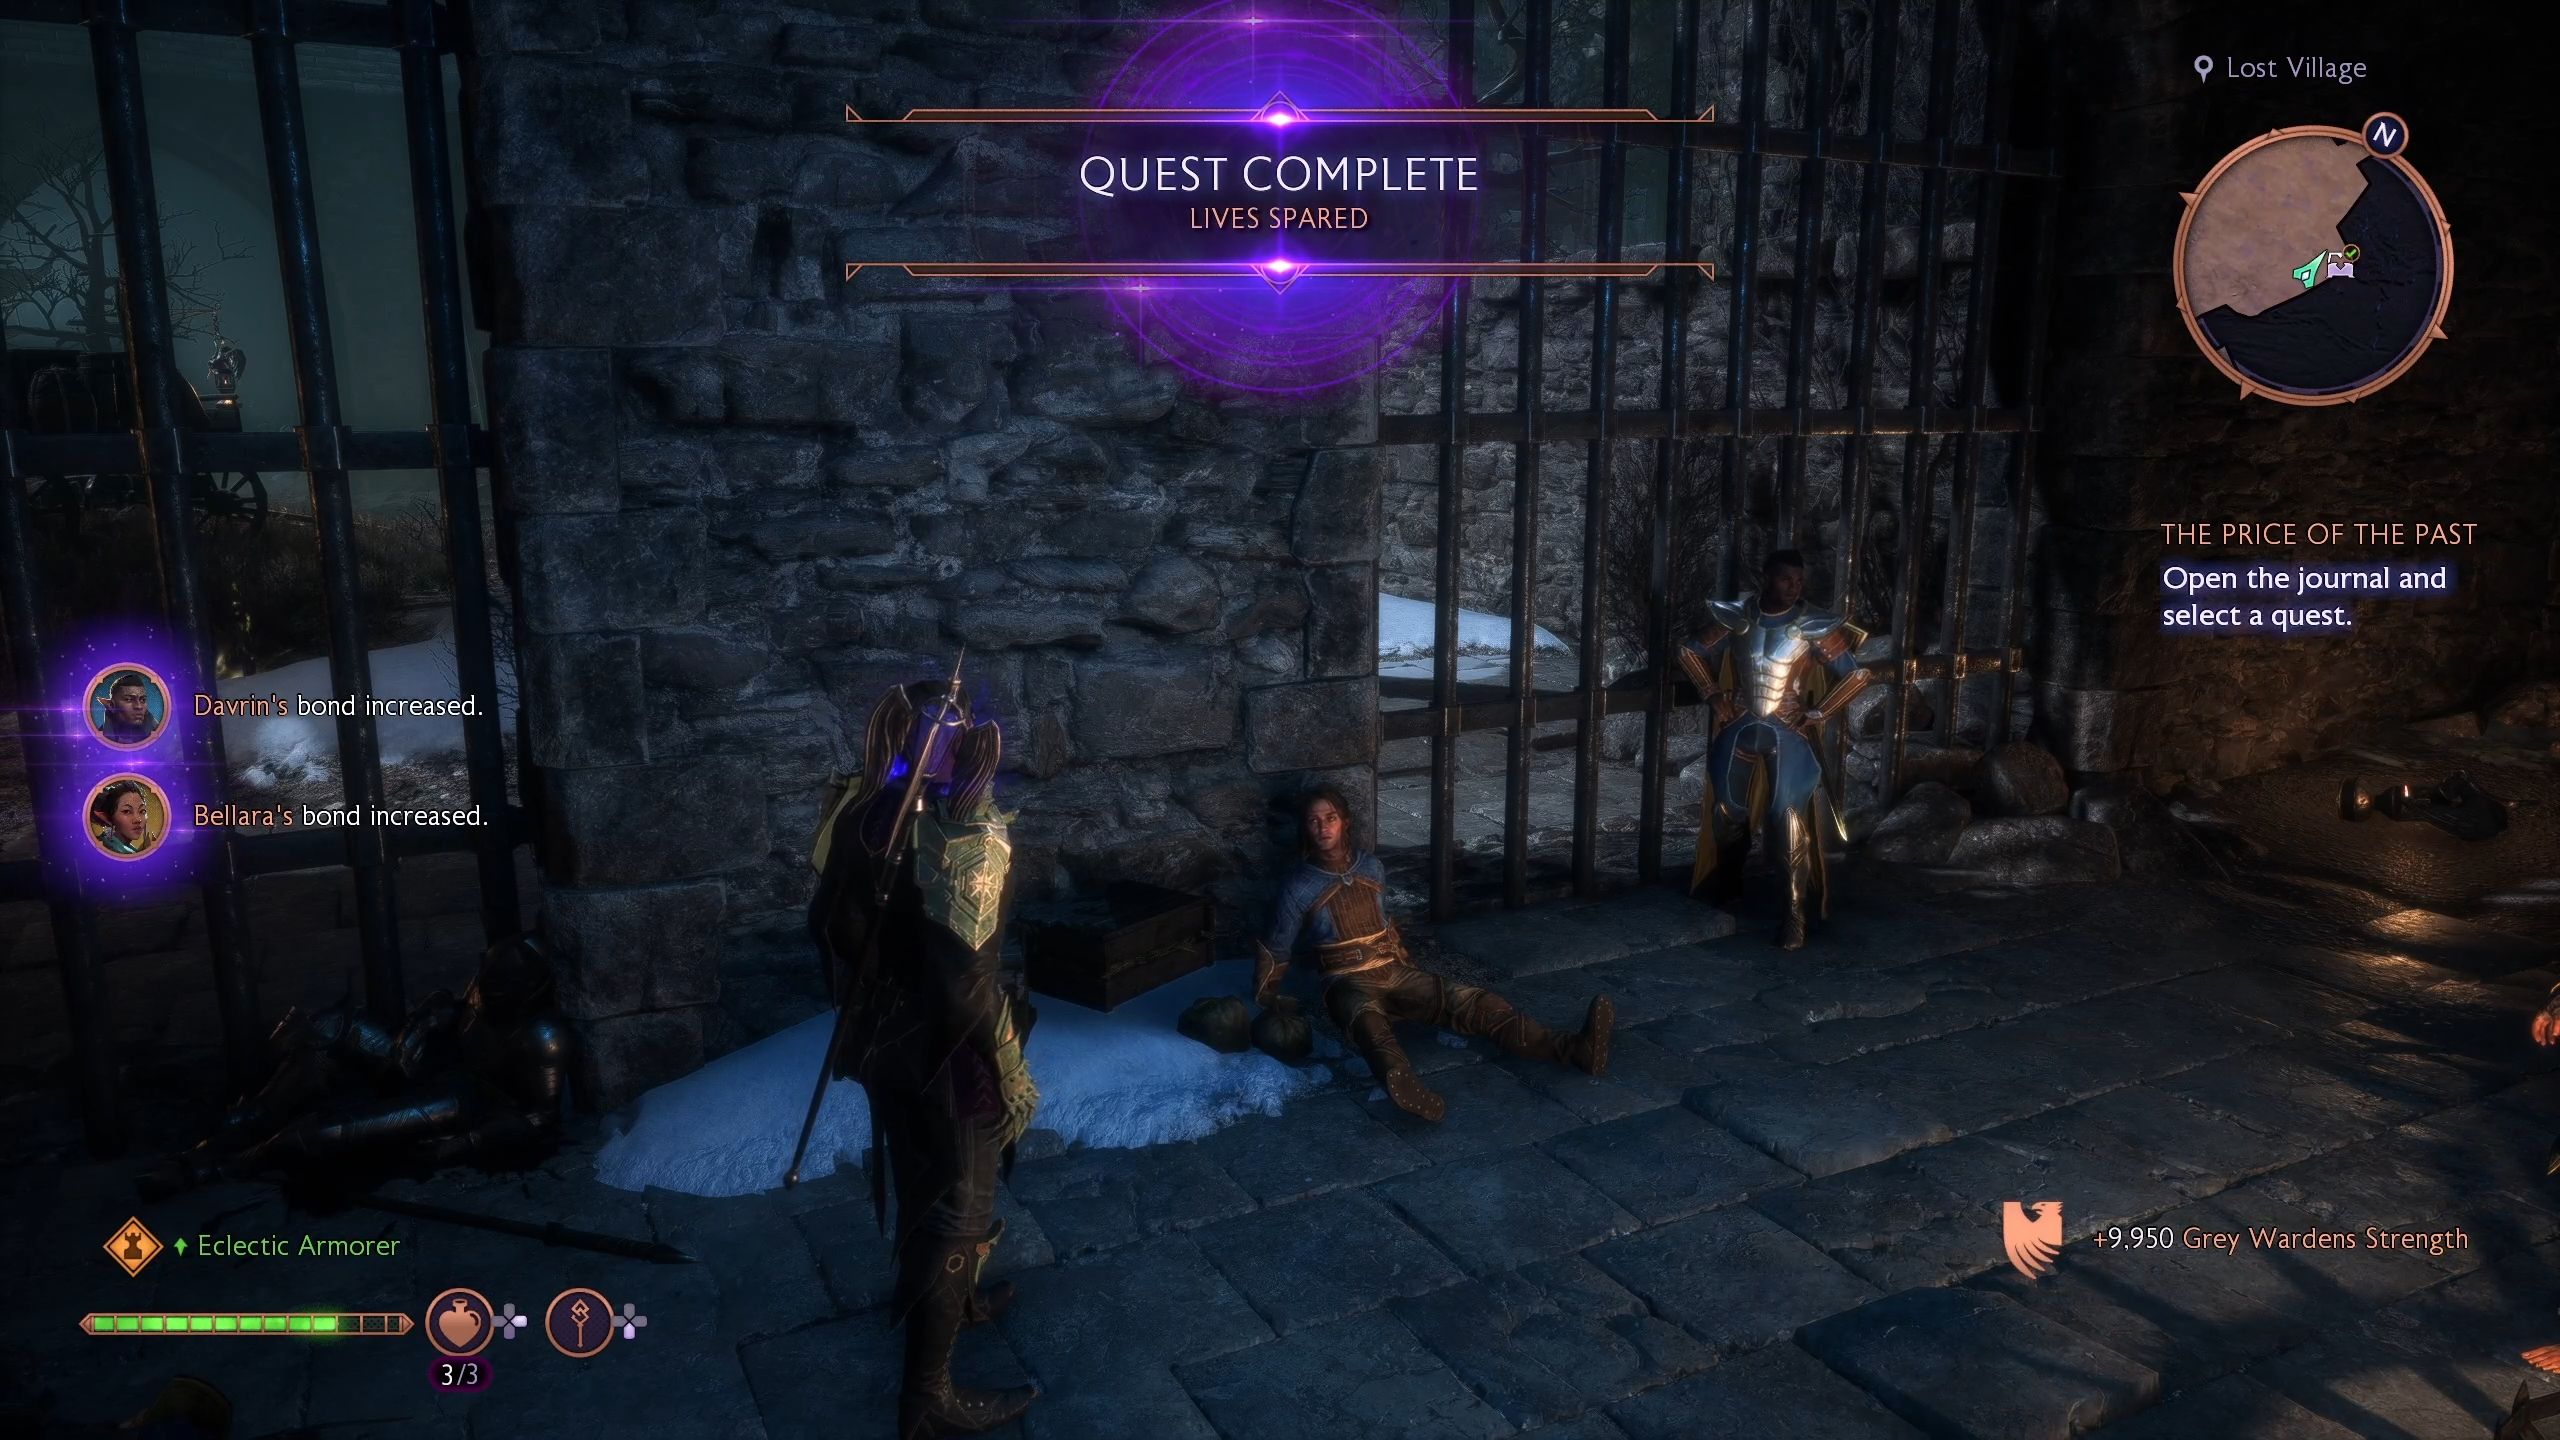
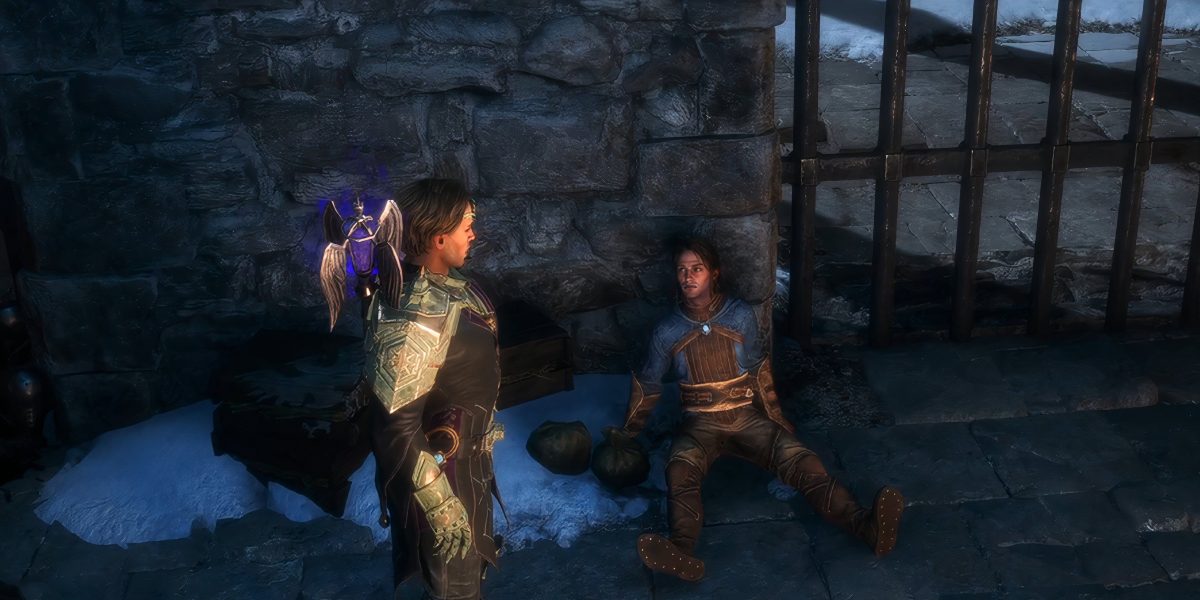
Shortly after, you’ll encounter one of the trapped Wardens inside a prison cell that you need to interact and talk with in order to know what happened to the others.
Complete The Quest
After you finish your conversation with the trapped Warden, the quest will be complete.
As a reward for your efforts, you will receive the following items:
- Increased bonds with your companions
- Increased Grey Wardens Strength

Next
Dragon Age: The Veilguard – The Snake Nest Deal Walkthrough
Here is how to complete the Snake Nest Deal in Dragon Age: The Veilguard.


