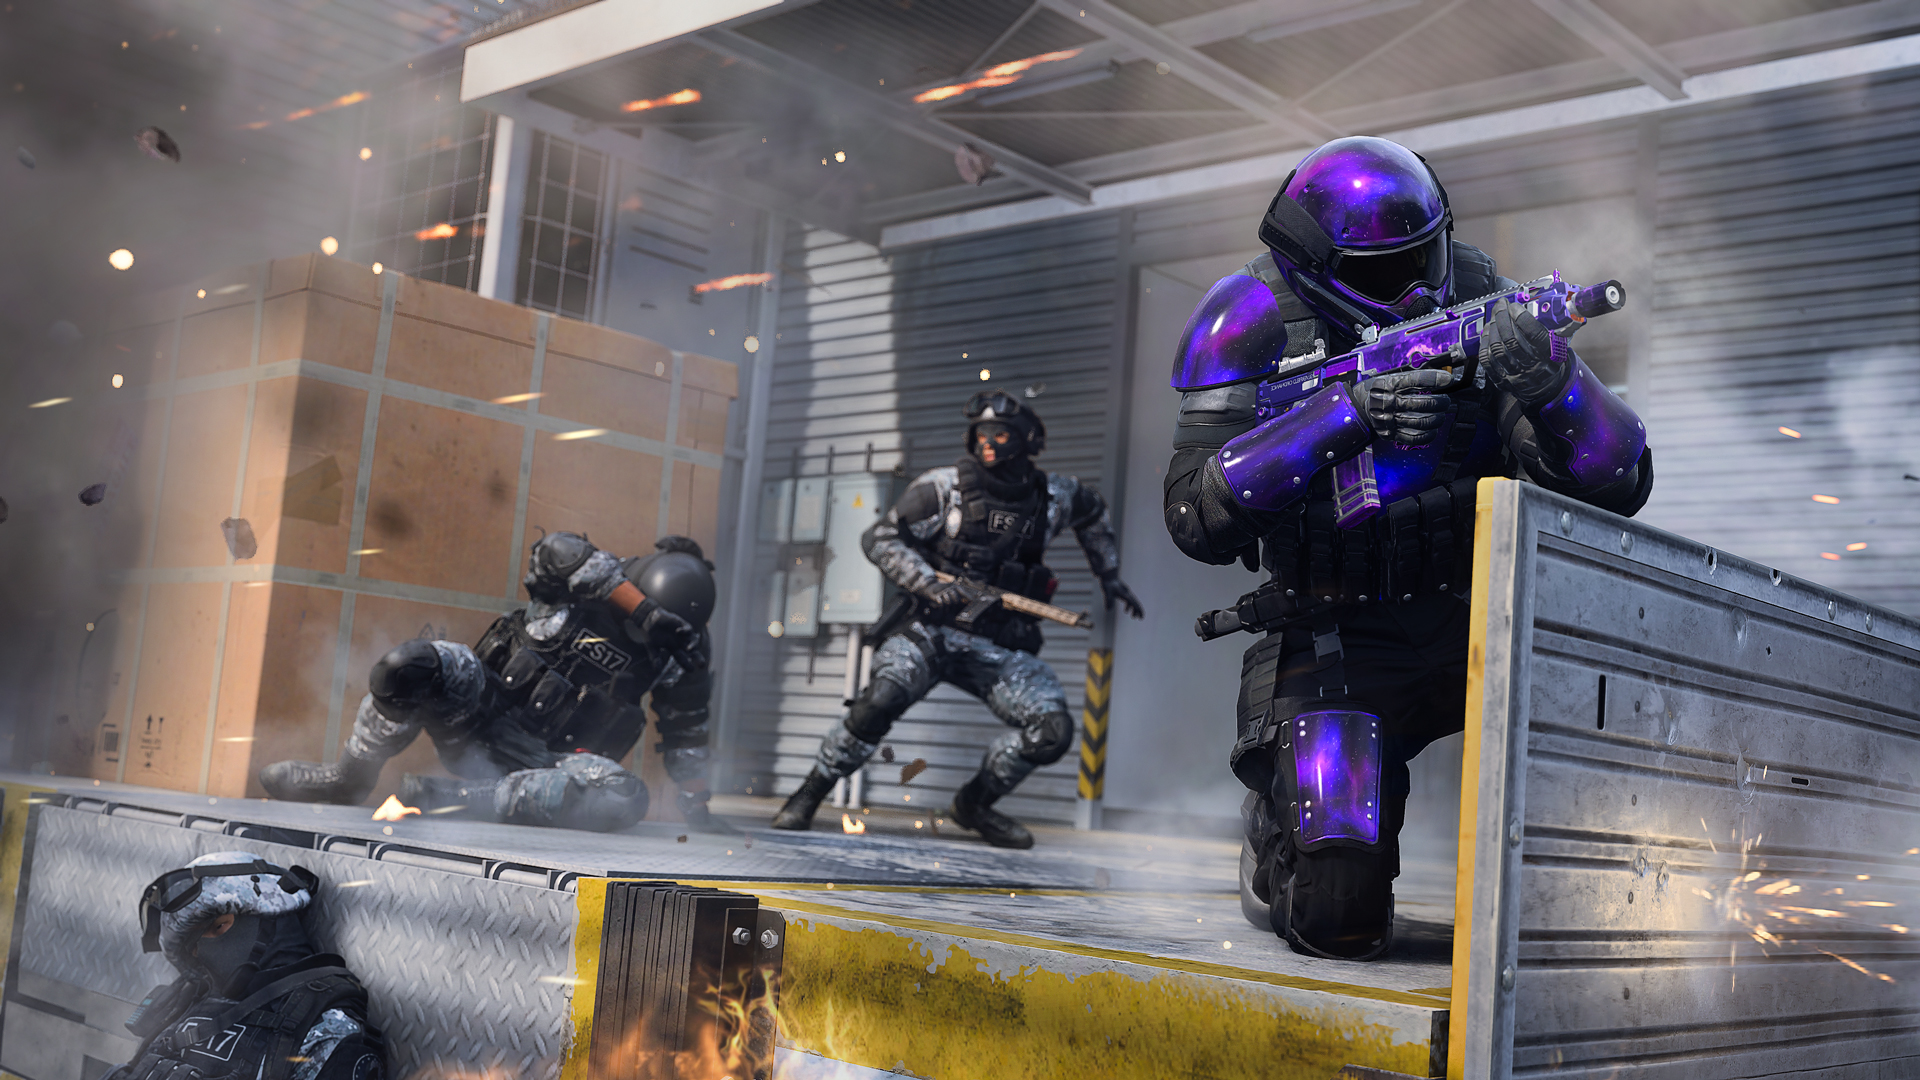
1. Sights up. DRC Zone 1 is a small map with little downtime between engagements. Don’t get caught sprinting past a corner unless you’re certain that it’s clear on the other side. Keep your sights up and be ready to engage.
2. Check the Vents. Think there might be an enemy in the Vents? Toss a grenade in there when passing by and you’ll likely get a hitmarker if there’s someone inside. If not, you can always climb up and take advantage of its sightlines for yourself.
3. To the side. The narrow Lobby and Labs passages each feature an indented space to the side of their otherwise straight route. Use these to protect your back so you can you focus on covering just one of the two entrances. Don’t overdo it, though, as it’s an easy move to counter.
4. Take care with aerial streaks. About half of the map provides overhead cover, so be mindful when calling in aerial streaks. In general, these are best used in objective modes where you know there’ll be plenty of activity in open spots like the Parking Lot and Loading Area.
5. Hop up. The great thing about the many midsized cover objects across the map is that you can climb on most of them. Though this exposes you to attack from all angles, it also provides a strong vantage point against incoming enemies. This is best used when you know where your target is located. Get the elimination and then hop back down and keep moving.
6. Guard dog. Though it’s a small map, there are still opportunities to pick an area and stick with it. Areas like R&D, Patio, Lobby, and even Courtyard can be defended by a single active Operator. Choose a site, lock it down, and constrict the enemy.
7. What was that? Getting the initiative is of even greater importance on small maps like this. Consider using the Dead Silence Field Upgrade to quiet your footsteps during critical plays. You’ll have plenty of opportunities to land gun and melee eliminations to refresh its duration, too.
8. Snap or smoke. Depending on your playstyle, you might prefer obscuring the enemy’s view or enhancing your own. If distraction is more your style, head in with a Smoke Grenade for those risky passages. If intel is your watchword, bring a Snapshot Grenade to tag enemy positions for the whole team.
9. Courtyard dash. Need to cross the Courtyard with minimal exposure? Use your Tactical Sprint to race between the narrow Lobby passage and the northern window of R&D, accessible via climbable objects on either side.
10. Offensive defense. Though aggressively moving through the map keeps the enemy on their toes, it often pays to group up and hold a critical area of the map, especially in objective modes. Work with your teammates to form the best defensive postures when needed. This is the Defense Research Center, after all.
Stay frosty.








Leave a Reply